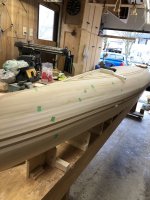
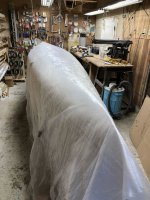
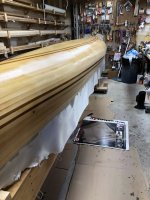
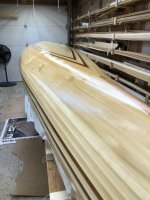
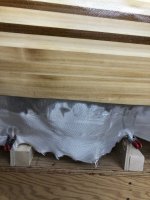
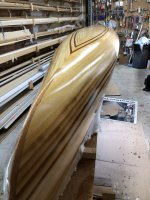
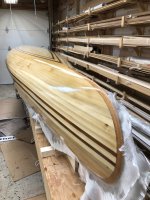
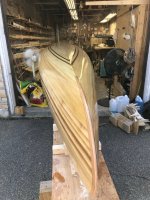
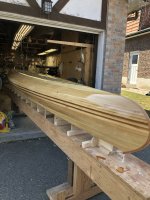
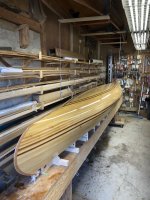
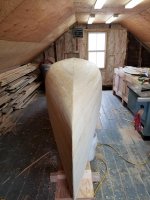
The stripping is complete, the stems are attached ... now the work to get ready fro glassing can begin
This is where we start
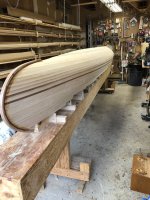
A spoke shave, small low angle block plane, and ROS are the primary tools to get this hull sanded/fared/tight
The first step is getting the stems shaped, this can seem a daunting task, but it isn't really that hard. There really isn't that much actual shaping or any guess work. It is all about extending the lines of the hull through the stems.
Looking from the front, you can see the start of the right side shaping, I will use the spoke shave or plane, depending on which one seems to be working better (that may sound strange, but both are quite capable and the wood determines which I use at any given time). Don't rush this, keep the removal light .... you only have a 2 stems to do and lighter removal means you can't make mistakes quickly. Also, heavier cuts may result in splinters or tear out, which you definitely don't want.
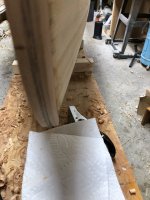
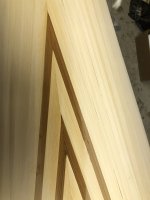
Continue on, extending the line of the hull through the stem .... this line changes as you move around the stem, always be aware of the hull line for the area you are working on.
This is a top view pic of the stem front, once that area is close to finished, see how the hull line is extended through the stem
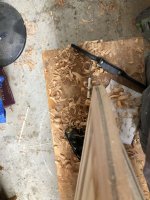
The top (canoe bottom) of the stem, will be mostly trimmed away, transitioning from leaving almost the full stem thickness (at the front tip) down to just a bit more than the 1/4" that gets buried in the tapered channel.
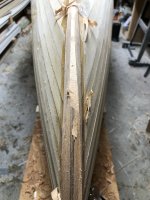
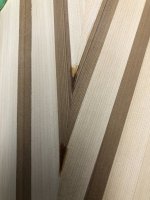
A note about the shaping process ... if you follow the idea of just extending the hull line through the stem, the thickness and shape, will look after itself. Near the bottom (of the canoe) you will end up with a sharp point (no flat) that overlaps with the opposite side, the hull lines will intersect somewhere inside the stem, effectively trimming the thickness as you move along.
This is a front profile showing the changing line and how it falls on the stem as you move along the stem
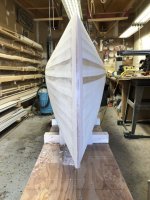
Once the stems are done, you can start on the hull, I start with a light cut, on a low angle block plane and just take off the strip edges where they protrude. I don't get fancy, I just want to take off the high points. The sander will look after the rest. I do recommend that you do not try to use a spoke shave on the hull strips, cedar has a habit of splintering and you may end up with tear out (I suspect this will be a valid point for all woods).
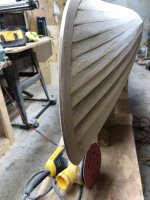
The sanding regime i am using on this build is initial sanding with 80 grit (ROS), manual block sanding with 80, finish sanding with 120 grit (ROS), with a final manual block sanding with 120 grit.
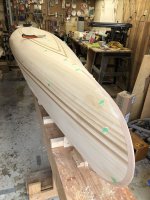
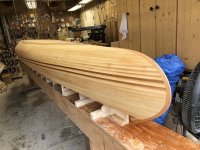
Half hull rough sanded (ROS) with 80 grit, notice I have left the stems just as the shaping left them, with sharp edges, that will all get sanded/shaped to a rounded shape at the end, no need to waste time on them at this point
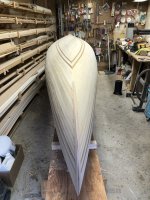
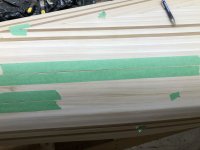
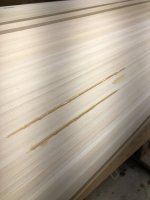
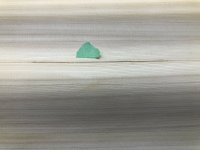
I knew that using the wider strips (7/8") at 3/16" thick caused some issues with the curvy shapes on the boat. The issues became obvious with sanding and i have quite a few areas that need to be addressed with filling.
The normal filling technique I use is to use epoxy to fill voids, spread the glass and continue while the filled ares are setting up. it provides a seamless filling, glassing operation and the filled areas just disappear. In this case, there is just too much fill work, so i have decided to do the filling as a separate operation. The hull as it sits, is sanded with 80 grit (ROS and manual block/fairing) and 120 grit with the ROS
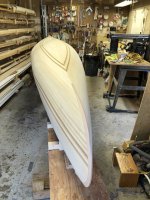
I will interrupt the sanding schedule at this point to do all the fill work and use the final manual 120 grit block/faring step to final smooth the filled areas, that will be the next post though.
Be safe, be distant
Brian


