• Happy National Pfeffernusse Day! ⚪🇩🇪😋

What's happening in your shop this winter?

No Title

Well, with the potential for -40 weeks at a time, in floor heating is a common feature in these parts.

I built a 8x10 shed last year where the garden tools reside, and the tractor fits for Winter storage as well. So no need for that in the new building.

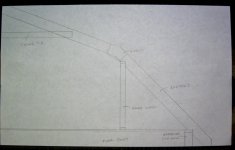
My thoughts on roof design are such...
 

Attachments

  • photo4635.jpg
    photo4635.jpg
    105.4 KB · Views: 0
Well, with the potential for -40 weeks at a time

OMFG, I could not deal with -40 for weeks on end.

I get wimpy when the shop is in the +40’s and I have to turn the heaters on.

Another nice thing about the separate office space; that wee part is easy to keep warm.
 
One of the Winters since I moved here 7 years ago, we had a string of about 6 weeks where daytime temps were not above -30C / -22F. Coldest windchill I remember from 2 Winters ago was -57F.
 
One downside to a slab floor is the humidity. We don’t have air conditioning in our home, but I use a window unit in the shop at times to drop the hygrometer.

Insulating the slab pretty much gets rid of this problem. My shop doesn't get any more humid than the outside weather and my floors have never been so much as damp from humidity. My dad's shop and our auto repair shop in town, on the other hand, both get very humid in muggy weather with dangerously slick floors. The difference is that there is full insulation under (and around the perimeter) of my slab. Cool earth below and hot air above is what causes the condensation. Eliminate the cold below and no more sweating floors. Not to mention they're much warmer in the winter. No more cold feet.

I thought really hard about doing in floor heat. Pros were: warm floors, cool/fun factor, and I could heat the water with an external boiler utilizing wood if I wanted.

Cons were: doing it all myself and it would have added considerable time and effort before the slab could be poured and extra hassle for the concrete crew they weren't used to dealing with. Also some extra expense and the worry of failures later on; either from age, poor installation, or going too deep with the hammer drill.

But the biggest con was the slow response of the system. I knew I'd be working in the shop mostly during winter and I wanted to keep the shop temp as cool as possible while I wasn't working out there. With in-floor it would take a long time for me and the objects in the shop to start warming up if I cranked the heat from 40 to 60 degrees as it has to heat the mass of the slab first. I was afraid that only working in the shop 2-3 hours during the evenings would mean it wouldn't really be warming up until I was done for the night. If you were working in a shop longer hours or kept the base temp higher it wouldn't be so bad.

I ended up going with overhead radiant heat and am very happy with the choice. It's what we've used at the repair shop for the last 20 years and it's great. It works like in-floor radiant so it feels like standing in the sunshine when it kicks on. My shop is 40' long and I set up all the equipment up on one end of it. The heater is over this end of the shop, about 12' from the end wall and runs the width of the shop. This way the heater is right over the area of the shop I'll be working in most of the time. I can leave the shop at 40 degrees and once I turn the heat up I can work out there comfortably because me and all the equipment I'm touching starts to warm immediately. Even if the air temp is still only 45 degrees I feel much warmer.

Despite the fact that it's located at the far end of the shop there is no appreciable temp difference at the other end. I never would have located it at one end of the shop like this if I hadn't had experience with this style of heater in our auto shop where the farthest corner away from a heater, and next to an overhead door, is probably 50' away and only a few degrees colder in the middle of winter.

Using this instead of in-floor also meant I could concentrate on building the shop while the weather was nice and install the heater after the inside was insulated and lined. I found a Reznor dealer in Minneapolis that would sell to me direct and I installed it myself. Quite simple. It's assembled on the floor and then lifted into place. Mine is 30' long and the only assistance I needed was when it was time to lift and hang the unit. I think the heater cost me $1200. This is the one I got: http://www.reznorhvac.com/en/na/products/product-gas-radiant-vpt

We've been very happy with Reznor. Like I said they've been in our repair shop for about 20 years and we haven't touched them once. My dad has had one at his home shop for 10 years, maybe more, and it's been perfect as well.

Alan
 
If you have not seen it, take a look at infra-red LED heating. Unless you are lucky enough to have geo-thermal to run underfloor heating this is a great option, although a lot more expensive than your old style unit. I have a panel in our unheated basement to keep me warm when sewing and am very leased with the heat output and low running cost.
 
If you have not seen it, take a look at infra-red LED heating. Unless you are lucky enough to have geo-thermal to run underfloor heating this is a great option, although a lot more expensive than your old style unit. I have a panel in our unheated basement to keep me warm when sewing and am very leased with the heat output and low running cost.

Interesting. Never heard of that before. A quick google search didn't turn up anything big enough to heat a shop, mostly small heaters for close range. I don't understand the benefit of using LEDs. Maybe I'm missing something but I believe most all electric heaters are 100% efficient when it comes to turning energy into heat. How are the LEDs more efficient than standard electric heat?

Alan
 
We need a new shop. The one we do the actual building in is fine but is a 1950's single car garage so it is small and low ceiling and not good for the wood working part of life.
I spent an hour this afternoon with some paper and my scale ruler and came up with basic drawings for the structure we would like to have. 40 foot long gives plenty of room to run the table saw for gunwales and the space along the East wall to have all the boat racks on one wall.

Please keep us posted as plans become reality. I am interested in how folks array their benches, tools, lighting and etc. And I am vicariously excited to see what you and Christine get up to in a design-built shop.

When I outfitted the Cooterville shop I ended up with one section of seated height bench in an L shape. No reason at the time, that’s just how the benchtops fit best.

Working there I have come to realize that I really like that arrangement for benchtop small tinkering; one piece of the L holds naught but the project at hand and the other the needed tools, parts, materials and detritus, and never the twain get intermixed and cluttered.

I’ve been eyeballing my never-big-enough shop, which has only linear benchtop space, but can’t see a way to achieve an L without major tool and shelving reorganization, and where I could fit another piece of bench I don’t feel the orientation vibe. The vibe matters.

The apex of that L in Cooterville is my spot. Good breeze, great view out the doors and windows, every common tool within easy reach, mere steps from the carport and beer fridge. And more than that.

Working at the L, or just sitting there thinking, I am always reminded of Carlos Castaneda’s Places of Power riff in The Teaching of Don Juan

http://www.encyclopedia-of-religion.org/places_of_power.html

I not especially touch feely kumbaya spiritual, but some spots just feel right, or better. Or best. Whether that is the perfect place for my chair in camp or some orientation of inspiration at the shop bench, I recognize that place when I come to find it.

A drive in door on the front

A drive in door is invaluable. Not just for canoe access and vehicle maintenance. I’ve put a dozen roof racks on friend’s cars in inside the shop, built a canoe trailer and worked on a couple more, worked in a small sailboat, put in vehicle audio equipment and speakers and outfitted a couple of tripping trucks inside the shop.

Doing that kind of work, any kind of work, is so much more efficient with tools and benches a few feet away. To that end “garage” door height matters as much as width.

To get our E-150 van in the shop I have to take off the garage door handle for a needed extra inch of clearance. I could easily have made the door 18 inches taller, but at the time I was only thinking width.
 
I too am interested in the new shop ideas. I currently have a fair amount of shop space but it is spread out in three separate rooms/buildings. We will likely be moving in a year or so and I might have to build a shop. Right now I lean toward an 'L' shaped shop.

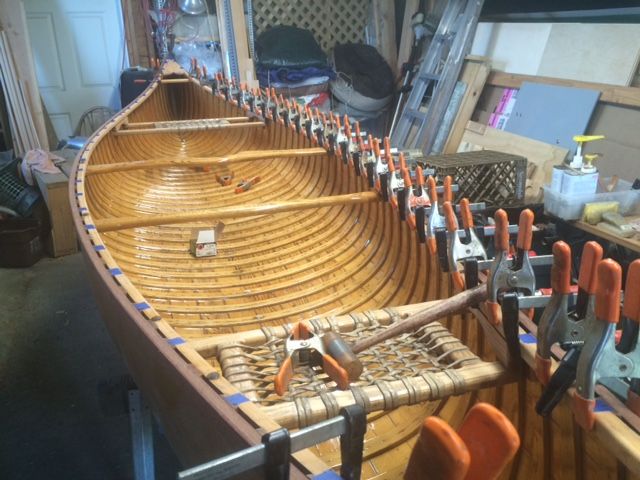
Just did some new mahogany gunnels on this canoe last week.

image_zpsndd0vggv.jpeg
 
Last edited:
Yes I can get all the 20'ers I want. One of the perks of living in a more populated area. Not many pluses if you ask me ,but that is one of them. I'd much rather be closer to some paddling where I don't see houses.

Jim
 
I'm still working on nwc's (non wood canoes), started on this old Mad River Explorer this week. I drove some distance to look at it and was disappointed that it ad a crack the PO didn't mention. He had left it on horses for years due to poor health and he was as surprised as me to see the crack. I got it for the price of my gas and a subscription to AARP.
DSC01936.JPG


Here's the crack after some G-Flex repair. It looks bad but the epoxy did it's job, seems strong, and the new gunnels will add some more strength too. Too bad about the crack, this canoe was destined for the town dump but I think it will be ok, has hardly any scratches to the hull too

DSC01937.JPG


Old School Explorer decal, hopefully I can clean up this on the outside for the finished product. all those drill holes where for the support piece of gunnel I attached for transport/storage
DSC01938.JPG


I'd much rather be working on these two wood canvas Chestnuts, but the NWC's keep on coming, got a 16' fiberglass project to pick up in a few days.

DSC01940.JPG


Making gunnels,

DSC01935.JPG
 
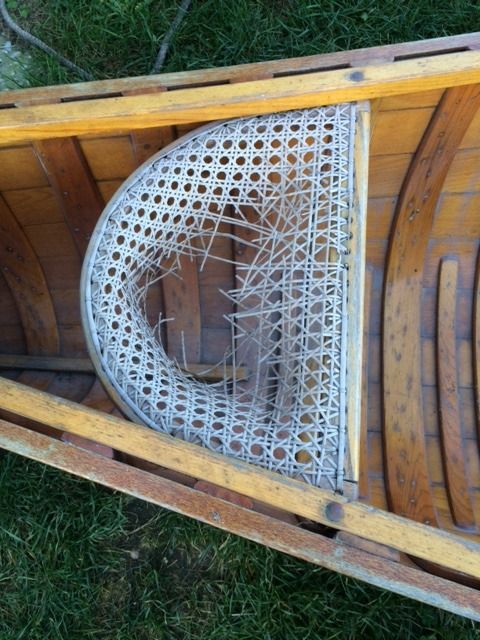
Last fall when this thread started I took in a canoe for refurbishing, nothing major just bring back the paint and varnish. The only thing that needed repair was the stern seat. It came to me looking like this.

image_zpsx3mepzqr.jpeg


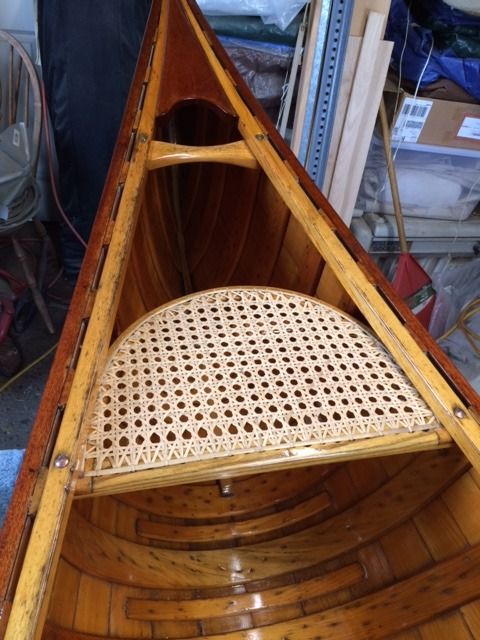
Here it is all repaired.

image_zpswxrcldjx.jpeg


image_zpsz8ybjkbr.jpeg


image_zpsl4nlhtwk.jpeg


I saw this one last weekend, it's a 1960 Old Town OTCA I believe it said. I offered $200 I think they will take the offer as it didn't sell at the show.

image_zpsnodx6tux.jpeg


I also hope to get up close a personal the the Rushton Indian Girl in the next week or so. I'll keep you posted.
Sorry I'm going to miss the WCHA meet, just can't seem to clear the schedule. I did send some drawings of a Kennebec canoe I measured long ago up for the auction so those going bid them up its a good cause.
Jim
 
Nice job on the seat, and it's in a nice looking canoe (EM White?), that's a nice OCTA also,$200 is a great price for the shape it's in, are the decks ok?
 
Yes Robin, it's a White canoe built in 1989, it's got a Dacron skin so it's not too heavy. I can easily carry all 18' of it.
The Old Town has one cracked rib, one deck has got rot on the end and both decks are split but I might be able to glue them together. This is the worst deck.

image_zpstvl9bqak.jpeg


Jim
 
No Title

It is Winter somewhere...

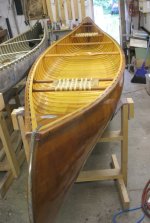
Something new for us, an actual repair for a customer. First time so it has to be done well.

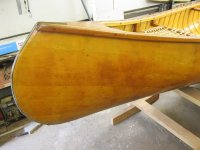
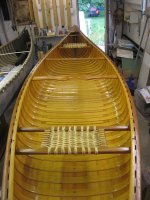
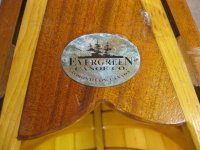
It is a Evergreen out of Toronto. Not much history available on the company, but they must have had someone else making their boats. It is glassed clear over what would normally be a canvas type hull, ie; brass tacks on wide planking. The planking is very well done, the glass not so much. We cannot tell if it is polyester resin but we do not know if you can even do polyester in clear. It will matter when I do the epoxy repair of course, for adhesion. The reason this boat came to us in particular is due to my undying devotion to Wilderness Supply on Ferry Road in Winnipeg (see Mike's ethics thread). They recommended us to the client.

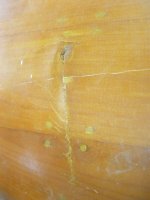
The client dropped an air conditioner on the boat, thankfully it landed on a rib other wise the damage would be much worse. They just want it to not leak again, which is easy, but I want it to be nice. I'll do my best but I won't be stripping the glass and canvassing like they may wish for down the road.

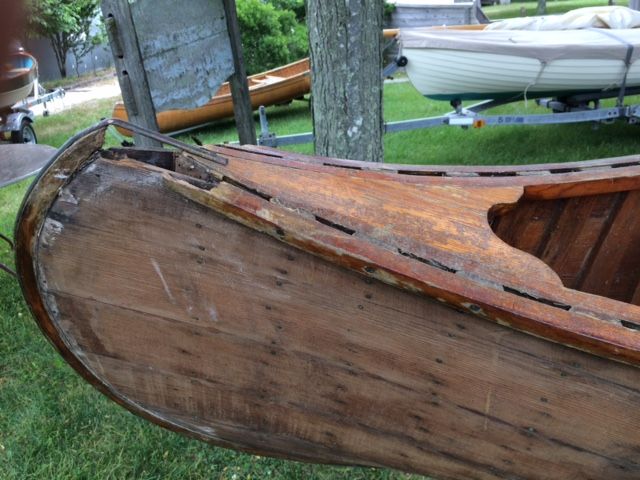
The dark bands across the bottom of the hull appear to be a repair at some point and I figure it was on horses and got snapped into pieces in some way. The planking is really short pieces through those portions. The keel was an ad on at some point as well, you can see light under it between screws. Very pretty boat from the top, not so much from the bottom. It needs a thorough sanding and varnish on the hull. Perhaps a value added service considering I am used to getting about $5 an hour for my labour on the canvas boats we have sold.
 

Attachments

  • photo4895.jpg
    photo4895.jpg
    109.2 KB · Views: 1
  • photo4896.jpg
    photo4896.jpg
    120.4 KB · Views: 1
  • photo4897.jpg
    photo4897.jpg
    154 KB · Views: 1
  • photo4898.jpg
    photo4898.jpg
    90.2 KB · Views: 1
  • photo4899.jpg
    photo4899.jpg
    143.2 KB · Views: 1
  • photo4900.jpg
    photo4900.jpg
    210 KB · Views: 1
This would be a really nice boat with canvas on it, or even painted to hide the horrible glass job. It has a lot of mahogany in it and the ribs/planking look to be maybe pine...pretty sure not cedar. It's verrrrry white. Well put together though,albeit a touch heavy. One a week like this would be pretty good. quick turnover fast cash.
I think it is a home made glass job after a repair when they couldnt do canvas. Karin thinks it is a factory glass job like Robins trapper.
 
Re: Clear Ployester. Mihun09, I've run across some really old references (eg, ca. 1982 Mother Earth News) to strip built boats that were poly resin, that turned out clear. I don't know if it was as crystal as what you are showing though. I believe, at the time, that epoxy resins were not available at the retail level, the way we have such a wide variety of epoxy systems to choose from.

I also have seen references from the time that builders first started experimenting with epoxy. At the time, it stacked up like so:

Pros:
- much less acute toxicity
- much better adhesion to wood core (Polyester had a rep for delaminating)
- RI closer to glass, so less visible weave

Cons:
- More expensive
- UV degradation needed good topcoats (Still does)
- Amine blush was harder to control in the older resin systems

Looking at what I can see of that hull, I'm reminded of something I heard recently. A friend and I took a river day trip locally, and ended up talking to various groups as we passed them. A gentleman told us that he and a buddy had "Restored" a W/C canoe by stripping the canvas cover, and then glassing it. (I just about gagged. As much as I love my strip builds, that's just wrong!)

Some of the weathering on that hull looks sort of like what I might expect of a similar "Restoration." That boat may not match what came out of the factory.
 
We are debating the Fiberglas. I think it was designed for glass. The ribs are thinner than usual, 1/4" and less in thickness and the tacking on the planking is excessive. Every plank got 5 tacks in the pattern found on the "5" side of of dice and really well done. We have a 1940's vintage Peterborough right next to it that has at most 4 tacks in larger planking. Canvas covers the tacks so they needn't be pretty like on this boat. I think it is much like Robin's OT Trapper, designed for glass. Since we may never know who built the boats "for" Evergreen, one interesting tidbit is the screws are all Phillips, which suggests it was built in the USA. Canadians would have used Robertson.

I have the repair done, just waiting for the epoxy to cure so I can varnish and return the boat to the owners. It came out quite well.
 
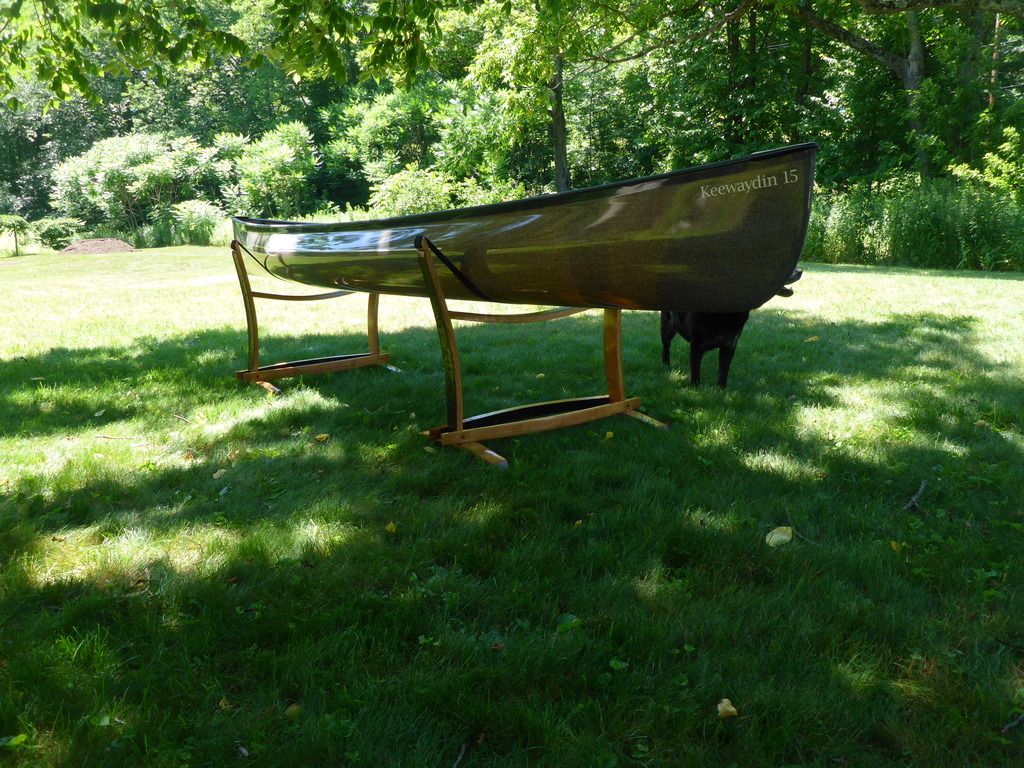
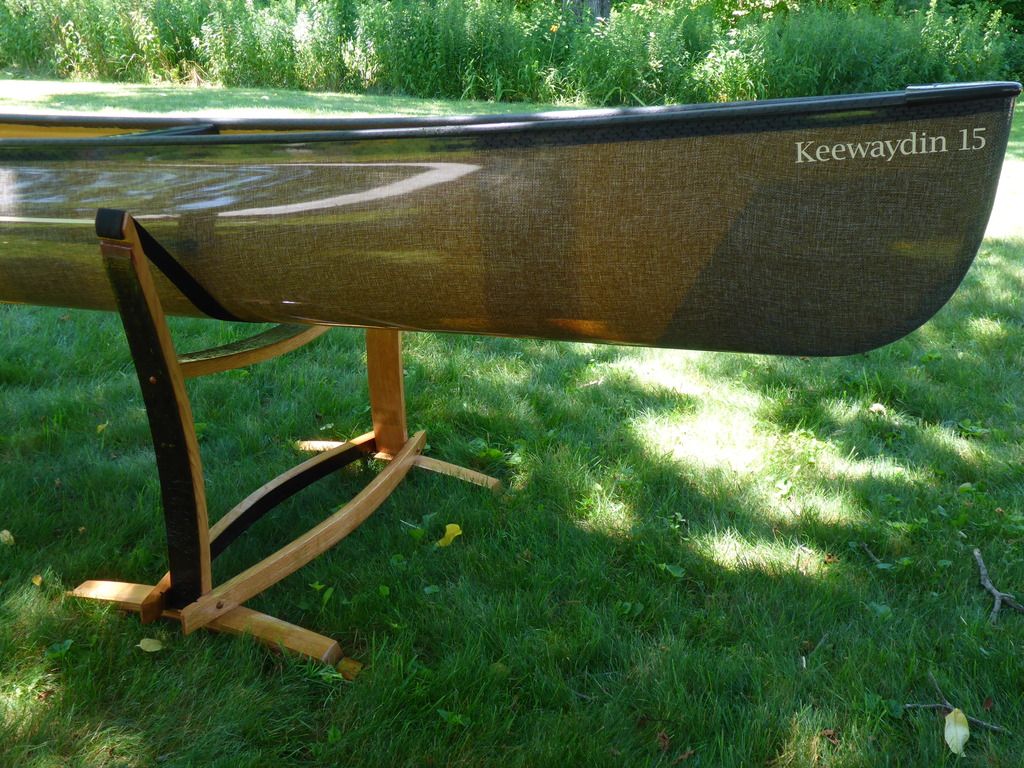
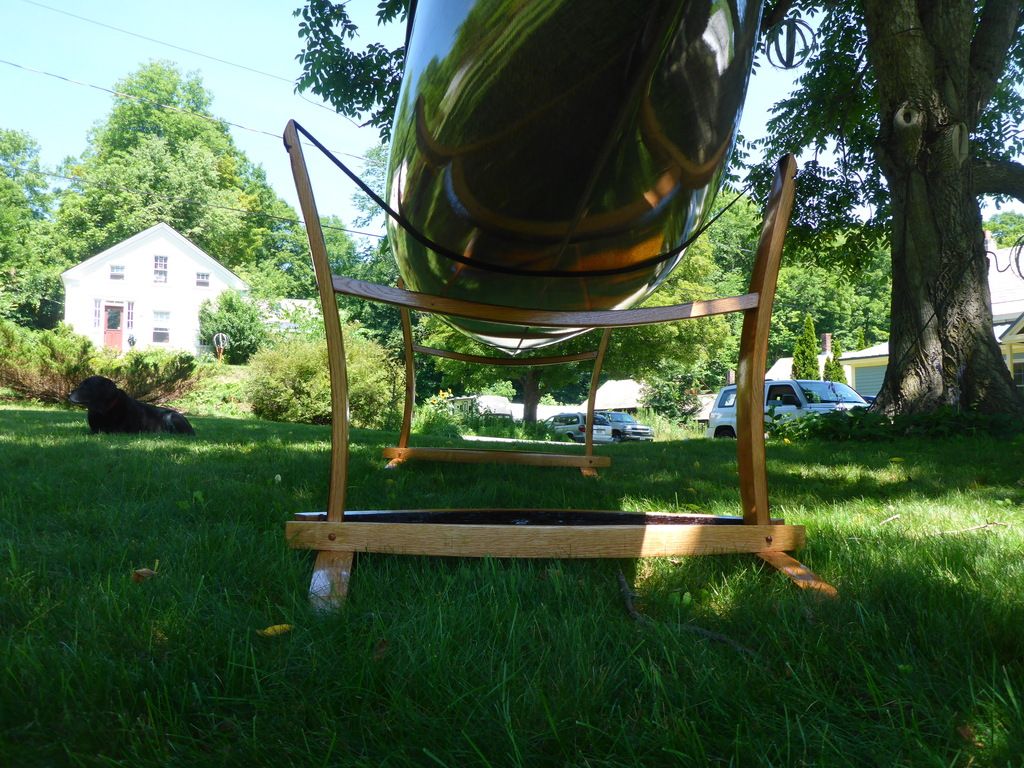
Headed to Churchill Dam this weekend to deliver a Canoe Stand for the 50th Anniversary Canoe they are Auctioning off and first trip with the new canoe.


Thanks Jim for the idea.
 
The new shop has to wait, although we are getting a quote on a 24x50 building based mostly off the initial drawings I made a few months ago. Meanwhile, we were unable to use the double doors on the boathouse since the structure was pinching them closed, so over my holidays a couple weeks ago the rebuild began. The bad wall in question had the original studs rotted off between 3 and 6 inches from the ground and I vacuumed the sill plate out of the floor. Base is getting new concrete and all framing is 2x6. The original studs are 2 1/4 x 4 1/4.

First session was 6 feet back in the corner, today was rebuilding the door area. Actually put in a proper lintel which it did not have before. We have about 4 feet of wall left to do this year, next year Christy intends to rip down all the stucco and reface with plywood since all the boards under the stucco are pretty much dust.

Investment so far... about $300.


Back
Top