• Happy National Pfeffernusse Day! ⚪🇩🇪😋

NWC Cruiser build

Thanks Jim, I'm feeling pretty good about it! I'm excited to get it sanded and use it as a mold for the Kevlar copy.
Does anyone have tips or suggestions they would be willing to share about working with Kevlar cloth?
I'm pretty sure I don't want to be trying to wet out multiple layers at a time considering the difference in absorption between glass and Kevlar.
I have 4 oz as well as 8 oz in 60" widths which I got a crazy good deal on. 10$ per lineal yard.
I was thinking 2 full layers of 4 oz with a partial of 8 oz.
Or two full layers of 8 oz maybe...
With either layup I will also put a full layer of 6 oz glass for sanding purposes on the outside.
I was poking around the net yesterday and found something called aramid honeycomb which can be used as a core and seems to be very lightweight. Is anyone familiar with this material?
 
Good fore thought !
Is the 8 oz Woven, or stitched ?
I used 8 or 9 oz woven on my second Kevlar. It was easier to cut than the Stitched, that I had used on my first Kevlar.
Express Composites, had some good shears. Blue handled. Cutting Kevlar cloth is tough.
Good plan to cover with E-glass. Kevlar once wetted out, and cured, is a pain to deal with ! Sanding is near useless.

Jim
 
I purchased woven cloth. I also bought some shears made by clauss. They cut very clean. I messed around with some of the 8 oz making a sheath for my Irwin coarse cut hand saw. I found it very hard to wet out without heating the resin.
 
Yes ! Carbon, and Kevlar are a different cats ! They don't change color drastically like fiberglass ! There is a slight color change, just not like fiberglass.
Good lighting helps.
Being methodical while wetting things out should help. Do a section at a time.
Try and do it when the cloth and shop are warm also.

I'm wondering if the Honeycomb won't soak up a lot of resin ? I'm not familiar with it.

Jim
 
I believe the aramid honeycomb is supposed to be lighter weight than a foam core and is designed to resist the pressure of vacuum bagging or infusion. I have no experience working with it and don't know how it works in hand layups.

Alan
 

Last time I talked to them the only foam they had was scored and scrimmed. I was looking for solid chunks of foam that I could carve yokes and thwarts from. If that's changed I'd be interested to know. Or if they mentioned anywhere else in the area that kept it on hand. I've struck out in my semi-local searches.

Alan
 
When it comes to Kevlar wet out, I usually just use a squegee, not brushes or rollers. Smear it on thick and quick, no perfection here, and then move to the next section. Give the Kevlar some time to soak up resin while you work on another section and then go back and rework the first part, moving epoxy to dry spots and squegeeing out excess. As a general rule I let extra resin sit and soak the Kevlar for 10 minutes or more before I come back and rework it. If glass is going over the Kevlar I don't squeegee anything out, just lay the glass on, squegee it, and let it soak up the excess.

Edit to add: those Clauss shears are the only ones I use. Relatively inexpensive and cut great. Trimming Kevlar after it is cured is one of the worst parts of using it, especially doing a whole shearline.
 
Last edited:
I do the same as Muskrat with carbon and kevlar. I goop it on thick and let it soak in while I keep moving down the hull. I come back a little later to squeegee off the excess. If there is no excess I add a little more. I want a nice glossy look to the kevlar before I come back to squeegee. If it looks matte and dull I'll add some more resin.

I agree with keeping the multiple layer wetout to a minimum. I try to push my luck every time and every time I wish I hadn't. The thicker cloth seems to hold more resin and it seems easier to accidentally remove too much and starve the cloth with multiple layers.

I bought a pair of cheap blue handled kevlar shears from Express Composites for under $20 and they worked great until I started cutting fiberglass with them and they got dull. Then I tried a trick I read online once and it worked out great. Just take a regular pair of scissors and run them across a bench grinder. Don't follow the factory angle but run them through at about 90 degrees. It creates a rough edge, which is needed to cut kevlar, and it works great. If it quits cutting as good just buzz it across the grinder again, takes about 15 seconds. They work well for cutting other slippery material, like peel ply, as well.

Alan
 
Thanks Alan and muskrat,

That seems like a pretty darn good way of doing the wet out. I greatly appreciate all of you experienced builders giving guidance to those of us who are inexperienced.
I'm very glad that Alan encouraged me to join this forum when He found me on another forum posting about the model canoe I built. This really is a great group of people!
 
No Title

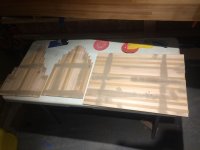
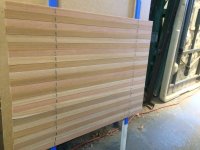
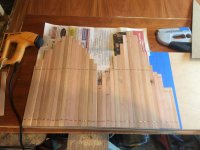
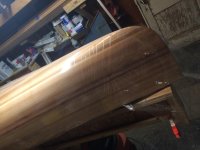
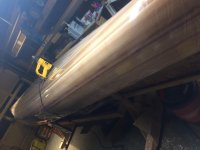
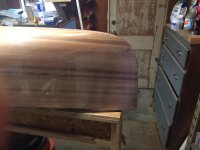
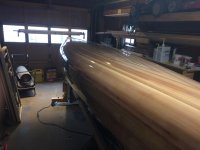
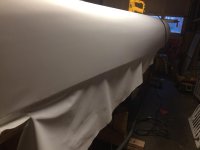
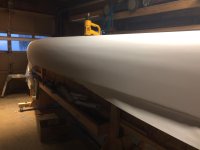
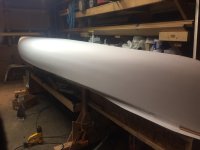
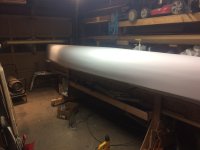
Not much progress this week. Waiting for epoxy to cure. Made a couple strip panels for float tanks and started sanding last night.
 

Attachments

  • photo6304.jpg
    photo6304.jpg
    146.4 KB · Views: 0
  • photo6305.jpg
    photo6305.jpg
    215.3 KB · Views: 0
  • photo6306.jpg
    photo6306.jpg
    277.8 KB · Views: 0
  • photo6307.jpg
    photo6307.jpg
    272.3 KB · Views: 0
No Title

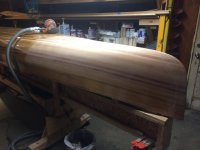
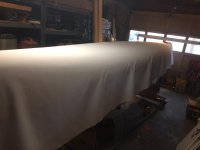
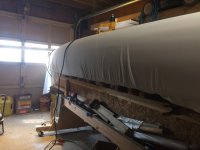
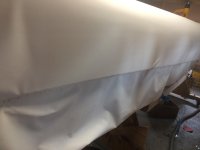
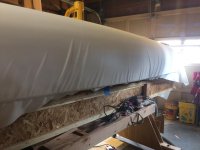
Made some progress over the weekend. I put window shrink wrap on the hull before adding Dacron as a peel ply. This was six ounce fabric which is way thicker than necessary. Lots of heat needed to get it to shrink, but it still works.
 

Attachments

  • photo6434.jpg
    photo6434.jpg
    218.9 KB · Views: 0
  • photo6435.jpg
    photo6435.jpg
    203.6 KB · Views: 0
  • photo6436.jpg
    photo6436.jpg
    246.2 KB · Views: 0
  • photo6437.jpg
    photo6437.jpg
    187.3 KB · Views: 0
  • photo6438.jpg
    photo6438.jpg
    154 KB · Views: 0
  • photo6439.jpg
    photo6439.jpg
    208.7 KB · Views: 0
  • photo6440.jpg
    photo6440.jpg
    141.9 KB · Views: 0
  • photo6441.jpg
    photo6441.jpg
    233 KB · Views: 0
No Title

Those wrinkles, don't worry about those little guys. They disappear like magic when you apply some heat. Here are a couple more pictures to prove it.
 

Attachments

  • photo6442.jpg
    photo6442.jpg
    135.3 KB · Views: 0
  • photo6443.jpg
    photo6443.jpg
    158.6 KB · Views: 0
Thanks
From inside to outside I'm thinking I will do: 8 oz Kevlar football, 2 full layers of 4 oz Kevlar, 6 oz fiberglass on outside.
I will add a foam core or ribs after removing the hull from the plug.
 
Just a few thoughts, and questions.
First I bet your heart is pumping ! I can feel the excitement myself !!!
The Dacron smoothed out nice !
Will the Dacron, will release from the Kevlar ?
I'm thinking the edge of 8 oz Kevlar football, will transfer through the two layer of 4 oz, and 6 oz Fiberglass. I would add the 8 oz after, you pull the hull from the plug.
That will eliminate the ridge from the thick 8 oz. That ridge will be a problem, when you sand the outside. You will thin the 6 oz fiberglass, on that ridge, trying to feather it smooth.

I'd say you have a good lay up combination.
You can add more, if you think it is necessary after you pull it from the plug !

I for one am excited !

Jim
 
I am pretty excited as well!
The Dacron takes some effort to remove from the layup if the epoxy has fully cured.
That is probably a good idea to install the 8oz afterwards as it is pretty thick material. I may even just use it at that time to sandwich a foam core in the bottom.
Either way I will heed your advice and wait to put the football in.
 
No Title

Finished ironing out the Dacron!
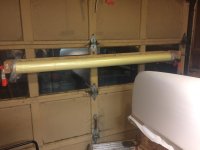
Put the 4oz Kevlar on the roller!
Almost ready to start layup!
 

Attachments

  • photo6473.jpg
    photo6473.jpg
    162.7 KB · Views: 0
  • photo6474.jpg
    photo6474.jpg
    166.9 KB · Views: 0
  • photo6475.jpg
    photo6475.jpg
    212.7 KB · Views: 0
Back
Top