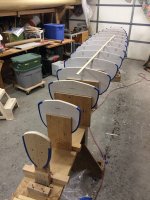
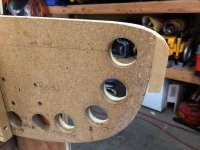
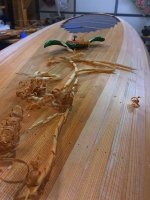
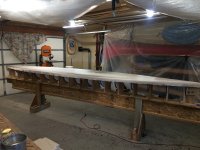
I moved on to glassing the hull last weekend. First was the layer of 6oz E-glass.....
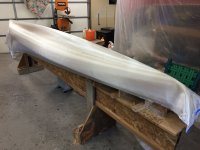
I heated up the shop to almost 80 degrees, got the epoxy nice and warm and went for it. I made a point to start on the end of the canoe that is furthest from the stove to avoid having the epoxy kick quickly. It worked well, I'm glad I paid attention to that small detail.
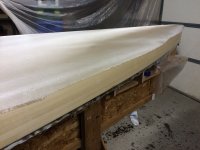
I think I mentioned above that this is my third boat in the past year, so fiberglassing the outside of the hull by myself was easy and relaxed. Later that day, once the epoxy was just about ready, I put on my second layer of 4 oz S-glass. I jumped the gun a little and after getting it all on it was essentially stuck to the hull. Not a big deal, there were no wrinkles, but I had planned to run some masking tape along the part line so I could trim that layer when the epoxy was still soft. I've seen Nick Schade do this on his boats and it looks like it leaves a nice line that's easy to address with a scraper. Unfortunately, I couldn't lift the edge of the S-glass without messing it up, so I went ahead and wetted out the second layer with the jagged edge as I have in the past.
The next morning I went out and took care of that edge with a regular cheap long handle hardware store scraper. That s-glass is quite a bit harder to chew through than e-glass. The cheap scraper had to be sharpened often, and finally I gave up and switched to using a big chisel which worked great. I really need to invest in one of those expensive carbide scrapers.
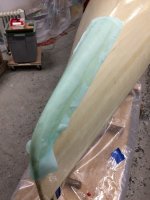
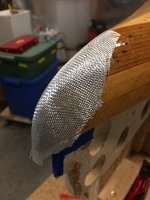
Next, I laid out some glass strips on the stems and a layer of xynole on top of that and gave it and the entire hull a fill coat. On my first fill coat I just pour on the epoxy like the wetout coat and use a wide plastic scraper to move it around. Using a wide plastic scraper is the key to getting an even coat, and making sure there are no streaks of thicker epoxy left on the hull. This gets the weave mostly filled and is really quick. Leaving streaks on the hull means you'll see them later and more sanding will be required (learned from experience).
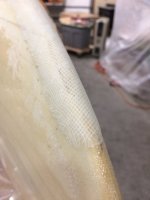
Later in the day I went back and addressed the overlap edges from the glass strips and xynole on the stems. I used a chisel and scraper to get those seams as flat as possible. Then, I mixed up some thickened epoxy and applied it to those edges to feather them into the rest of the hull. I started on the remaining fill coats right away.
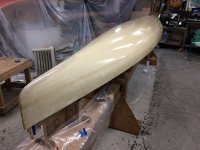
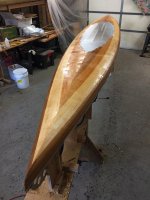
For this boat I ended up doing 3 thin fill coats. Two would have probably been enough, but my epoxy usage seemed a little less than expected, so I thought I should go with the third. I do my fill coats by rolling on epoxy in 2 foot sections on one side of the hull. I roll it well and slowly in both directions, then use a dry foam brush to smooth it out. Pulling the brush into the previous section. Much the same way as I apply varnish. To avoid bubbles this method has worked well for me as long as the epoxy is warm, and from experience, doesn't work well if it is cool, or if you apply the resin to a cool hull. I do thin coats because I think it's easier to avoid runs or sags at this stage than deal with them later. I have to say that I'm getting better at this and the epoxy finish on this hull is my best effort to date. In the end, the hull will require much less sanding to get it to an acceptable smoothness, at least for me. Prior to each subsquent fill coat I works on the stems with a scraper, chisel and a little coarse sandpaper so that the rest of the hull and stems are done with the final fill coat.
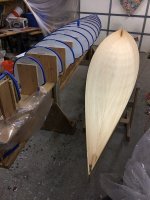
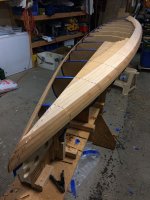
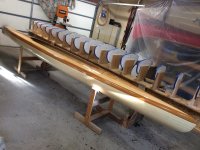
The next day I had a friend help pop the hull of the forms. At first I thought I had a real problem because the thing wouldn't budge, but I realized that I hadn't removed the screws holding the ash stems. After that it literally popped itself off the forms.
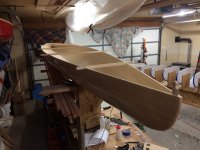
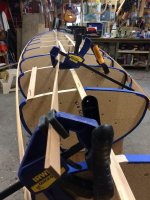
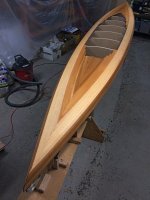
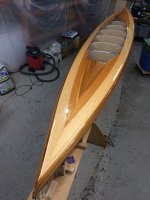
Here's how she sits now, the hull held to shape with strips. I decided to go to work on building the deck next, then when I'm finished with that I'll glass (kevlar) the insides of both halves on the same day. I have the forms all turned over now and am ready to start laying deck strips.
Mark


