As Promised, here is info on the Kevlar copy.
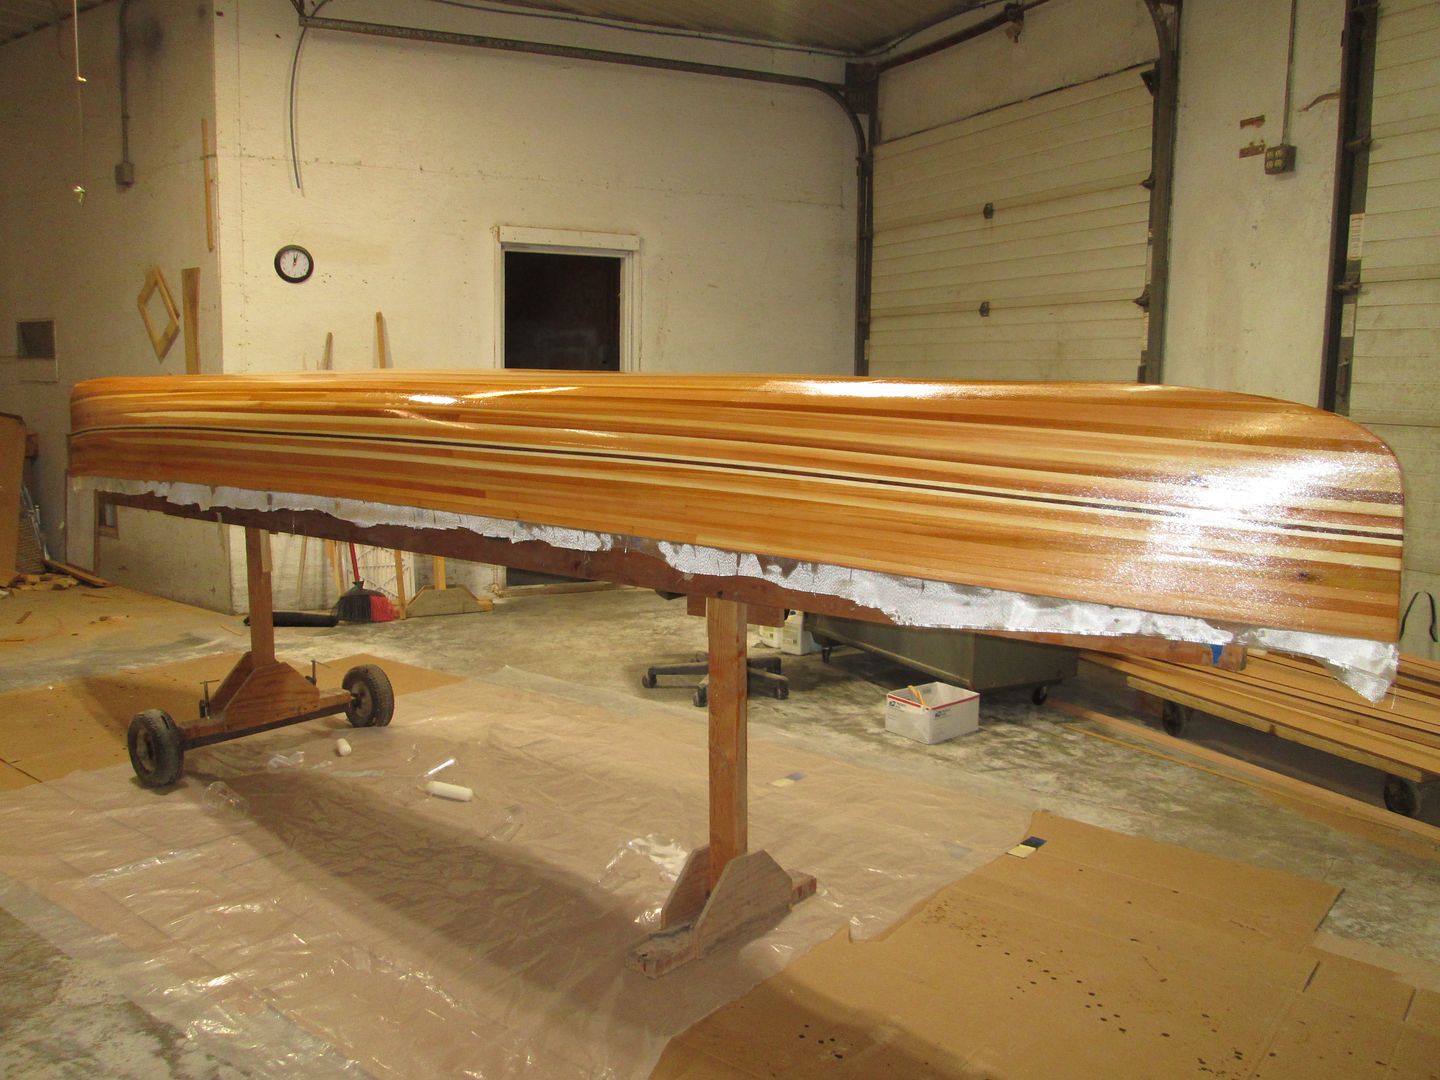
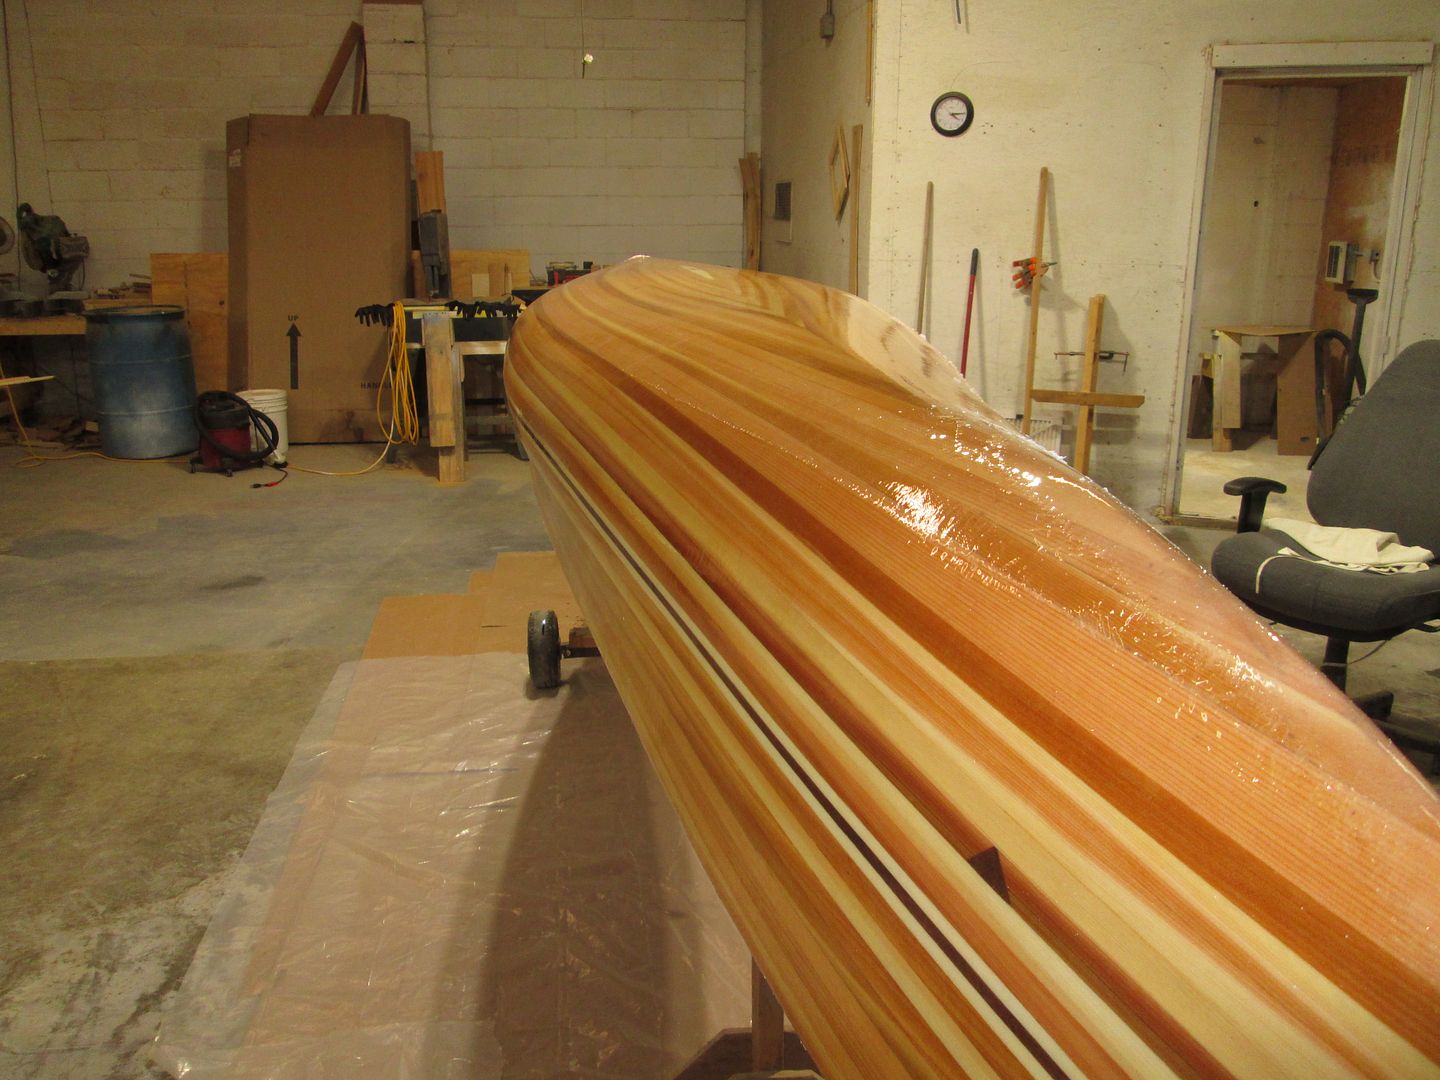
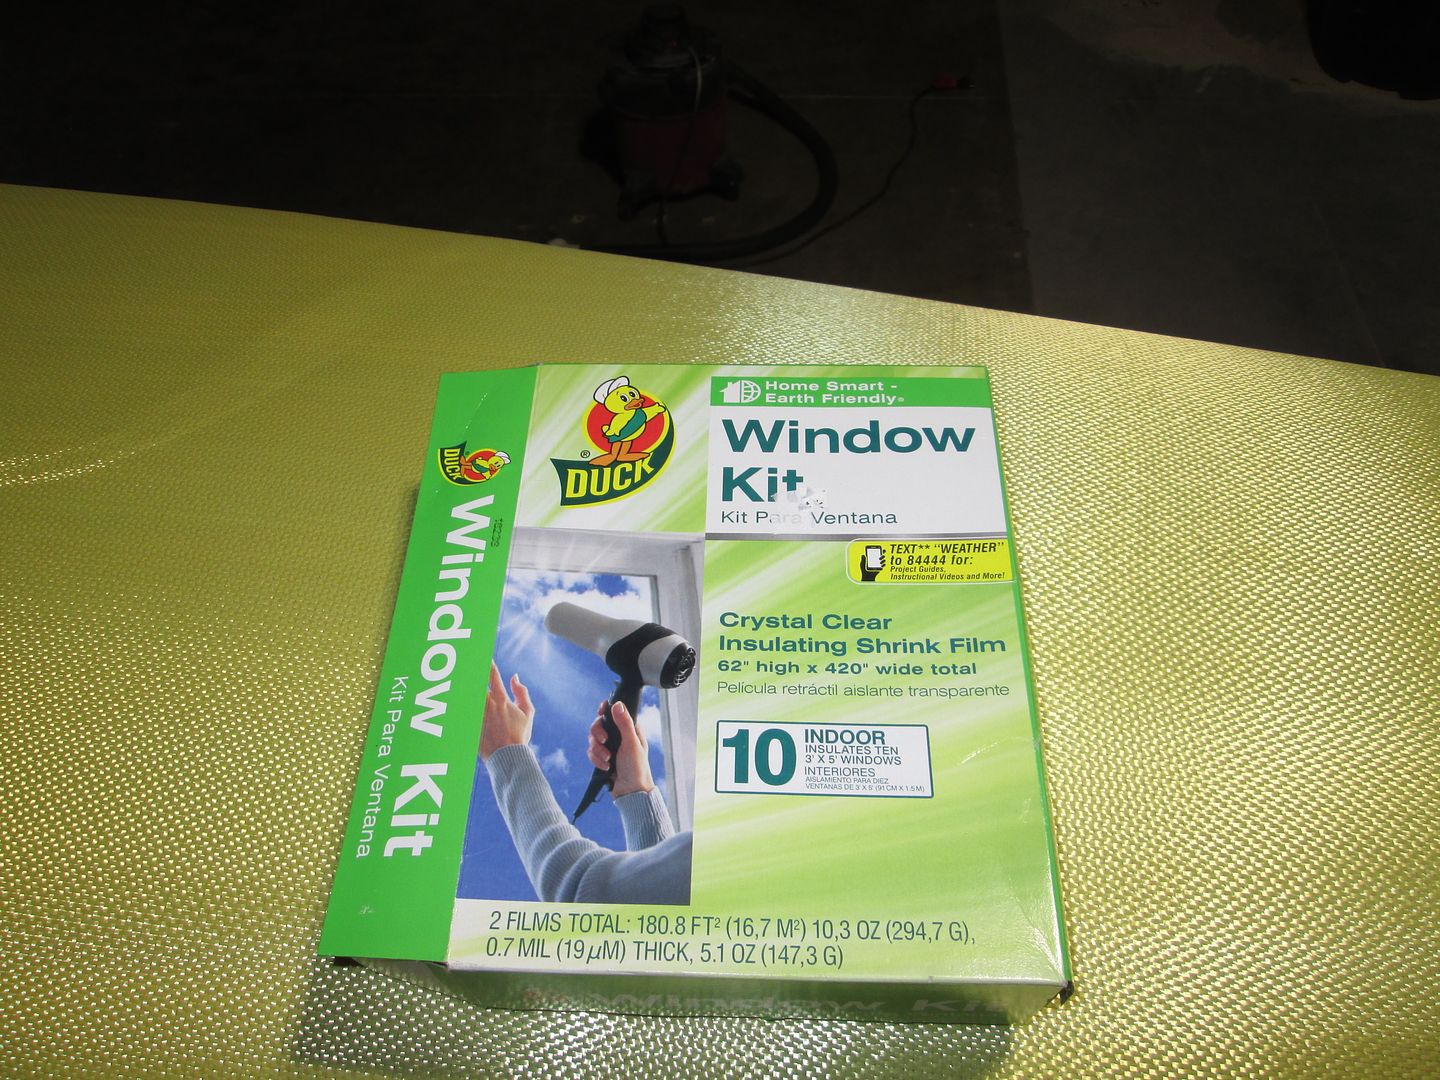
With the Stripper glassed, and ready to become the mold, I set about covering the mold with the Window heat shrink film.
Professional builders use Partal, or like product, as the release.
I resisted the use of Partal, a Poly Vinyl Acetate. It's use is basically to wax the mold to create a release between the mold and copy.
Fearing contamination, and problems down the road, cleaning it off my mold, I chose the Plastic heat shrink film.
For those thinking of using the film ? If your hull has little or no tumblehome? The window film is great.
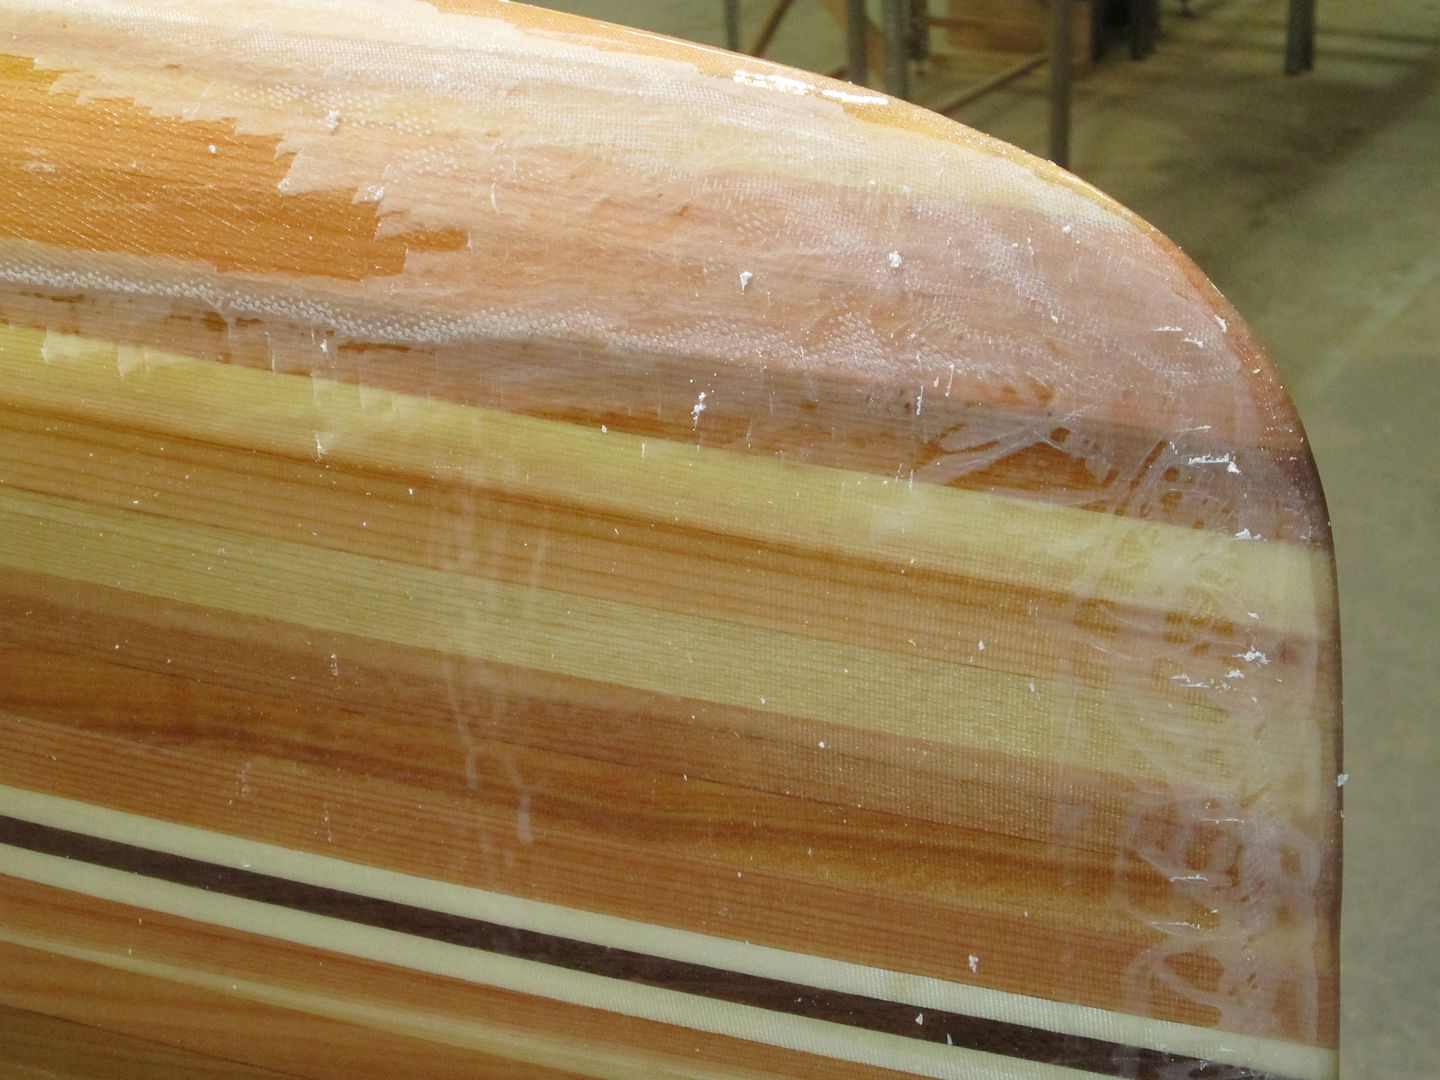
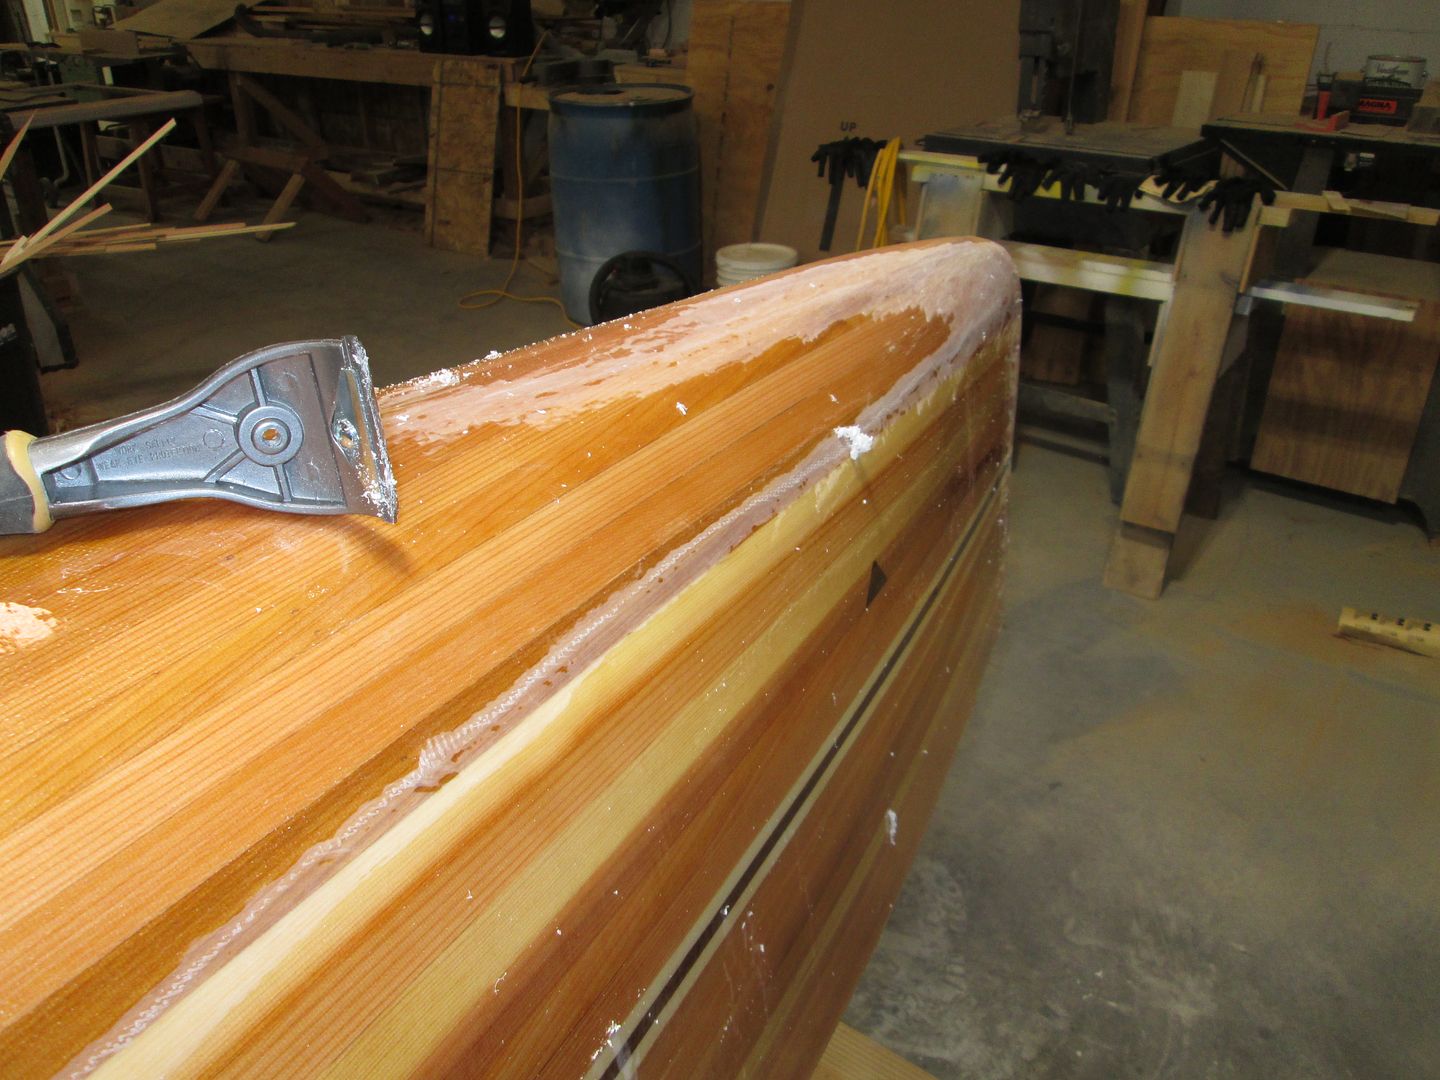
Tumblehome creates it's own set of challenges. The Film does not stick to epoxy, but doesn't stick to the mold either.
So you have to be creative.
After this experience, and definitely on my next copy. I will sand and varnish the stripper, and go with Partal.
As I post more pics, I hope you can see why.
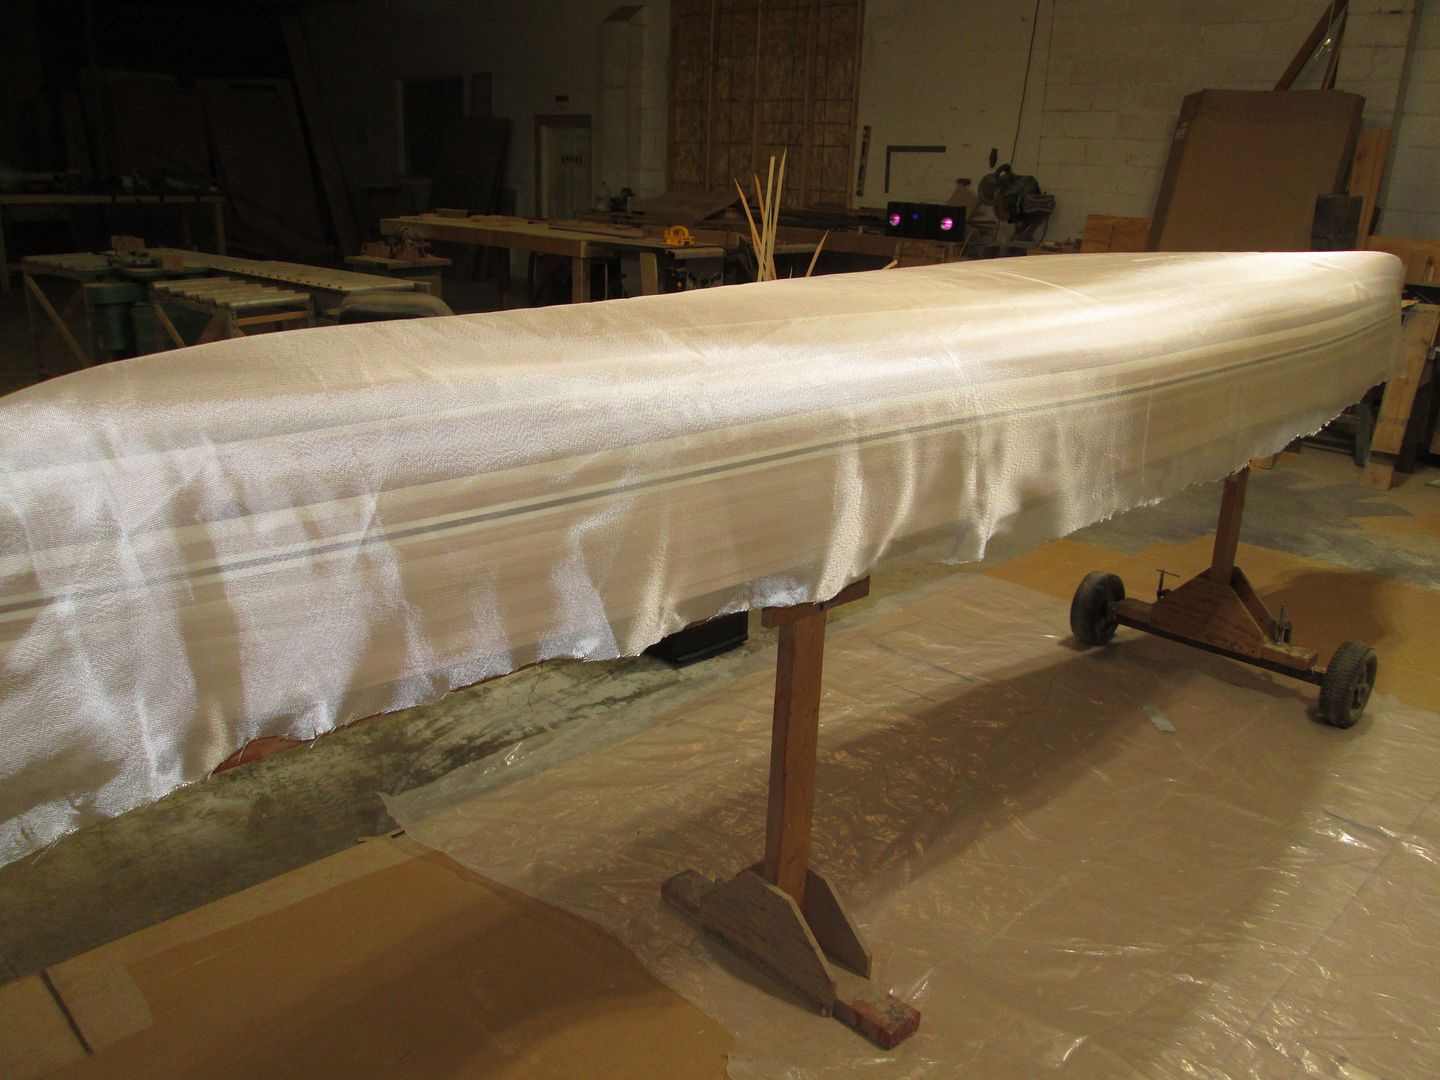
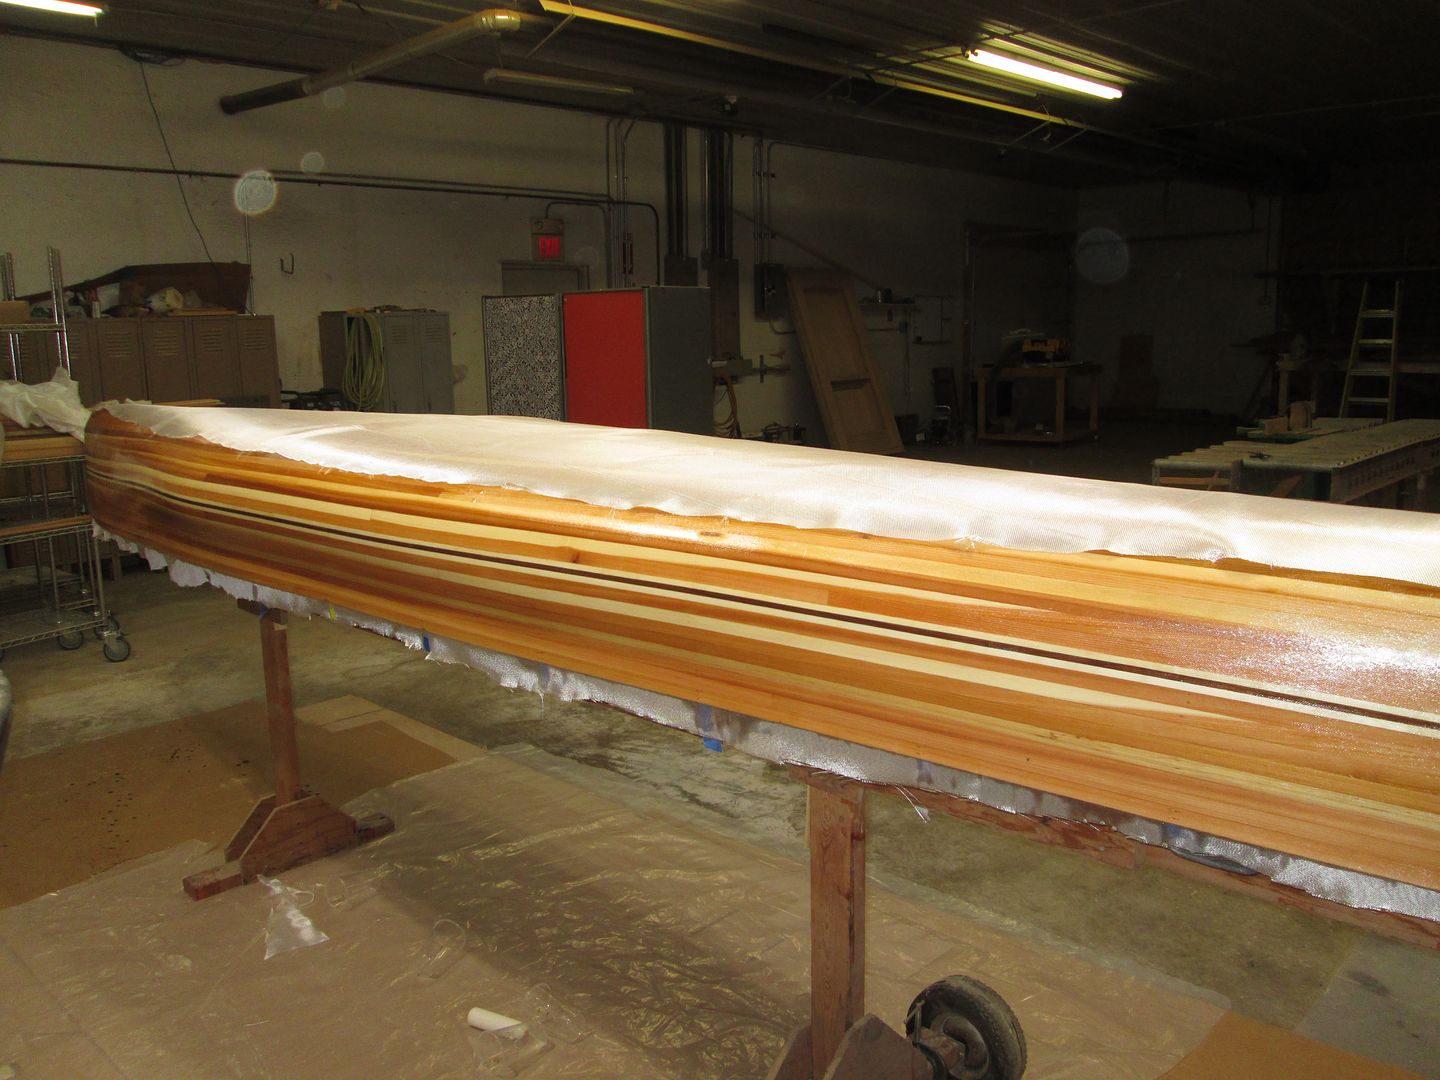
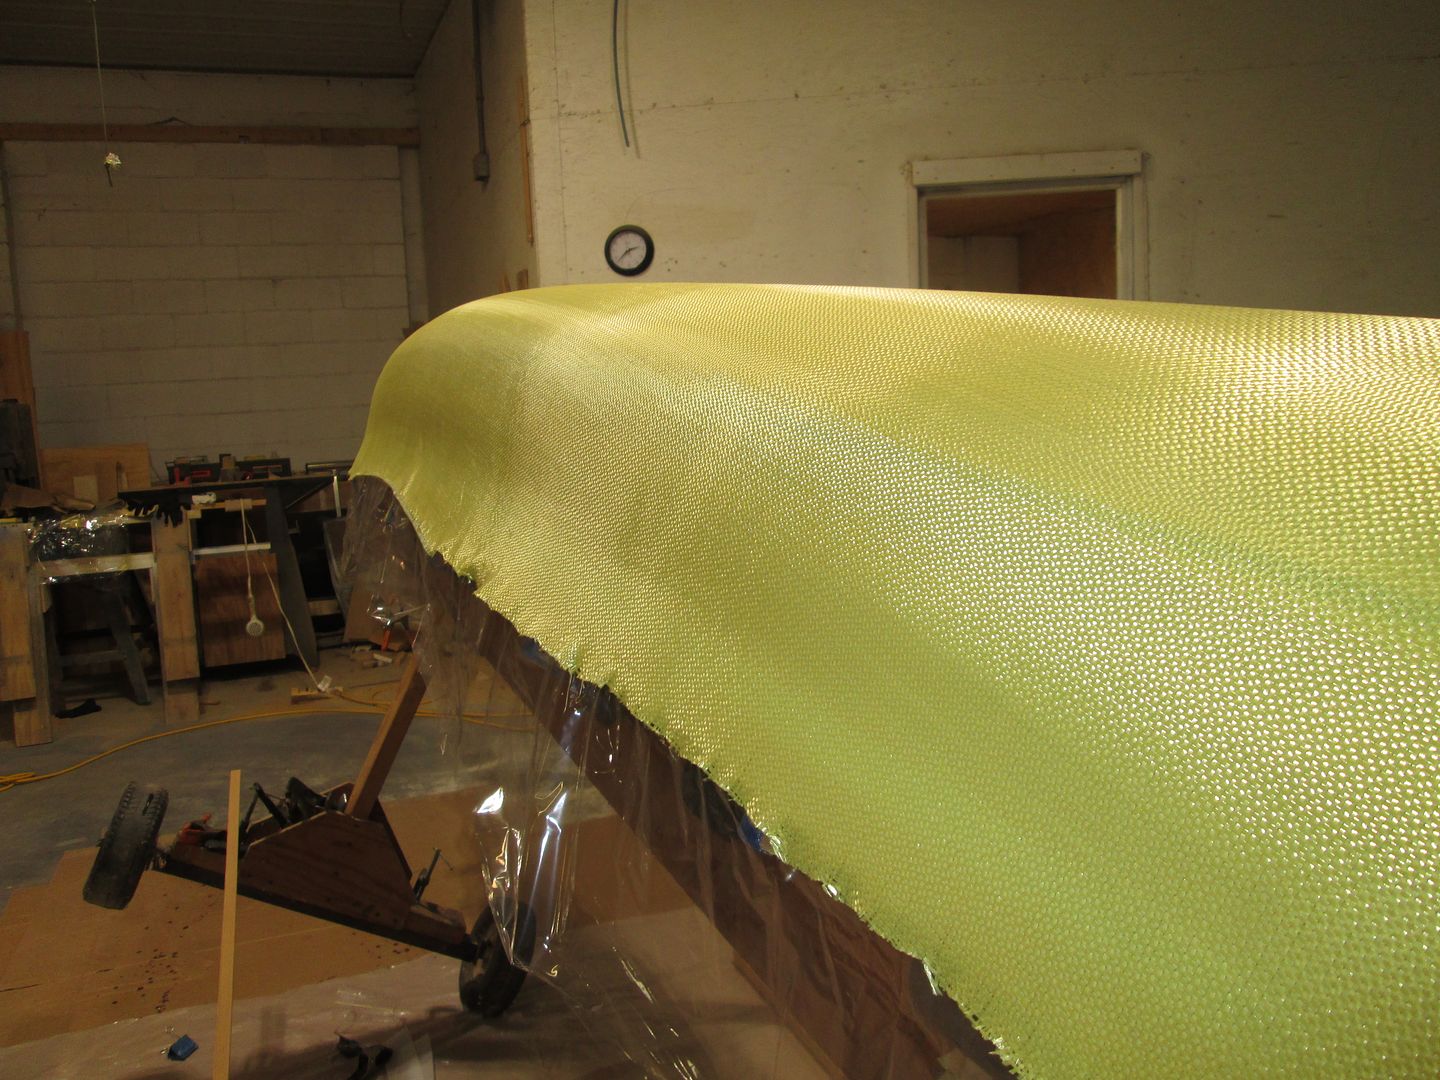
After applying the film, I started by laying out the Kevlar, and trimming it to match the hull, as close as possible. Anyone that has cut Kevlar, in this case 6 oz, knows it is a pain ! I purchased a pair of Blue handled scissors, as per Alan Gage's advise, From Express Composites
https://www.bing.com/ck/a?!&&p=5b84...cGlkPVlOODczeDkyODkyNjg4Njg4Njc5OTkzNjQ&ntb=1
They worked well.
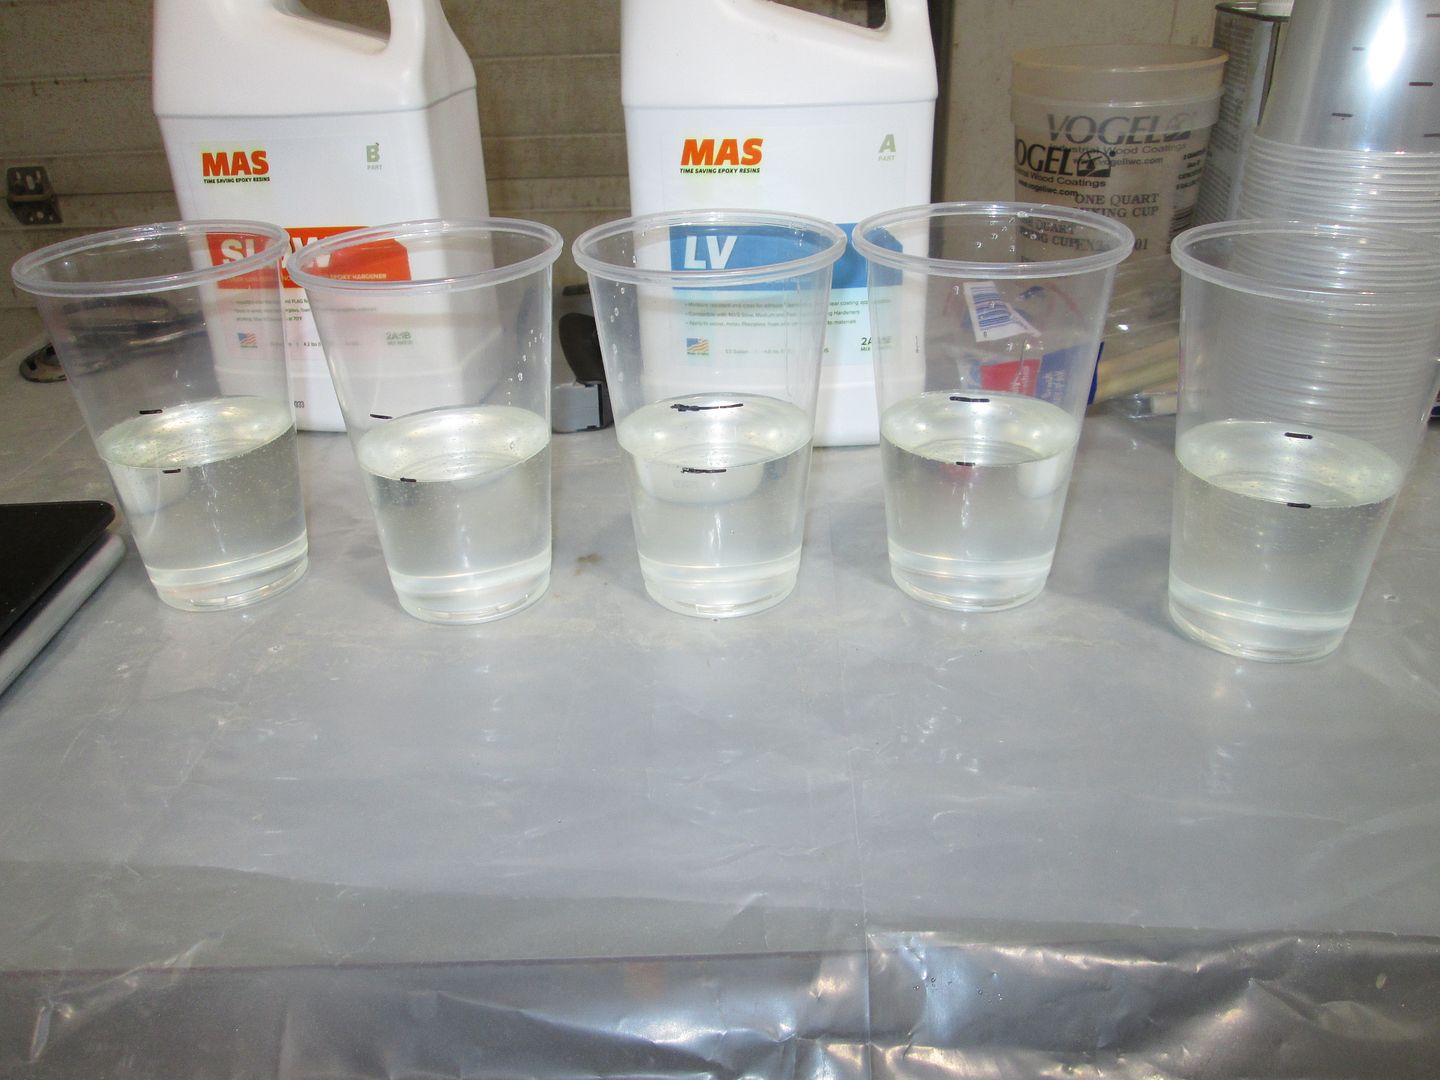
On the Stripper, I used MAS Epoxy. For the Kevlar copy, I'll be using RAKA 127 resin, and 350 Non blush hardener. Both epoxies handled the same in my view. The MAS cures a little harder and sands a little better.
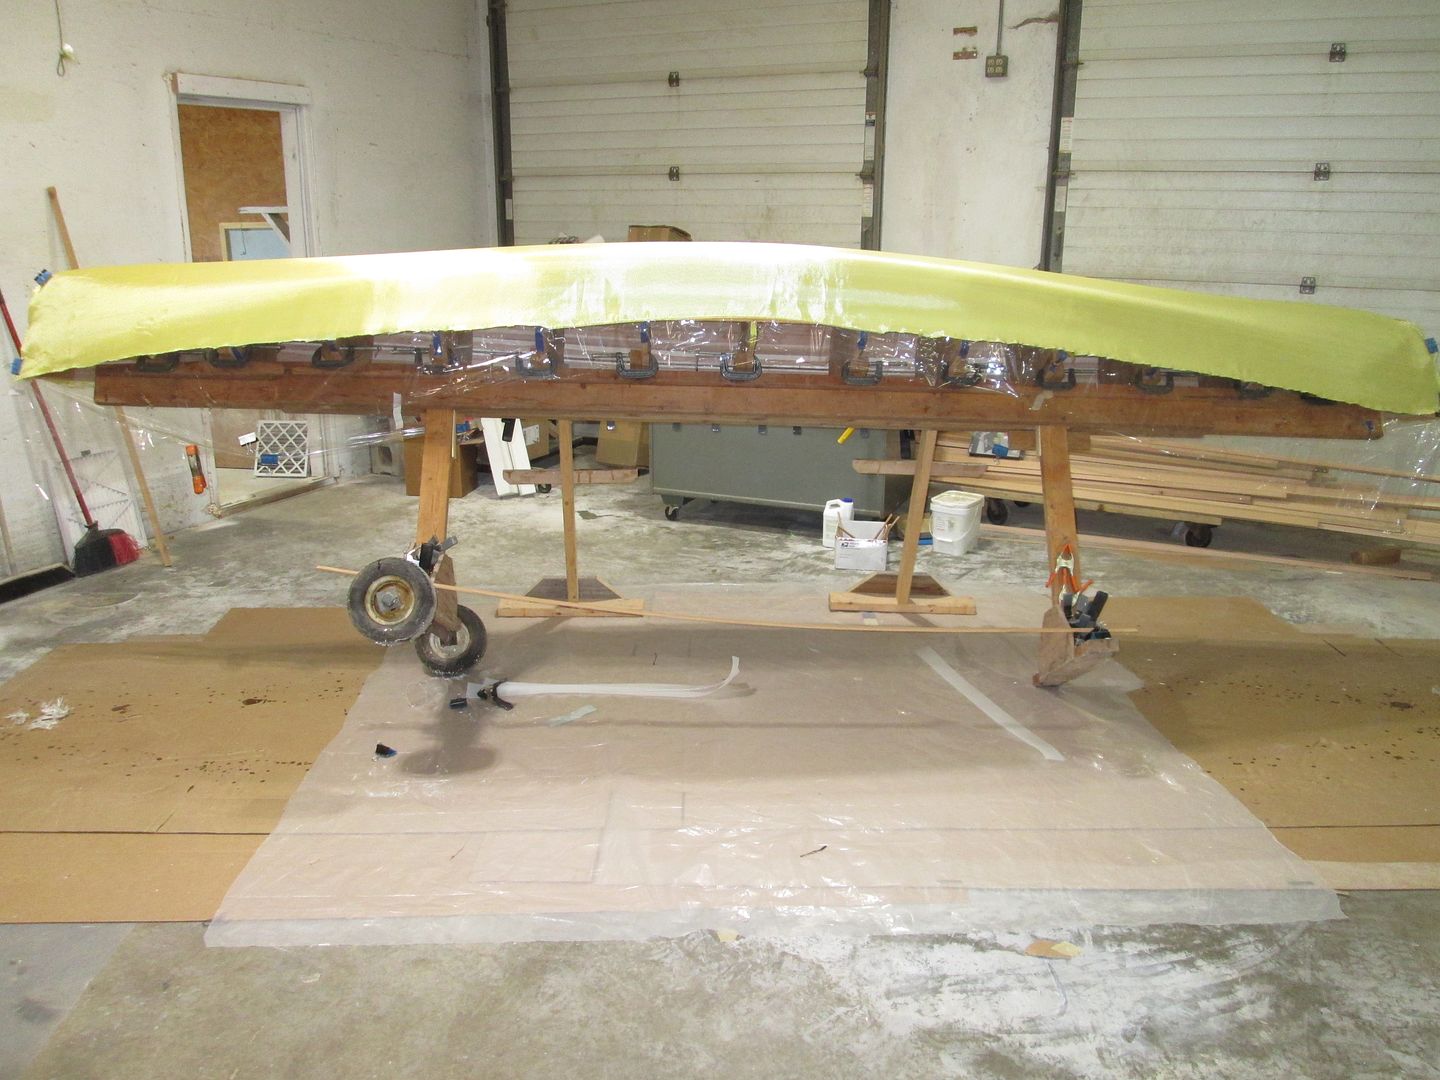
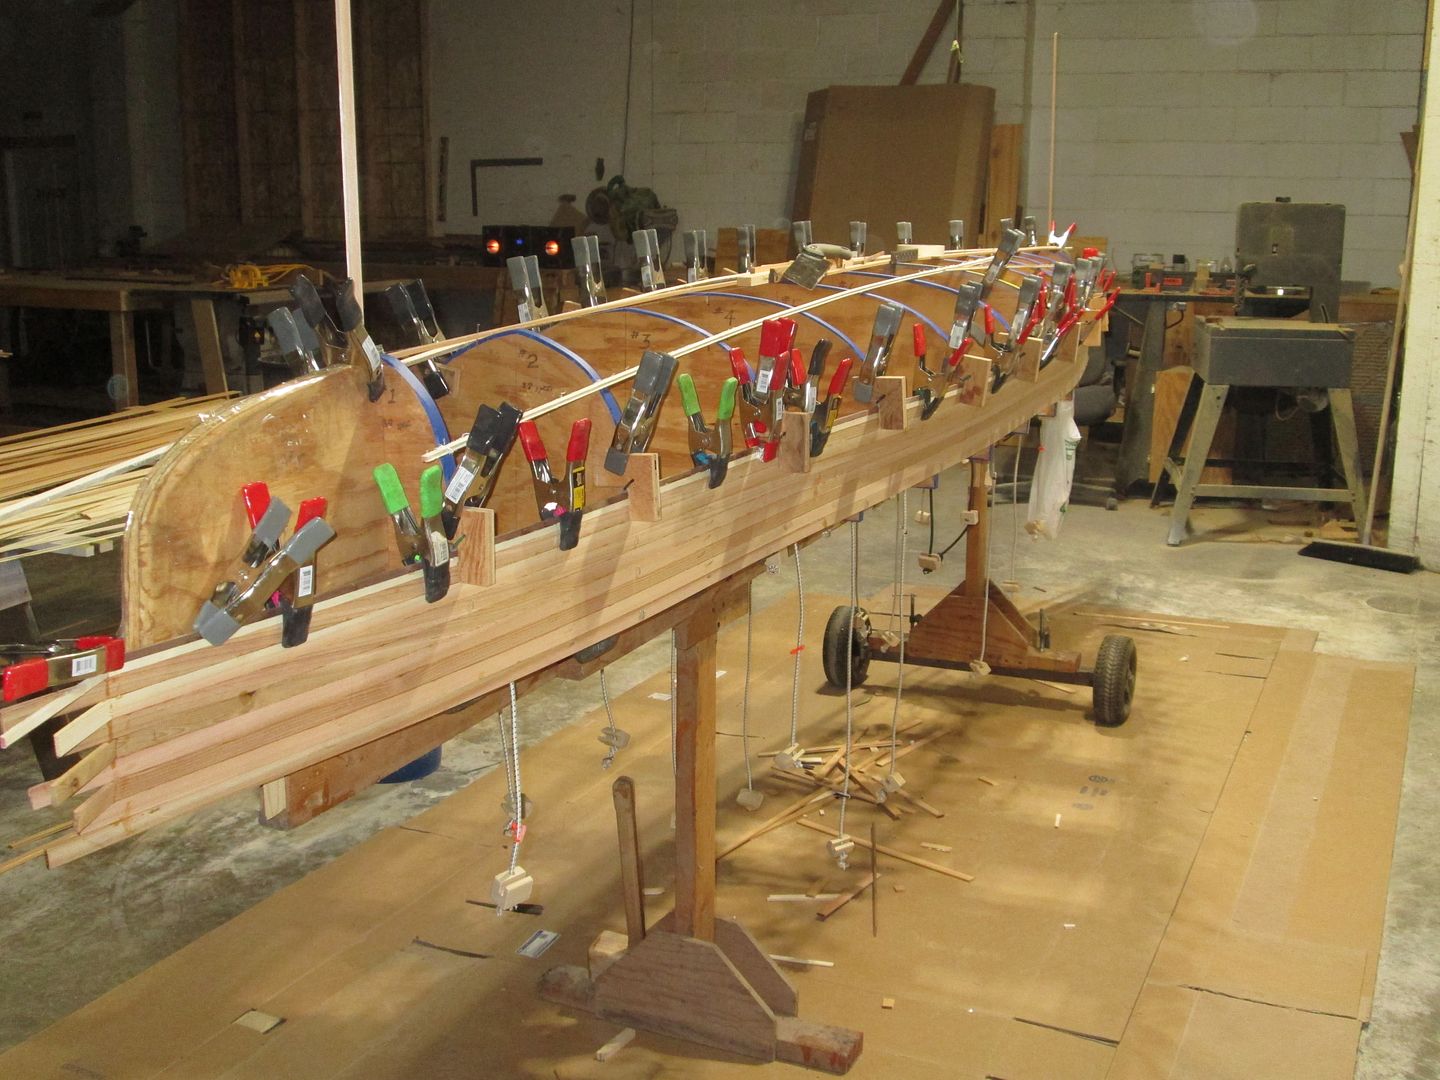
Here is where I I had to come up with an idea on how to keep the kevlar tight to the hull, while I added epoxy.
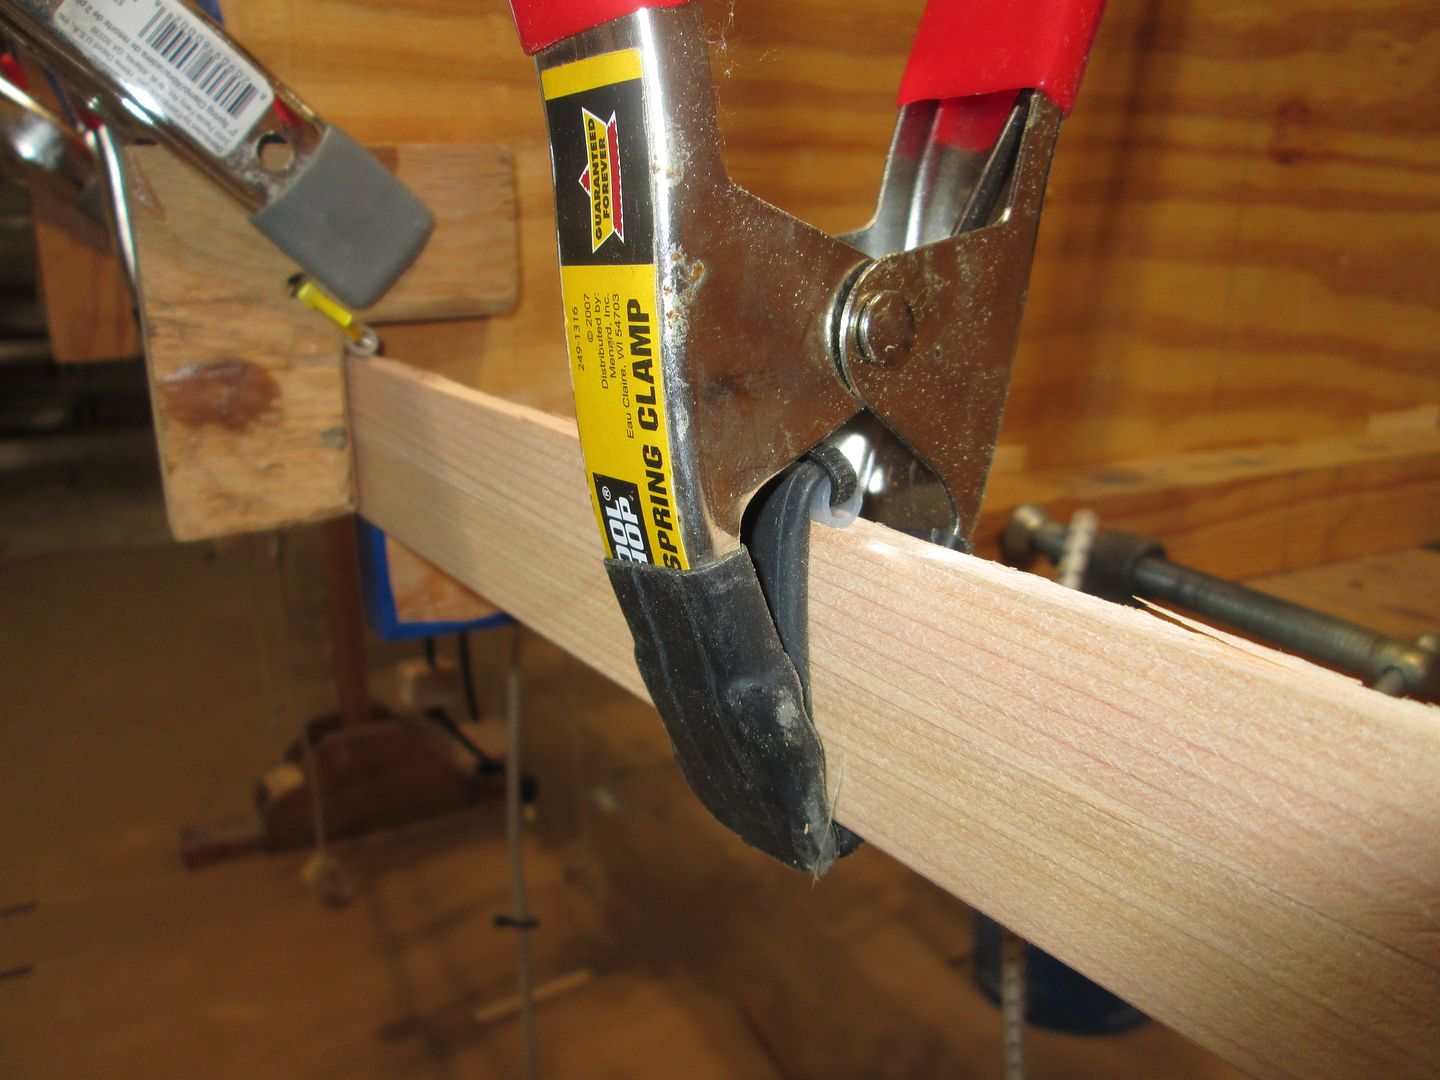
Gravity with help from some spring clamps.
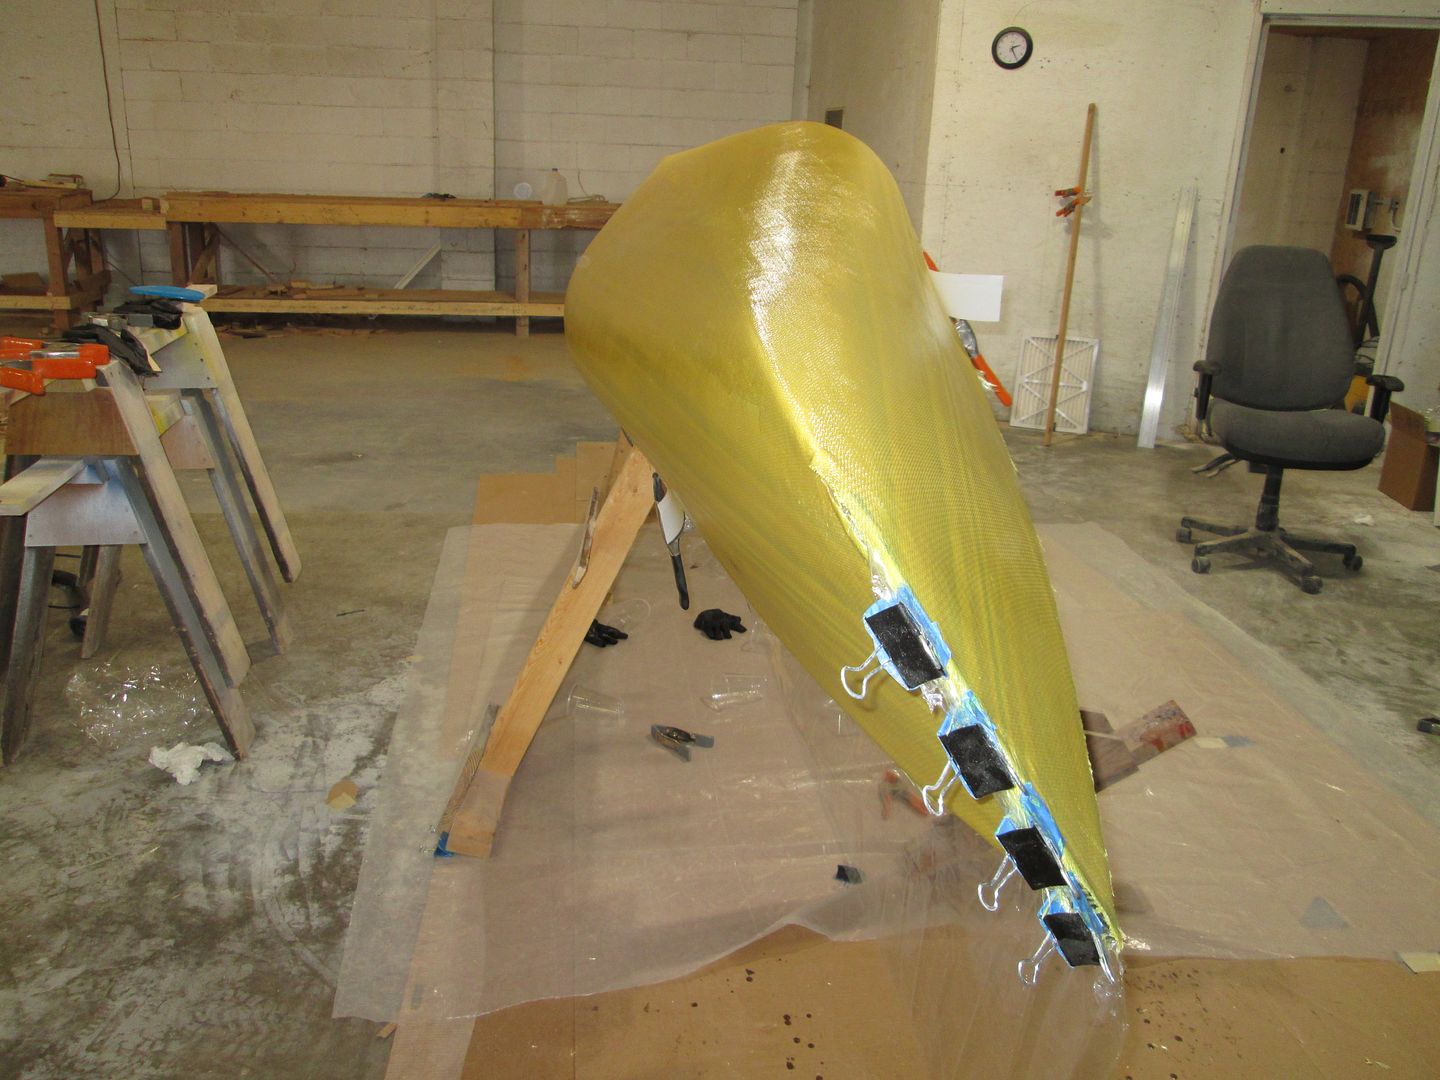
With the cloth trimmed, and the mold tilted, gravity kept the cloth against the hull.
Another note here ! Partal would eliminate the need for tilting, as the epoxy saturated cloth would stick to the hull !
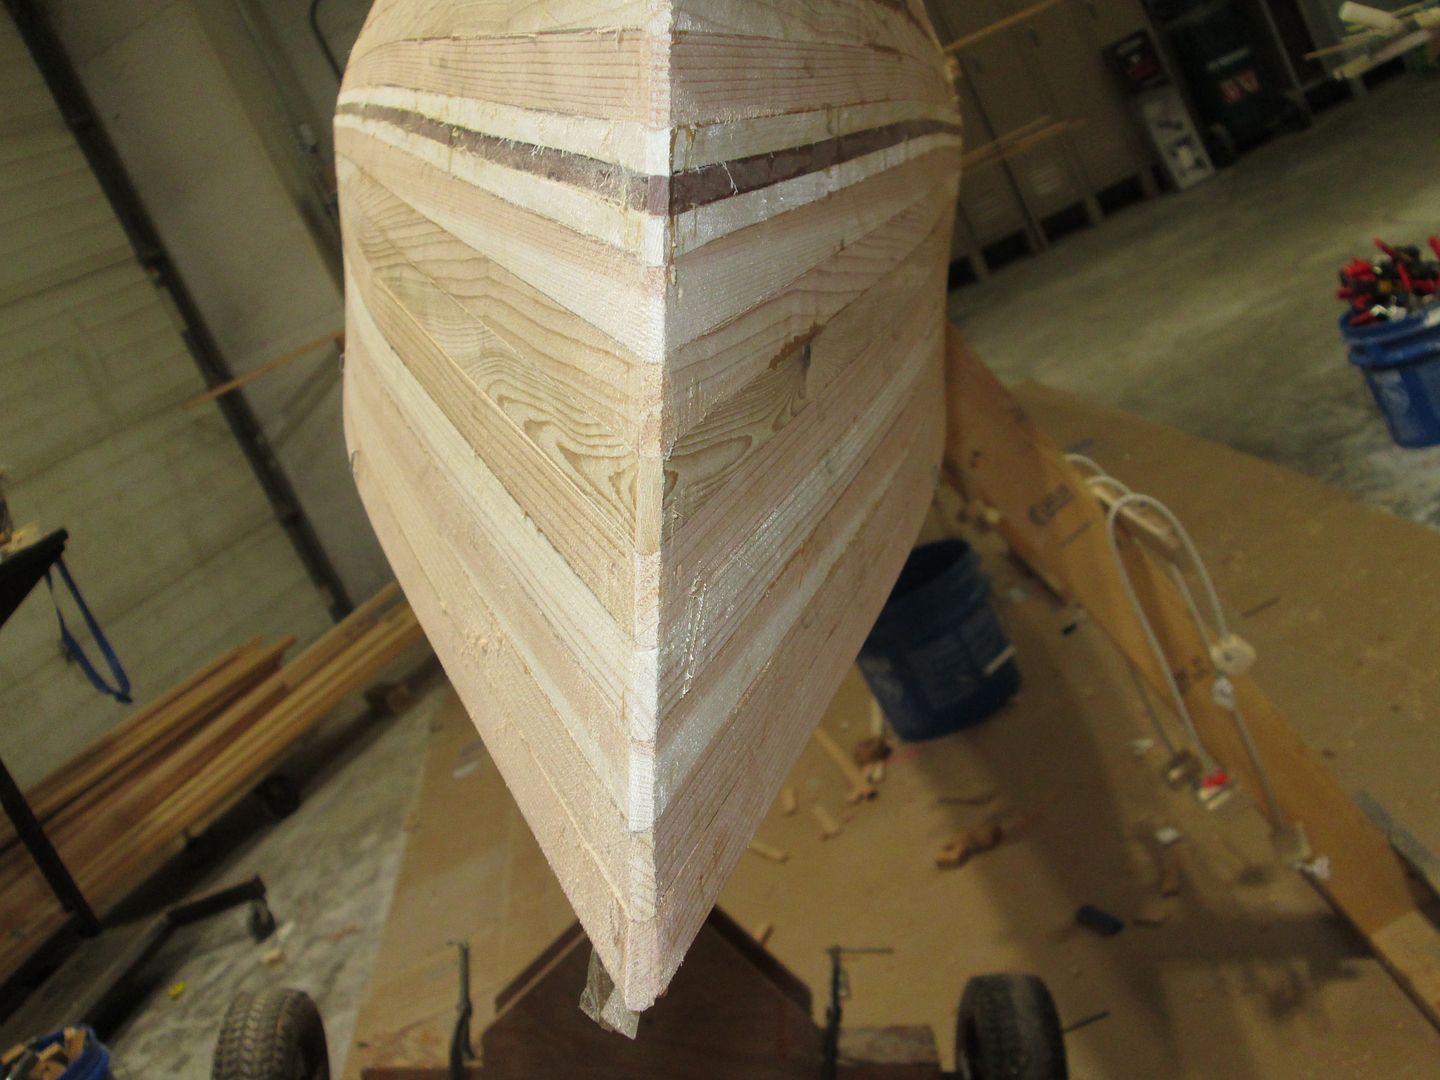
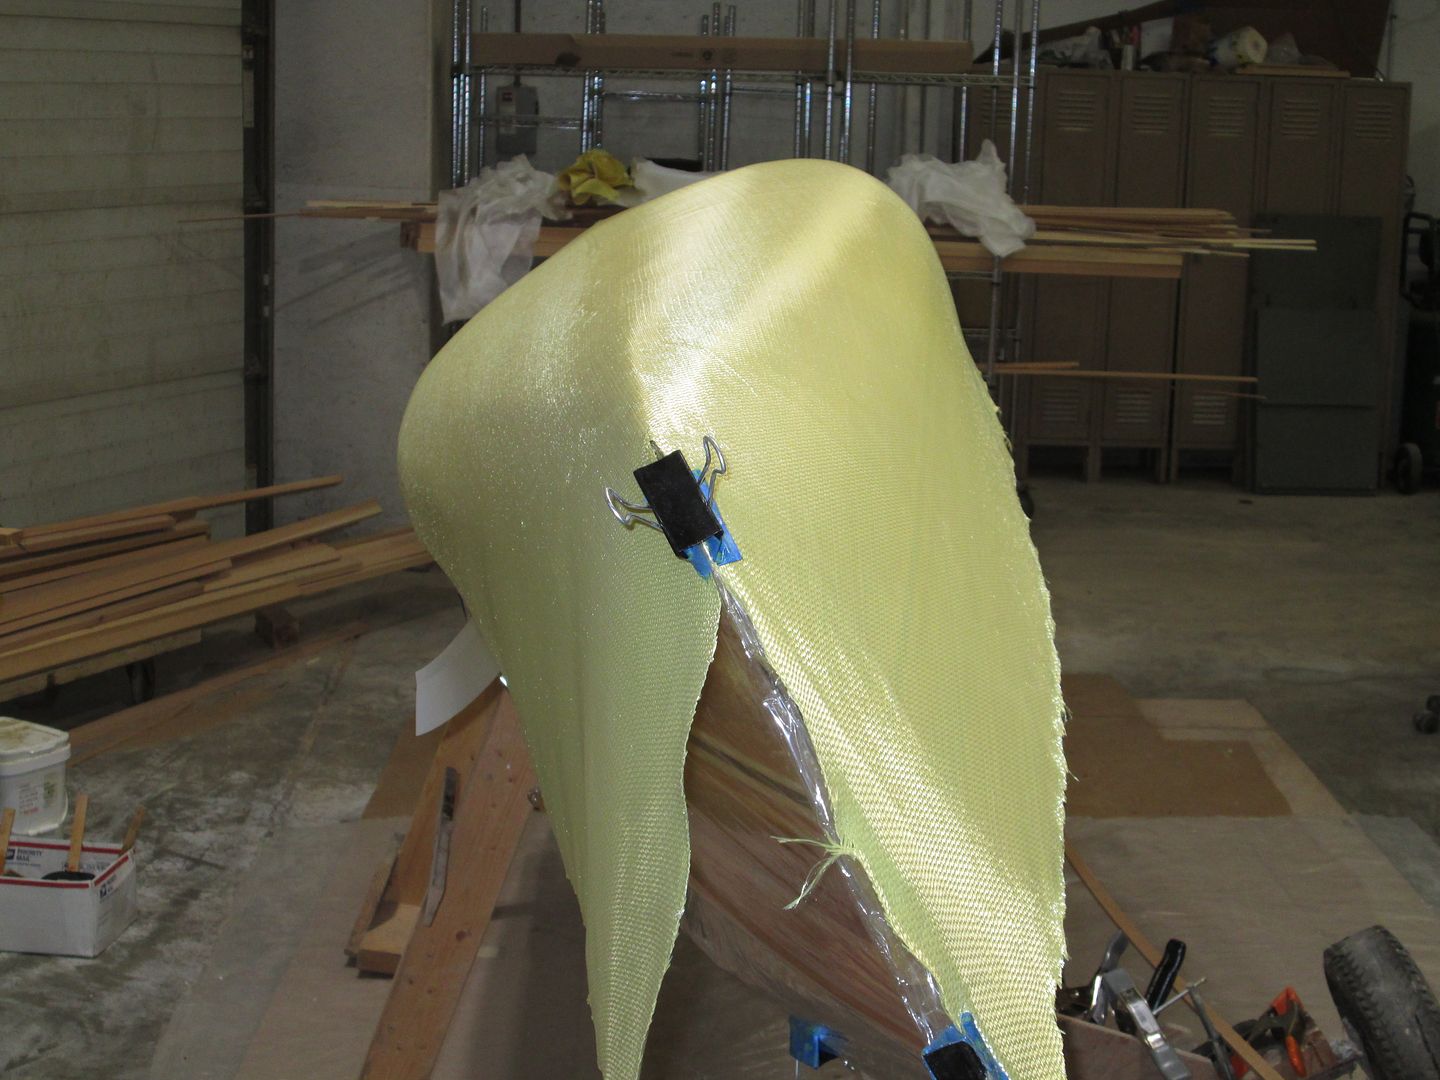
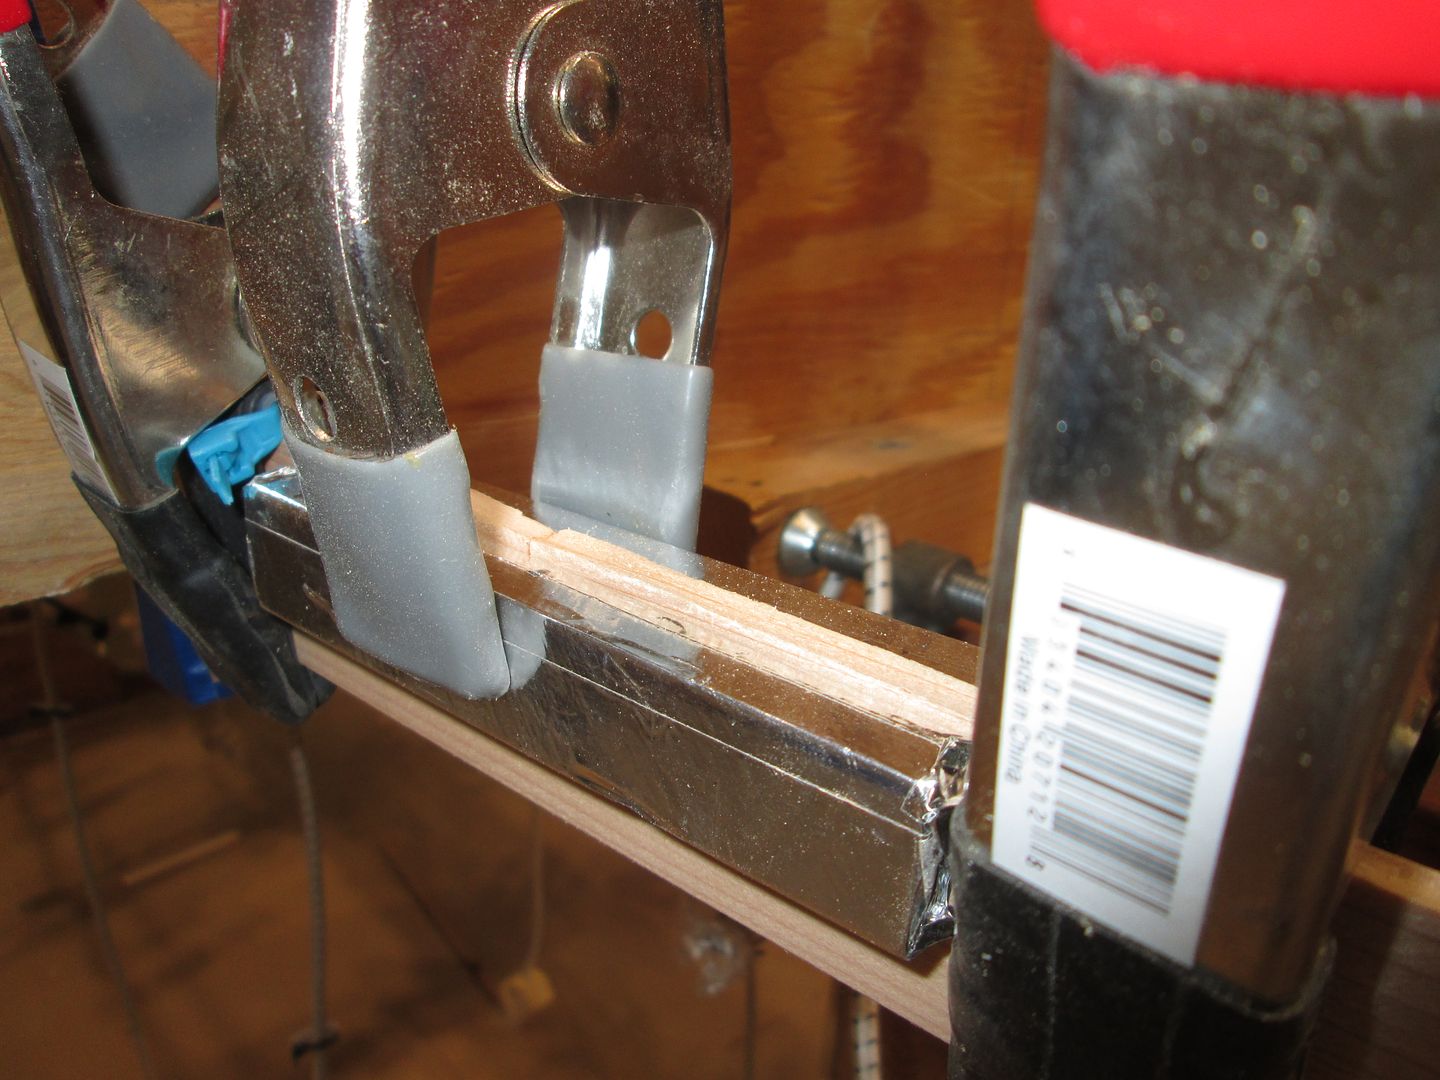
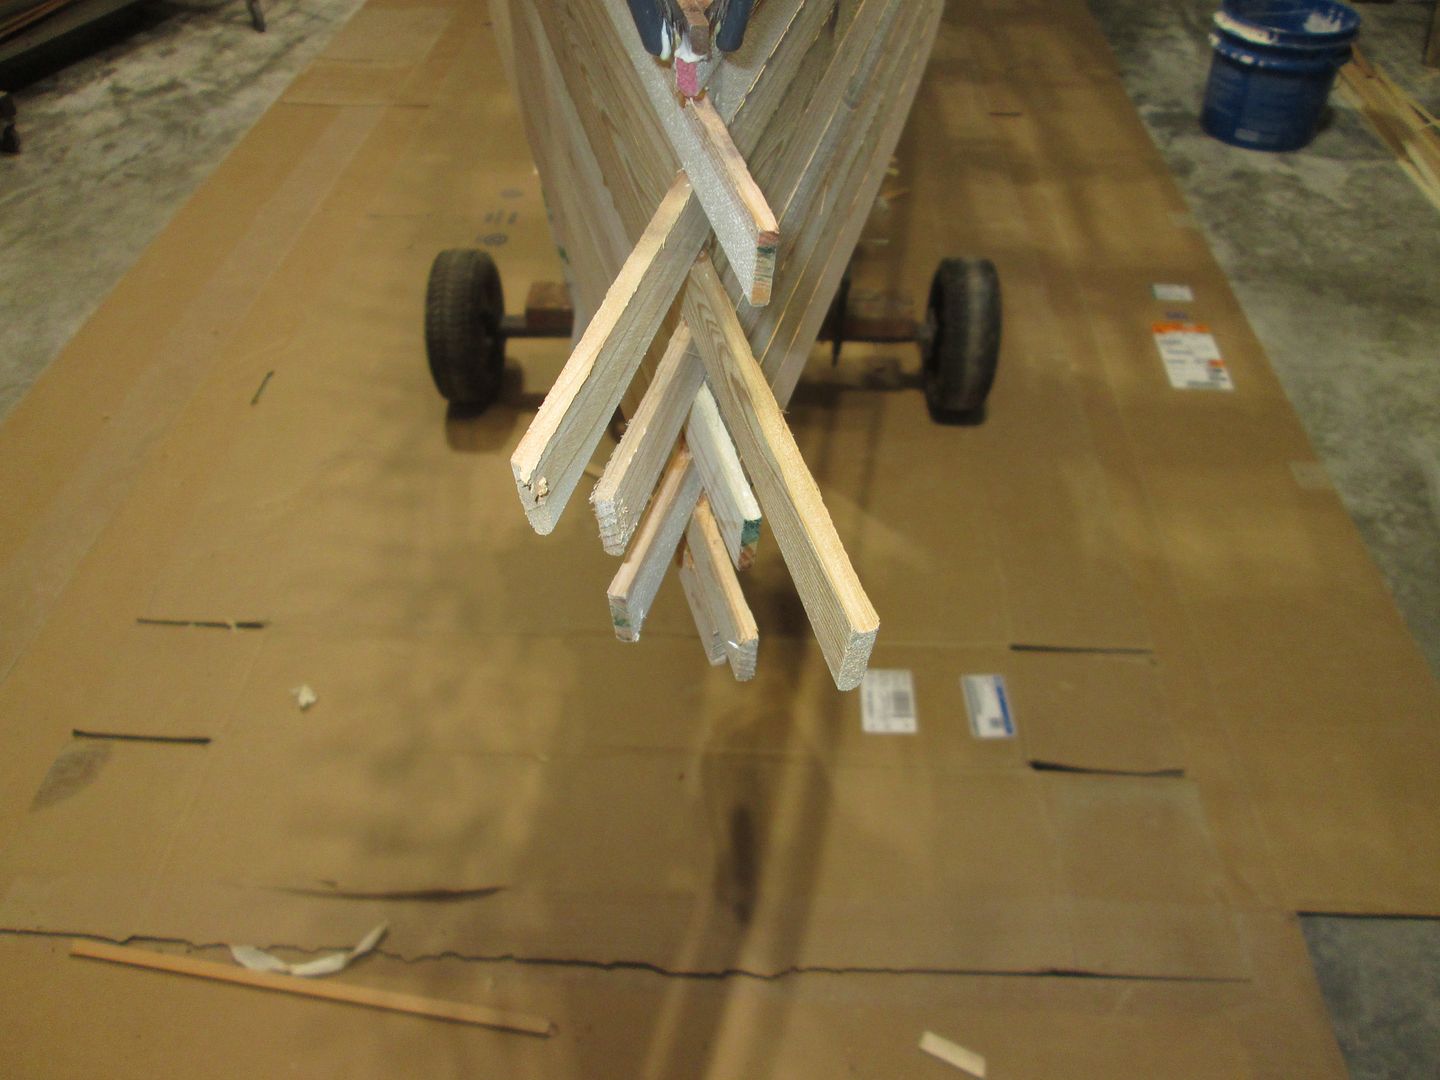
I used a couple of Binder clamps, covered in masking tape, to hold the cloth together at the stems. It's important to extend the Film on the hull, past the stems a little.
With the Kevlar trimmed, it was time to start adding resin.
I will only wet out one half of the hull. For reference, the East half.
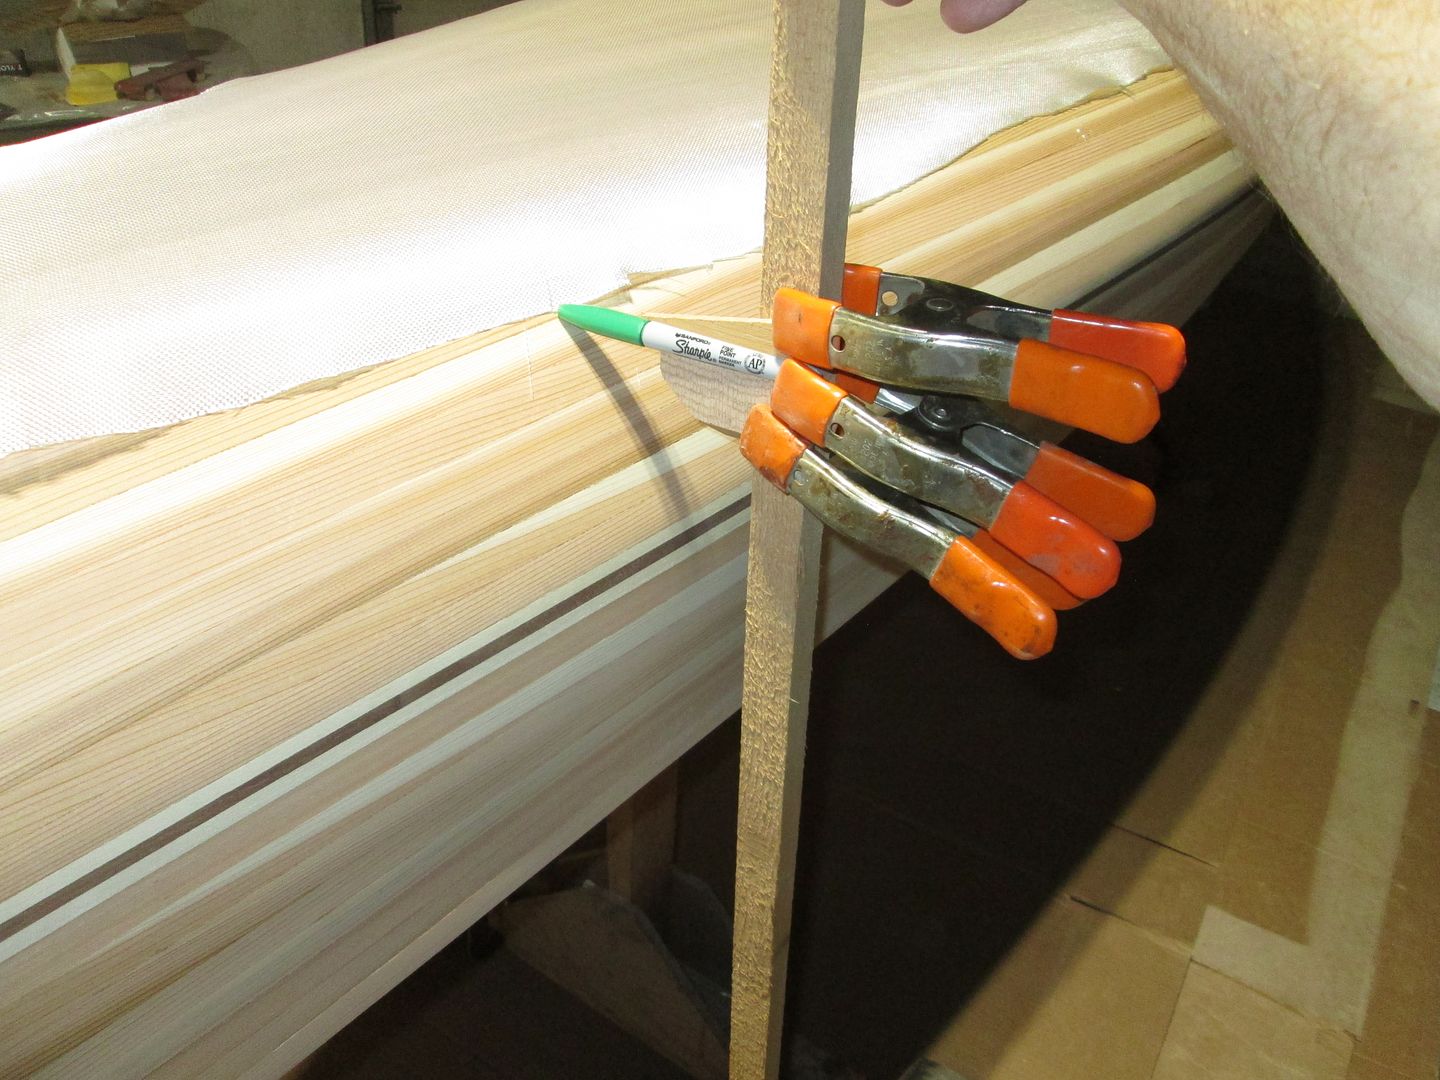
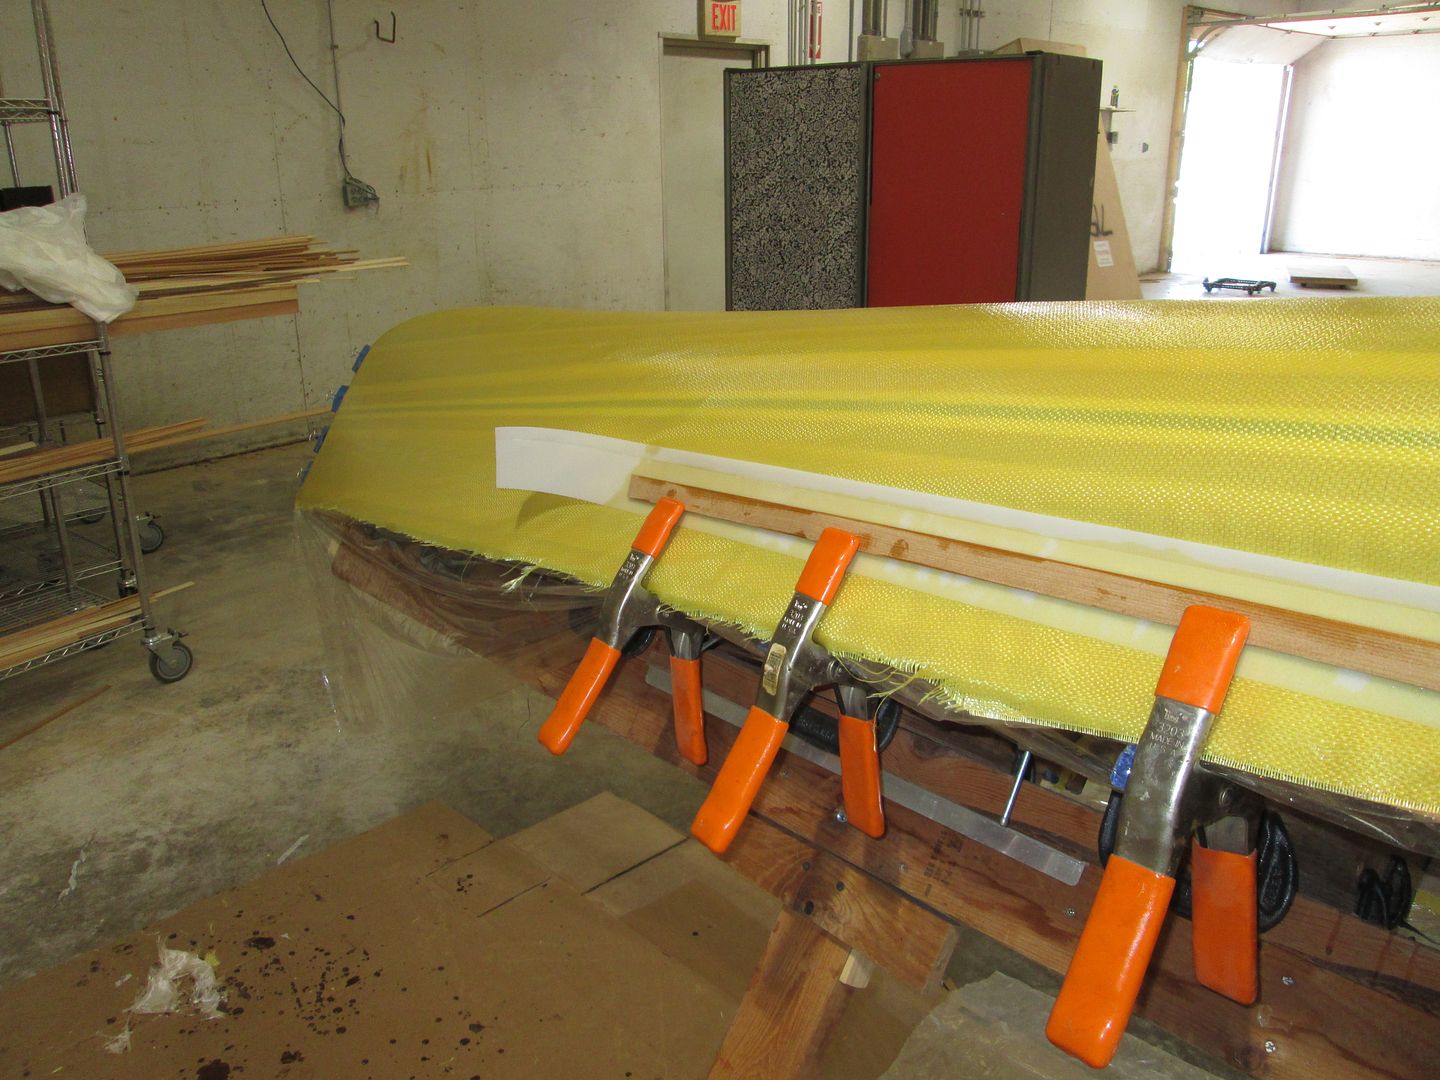
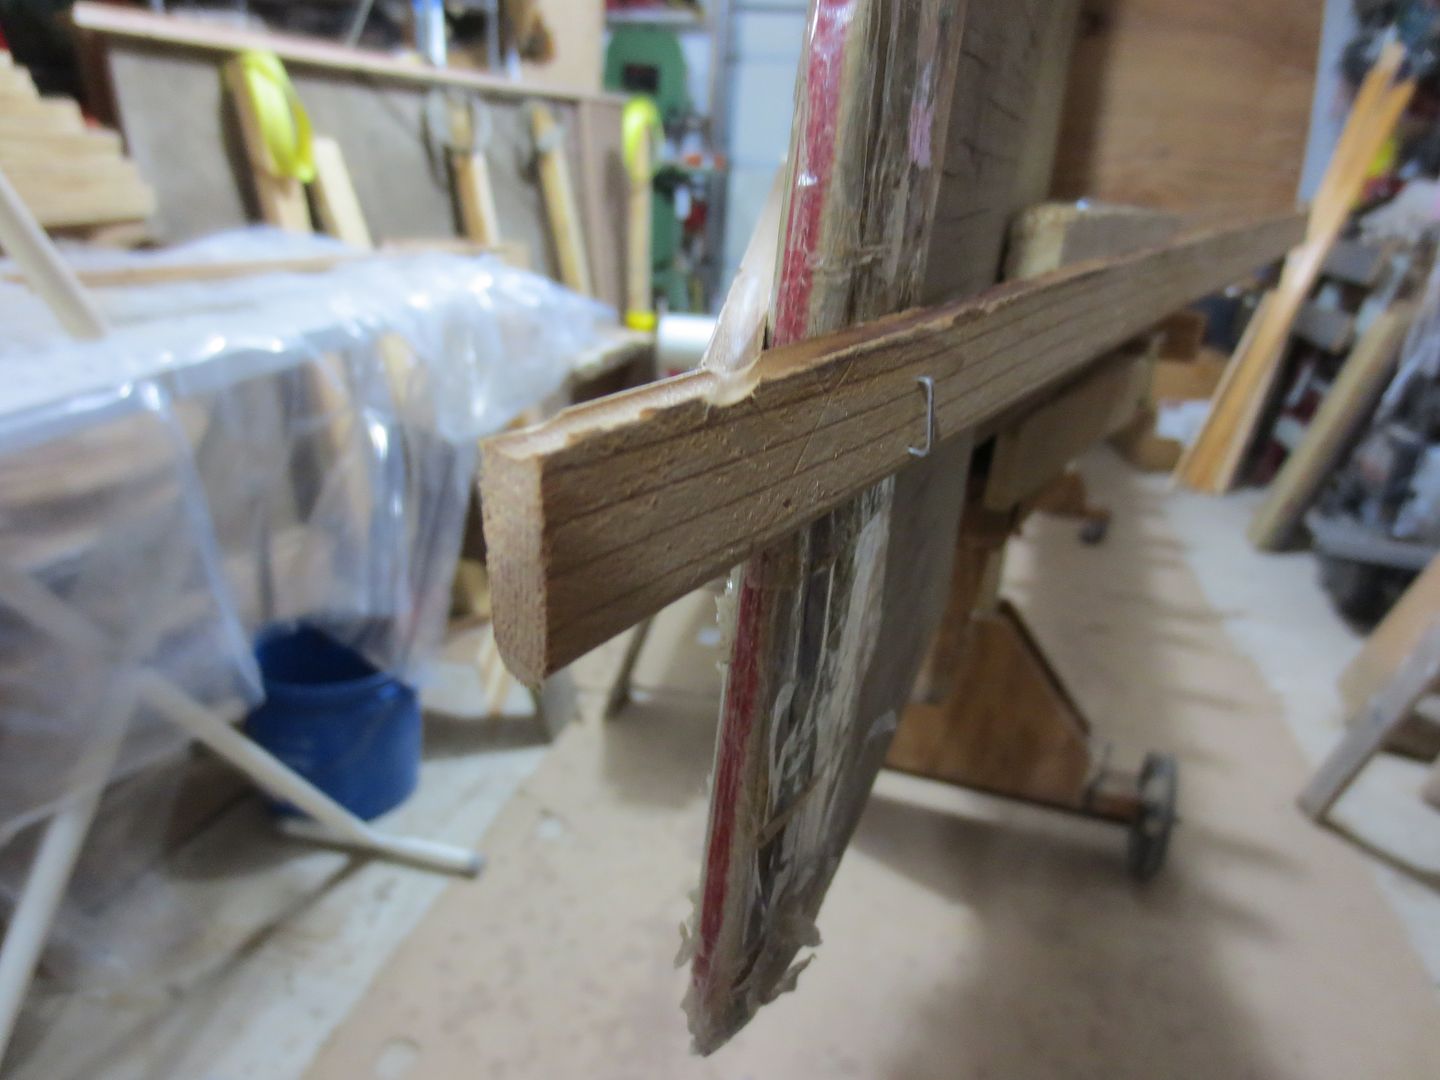
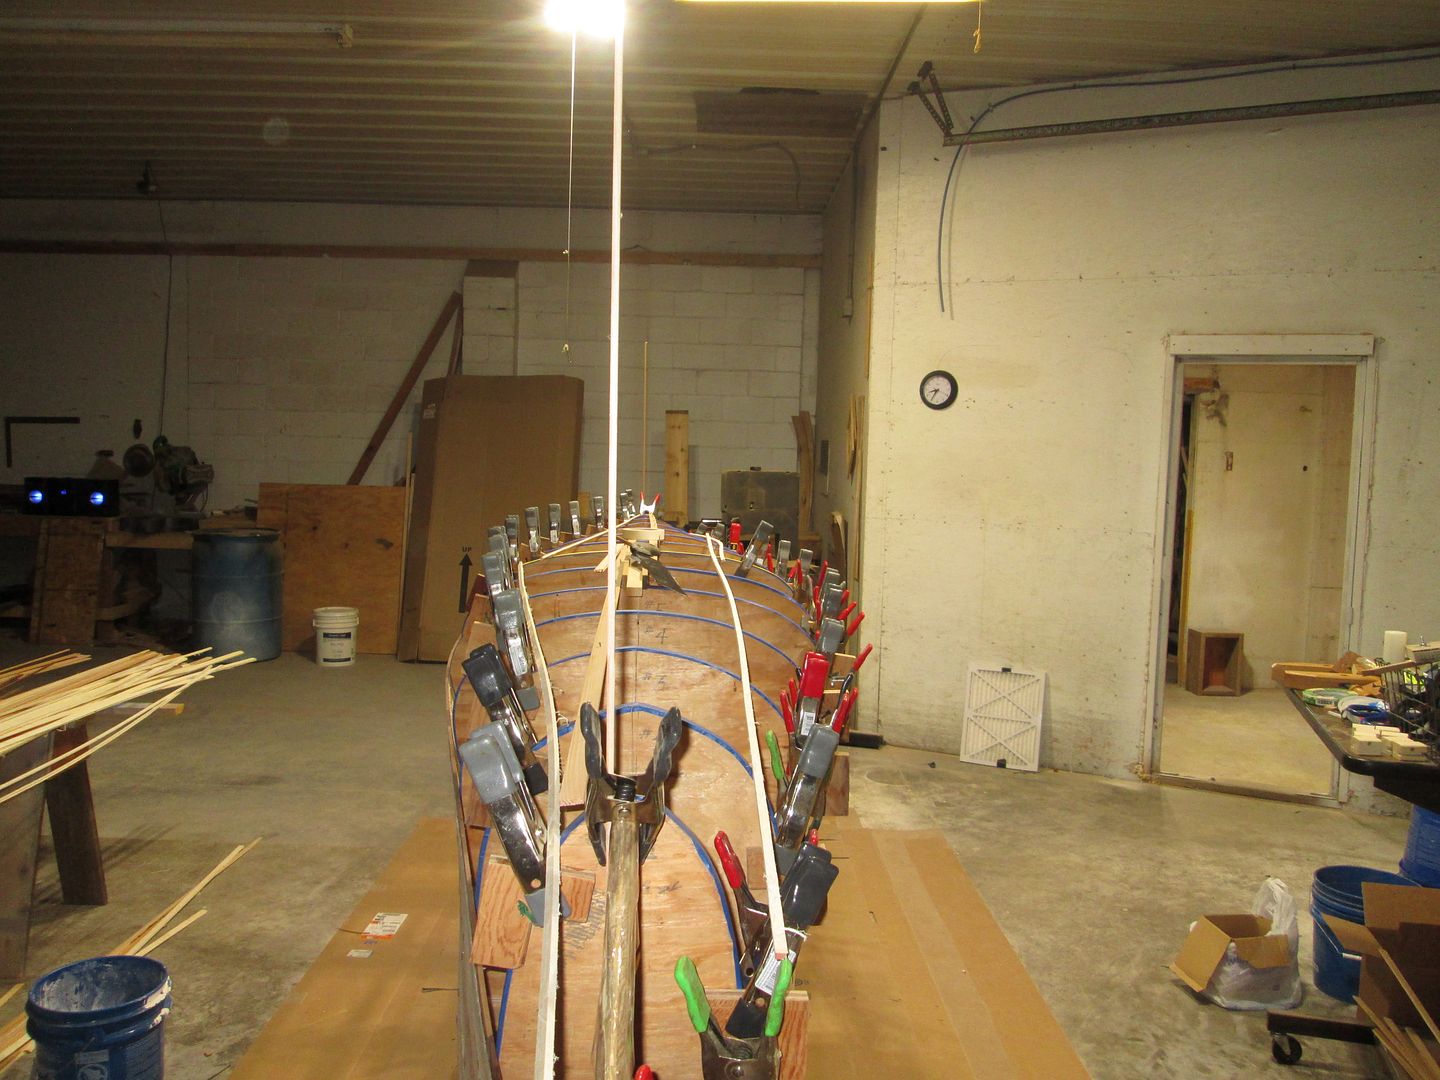
After the resin has set, on the East side, about six hours, I clamp plastic edging, and a strip of wood to hold the wetted cloth, tight to the hull, as I tilt the mold to the other side, to wet it out.
I wish I had taken more photos !
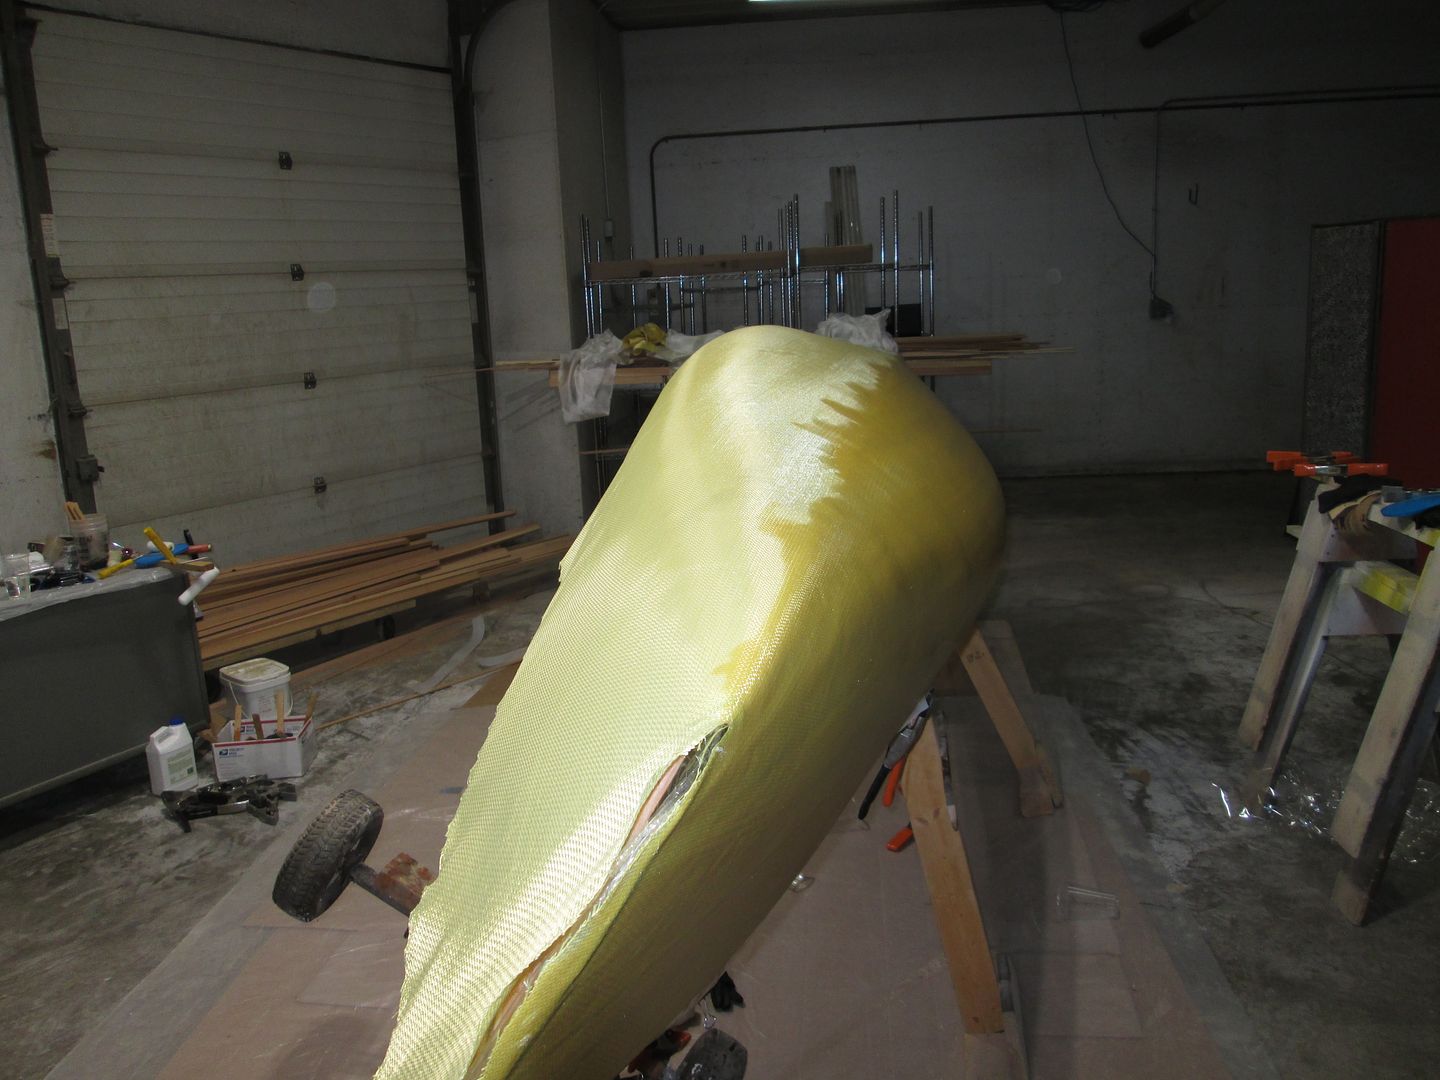
Here I'm ready to wet out the West side.
Now some may worry about the bond between the two sides ? But I found no problems ! Remember I will be adding more layers to the outside, plus the insert and more layers.
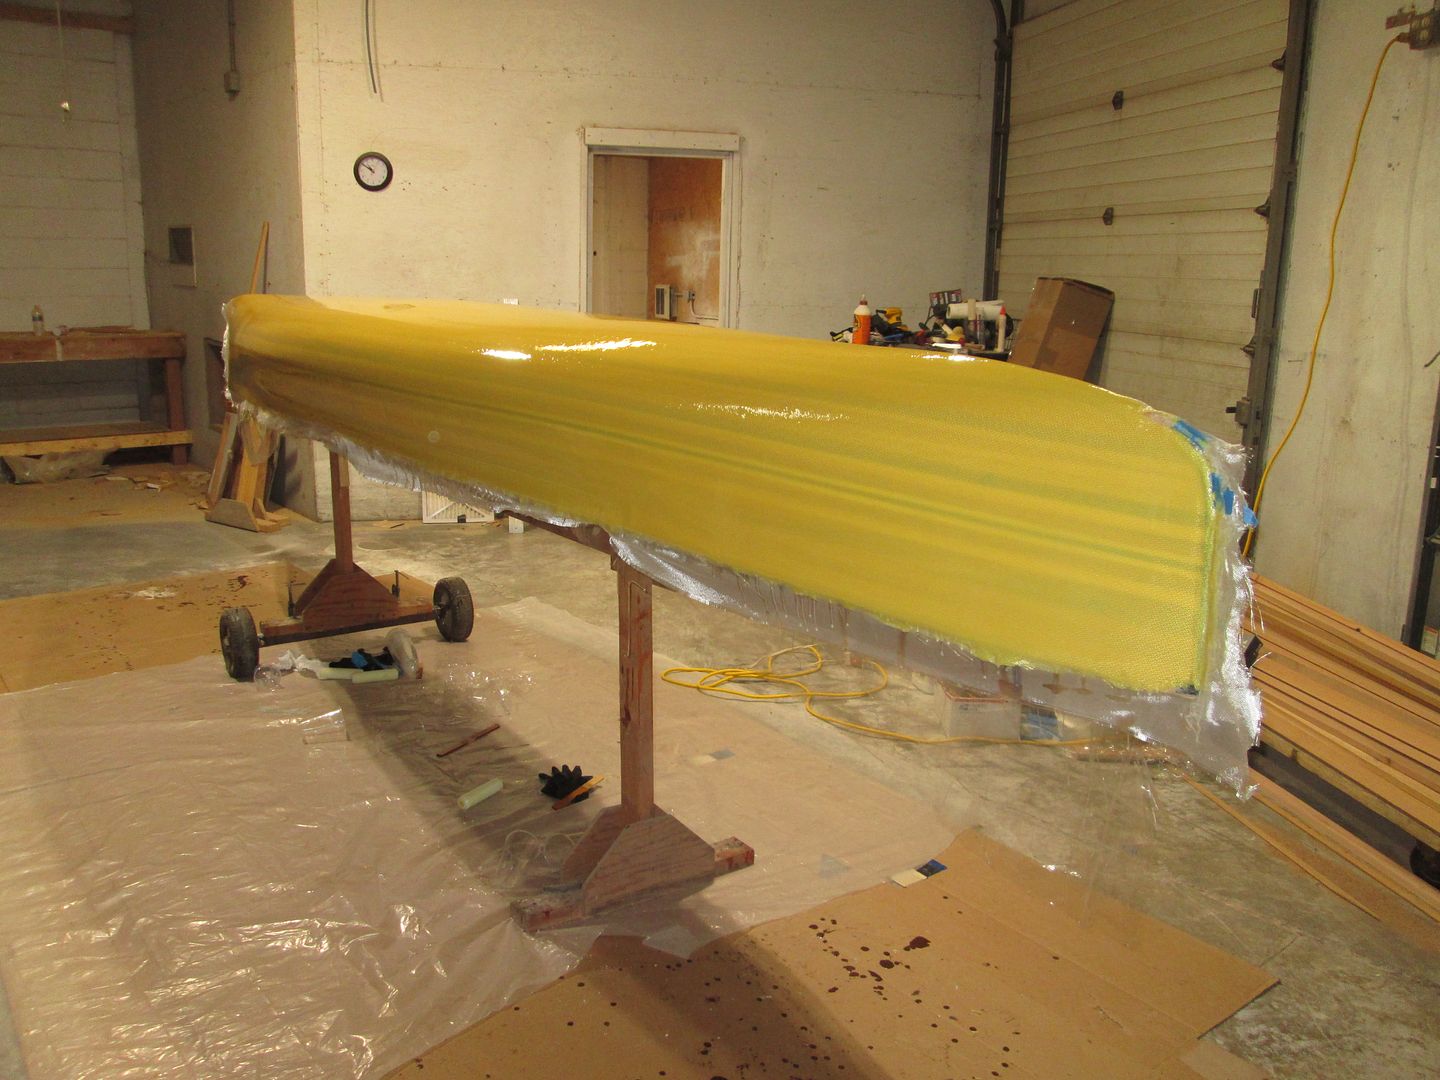
Here the West sided is wetted, and left tilted, to cure over night.
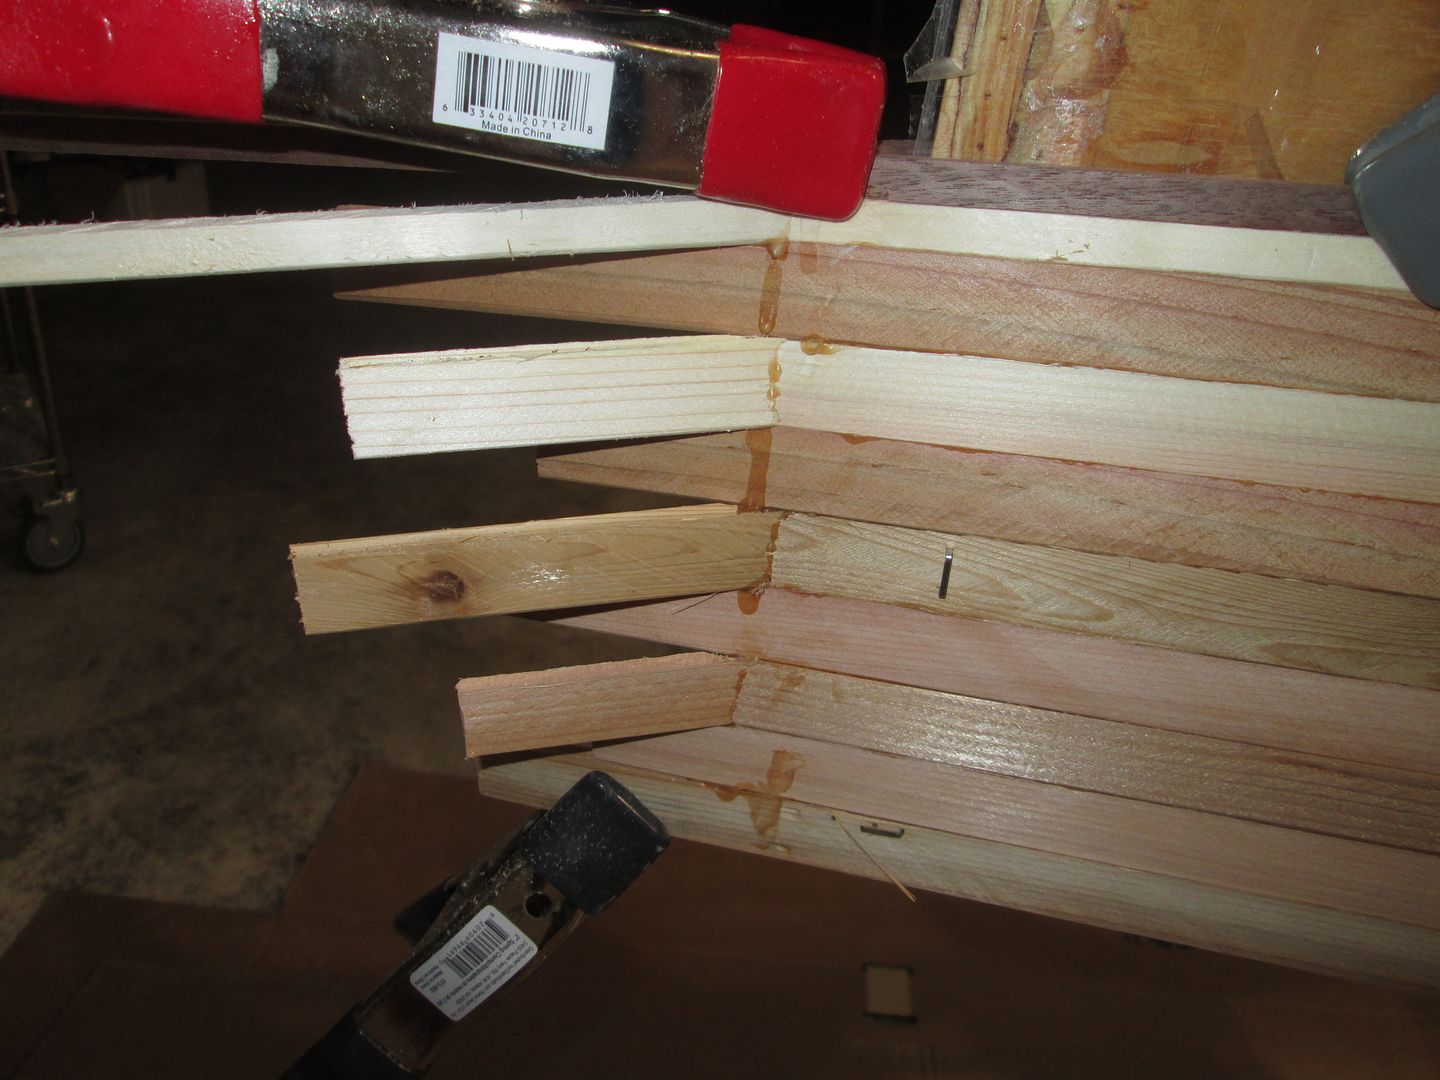
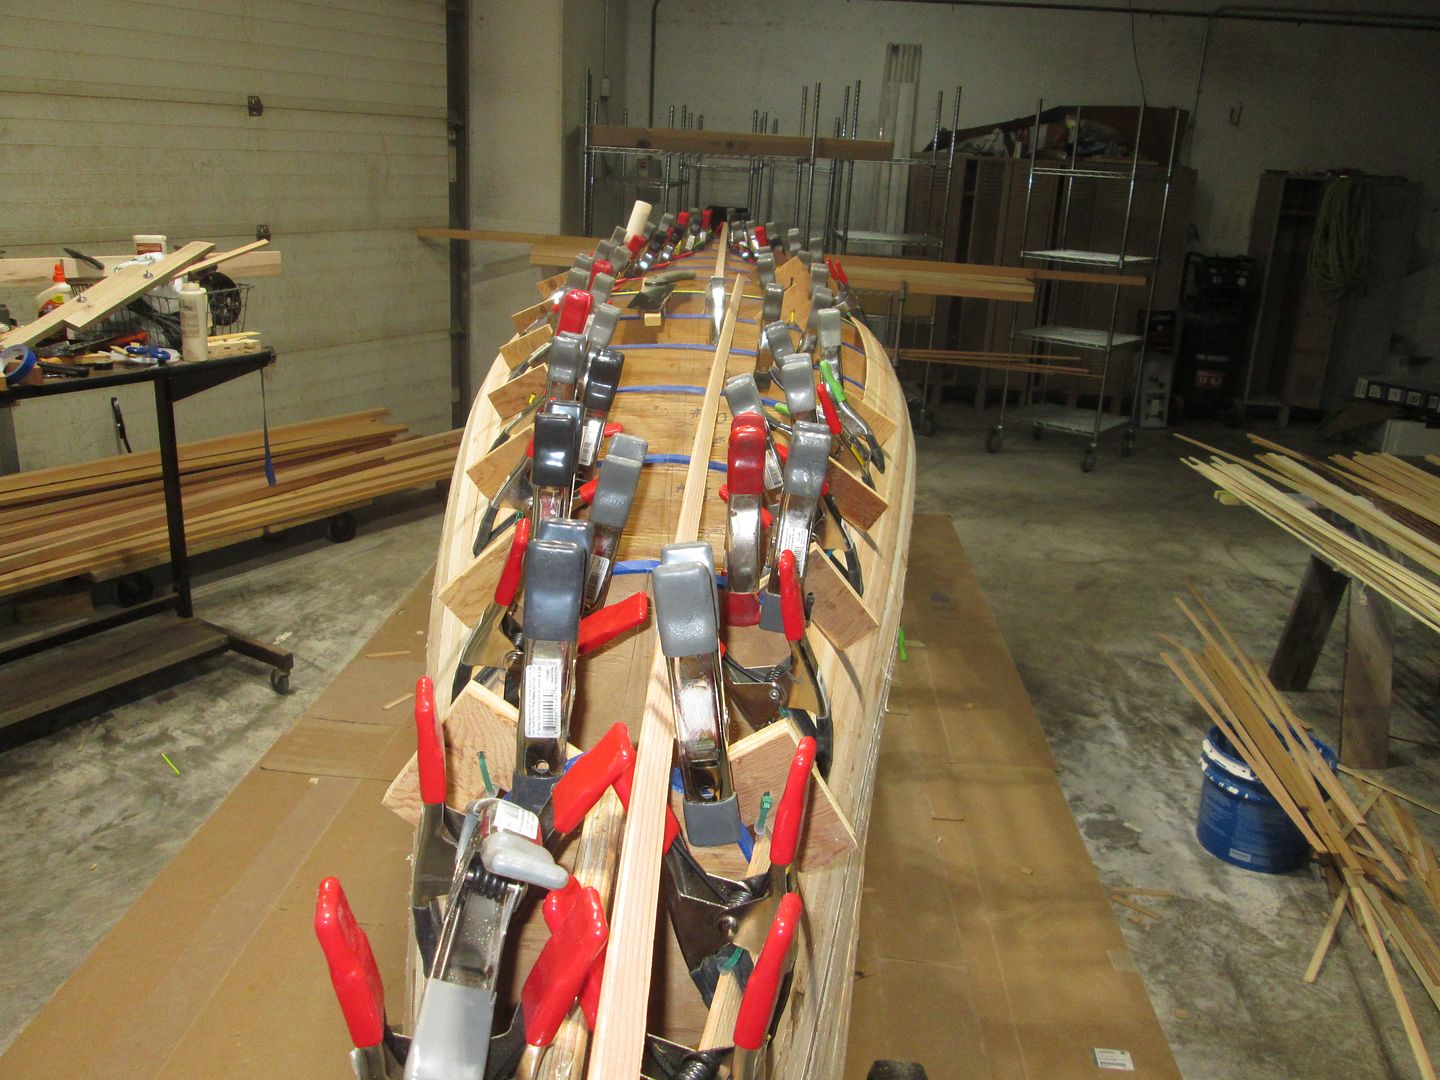
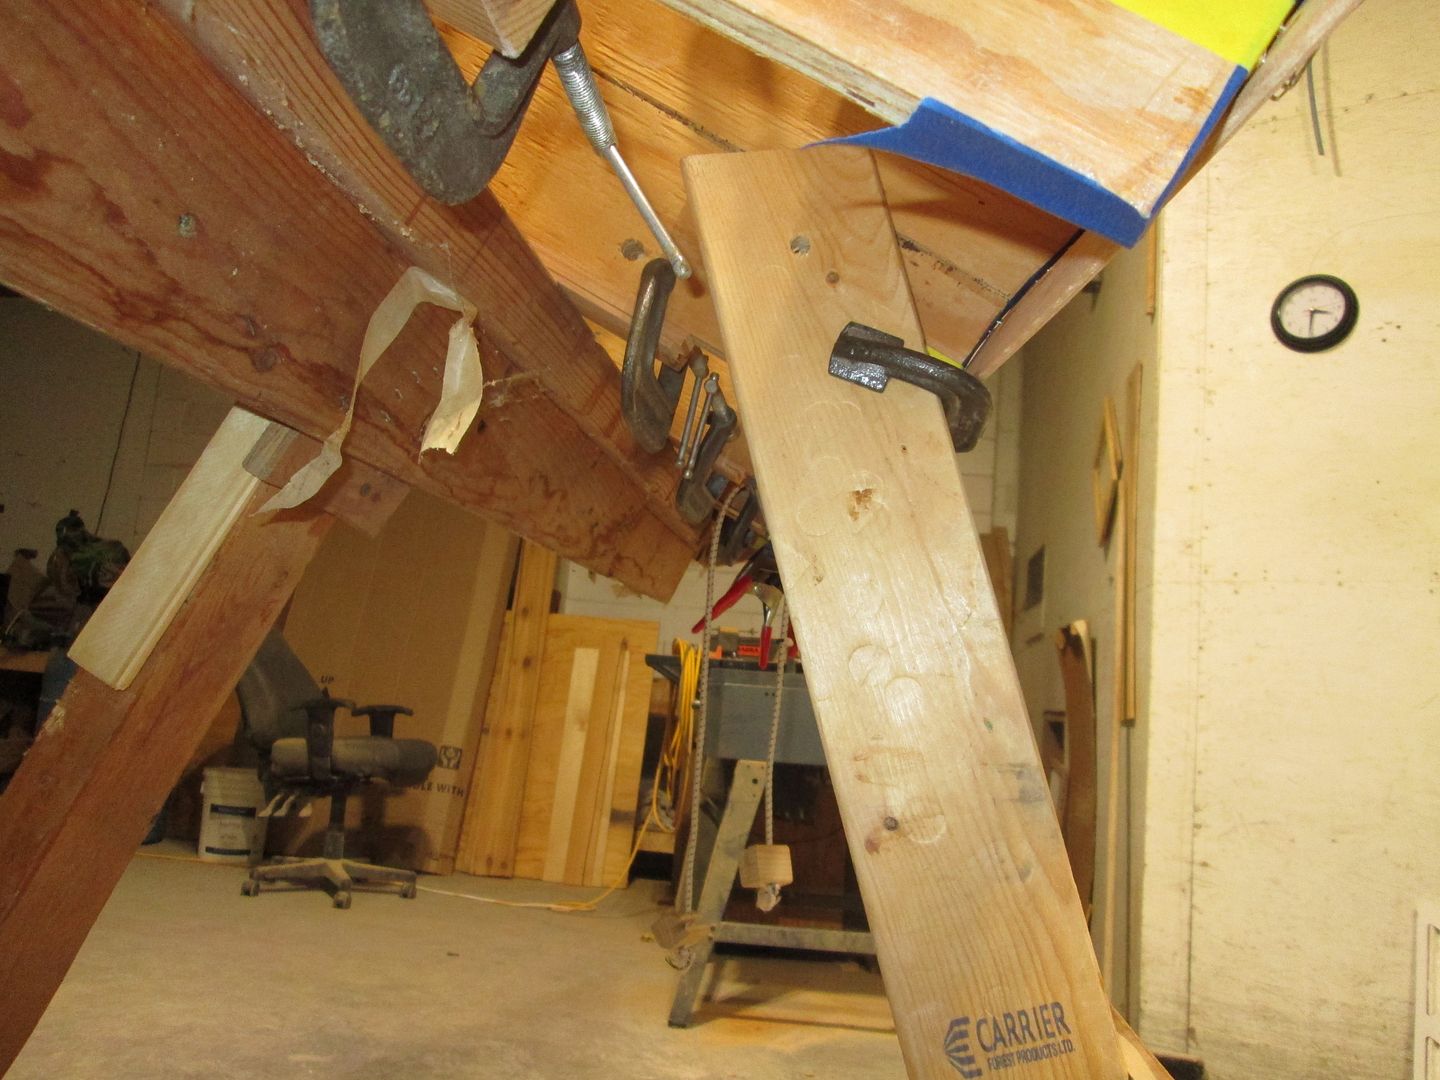
A pic of the clamps holding the Kevlar while the epoxy cures.
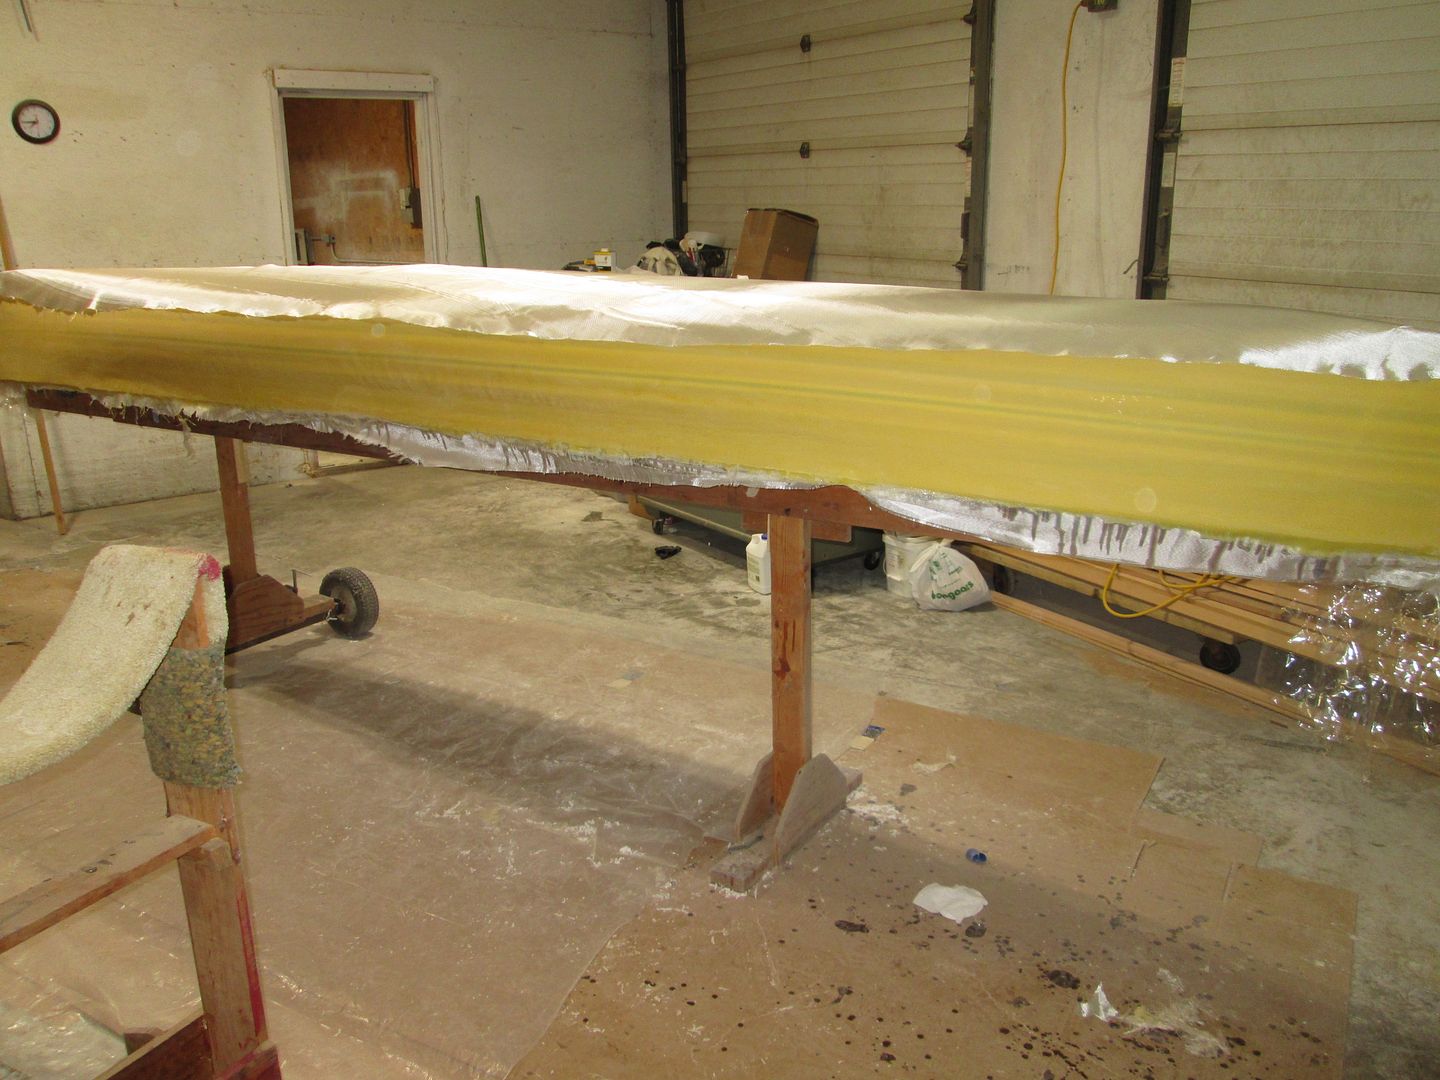
The next day, I set the mold back to level, The epoxy has cure sufficiently enough that the Kevlar stays relatively tight to the hull. At this point, I add a layer of 4 oz S-glass.
Six hours after that, on goes a layer of 6 oz E-glass, just over the Football, up to about the 3" waterline. I know I should have used S-glass, but I didn't have enough.
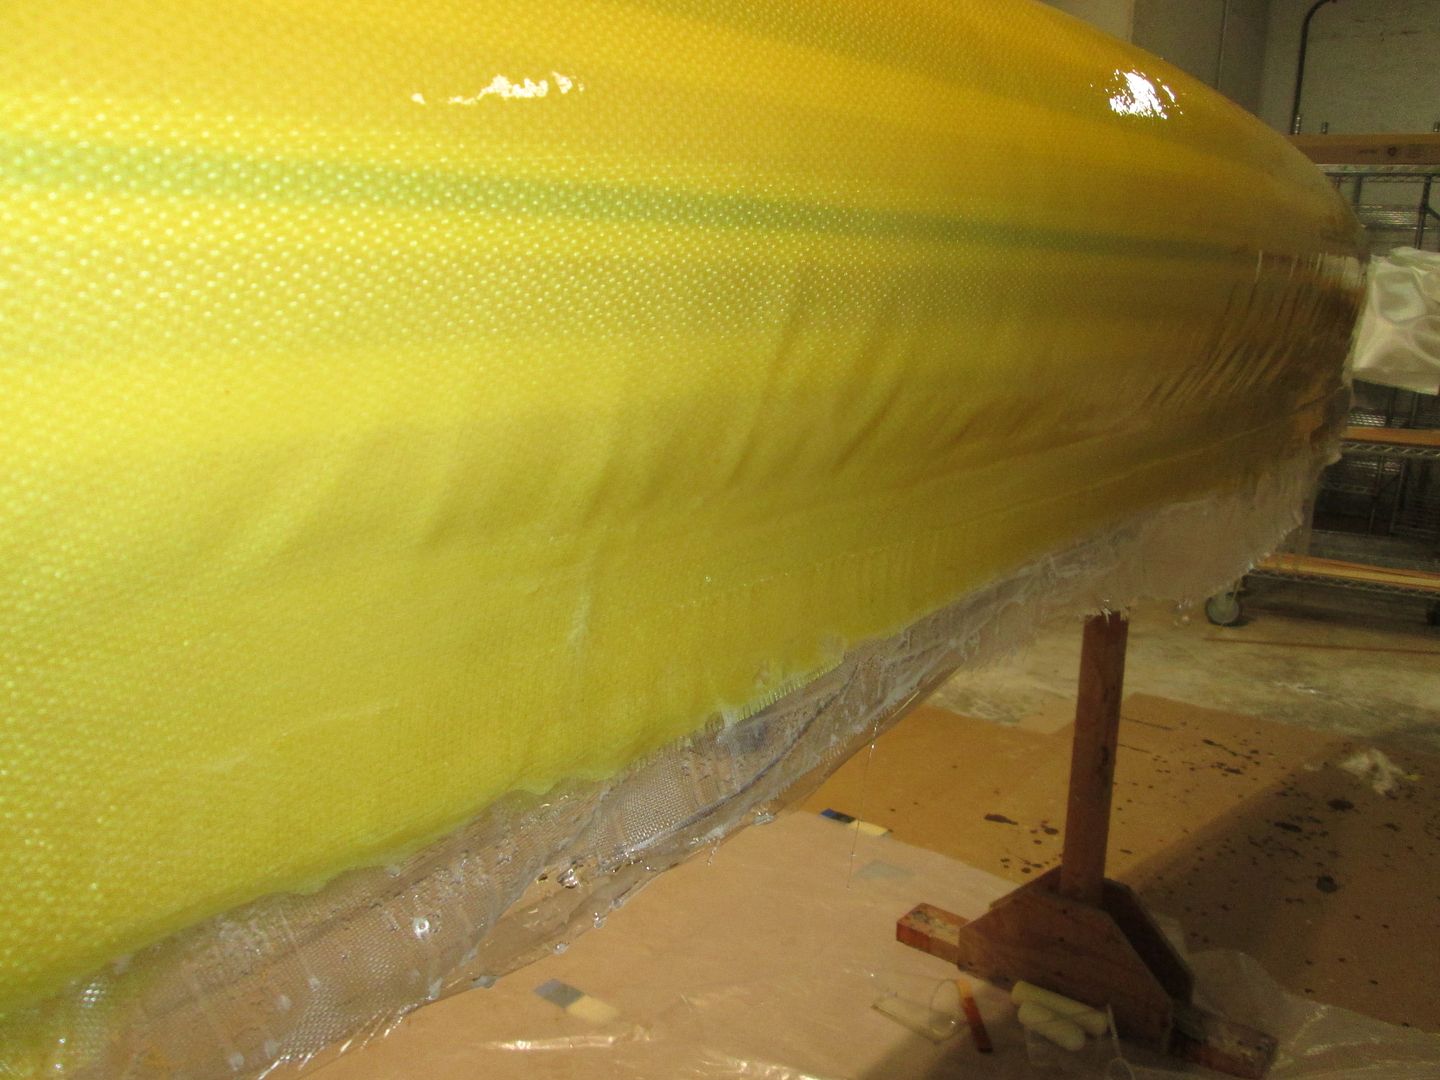
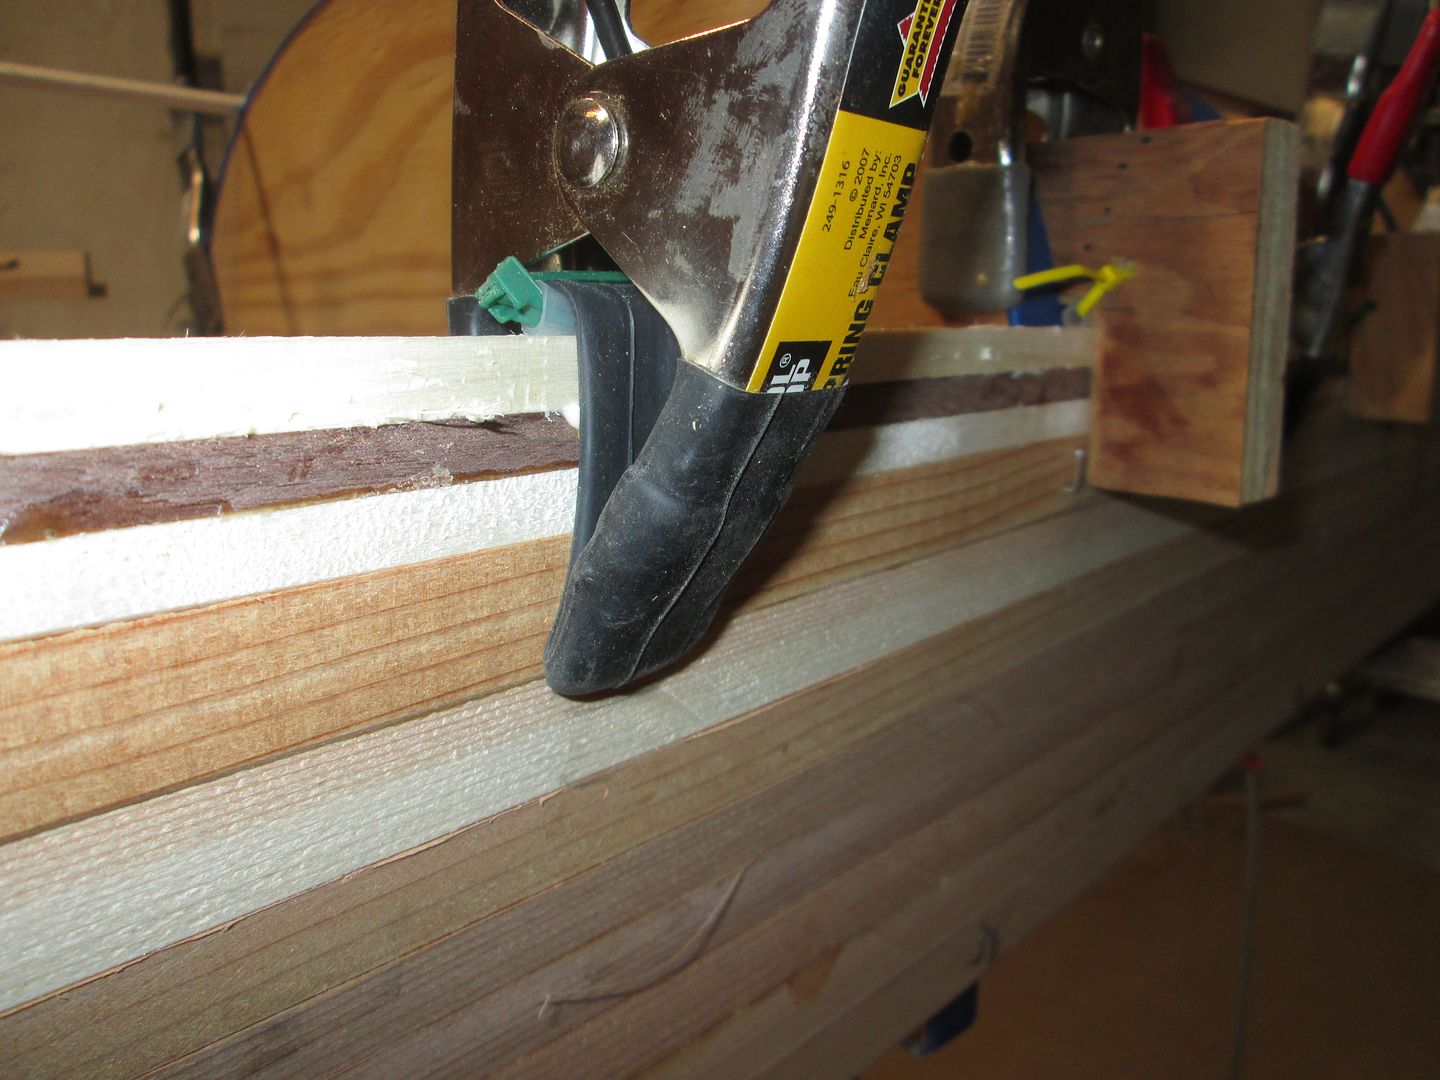
The clamps on the tumblehome.
A pic of the problems related to the Heat shrink film I had hoped to overcome!
Less than perfect the hull will float when done. Next time !
I will let everything cure at least a week. It end up longer than that, as other things at the shop deterred me.
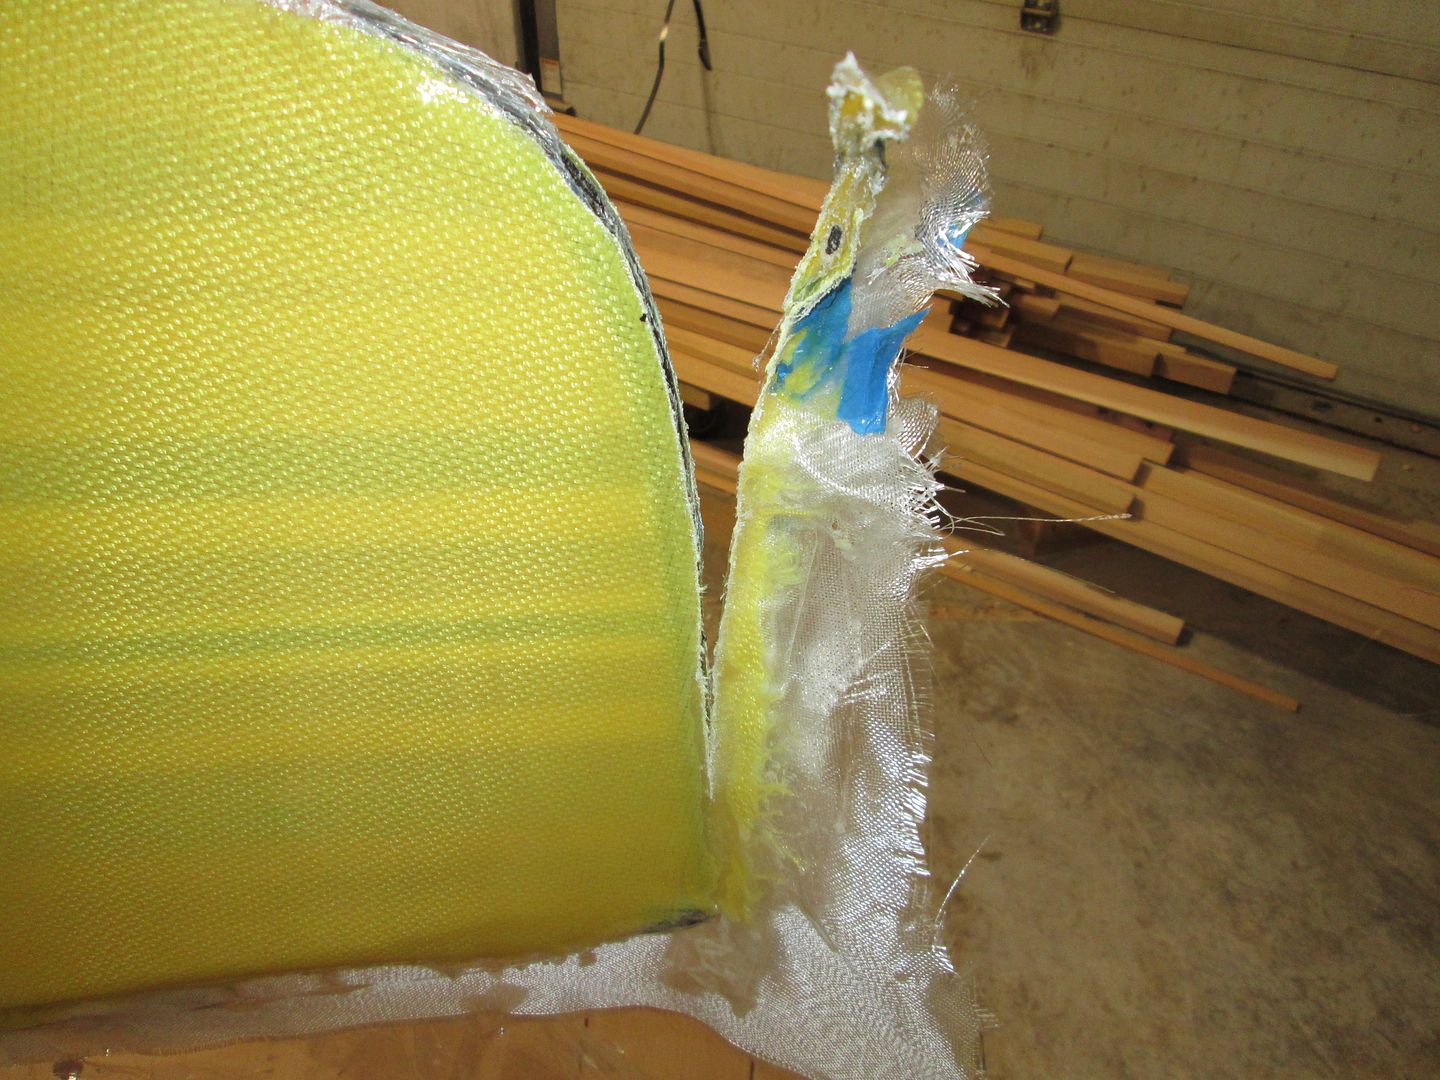
I trimmed the stems. Trimming Kevlar wetted out, is no easier than unwetted !
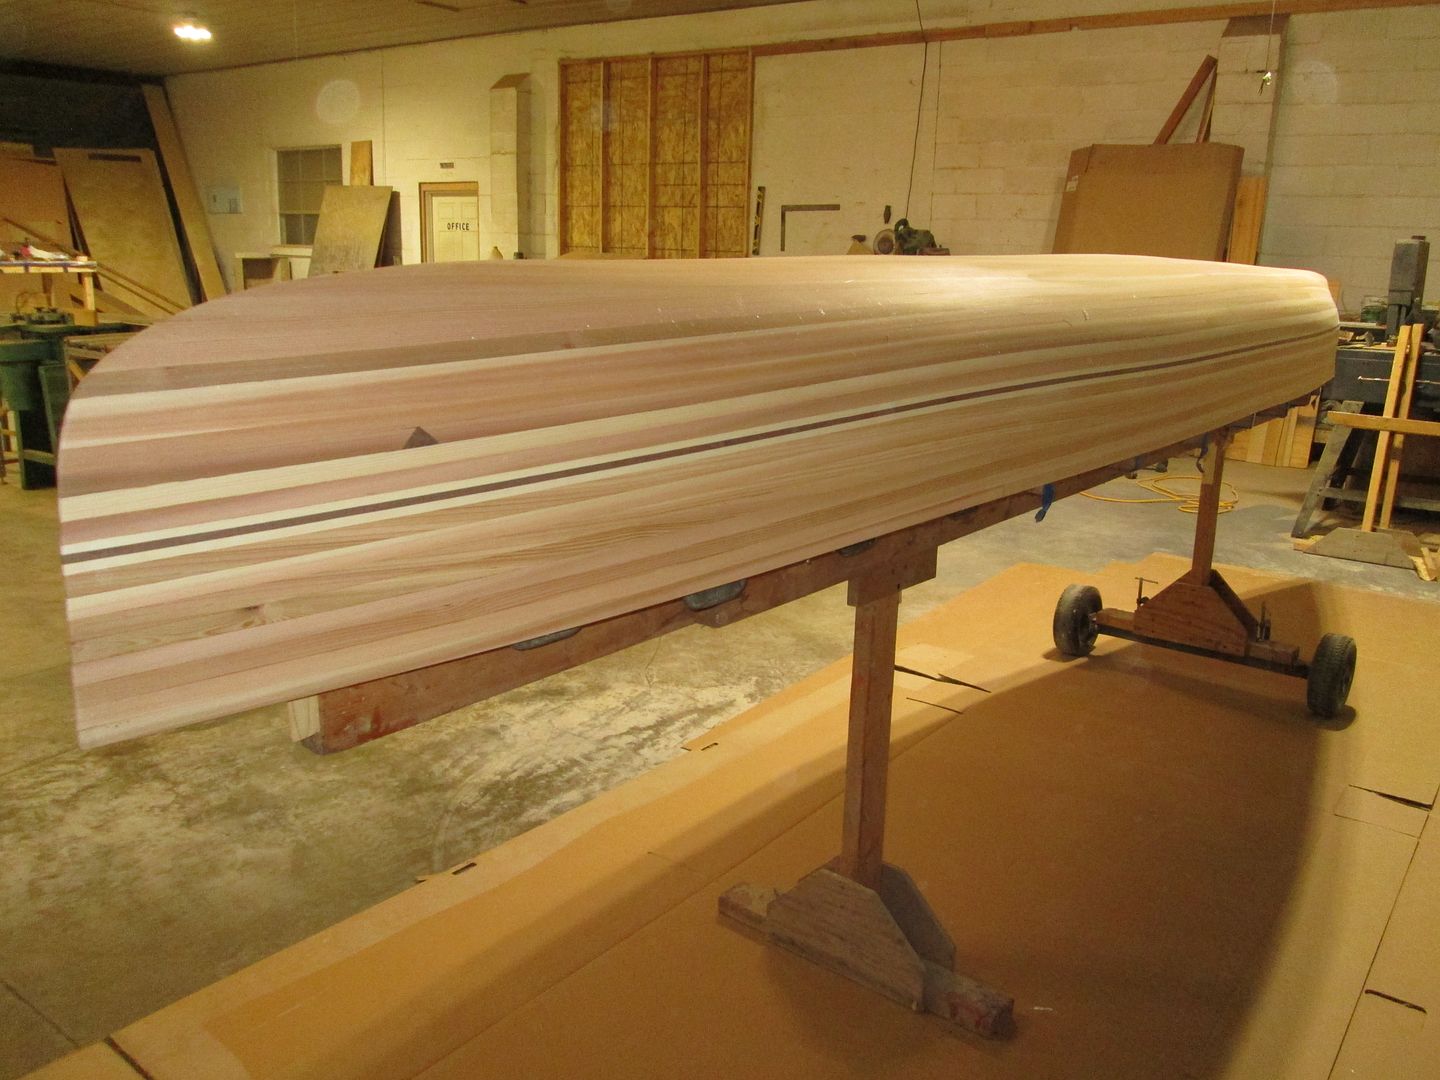
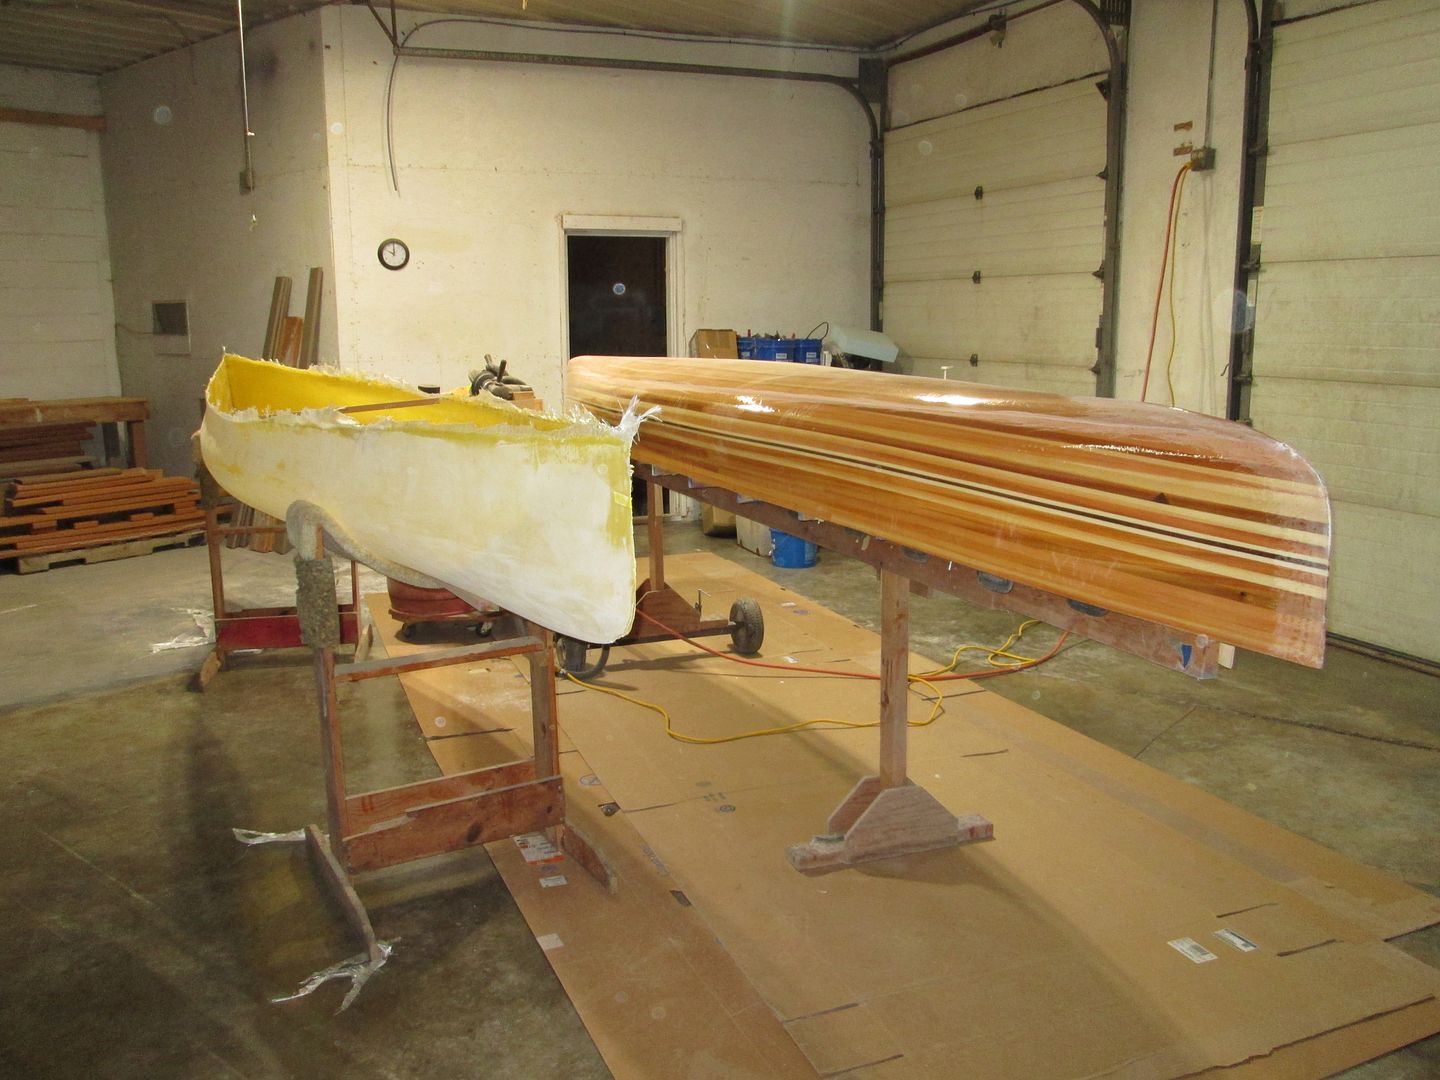
With plenty of cure time, the hull is easily lifted from the mold, and placed in the stands, next to the stripper. I now have two canoes.
I sanded the Kevlar, before removing from the mold. It's still quite flexible, and the mold makes it easier to sand.
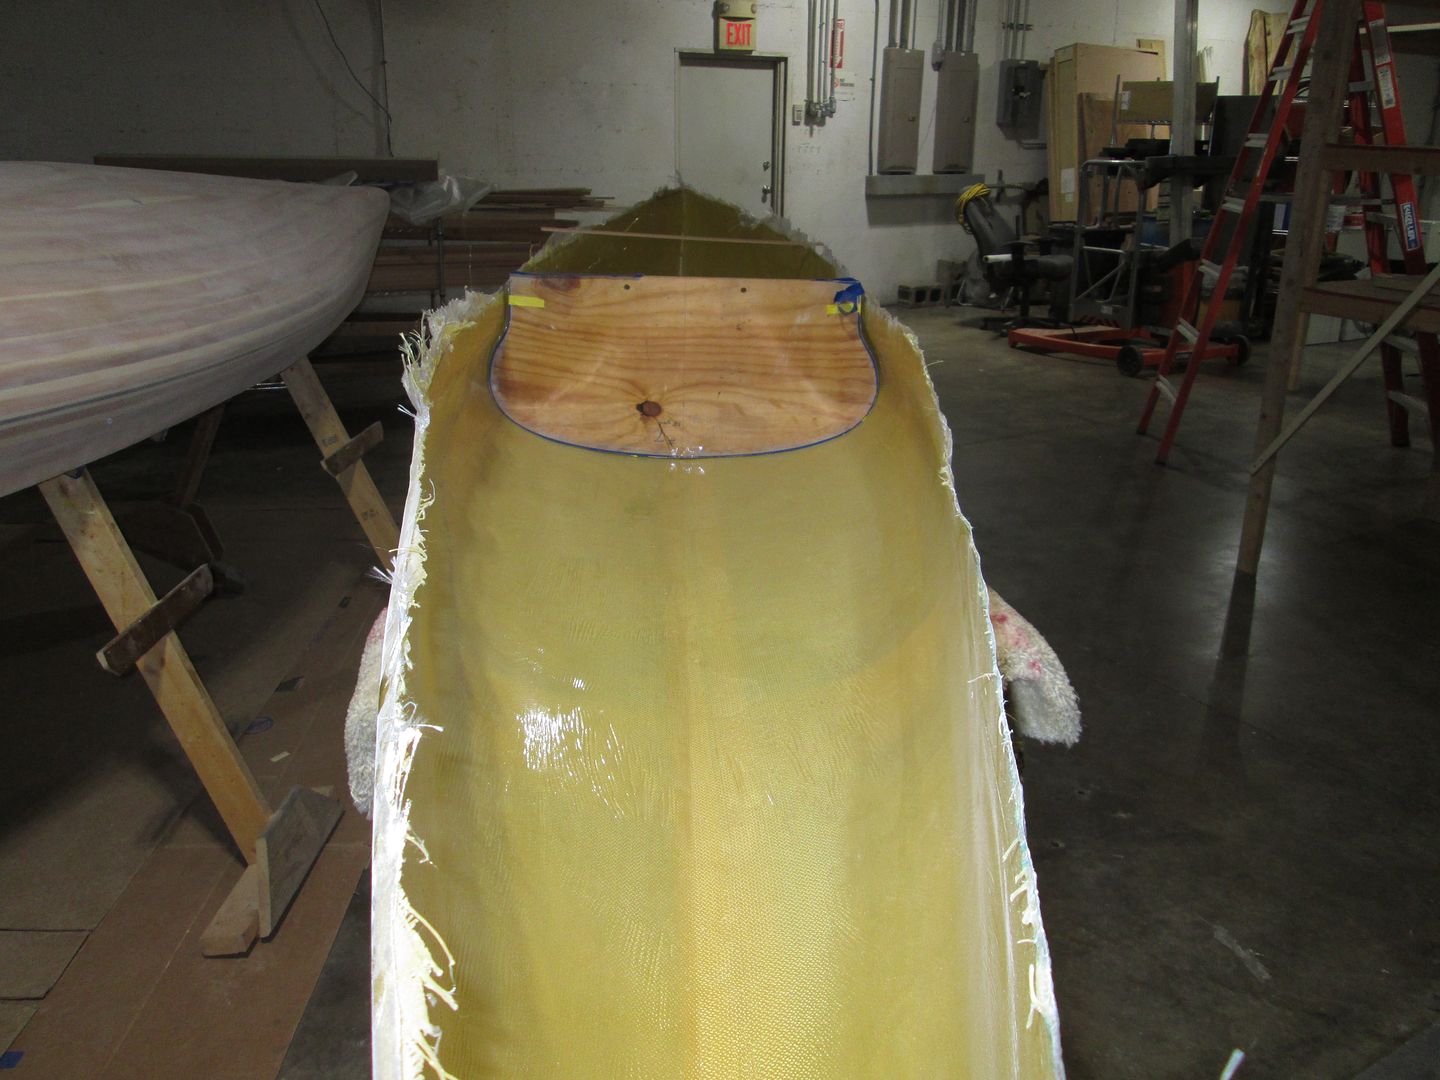
Last pic for now
I strap in the center form, as I turn my attention back to the stripper.
I will be adding an insert and more glass.
More on that later !
Jim


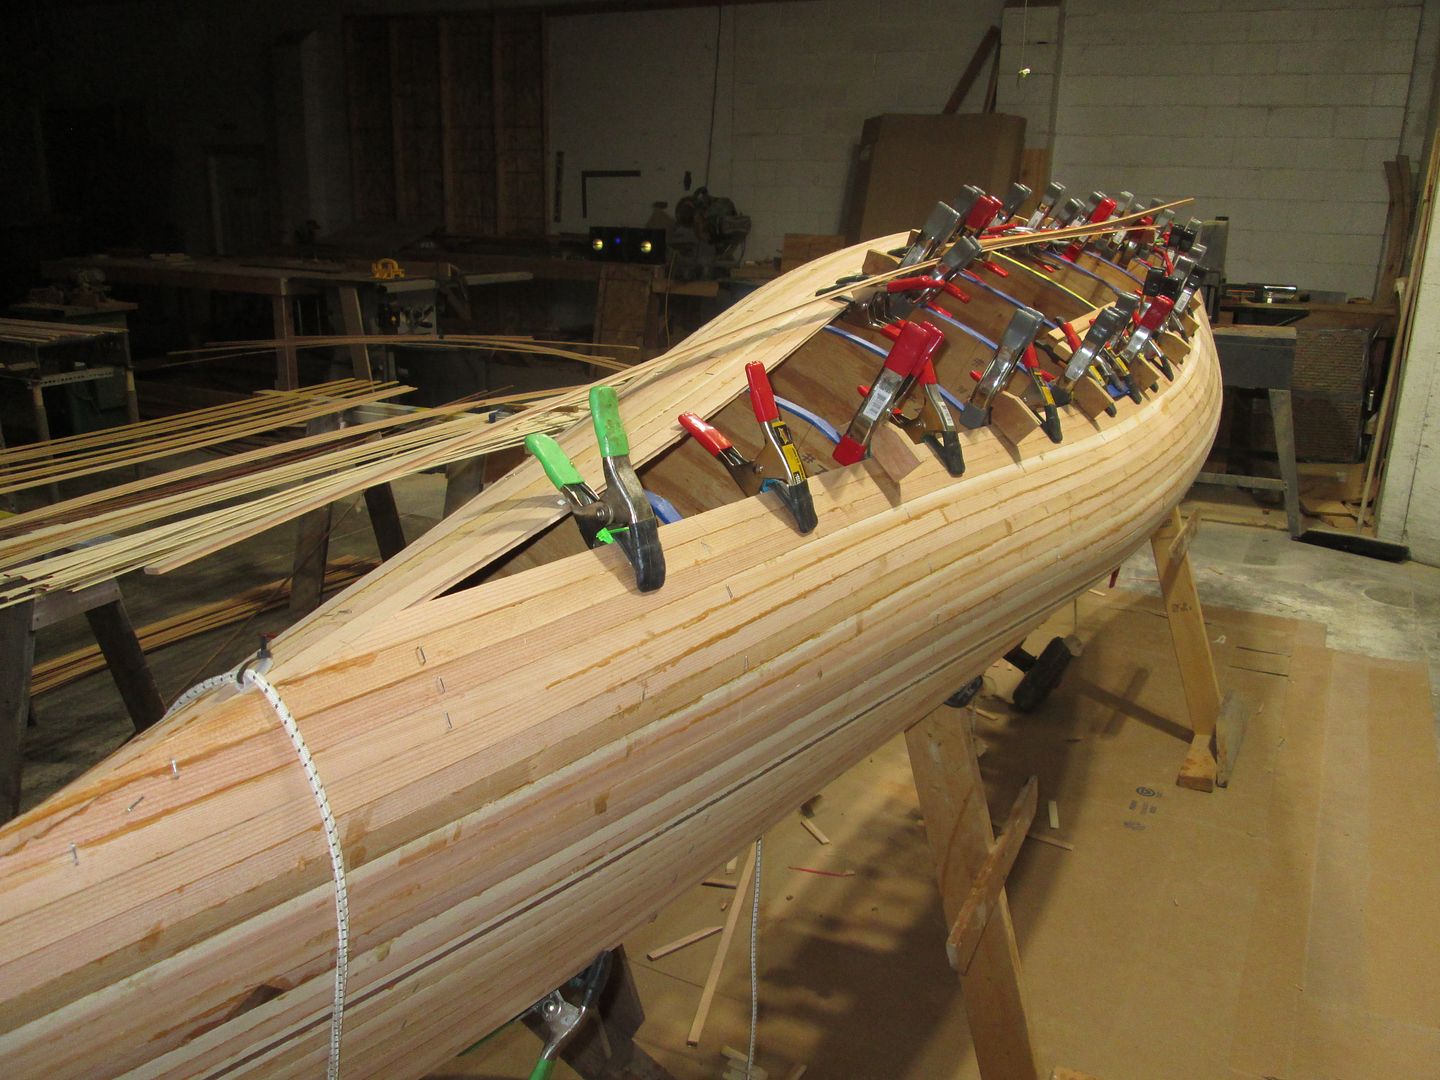
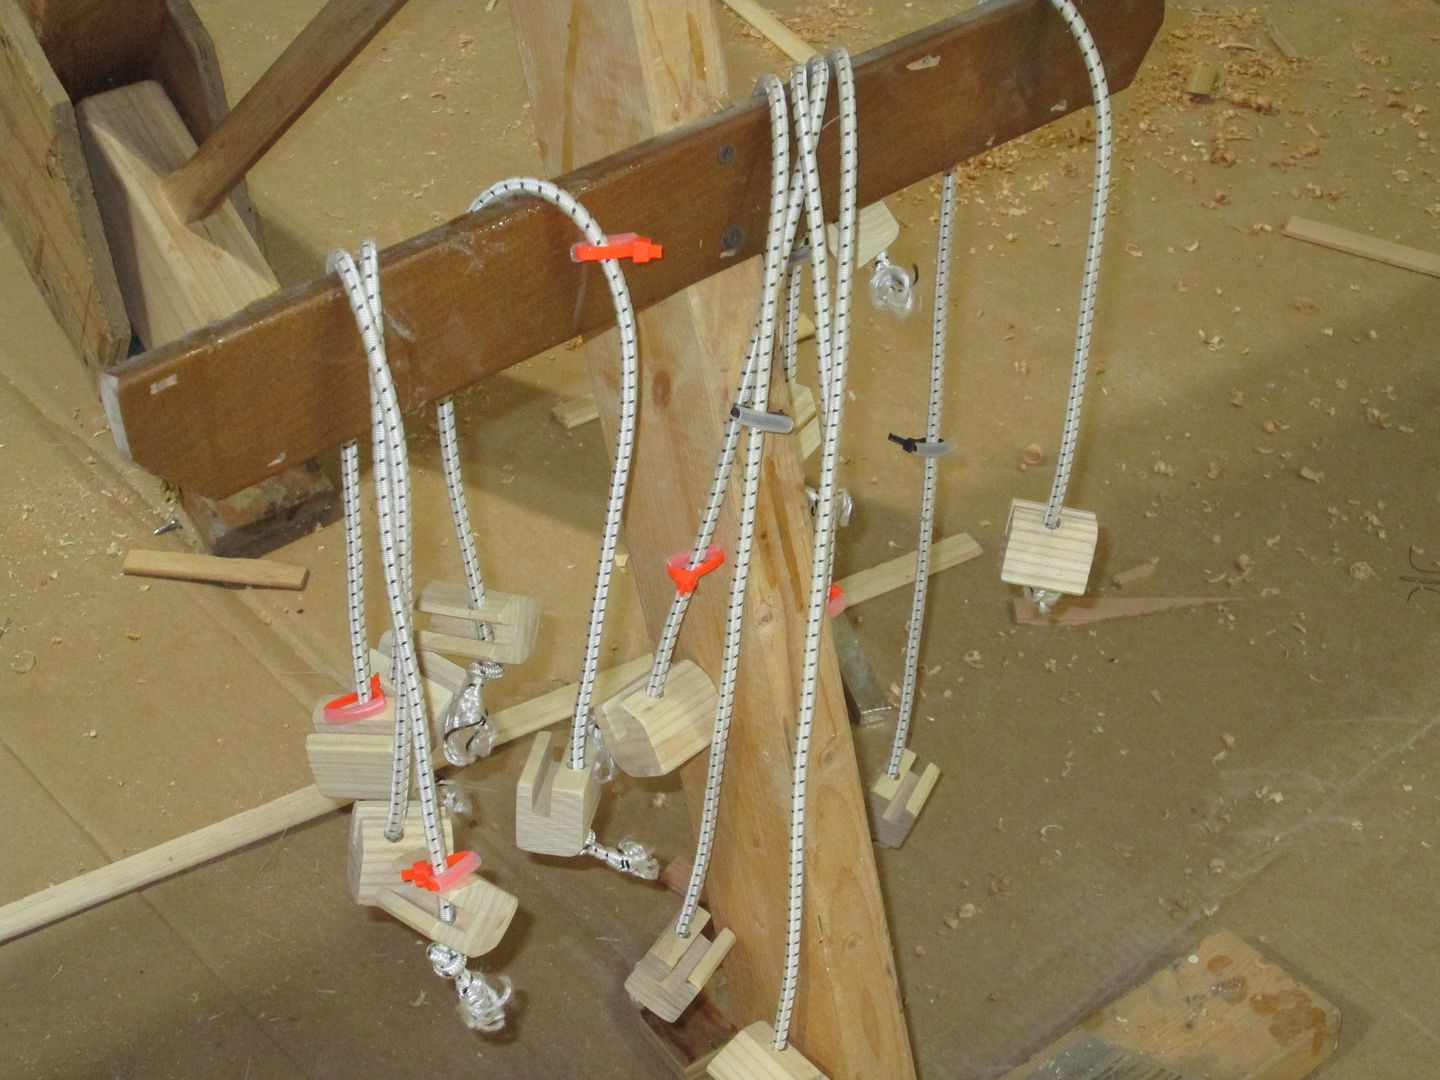
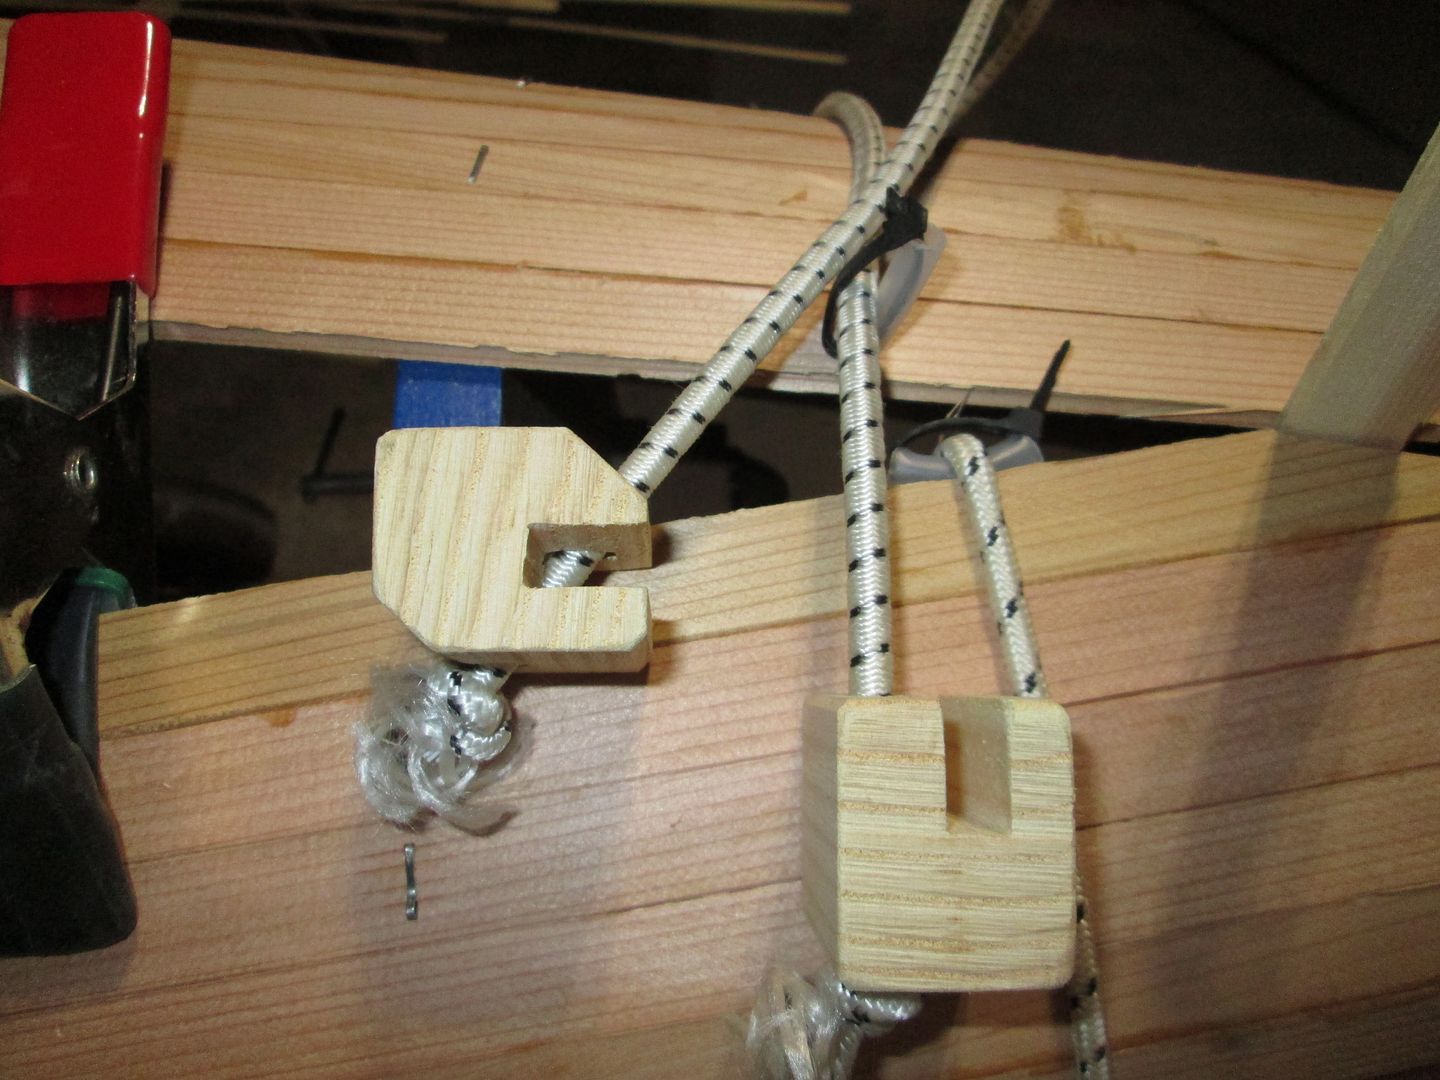
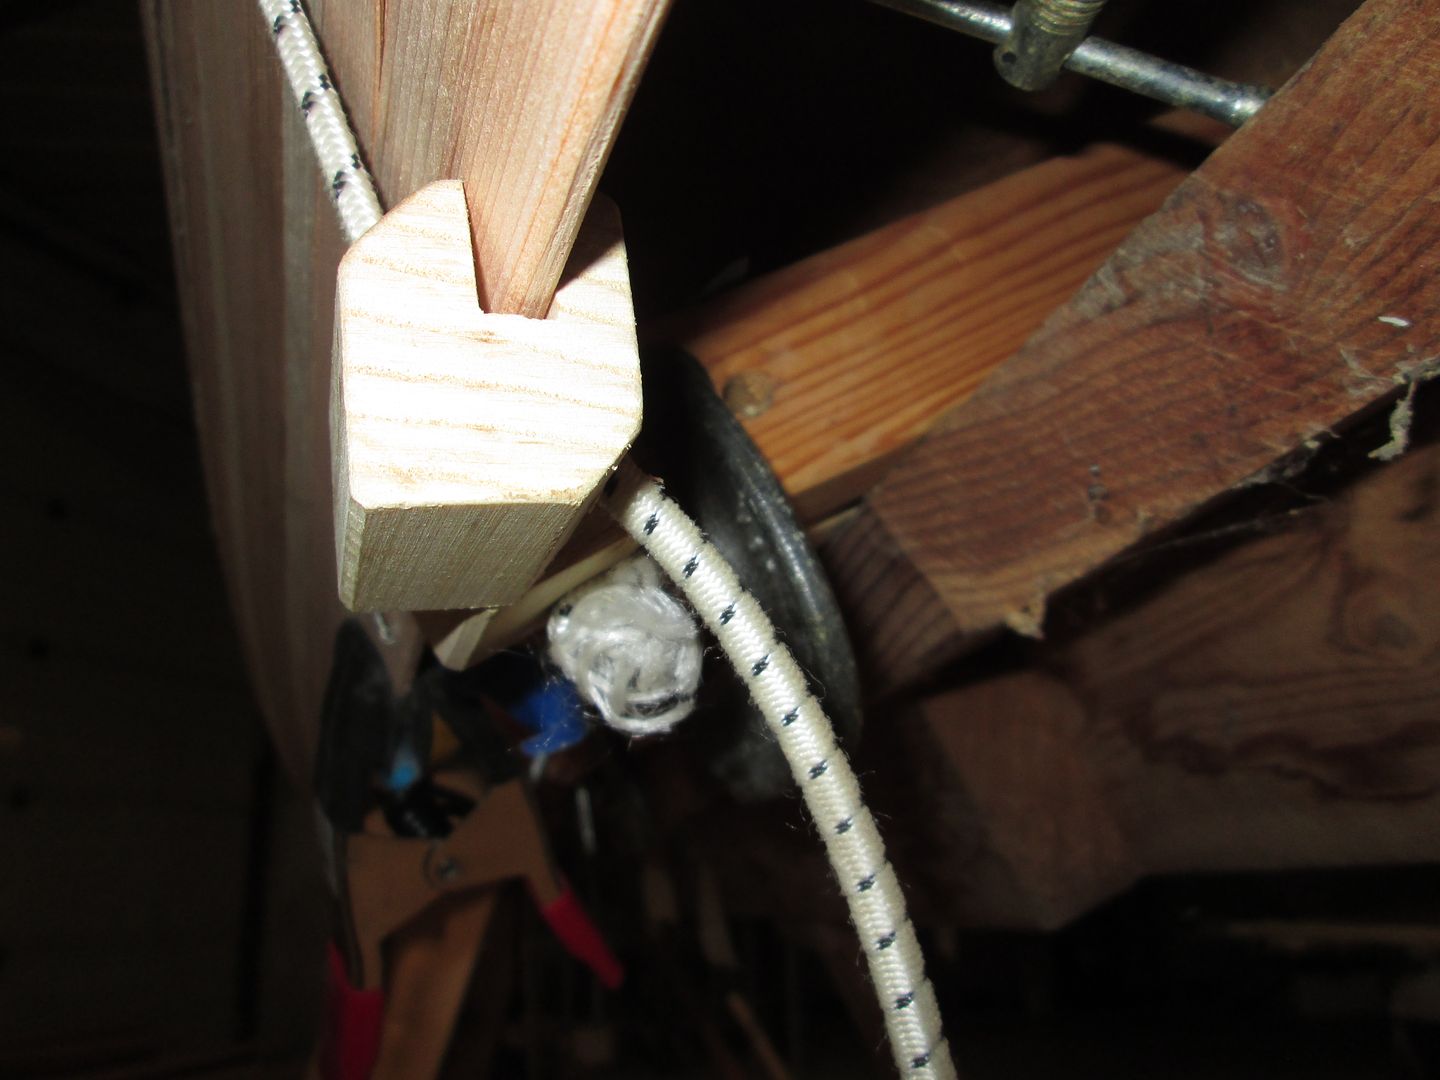
.JPG)
.JPG)
