- Joined
- Aug 10, 2018
- Messages
- 2,102
- Reaction score
- 6,997
Thanks Brian. Your explanation makes sense & I welcome the suggestions... it's how we learn (unless we insist on making every dumb mistake on our own- I sometimes do that lol)
Given the extra width of this seat (my last was about 6 inches narrower) and the fact that this one's maiden voyage may be 3 weeks solo outside of Wabakimi, I'm wondering if I should make another or perform some kind or real-world testing (It won't be easy to replace once it's epoxied into place).
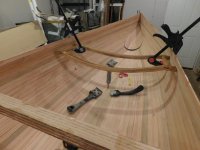
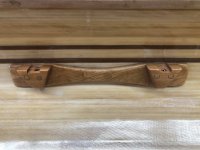
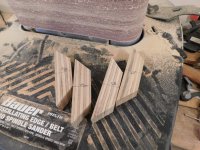
You are correct, the cross pieces are 7 plies (alternating stack of 4 Sassafras & 3 White Oak while the spreaders are 3 plies Sassafras top & bottom w' White Oak in the center) If I dado on the side, should I increase the thickness to 5 plies? I won't be drilling any of the seat pieces, I wrap the paracord around so as to provide an extra layer of security. In the event of breakage, the wrapped paracord will (theoretically) prevent catastrophic failure. (here's the last one)
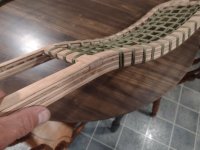
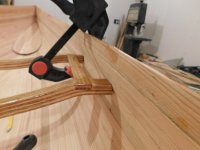
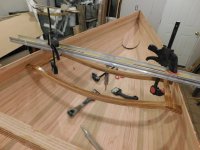
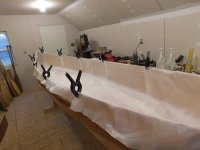
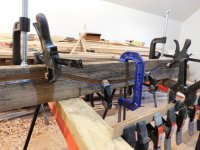
I also need to find a better way to clamp the seat pieces in order to keep them all on plane. I've got a slight twist that, while not a deal-breaker, it would probably be easier to fit the seat without the deviation.
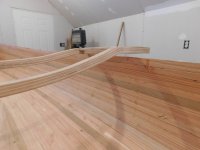
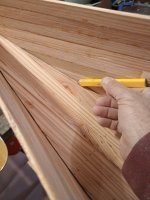
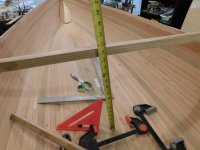
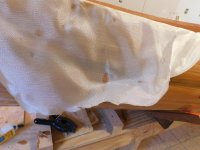
(the other 3 pieces of the cross-rails are sitting on the hull)
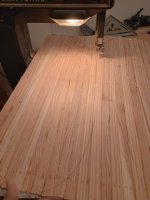
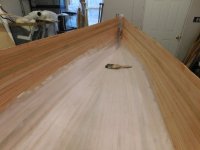
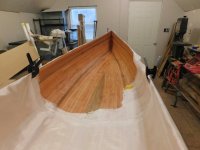
Also, speaking of suggestions: I spent a few hours in the boat shop today and got the inside sanded sufficiently. I used the half-round files and then went over the whole thing with an orbital and 40 grit. One word of caution to anyone considering Tamarac: The same splintering properties that caused me to discard 1/3(+/-) of the strips during beading & coving came into play when sanding.
When the staples came thru, many of the strips developed splinters which I found everytime any bare skin was exposed alongside of the file and, frequently, while feeling the hull for smoothness. There were a few places where the strips were badly misaligned and I found that taking a Surform shaver across them at an angle seemed to quickly take the edges off.
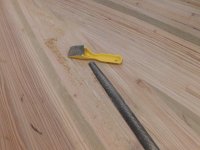
I made it about 3/4 of the way around the hull when I got tired of bleeding and I grabbed the orbital, slapped on a 40 grit pad and gave the whole entire hull a once-over.
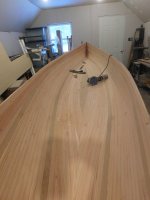
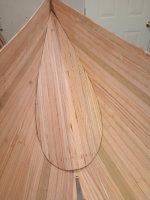
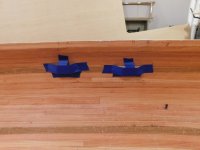
Now the "suggestions" part... there was one place that I'd had to piece in a small section of Sassafras when closing the football. That small piece was proud on the outside & was, therefore, sanded flush with the longboard. This, of course, means that it is recessed on the interior and I'm undecided as to what to do.

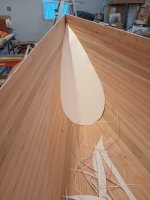
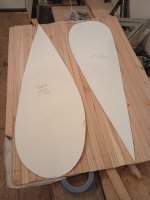
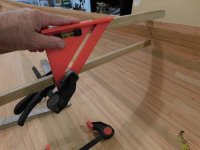
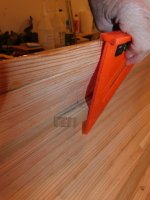
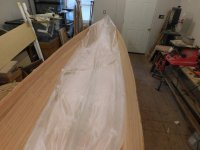
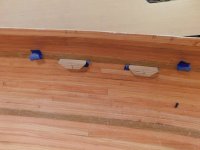
I have some Sassafras shavings from making the paddles and I could glue / epoxy some of them into the low spot and then sand it flush. At this point, however, I'm thinking I could use a scrap or two from the outside, lay it in the hollow & glass over it like this.
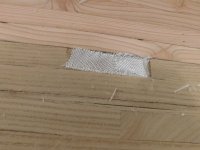
the extra material should provide adequate strength and I doubt that it would be visible. (there will be 2 layers of 4 oz e-glass over this area regardless of how I fill the void)
Your thoughts?
Given the extra width of this seat (my last was about 6 inches narrower) and the fact that this one's maiden voyage may be 3 weeks solo outside of Wabakimi, I'm wondering if I should make another or perform some kind or real-world testing (It won't be easy to replace once it's epoxied into place).
You are correct, the cross pieces are 7 plies (alternating stack of 4 Sassafras & 3 White Oak while the spreaders are 3 plies Sassafras top & bottom w' White Oak in the center) If I dado on the side, should I increase the thickness to 5 plies? I won't be drilling any of the seat pieces, I wrap the paracord around so as to provide an extra layer of security. In the event of breakage, the wrapped paracord will (theoretically) prevent catastrophic failure. (here's the last one)

I also need to find a better way to clamp the seat pieces in order to keep them all on plane. I've got a slight twist that, while not a deal-breaker, it would probably be easier to fit the seat without the deviation.

(the other 3 pieces of the cross-rails are sitting on the hull)
Also, speaking of suggestions: I spent a few hours in the boat shop today and got the inside sanded sufficiently. I used the half-round files and then went over the whole thing with an orbital and 40 grit. One word of caution to anyone considering Tamarac: The same splintering properties that caused me to discard 1/3(+/-) of the strips during beading & coving came into play when sanding.
When the staples came thru, many of the strips developed splinters which I found everytime any bare skin was exposed alongside of the file and, frequently, while feeling the hull for smoothness. There were a few places where the strips were badly misaligned and I found that taking a Surform shaver across them at an angle seemed to quickly take the edges off.

I made it about 3/4 of the way around the hull when I got tired of bleeding and I grabbed the orbital, slapped on a 40 grit pad and gave the whole entire hull a once-over.

Now the "suggestions" part... there was one place that I'd had to piece in a small section of Sassafras when closing the football. That small piece was proud on the outside & was, therefore, sanded flush with the longboard. This, of course, means that it is recessed on the interior and I'm undecided as to what to do.

I have some Sassafras shavings from making the paddles and I could glue / epoxy some of them into the low spot and then sand it flush. At this point, however, I'm thinking I could use a scrap or two from the outside, lay it in the hollow & glass over it like this.

the extra material should provide adequate strength and I doubt that it would be visible. (there will be 2 layers of 4 oz e-glass over this area regardless of how I fill the void)
Your thoughts?


