• Happy National Hot Sauce Day! 🌶️🥵

A Raven from Scratch

it is something sorely lacking in most places in Canada.

It's lacking in most places in the US as well. I think it's remarkable what they're doing and and that they seem to be making it work. Jim lives in a small, rural, town with no large town/city nearby. I never would have guessed they could find the support to make this work. No doubt much of the success is owed to a core group (Jim included) that freely dedicates their time and experience to promoting the workshop and make everyone feel welcomed.

Alan
 
Wow, I just scrolled through that facebook site Jim, best 20 minutes of my life recently. I real admire the sense of community that enables this kind of project to exist, it is something sorely lacking in most places in Canada. All those pictures of little kids creating with scraps, and being introduced to hand tools is very special. This has been my first year teaching grade nine woodworking, and of the 50 or sixty kids who have rotated through, not one of them had ever used a hammer or a handsaw before.
Thanks for showing us the Nokomis wood shop!
The wood shop was started from the generosity of the guy who owns the building.
Not knowing what to do with it, he was talking to a friend, and the idea, of a community work shop, came up..
Starting with the building, and over $30,00, the idea came into reality.
A Retired shop teacher and about 5 members, including me, went to work.
We have 40+ members. At $300 a year, a member has 24hr use. Family is welcome, also, so long as member is present.
Heated in the Winter, and with dehumidifiers, stays cool all Summer long. we have a shop, with top notch tools, that we are upgading, all the time.
Since we are a non profit operation, we qualify for Grant money ( comes from Casinos)
Last year we upgrade one of our three tablesaws, to a Saw stop.

I have to say we are blessed.
One thing that helps, is the work we do with Scouts, boys and girls, Church groups, and 4H. We also have adult classes, all thanks to our retired Shop teacher.

I pinch myself, every time I walk into the shop.

We make and sell things, mostly at a Christmas Market, and the money goes to our Scholarship fund.
We also do repairs for free will donations, which are really good, because people like to see us keep going.

I'm pretty much the maintenance man, as well as the Janitor.
I also operate our CNC router.

It's my home away from home !

Lastly you never have to stand in line, to use the tools.

I haven't found anything to compare !

Anyone in the area, can contact me for a tour !

Jim
 
I've not been idle while waiting for glass. I soaked the seat strips for about 3 days, made some paddles and ate entirely too much a couple of times.

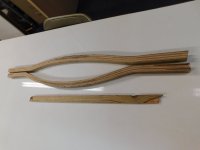
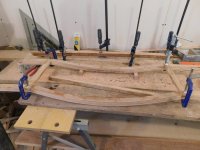
On New Year's Eve, I stopped over, drained the pvc tubes & put the soaked strips into the bending jigs. They bent well and have seemed to be drying well.

DSCN3533.JPGDSCN3535.JPG

I was a bit concerned about my glass order since my card was only charged for $68 (US) and that wouldn't be very much glass at $7.36 a yard but that mystery was solved today when the UPS dropped off a package for me.

When I checked the receipt, I saw that I was billed $68 for shipping 0 yards of 60 inch e-glass. The package was far from empty, however, so I called Mike at Raka and explained that there was a problem with the bill. He was appreciative that I called to correct the error and knocked 25% off of the bill (happy New Year to me!).

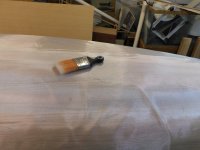
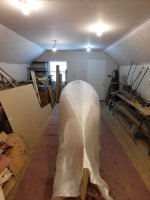
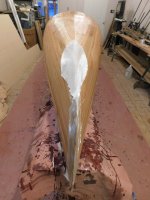
I took the roll to the boat shop, wiped the hull down once more with tack cloth, draped the glass over it and smoothed it with a clean paint brush to remove most of the wrinkles. (For those unfamiliar, the paint brush keeps my hands from snagging the glass)

DSCN3539.JPG

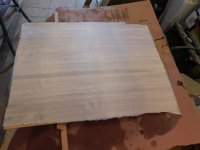
I'd also glued together a 24x30 inch (61x76 cm) panel that I'll use for the float chamber bulkheads. I laid a piece of 4 oz e-glass on the back side of it (barely sanded that side at all) and I'll glass it while I've got epoxy mixed (wet-out only on that piece)

DSCN3541.JPG

I'll leave it relax overnight then trim along the shear and brush again tomorrow. Weather here is pretty bad and my afternoon horses rescheduled so I'm figuring I can get the glass wet out after lunch tomorrow and finish the fill coats on Sunday. Really looking forward to seeing this under epoxy. Might go a long way to seeing if I'm nuts for paying the weight penalty.

This is where I am tonight & I'm itching to call in sick to my morning horses. Happily, they're all trims (no shoes) this time of year so it'll be quick and they're less than a mile from the boat shop. Whoo-hoo!

DSCN3540.JPG
 
I spent a few hours this weekend spreading epoxy. My youngest daughter helped me last time but she's expecting in April and I thought it unwise to expose her to the epoxy so I DIY'd it. Raka's epoxy seems to have a very long working time so it wasn't bad but it took about 3 1/2 hours to wet out the hull by myself.

I trimmed the glass along the shear to leave about an inch beyond the hull, trimmed the stems even on the one side and long enough to wrap the stem about an inch & a 1/2 on the other and also cut 2 pieces (from the trimmed-off shear scraps) for each end at a 45 degree angle to the weave. After wetting out, I placed these pieces in the wet epoxy, smoothed them with my (gloved) hands and wet them out also.

DSCN3542.JPG

The piece up the bow is to give a little extra strength and in case I didn't get complete glass coverage, while the piece on the bottom of the canoe is, basically, a skid plate so that there is an extra layer of glass at (what I assume will be) the most frequent points of impact.

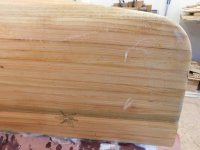
I pulled some stray fibers away from these and there were also a few places where I was chasing bulges in the glass along the shear. When these got too out of hand and I was unable to smooth them out, I took the scissors, cut the center of the bulge to a place where it was laying flat above, overlapped the edges and epoxied them down.

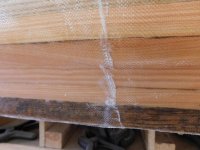
This morning, I went over and trimmed the extra inch or so below the shear off, scrapped off the stray fibers, overlaps and runs and put on the first fill coat. That went a lot easier with one person and took about 2 hours with trimming scraping and epoxying.

DSCN3546.JPG
(same area after scraping- the brown is the weathered edge of the original board. I figured that it will be covered by the gunwales so it'd be ok)
DSCN3547.JPG
DSCN3544.JPGDSCN3545.JPG

I returned about 6 hours later and rolled on the second fill coat (I used a squeegee for the wet-out and applied the fill coats with a roller then dragged a dry foam brush across the hull to get rid of the bubbles) and I'm pretty pleased with the results

DSCN3552.JPG

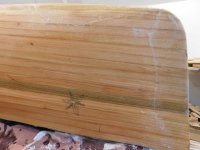
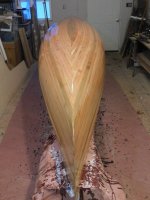
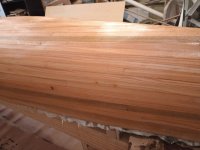
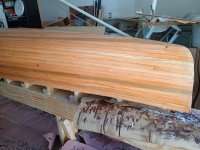
I'm particularly pleased with how it looks in the sunlight as the Sassafras (which looks greenish now) will age into a warm, medium brown and I expect it to look even better by summer. The led lights inside the shop do not do the colors justice IMO so here's two shots of the same area... the first with shop lighting and the second with the door open and the sunlight on the hull. (sorry they're not from the same distance but...)

aaf3eb94-5ff7-4db3-b0c9-113c191fda62.jpgIMG_20250105_104607672.jpg

I think this thing will look awesome bouncing off rocks in Ontario this summer.
 
Last edited:
I stopped over at the canoe shop tonight just to be sure that I'd gotten the weave buried completely and was pleased that there were very few runs and only one place that looked sketchy as far as fill. Since I was mixing epoxy for that spot anyway, I took the seat pieces out of the bending jigs and epoxied them as well.

I am using the same lamination as the last although this seat is substantially wider. The main seat supports are an alternating lamination of 4 Sassafras stips and 3 White Oak strips (all 3/16 like the hull). The spreaders which run between these are a lamination of 2 Sassafras and one White Oak. (I did my first seat a little differently than most and it worked out well, so... If it ain't broke, don't fix it, right?)

IMG_20250106_171342546.jpg

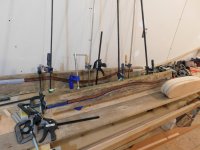
What I did was, I used the epoxy stirring stick like a butter knife and spread a thin layer of epoxy on each of the strip surfaces that would make contact with each other (so only the top & bottom of the pack weren't epoxied). With a 7 strip pack, the strips won't align perfectly so I clamped short pieces of 1 inch pcv between the jigs to hold the strips until the clamps were tight.

IMG_20250106_174852649_HDR.jpgIMG_20250106_175856040.jpg

Once the bar clamps were in place & tightened, I removed the pcv pieces and twisted the bar clamps down as tight as they would go.

I'll let all of this cure for a couple of days while I (weather permitting) skip town for work and, hopefully, I'll get a seat made this weekend.

IMG_20250106_190535898.jpg
 
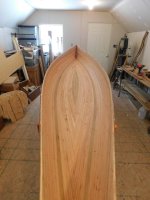
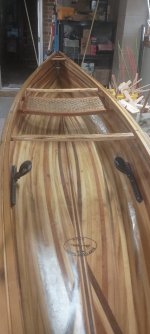
Quick update: I got the hull off of the forms, installed the webbed cradle pieces on the strongback and flipped her upright.

DSCN3553.JPG

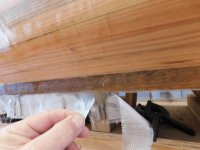
I then cleaned up the sharp edges of fiberglass along the shear using a file and removed the tape strips (I probably forgot to mention that I'd been placing tape strips on the inside of the hull as I went up. Any place that looked like I'd left a gap that epoxy could seep through got taped and, before sanding, I'd looked up from underneath and taped any holes that I'd missed. I did it before sanding figuring that some sawdust would accumulate in the holes and I wouldn't see as much light through the hull as I do on my Freedom.

I am very pleased with the state of the inside and it will be much easier to sand than my Freedom was.

DSCN3554.JPG

Finally, I removed the seat pieces from the jigs. Again, I'm very pleased with the results but I'll try to get them out earlier on future boats. After almost 48 hours, they were sticking a little to the packaging tape and the squeezed-out epoxy was much harder to trim off than if I'd have gotten then out in a more timely manner.

For now, I knocked off the high spots with the horseshoeing rasp. I'll try to get to my buddy Dewey's woodworking shop this week and finish the seat parts.
 
Looks great.

I know for now it's a photo op.
But a good idea, to keep the middle form strapped in place as much as you can, while sanding.

If not, at least a spacer to keep the shearline from spreading.

I helped a guy, who left the hull outside, on a Summer day, to sand the inside.
His shearline went wide, and about 4" of rocker.
 
I'd been placing tape strips on the inside of the hull as I went up. Any place that looked like I'd left a gap that epoxy could seep through got taped and, before sanding, I'd looked up from underneath and taped any holes that I'd missed. I did it before sanding figuring that some sawdust would accumulate in the holes and I wouldn't see as much light through the hull as I do on my Freedom.

I do the same. It's a big timesaver for those of us who don't worry about perfect strip fitment.

Boat looks great!

I haven't forgotten about sending you those plans. Actually, that's a lie. I've forgotten (and then remembered) 173 times. Unfortunately, every time I've remembered, I haven't actually done it before I forgot again.

Alan
 
I haven't forgotten about sending you those plans. Actually, that's a lie. I've forgotten (and then remembered) 173 times. Unfortunately, every time I've remembered, I haven't actually done it before I forgot again.
lol no worries. If you have them available & get time to send them, I'll build it w/ the White Pine & Cherry that's waiting for the coves. (fair warning: I've got plans for a unique exterior... you'll either love it or hate it)

I've got plenty of cloth & resin so I'm hoping to build 2 this winter (but I've also got plans for a Merlin that I wouldn't mind trying).

I need to get the charity paddles finished tomorrow if I can get to the shop. (I don't have snow tires on the Harley & I might have blown up the engine in the Ranger today so I have that to deal with as well... never a dull moment)

But a good idea, to keep the middle form strapped in place as much as you can, while sanding.

If not, at least a spacer to keep the shearline from spreading.

I helped a guy, who left the hull outside, on a Summer day, to sand the inside.
His shearline went wide, and about 4" of rocker.
Interesting. I hadn't considered a spacer but I suppose I could. I'm blessed in that my friend who owns the garage has a gas well on the property &, therefore, gets free gas so the shop is kept toasty all winter (even this week, it's been 70 and the humidity is low enough that I doubt that the hull will deform very much)

I'm hoping to have the inside glassed in the next 2 weeks. If all goes well, this one is hanging in the carport waiting for spring by the beginning of Feb and I'm on to the next one (might as well, right? I've got everything but some plywood for the forms... practically a free boat!) :)
 
Thread drift alert:
...I might have blown up the engine in the Ranger today...
Well, it looks like the Ranger isn't quite dead after all (only mostly dead). Initial assessment is that it broke the timing chain and that's not a major repair. Which is almost unfortunate as I'd written the eulogy this morning before going outside and digging into it.

Screenshot (18).png

Repairs won't be fun outside in January but what are ya gonna do, eh?

(putting off car payments since 1988) :D
 
Revived an old 96 Isuzu Hombre, last Summer. It's a Rust bucket, but after buying it for $100, sinking $1,000 into it ? It is now my Daily driver, at least for the Winter months.
It had a blown head gasket, and with a Summers worth if love from me, It's has a new Rack for hauling canoes and such.

Good luck on your Repairs.
FORD, stands for Fix Or Repair Dailey. ;)
 
lol Thanks Jim. At this point it's mostly just to see how far I can go as the frame is getting soft in places and I'm not messing with that. As for the name badge on the grill (Ranger says "Mazda" on the tailgate): In my life, I've worked for 6 car brands and one thing I've learned is that they all break. I usually buy what's cheapest and then run it into the ground although, honestly, I've only owned 5 cars in my life (and I still own 3 of them)
 
Too many irons in the fire so boat building has been slow. I did run a large, fairly aggressive half-round file (almost rough enough to be a rasp?) that did a nice job of knocking off the glue & epoxy spots that had made their way through as well as rounding off the edges of boards that weren't perfectly aligned.

I doubt that I'll sand the inside much further. I have another, finer half-round file and that may be it.

I spent Wed night at my friend's woodworking shop where he helped me mill seat parts and I helped fix his tractor.

DSCN3581.JPG

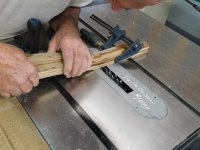
Between the joiner and planer, we got the pieces cleaned up and then made dado cuts on the top of the seat rails for the spreaders.

DSCN3583.JPG
DSCN3585.JPG

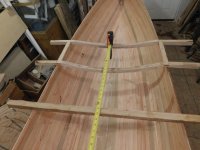
I'm figuring on placing the seat in the more conventional location of about 12 inches behind the center (I think my 1st build was about 24 inches back). I'm a bit skeptical about how I'm going to trim in the bush as I'm pretty sure I'll wind up bow-heavy unless I change how I pack (I carry 1 large pack and a small backpack that's only a few pounds) but I figure that it may paddle better when empty, there are several day trips on local rivers that I'd like to make and, should it ever make its way to the WPASCR, any prospective paddler could get a better idea of how John Winters intended it to paddle with the seat mounted conventionally.

DSCN3588.JPG
Note: Because I'm gluing the seat to the hull instead of hanging it, I'll eliminate the thwart behind the seat. The unfinished thwart above will be the forward one and will be set 28 inches in front of the seat to allow the paddles to be used for portaging (It's laid across the center of the hull in the above photo just so I can measure the seat location)

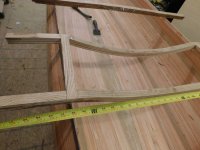
With this seat location in mind, I measured the hull and found that it was 26 inches at the gunwales and about 30 inches at the chine. 10 inches off of the floor, it was 28 1/2 inches (that height puts it mounted to the tumblehome). I'd built the bending jig to make a 24 inch arch and the seat, with spreaders dado'd & epoxied in place, is 26 1/2 inches from flat to flat.

DSCN3589.JPG

With the seat that wide, I'm now committed to the forward seat placement and gluing it to the hull is likely to be a PIA but the flats in the seat should wind up tucked under the tumblehome and the entirety of the useable seat space will be arched. I've done it this way so that moving toward the rail will automatically heel the hull and, with the width, I suspect that I'll pretty much have this boat heeled slightly at all times.

Satisfied that the seat will fit nicely, I clamped to to a bench, cleaned up the epoxy squeeze-out and sanded a radius on all seat surfaces. The radius should make the seat stronger than it would be with a sharp edge and it will also be more comfortable to sit on.

DSCN3592.JPG

I'll fit the seat before going any further on it. Last build, I'd gotten the seat completely finished and was seriously stressed out about screwing it up after all that work. This time, I'll fit it first, then seal it and web it. I'm using paracord for seat webbing again but I'm thinking black this time. (I'm out of green and yellow will show dirt too much)
 
Great progress and the seat looks awesome, it will finish up nice. I think maybe putting the dado on the side might have been better for strength (just a thought for the future).
Since you didn't make the distinction, there is "center" of the canoe and "Center of Gravity" of the canoe and they are not likely to be the same on an asym design. The seat is setback based on the Center of Gravity/Balance, I use about 6" back ( 4-6" is the recommended range), the theory is that when you sit, you lean forward and the setback keeps the main weight over the center of gravity, making the boat trimmed when unloaded. There are no rules, just guidelines. For loading, I have found putting the heaviest pack directly behind the seat makes trimming much easier, a smaller pack forward has more effect, as it is much further from center. i.e. So the weight of my main gear bag behind the seat, is countered by a food bag at the bow.
A thought on that rear thwart, I totally agree with the seat providing structural stiffness/support .... but I have found setting it back about 6" from the seat provides a nice back support when leaning back to stretch or taking a break ... so even though I watch weight, I find it has alternate uses for comfort. That will depend on how you paddle etc, just mentioning a pro for the thwart.

Enjoying you sharing the build with us, thank you for taking the time to share.

Brian
 
I normally set my seats, 5-6" aft of center. Unless you have a radical Symmetry, this works.
Your seat looks like you can adjust trim, by moving your seating position.
Most of the time, I paddle without gear. When I do paddle with gear, I adjust the location of the packs to correct trim.
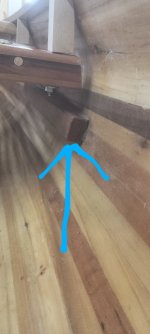
I agree with Brian, on cutting your mortice. It would be stronger, if cut like this one.


1e27eba3-eb3f-43cc-bf27-2f4c9d21e5d4.jpg


Jim
 
12 inches is doable for the Raven, I'm not sure, but I think my first one was 10 inches back, as a reference, here's a pic.
raven 2.jpg
With the seat so far back, I always loaded the heavy barrel in front of me and it sort of made for a neutral waterline. Keep in mind that John Winters said that his solo canoes should squat a bit in the stern for optimal tracking on the flats. The next pic shows how I typically loaded.
raven1.jpg
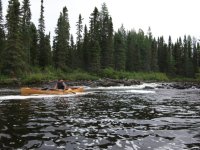
The next picture shows the Raven fully loaded, traveling the 14 miles down Onaman Lake. You will notice the bow is a bit high, mostly because there were 72 cans of beer behind my seat. The trim levelled up as we progressed.
Raven4.jpg
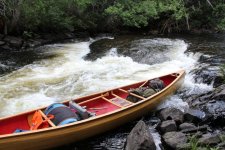
Final shot is just coming out of a small set of rapids on the Onaman river a few days later, the trim is better as the "behind the seat" pack is lighter.
Raven3.jpg
I don't have any shots of my second Raven in action, but it you watch some of Jon's videos in Lost lakes, you might see Raven #1 in action. He did a pretty good job trying to destroy it in an early season whitewater run he did with a couple of guys. My second raven is a much nicer canoe, about 20 pounds lighter, but it won't get the action Raven #1 went through. Raven #1 saw pretty much every canoe trip in the area, including the infamous lower section of the Kapikotongwa river.

In any case, I hope you like it, it is looking great!
 
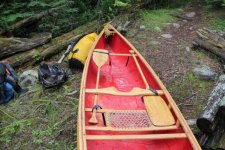
I epoxied rails to the inside on the one I built. After the trip I took last year, I thought it was to low and not enough back. I think I started out 5 or 6" from center. I didn't leave enough rail to move it back, and even to raise it on the existing rails I figure it would be a real pain. Last month I removed the seat, and ground the rails off the inside with a side grinder with a flap disc.IMG_20241225_104518875~2.jpg
I did grind through the glass in a few spots, just barely. I reglassed that area, and hung my seat from the gunnels.IMG_20250102_131332528.jpg
Having the seat sitting on the epoxied in rails would've been fine, but I I'm not experienced enough to get it right from the start.

Springs around corner. Your Raven is looking good.
Roy
 
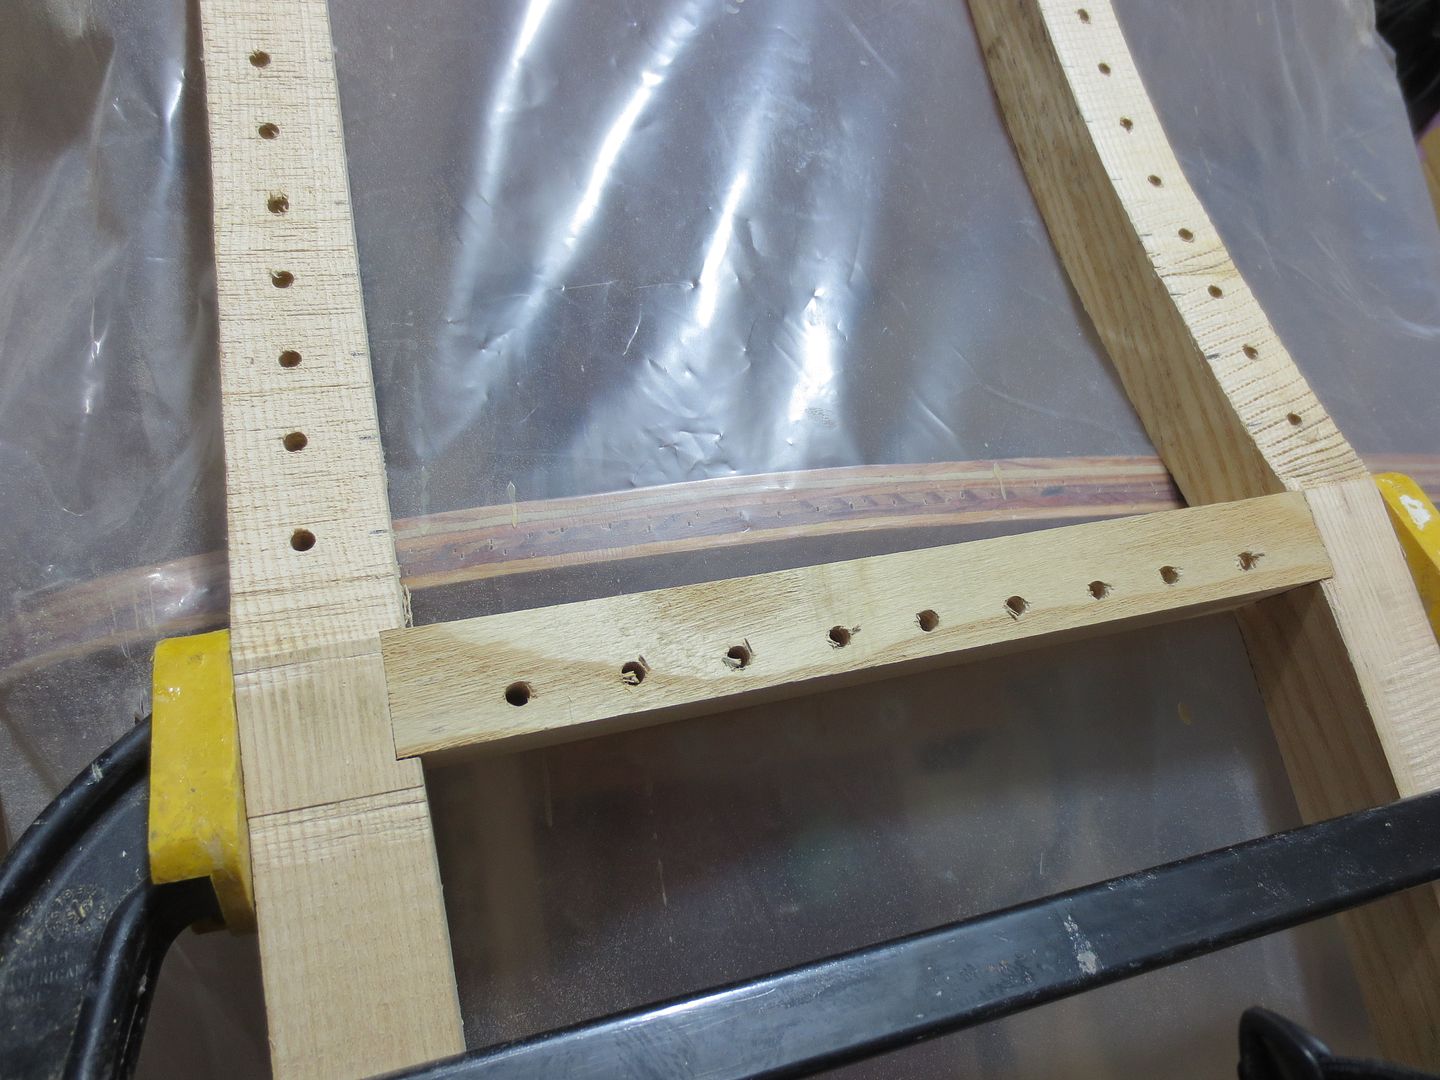
OK, Jim & Brian (or anyone else who'd care to answer), just a quick question on the dados... Why would the side dado be stronger? I'd think that, cutting the top as I have would require compression of the spreader in order to break at the dado so I can use a thinner spreader without compromising the strength of the cross pieces. (not that I'm arguing but I'd just like to understand the physics)
 
I will take a crack at answering. Assuming you intend to use a standard webbing approach side to side and bow to stern ....

When you sit, all of the webbing puts the seat frame in compression ... the bow/stern and the port/starb pieces are being pulled in or put in compression, Additionally, the bow of the seat will also add an upward force component, trying to lift the bow/stern strut (due to the curvature of the seat rails).
- the dado as it stands will largely be under a compressive force inward, but that outside edge is also going to want to flip up, not the end of the world, but not the stress you want on that joint.
- also when you sit, those outer seat rails take all of the downward weight load. Looks like you made a 7 layer stack, then cut 3 of those layers to make that dado .... reducing the weight capacity of the rails significantly (~40%). The actual dado portion will lend no strength for this load and cutting it this way impacts the capacity of the rails.
- I suspect the depth of your dado is mandated by the depth of the cross member

Looking at Jims pic, the side dado requires much less depth, because it only requires the dado to help with horizontal load. The load is all on the lumber and not on the actual joint. Also with the smaller vertical dado, much less wood is removed and the 7 layer stack is completely intact for the remainder ... i would guess less than a 10% sitting load capacity reduction. If you want a bit of weight reduction on the bow/stern cross member, using a side dado, just make an arch cut away on the bottom and allow full thickness just at the dado portion.

So IMO the priority in seat construction would/should be the outside rails first, they carry all the actual weight, your design is focusing on the spacer rails and compromising the actual load bearing members. Having said that, it doesn't mean that the seat will fail, the remaining portion may already be sufficiently strong. I am glad you aren't upset, making suggestions can get sticky real fast, I offer them at face value when I have something that I think may help.
 
Back
Top