Well, I've managed to steal a day here and there...
I went to my local lumber yard and bought 2 sheets of 3/4 plywood (or what passes for it these days... likely the metric equivalent...) for the strongback and 2 sheets of 1/2 inch for the station molds.
In hindsight, I may have been better to buy the 3/4 at a big box and pay them to cut it or found someone with a table saw and ask for help but I did neither. I figured I could use the edge of one sheet as a saw guide and get straight cuts by myself... that could have gone better.
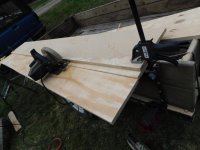
Knowing that I have more boats to do, I left the guide on the circular saw I'd used to cut strips and grabbed one of my other ones. The blade kept walking away from the "guide" and I swapped blades a couple of times before determining that the issue was the saw... The bearings were shot. On the bright(?) side, I only had a couple more cuts to do when I changed saws but, of course, the cuts I had already made were somewhat rough.
Canoecraft says to allow the better part of a day to build the strongback and mine took pretty much 8 hours by the time I swapped saws & blades then shimmed it to correct for the irregularities of the cuts, unevenness in the floor etc but I got it done and I am pleased that it is both straight & level.
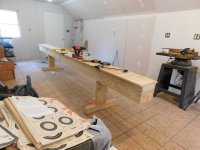
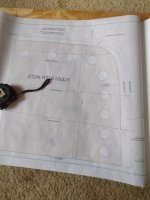
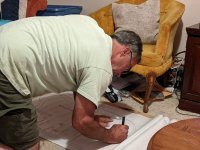
Almost 2 months would pass before I could get significant time on the project again and June looks like it's shaping up to be my best chance to make headway. I had cut the 1/2 inch plywood sheets in half lengthwise (with the good saw) and I spent a couple of nights transferring the plans onto the plywood. I played with a couple of different ways to line it all up but, in the end, I found that it seemed easiest to cut small windows in the plans, draw the centerline onto the plywood and then trace the station line with carbon paper (Bear Mountain included some really good paper with the plans). As this canoe is asymmetrical, I had to flip the plans to mirror the other 1/2 of the station but the paper is really thin and easy to see through and the windows cut into the center line made realignment pretty easy.
One part of the plans that I found funny was the stem shape. I'm building stemless (because I'm lazy, I'm more concerned with trying out the hull shape than making it last forever and I've always been a fan of cutting corners

) but I wasn't sure how to adapt the plans so I contacted Bear Mountain.
Their response wasn't terribly helpful as they seemed incredulous that I could be so sacrilegious as to even think such a thing and chided me that "you wouldn't build a house without a frame, would you?". I responded that I actually live in a (frameless)
plank house which were fairly common in Appalachian coal country a hundred years or so ago and that, while they present some unique challenges (especially when remodeling), it seems reasonably habitable and would be even more so if I were better at cleaning.
The response made me smile. It was a somewhat terse: 'OK, so the house was a bad analogy. Others may tell you that building without stems is ok but we certainly won't as what you will wind up with is a flimsy boat.'
Undaunted, I decided I'd have to figure it out myself and dutifully set about to ignore their advice. After all, they've successfully built hundreds of canoes and were, no doubt, set in their ways... What could they possibly know? This being my first boat, I was more open to new methods. (actually, I think it will be pretty durable but, as stated above, I'm not too worried about it if it's not)
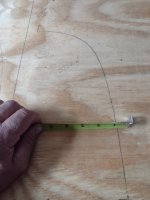
I traced the stem pattern, added 3/4 of an inch to simulate the missing stem and ended it with a vertical line where it will meet the 1st or 15th station. It won't surprise me much if the epitaph on my stone reads "eh... that should work".
Among the reasons that I've struggled to find canoe-building time is that I have a friend staying with me while she heals from some medical issues. When she has a lot on her mind, she finds it helps to have busy hands and she claims that she enjoys cleaning so she's been steadily working her way through the house and making piles for me to sort out when I get home. As I do not want to (in
any way) discourage her from cleaning, I dutifully sort the piles regardless of how tired I am and I'm trying to be a little neater on a day-to-day basis.
I mention this because I've lacked adult female supervision for the past decade or so and thought nothing of moving a recently acquired band saw into the dining room where I experimented with some seat configurations over the winter. After she organized that room, she pensively wondered aloud if there might be someplace else for the saw to live as the sawdust was a bit difficult to get out of the carpet.
This should go far in explaining why I carried a band saw out into the yard this past Saturday afternoon where I cut as close as I dared to the lines while making certain to stay slightly proud.
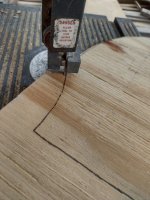
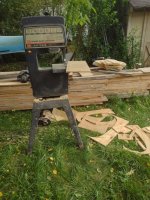
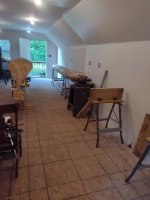
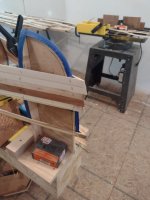
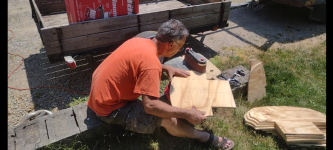
I then loaded the saw onto my trailer and took it to the "canoe shop" upstairs of my friend's garage. As it was a gorgeous day and I liked the idea of not sweeping up sawdust, I set up my new oscillating belt/spindle sander and went to work sanding the forms down to the lines. It went surprisingly fast and I'm reasonably sure I had more time tracing the patterns onto the plywood than I had cutting them out or sanding them flush with the lines.
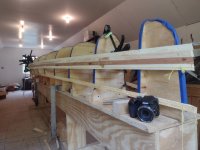
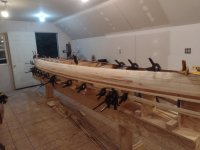
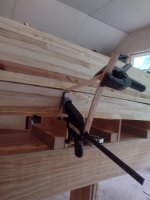
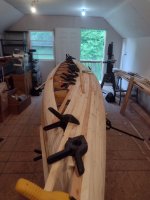
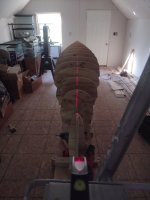
At that point, the saw, the sander and all plywood pieces were carried upstairs. I attached rough cut Hemlock 2x2s to the strongback at 12.75 inch intervals as instructed in order to make the 16' 2" version of the boat, attached and leveled stations 1 & 15 (first and last) then attached uprights to the center line and stretched some mason's line between them. Station #9 was the tallest so I attached it next and worked my way toward either end while aligning the center line of the station mold with the center line on the strongback and the string line above (I gradually lowered the string on the uprights as the forms became shorter). It went well and took about an hour to get all stations attached and ready for tape and strips.
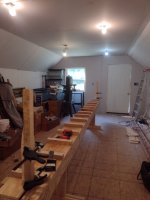
As I was packing tools, I realized that my laser level was in the bag (I'd looked for it earlier) and I was very pleased that the string method appeared to have worked with a high degree of accuracy (certainly good enough for me).
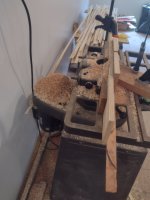
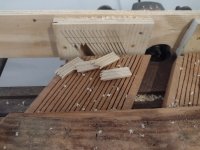
The final step Sunday was to arrange onloading & offloading stations around the shaper and attach a beading bit. I played around a little trying to get the depth of cut correct but that will have to wait until next time. I have at least three 12 hour days this week so I'm hoping to get all strips cut this weekend and start gluing them in place. I'm certainly looking forward to doing something that doesn't require as much precision and I'm really thinking I can pretty much just slap the hull together once the strips are machined... I guess we'll see...
