• Happy Birthday, Marlene Dietrich (1901-1992)! 🔷😇🦵🏻

My first build - Bob Special

Joined
Sep 20, 2019
Messages
340
Reaction score
334
Location
Godmanchester, Quebec
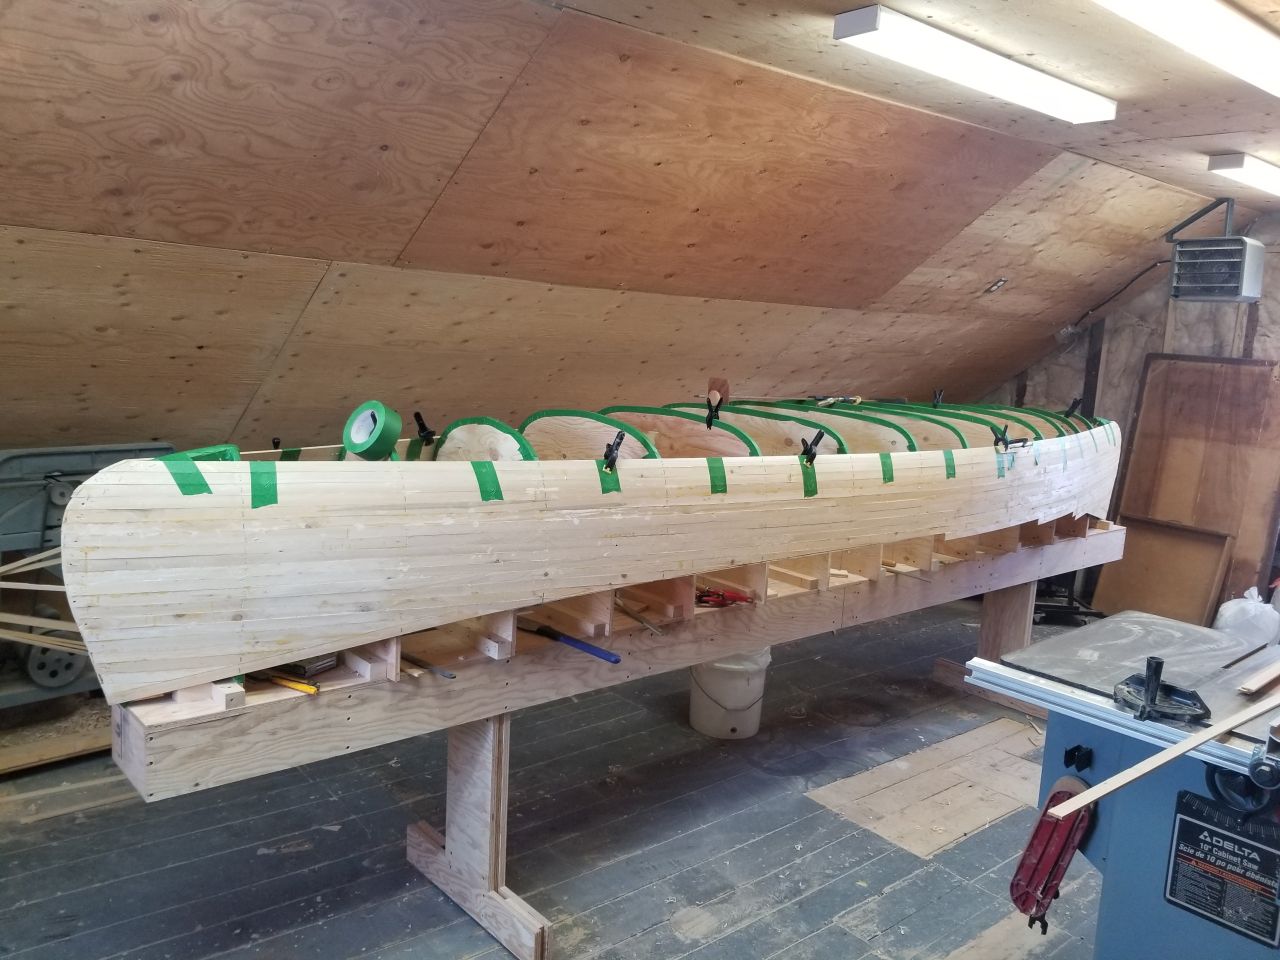
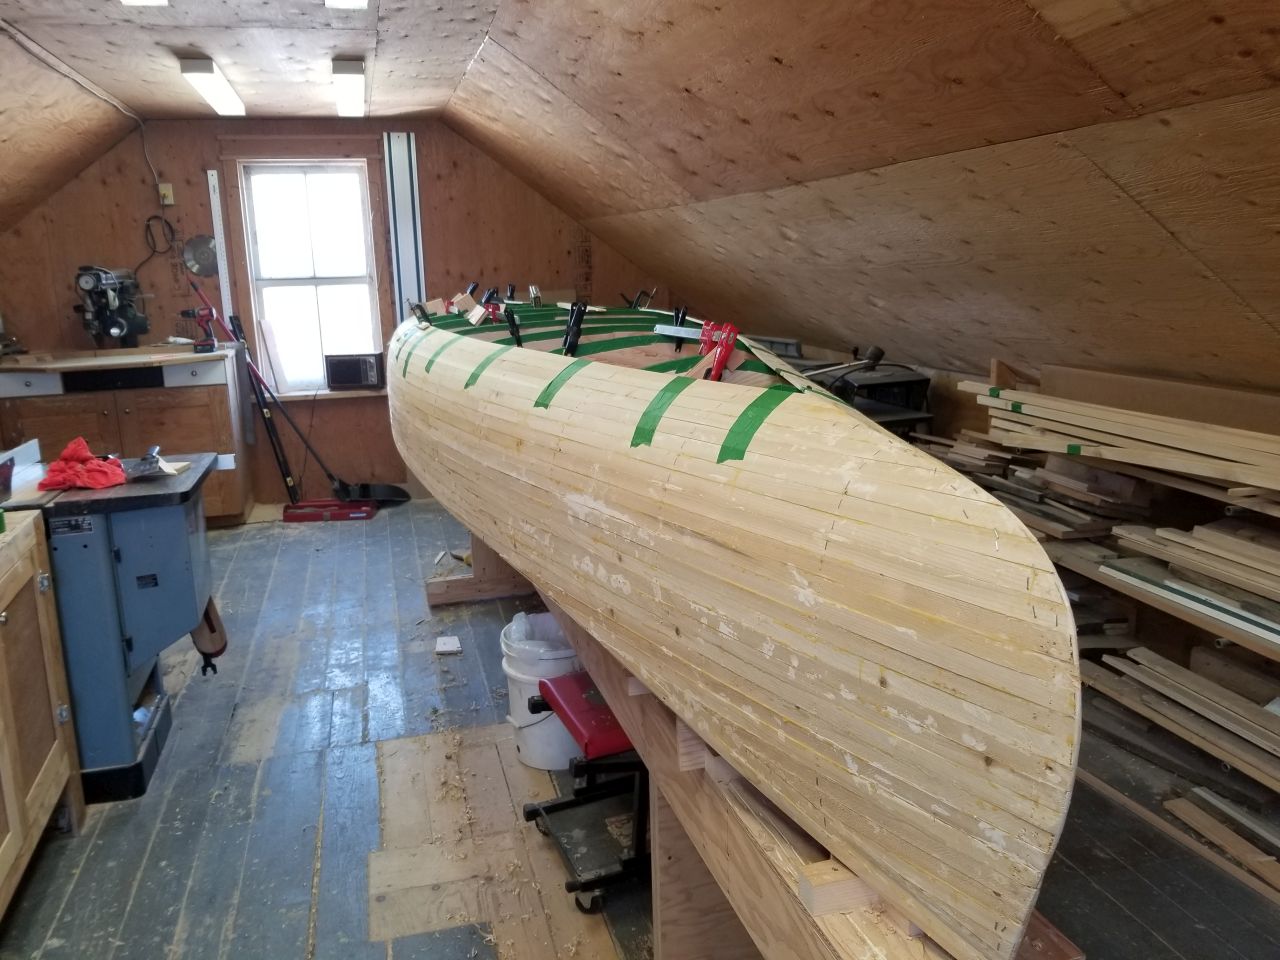
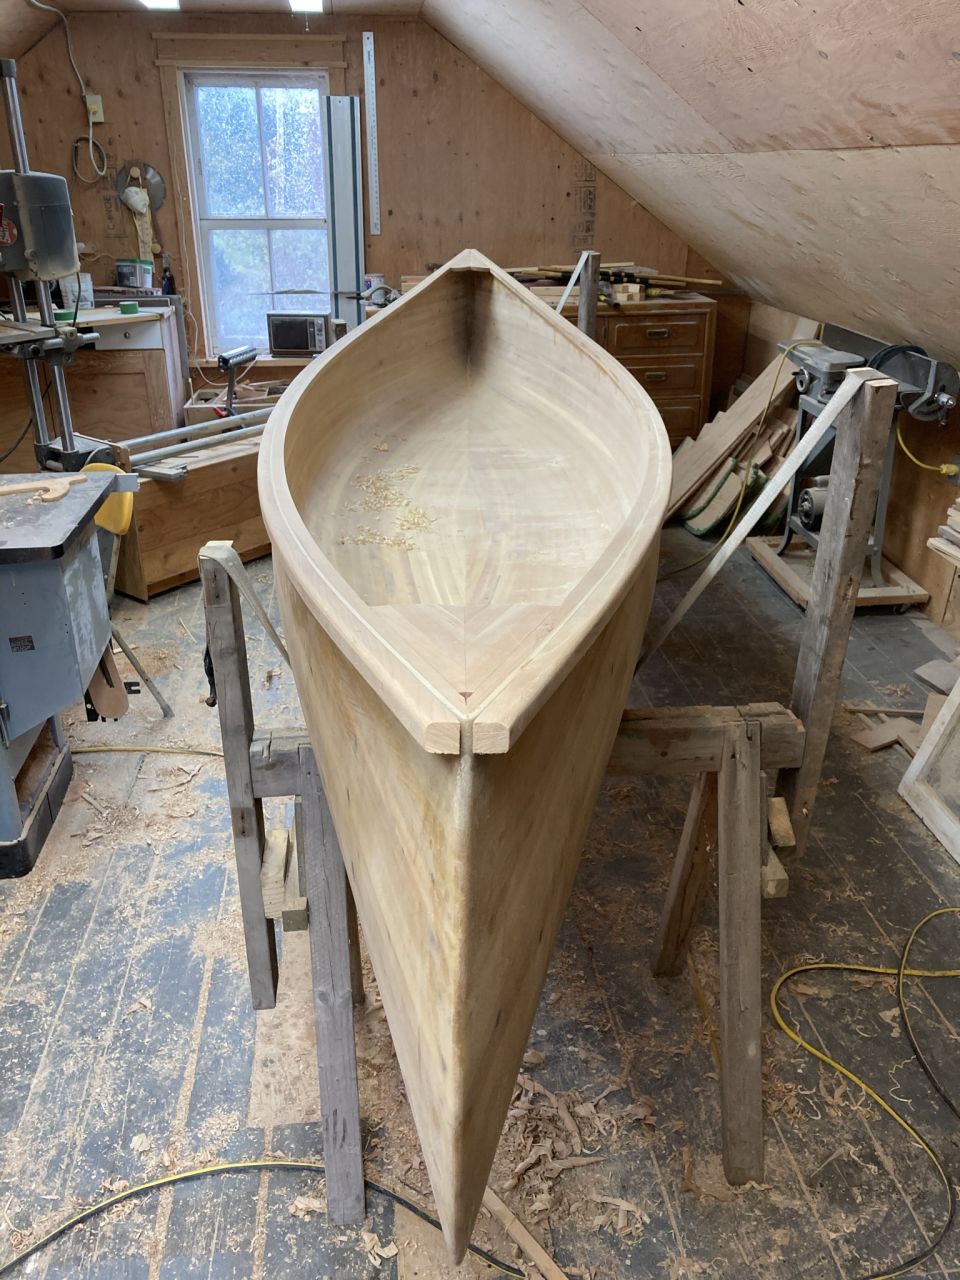
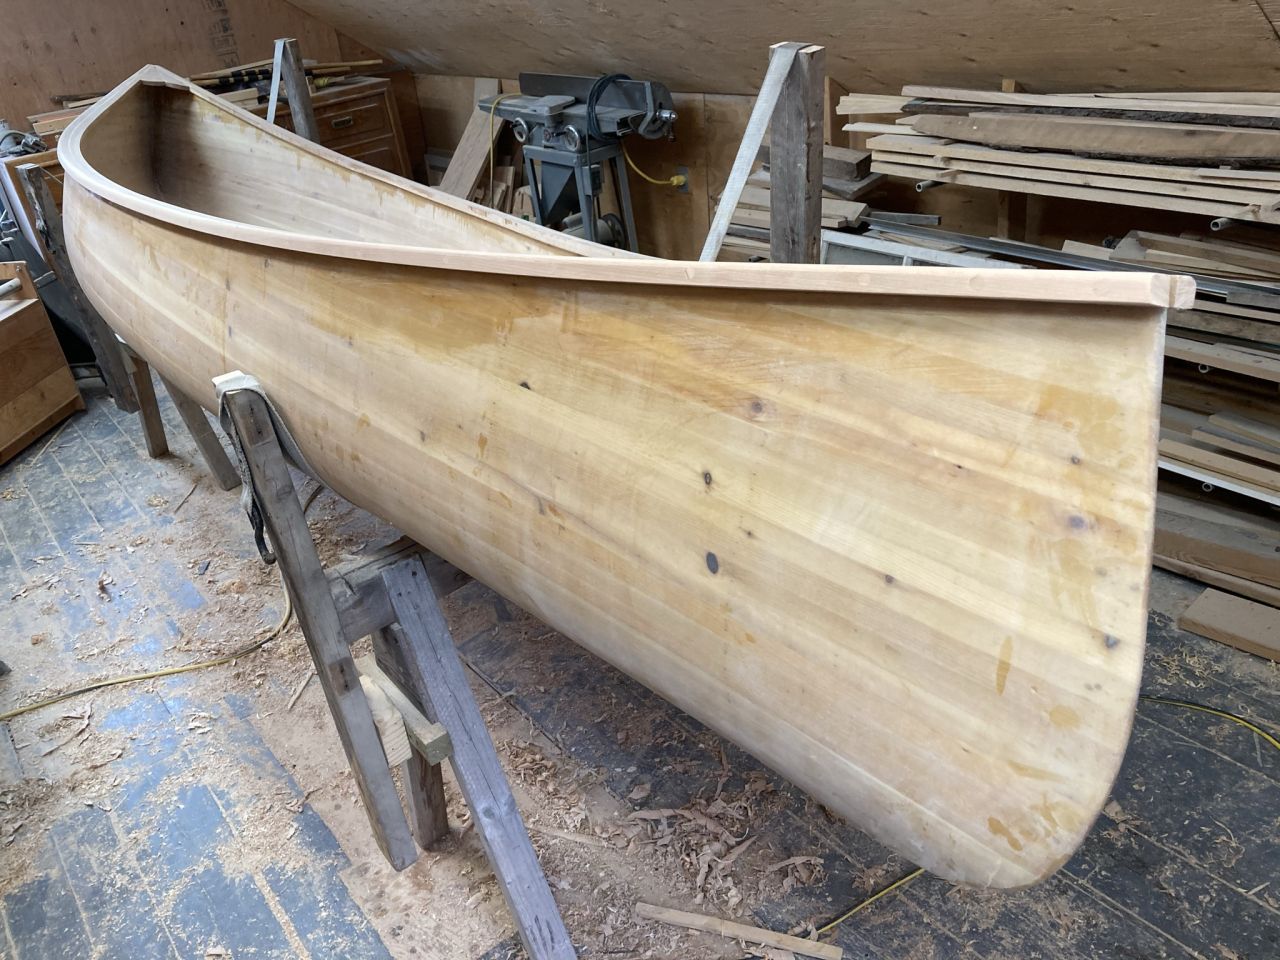
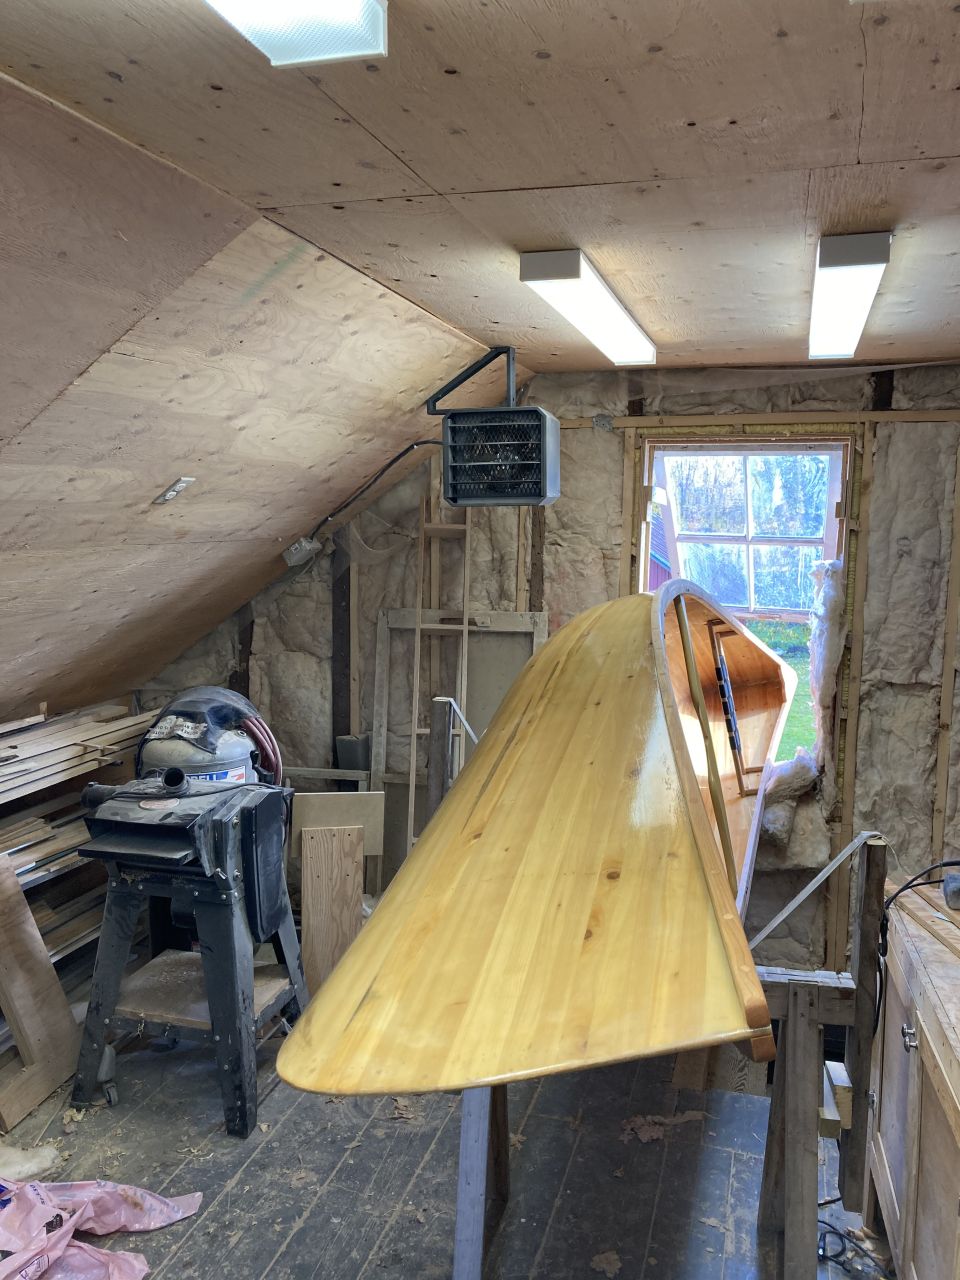
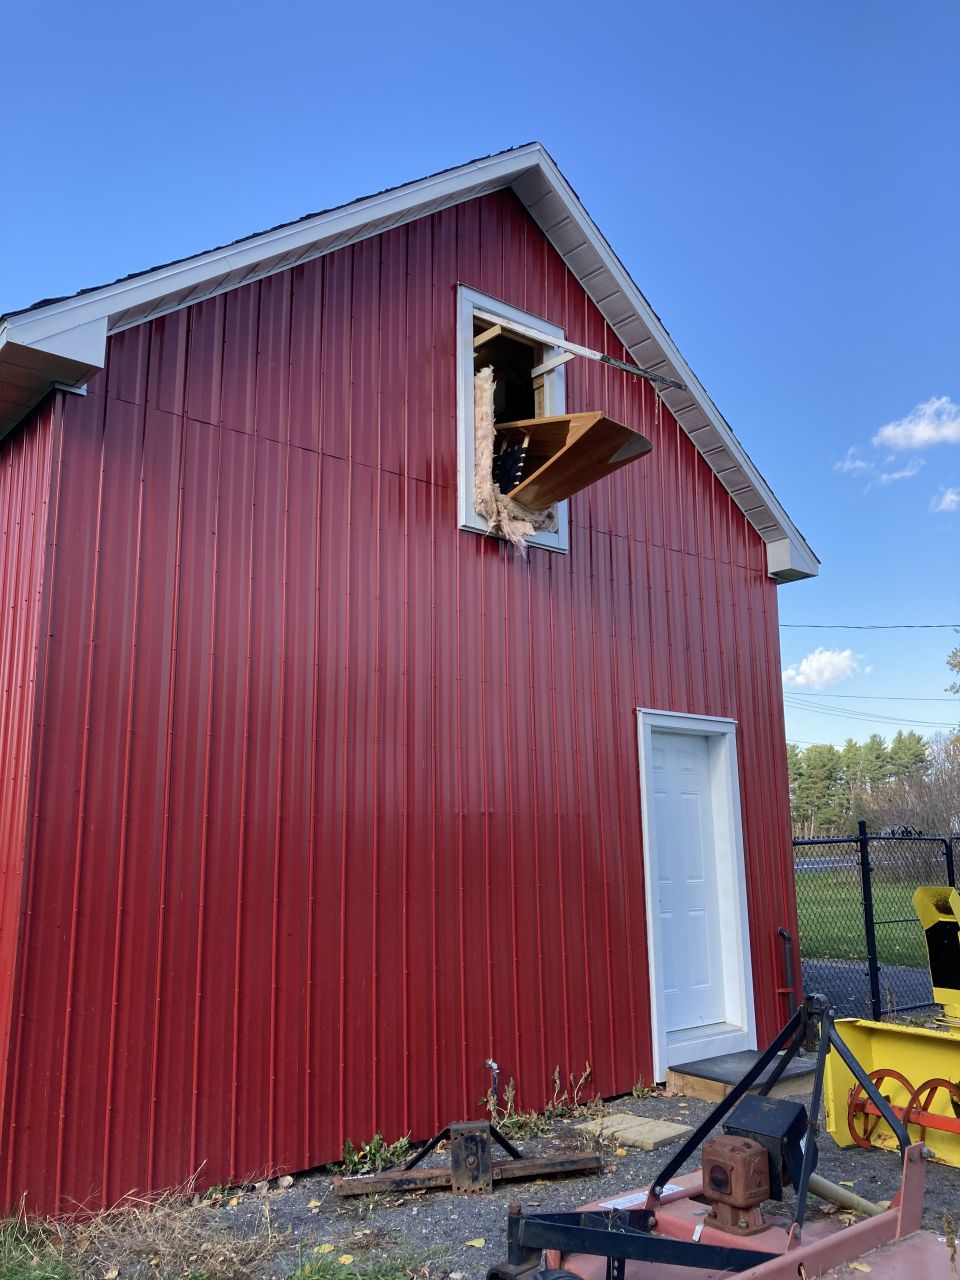
As titled, this is my first build - a stemless, 15' Bob Special from Noah's Marine (a Windsor Boat Works design, I believe). The target weight is 50lbs and I will be taking it easy on myself as far as esthetics go (luckily - you'll see) - zero consideration given to the sorting/matching of strips. This is happening on the 2nd storey of my garage shop - canoe will be leaving through the rear window (which was measured approximately 73 times throughout the build).

The strips are eastern white cedar sourced from a local hobby mill. I bought 22 lengths of 5/4 x 4" x ~9'. I planed them down to 3/4". I pained over strip thickness, wanting to save weight without giving up too much strength. I decided to mill the strips at 0.210" which gave me between 13 and 14 strips per board (thanks to Freud). I stopped after milling 11 boards, and so ended up with enough wood for another boat. I did not bead and cove the strips - I opted to use a rolling bevel and purchased the Robo-Bevel jig from Guillemot Kayaks as well as Lee Valley's micro plane.

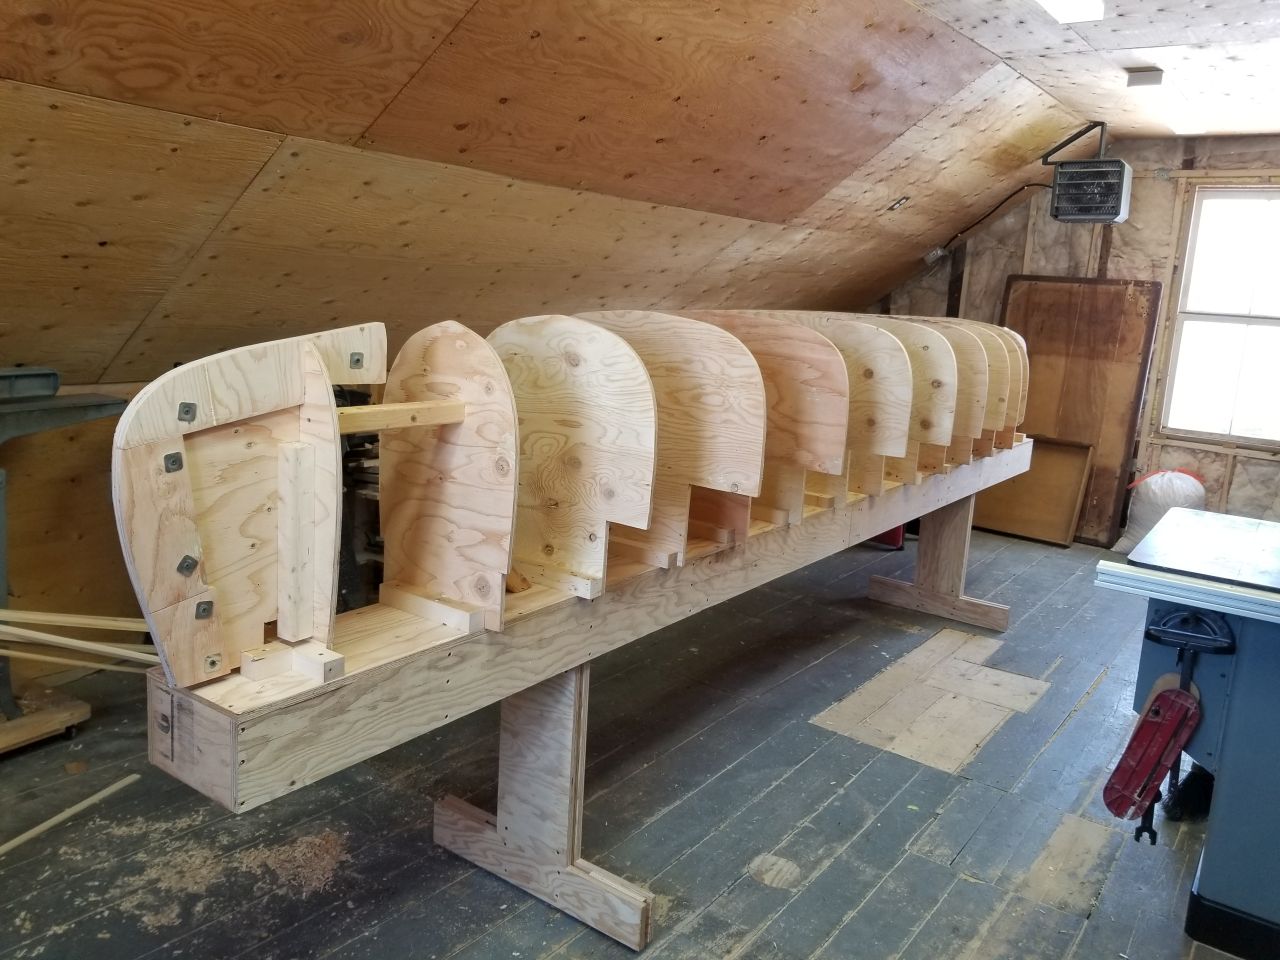
The strongback was made from some industrial plywood that was being liquidated. A weird size - just shy of 11/16" - probably 17mm. Though at $10 a sheet, I loaded as much as I could.

Forms were made from 1/2" plywood and looking back, I should have gone thicker and probably for a different material, but the mdf is terrible here - delaminating and such. I used green painters tape to cover the edges of the forms. This proved to be a rather large mistake - more later.

March 1st, 2020 - Ready to start stripping the hull. Note that the insulation washers on the stem forms are there simply to provide some extra thickness so that my 1" screws don't poke through the other side.
can03.jpg
 
I opted to run the first strip level starting from the middle forms. I think this made things a bit easier - it would also help later on when establishing seat positions. I used too much glue (Titebond II) and would pay in elbow grease later. Cheap, dollar-store spring clamps helped with strip alignment between forms - no bead and cove made this a bit finicky. Butt-joints were mitered to avoid gaps from less than ideal cuts/strip placement.

can05.jpg

can10.jpg


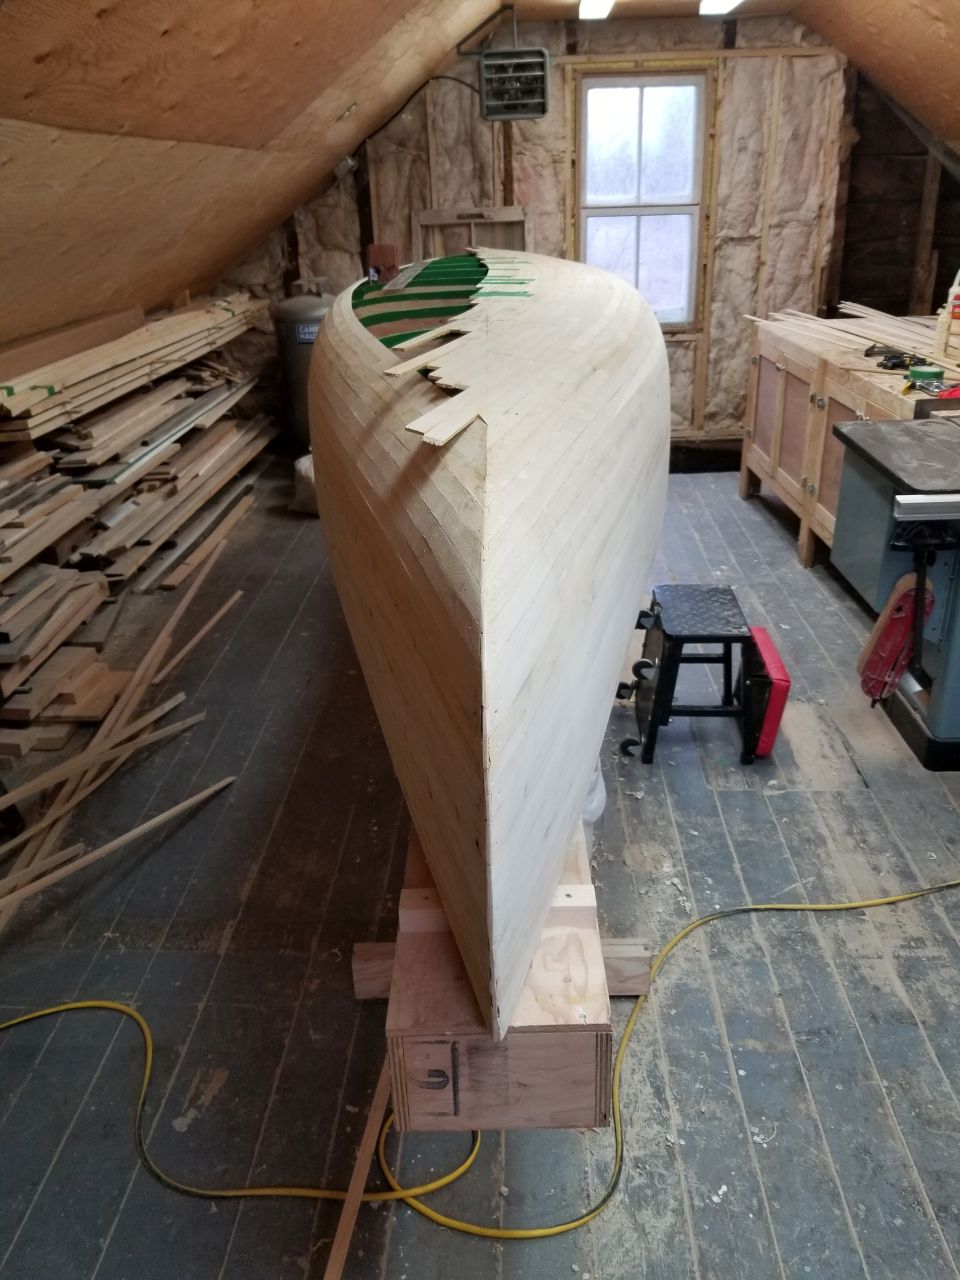
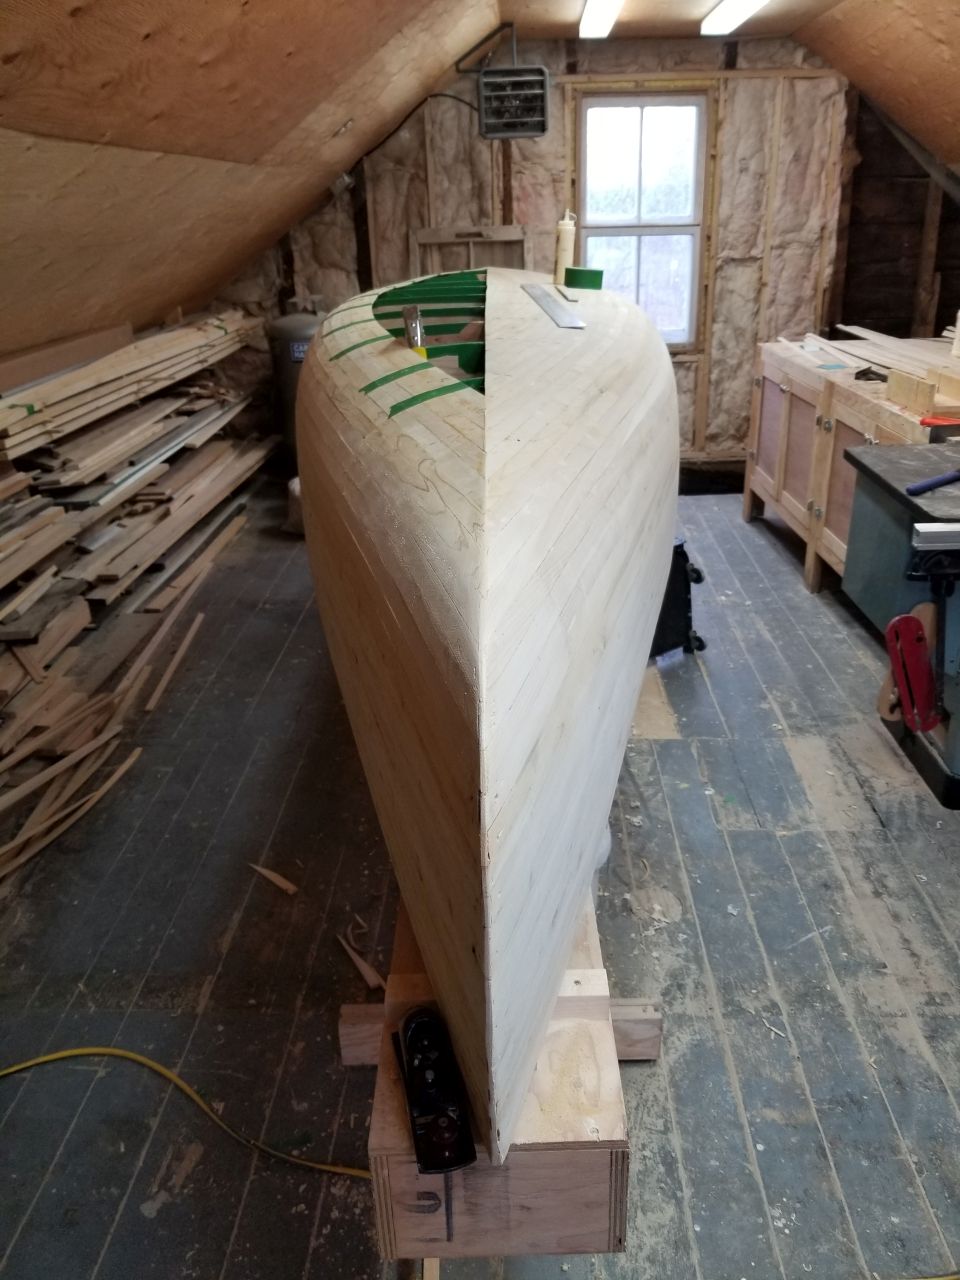
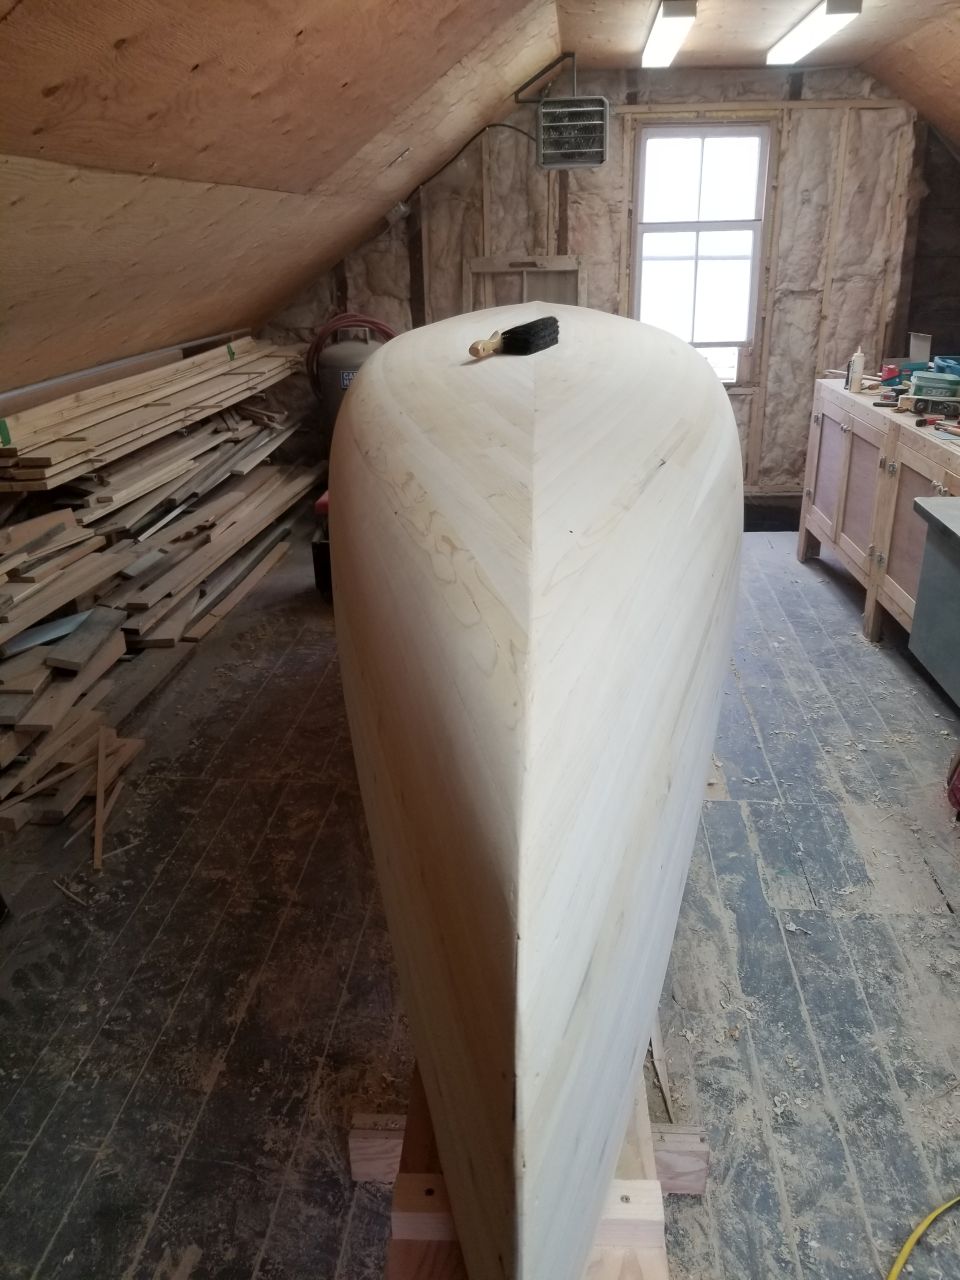
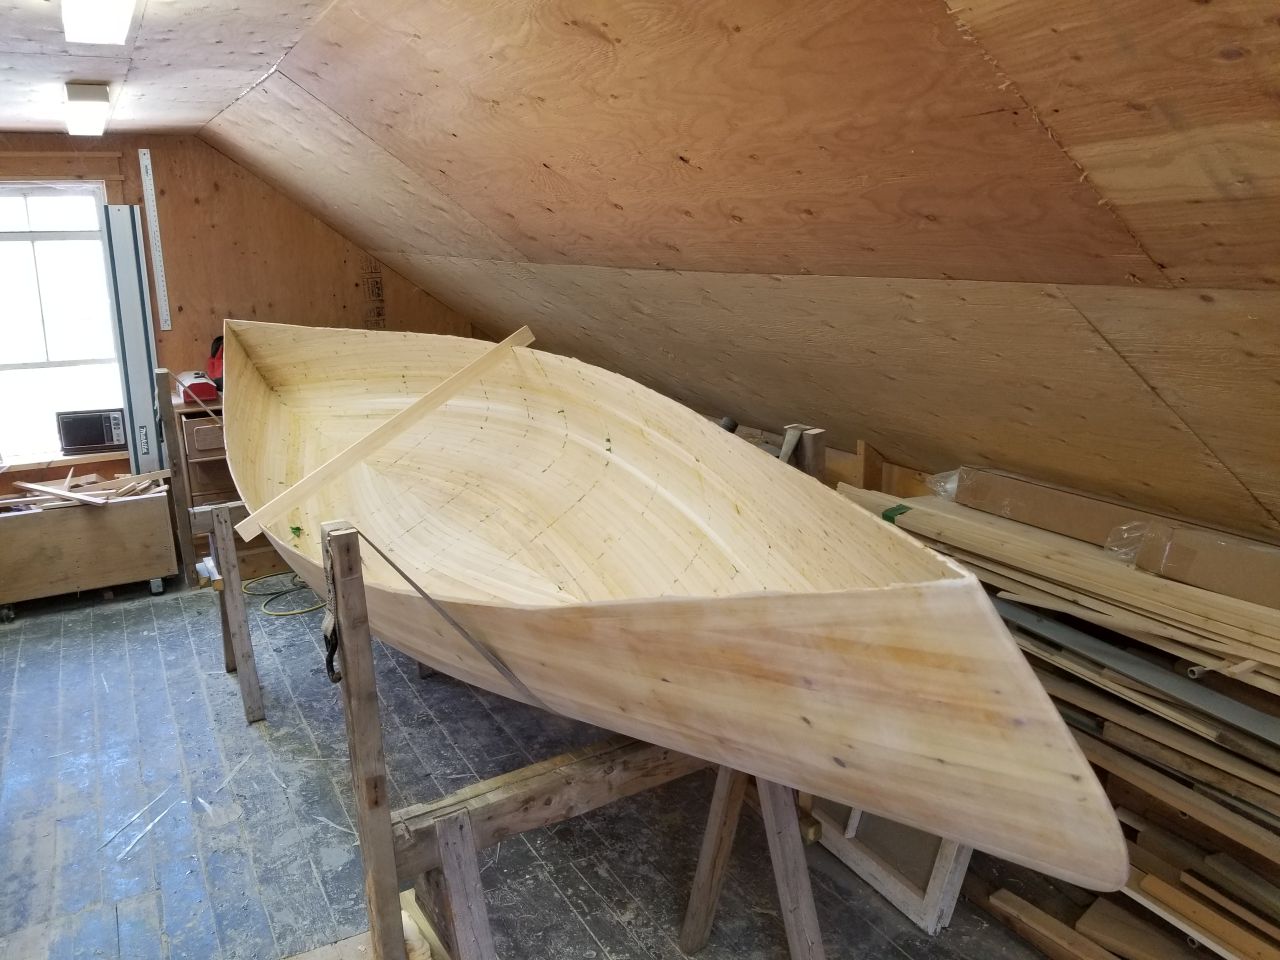
I had not made the decision as to how to fit the football strips until I actually arrived at that stage. I chose to fill one side and then cut the center line. I did this with a pull saw for the rough and snuck up on the line with a sharp chisel.

can13.jpg

can14.jpg

can15.jpg
 
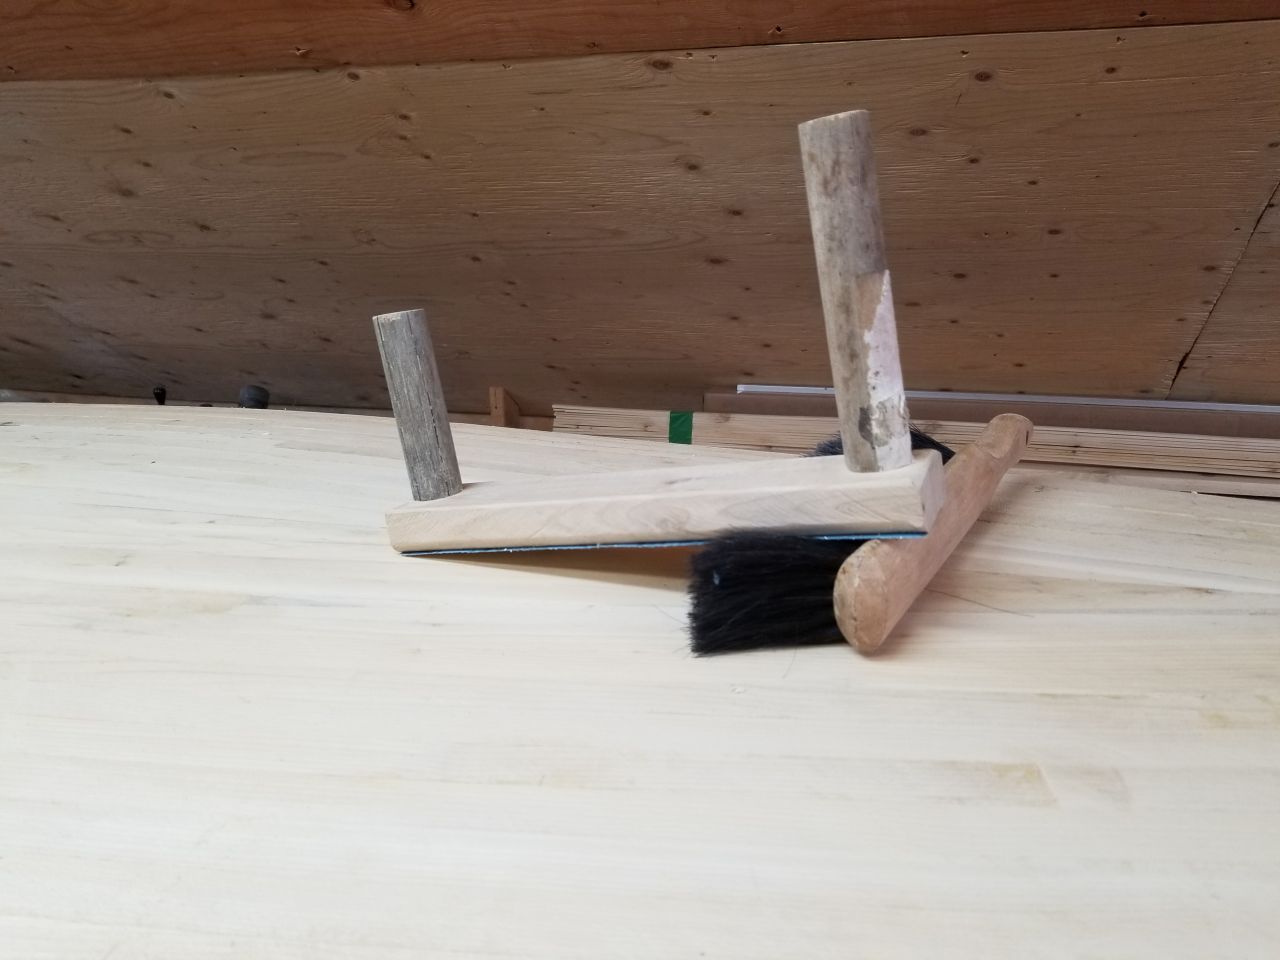
I tried fairing with a block plane, but the excess glue would catch and cause large tear-outs. I fashioned a version of a surform out of an old broom handle and a block of oak. I spray-glued on a sheet of 60 grit and went to town (and back, several times).

can18.jpg

can21.jpg
 
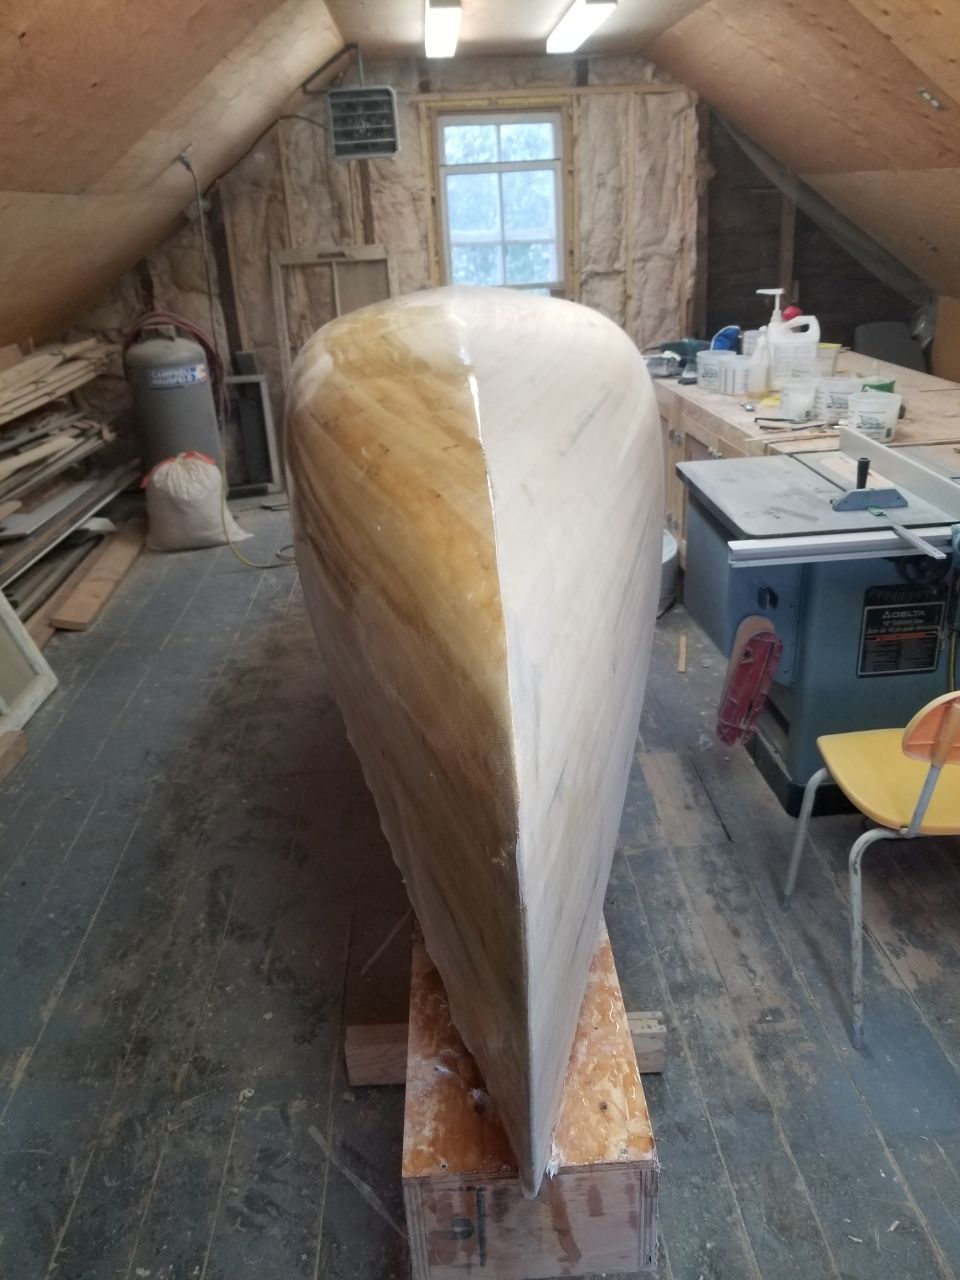
It was at this point that some bad stuff happened. I was very careful during the stripping/beveling to address any areas where the green tape may have been nicked or otherwise damaged. Alas, the stem forms refused to come out. I decided to put them under constant stress while I tapped the hull - lightly - with a rubber a mallet. I used a holesaw to drill through the exposed bottom of the stem form and ran a ratchet strap through it and around the leg of the strongback. I cranked, tapped, cranked, tapped, cranked, and SNAP!. The hull gave up and split through the middle of a strip (glue joint was good, I guess), 3 strips up from the keel for about 30" back, on each side (obviously). My lack of emotional reaction sort of freaked me out. I went to the other end and proceeded to break it, too - in for a penny, in for a pound. No pictures - sorry.

Most would probably let things cool down before facing the project again. Not me - I lose sleep over crap like this. It hit me somewhere around the bottom of rye #2 - it started out as strips of wood. I will simply glue it back together. And so I did.
 
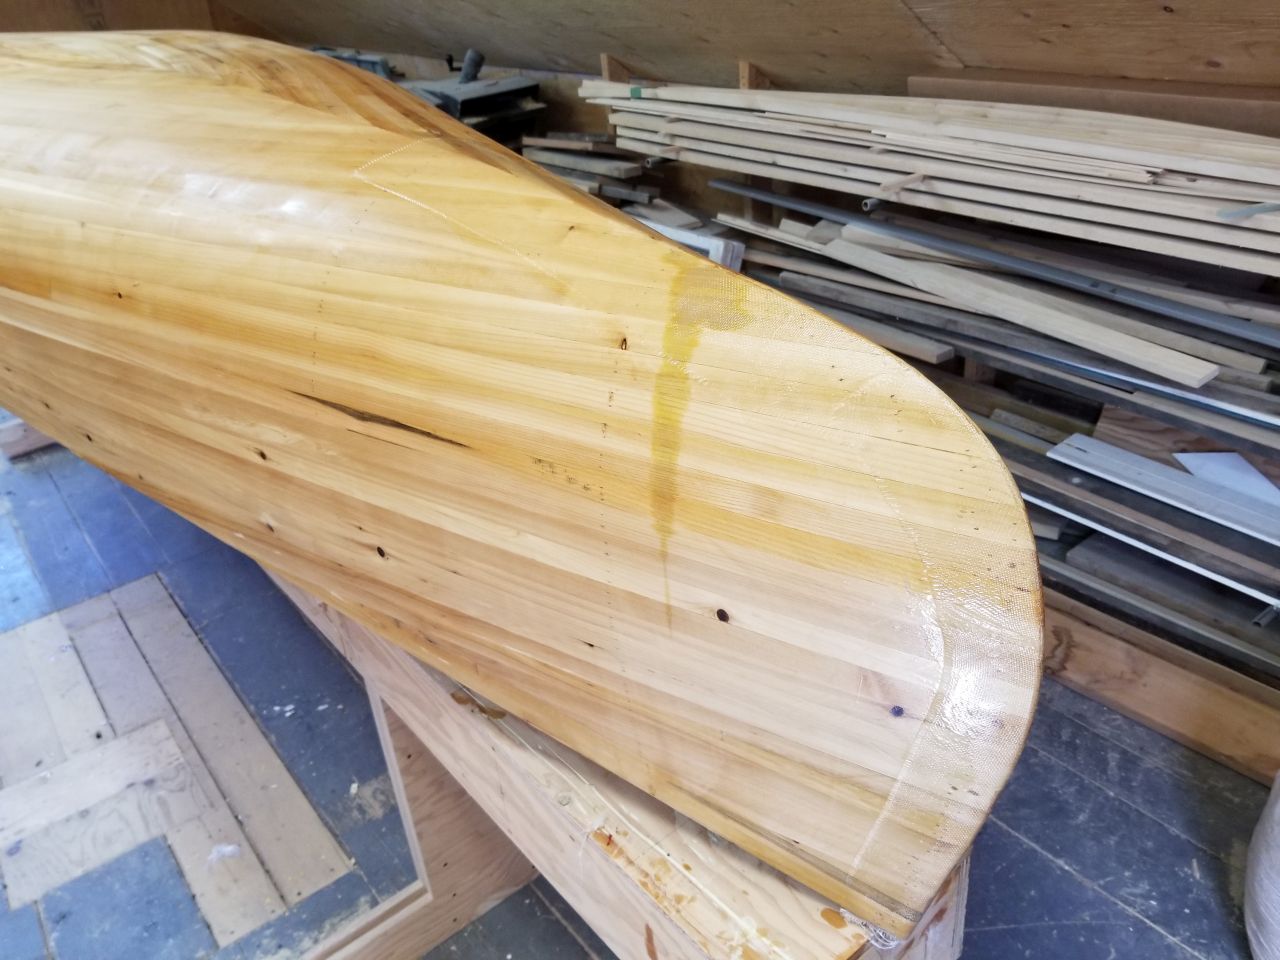
It's now mid-April and Spring is really trying to make its debut but it was a hard slog this year. I was doing some work outside and a robin - unbeknownst to me - decided to fly into my open garage and make its way upstairs where of course it became trapped. It wasn't until much later when I returned to the garage to close up for the day that I heard strange banging noises emanating from the 2nd floor. Sure enough, in between attempts at smashing through the upstairs windows, it took several large bathroom breaks on the canoe's unprotected hull. Nothing for it - the hull had been deeply penetrated by one of nature's most effective stains. I christened the boat the SS Cloaca.

So now I'm a bit put-off, but since the next steps are temperature dependent (and I'm too cheap to turn on the heater for extended periods), it sits for a few weeks. I ordered more goodies from Noah's Marine - fibrelass cloth, epoxy (East Systems), and some spreaders, metering pumps and the like.

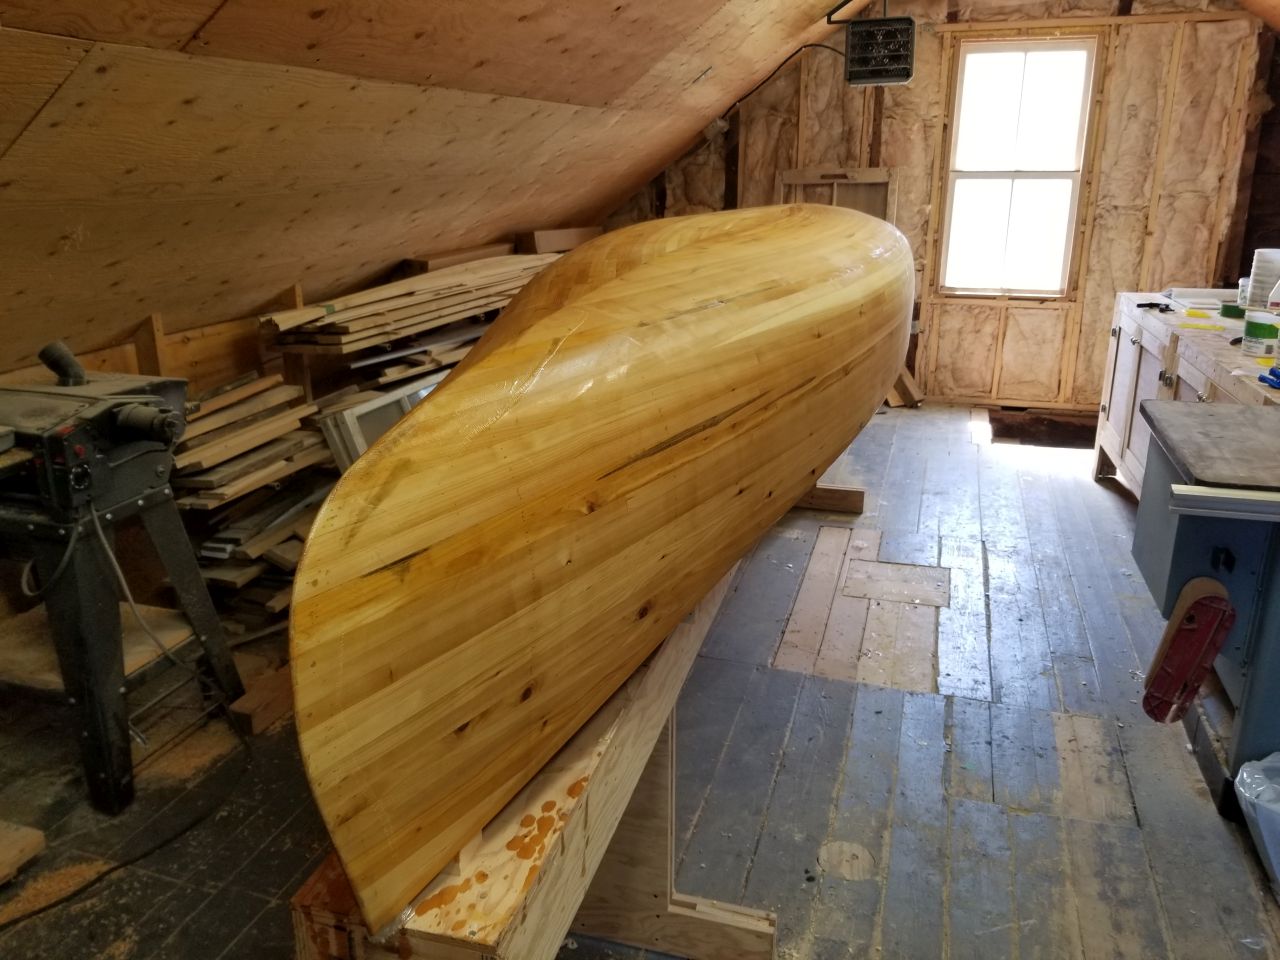
June rolls around and I'm back at it. I know there is some debate about this but I decided to go for a skim coat. I also put a strip of glass over the stems at the same time. Let's see those sh!t stains:

can22.jpg

can23.jpg
 
Last edited:
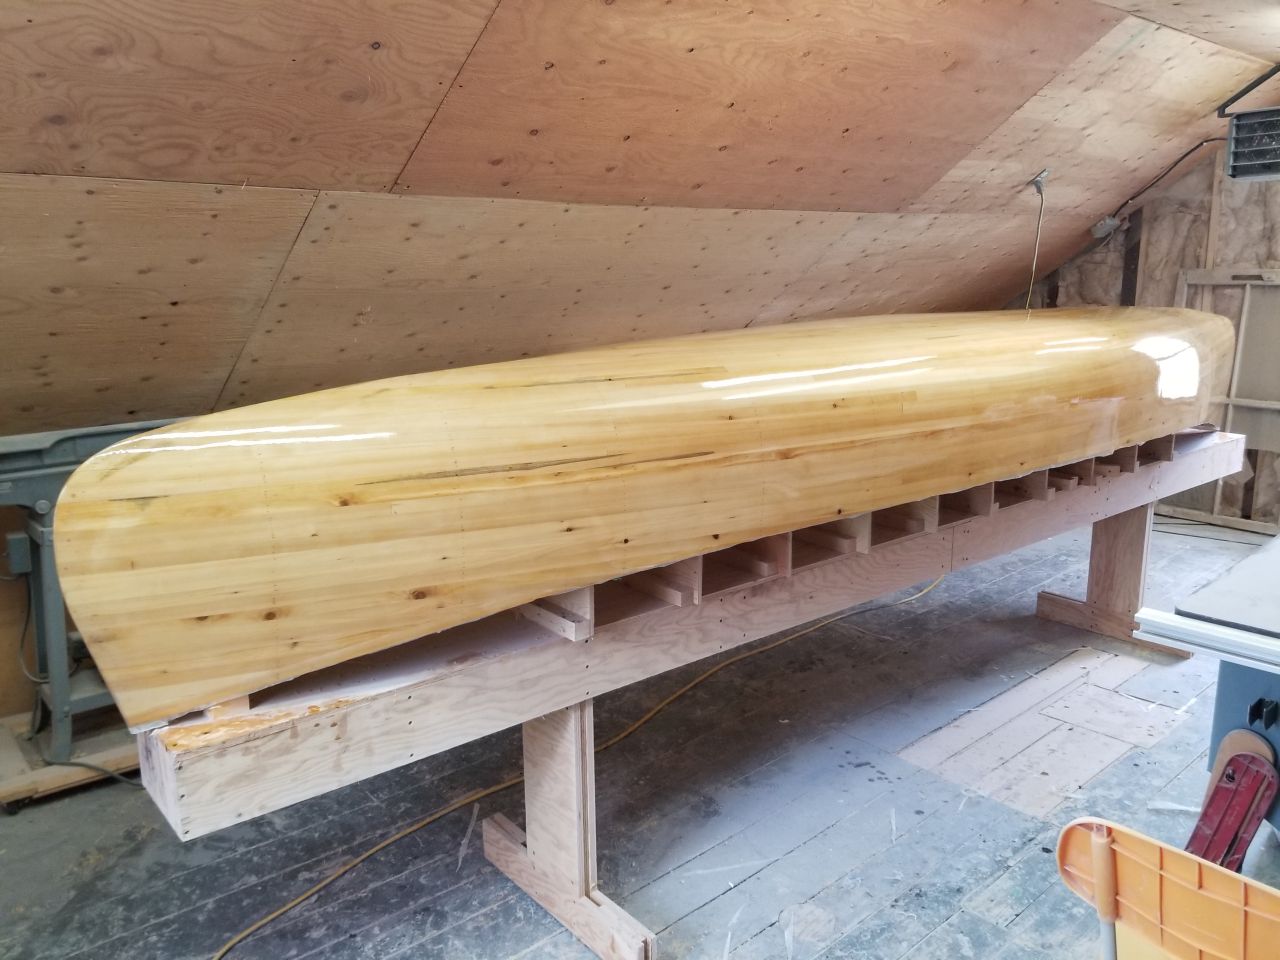
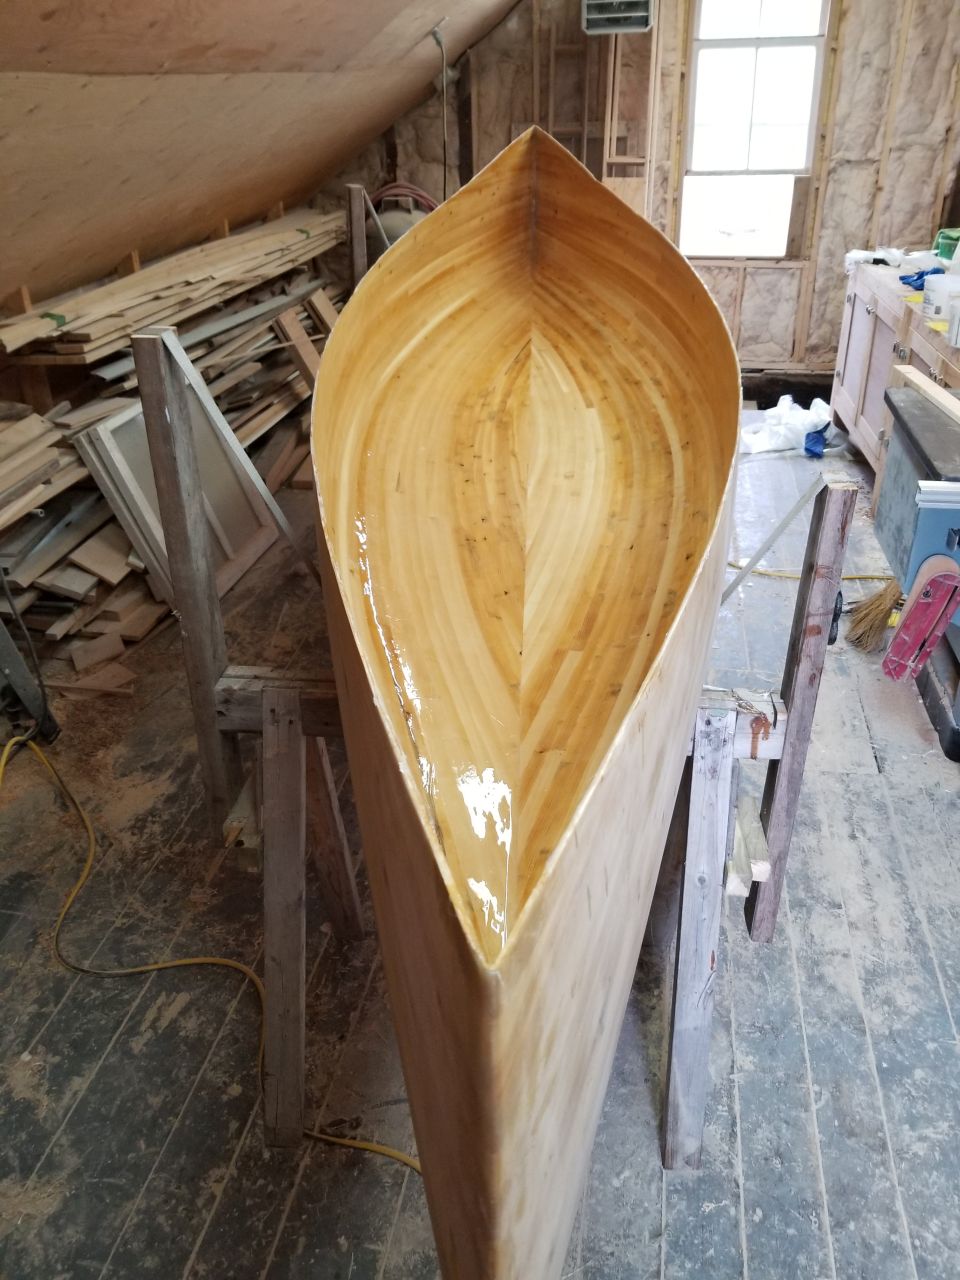
I also opted for a mechanical bond over chemical, mostly because I wanted to avoid the stress and commitment of doing it all at once. Of course this meant more sanding and as such I will probably opt for a chemical bond next time around. The hull was covered with one layer of 6oz cloth plus an additional layer on the football, both inside and out. It took 3 coats of epoxy plus an additional "touch-up" application in areas where the weave was still apparent.

can25.jpg

can26.jpg

can28.jpg

can33.jpg
 
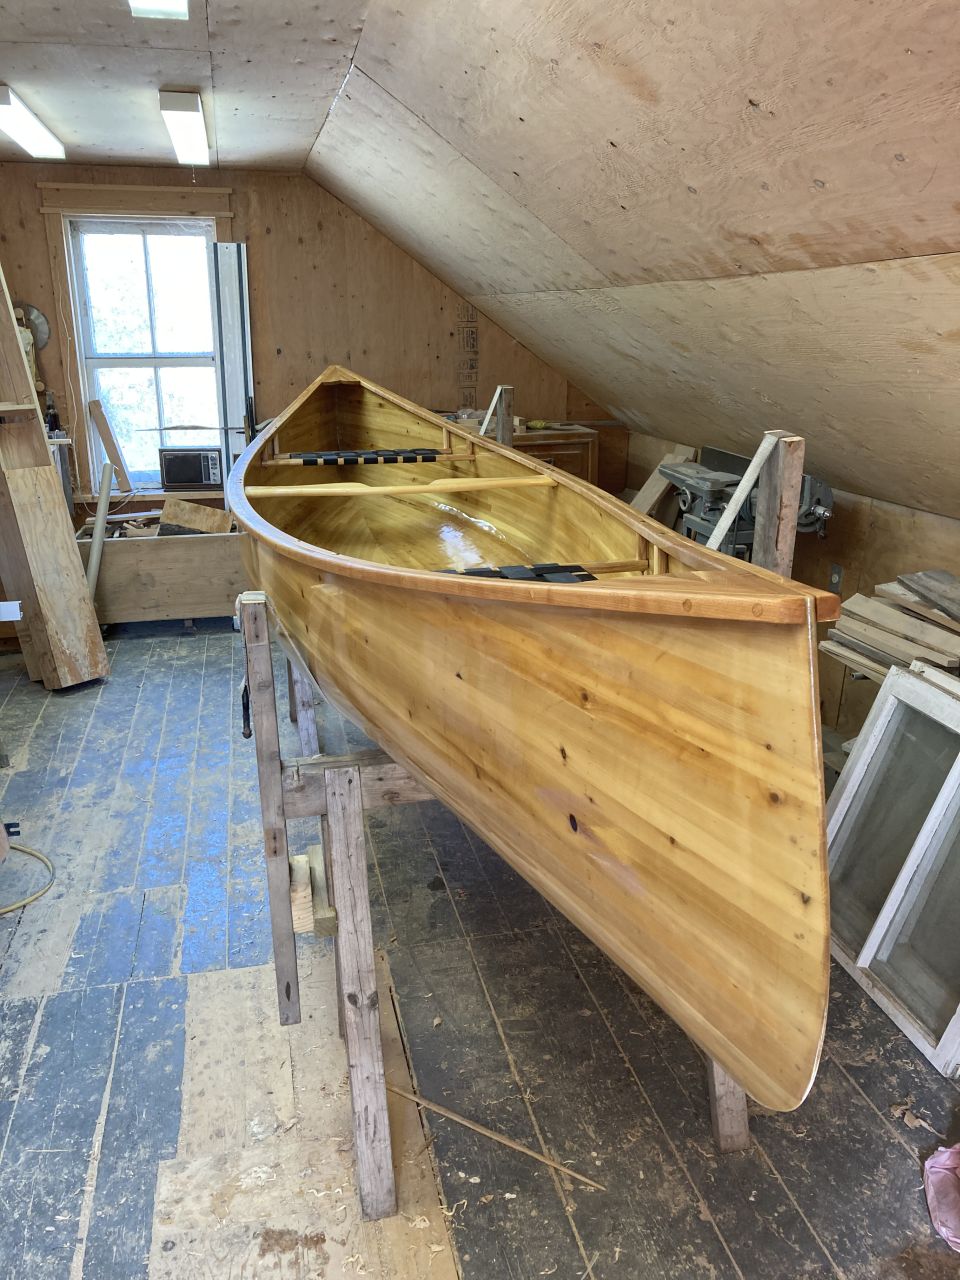
I called up my wood guy again for some gunwale material. I opted for cherry and came home with 3 decent slabs. After some analysis I laid out the cuts and ended up with enough for the gunwales and decks, although the decks would be from laminations - not solid. I figured I would try to emulate the hull strips into the deck with the hopes that it would not be too cheesy. The gunwales are 3/4 x 3/4". In the future, I would make the outwales a fair bit slimmer. I decided I would run the inwales all the way to the stems and that they would be tapered to half their width starting 32" from each end. Each gunwale has at least one scarf, and one outwale has 3. While tapering inwale number one, I realized I had started 90 degrees off of the intended axis, and so one inwale has it's scarf joint visible from the top. Oh well.

During dry fitting of the gunwales is when I decided on the final shear line. I rough-carved it using a utility knife. I finished with a block plane and sand paper after gunwale attachment.

Speaking of which, attachment to the hull would be with screws (the horror, I know). I attached the inners first, using 3/4" #8 stainless wood screws from outside the hull into the inwale, every 6". I then attached the outwales again from the outside, counterbored, through the hull and into the inwales using 1 1/4" stainless screws, every 6", offset 3" from the inwale screws. The counterbores were then plugged. I varnished the inside surfaces of the gunwales as well as the mating surface of the hull prior to attachment.

can45.jpg

can46.jpg


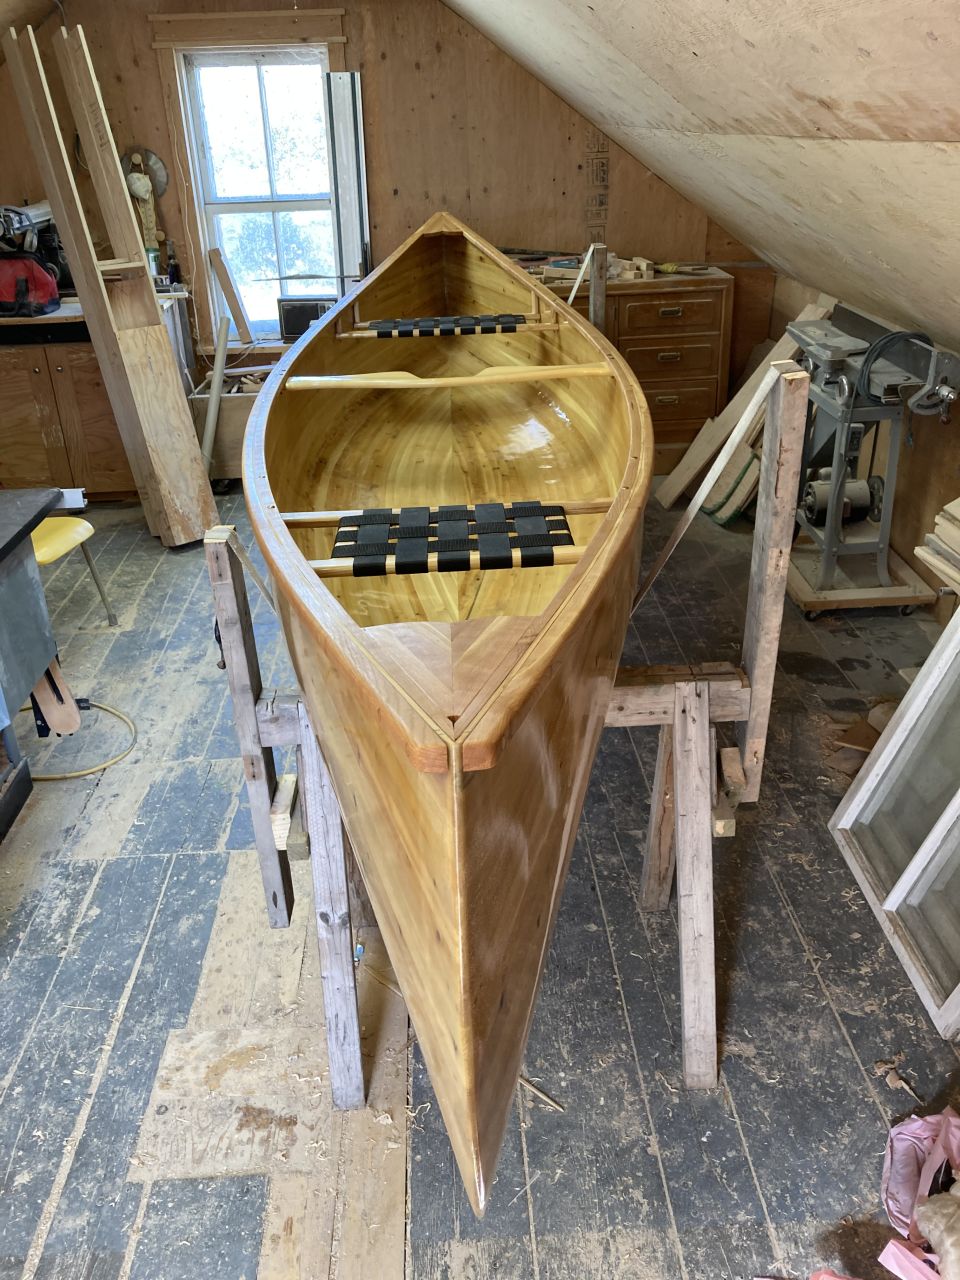
I took the canoe out of its cradle and put it on the floor. I found a random piece of 1 1/2" pipe I had lying around (breaker bar) and slipped it under the canoe. I rolled the canoe back and forth until I found its COG, marked it, and put back in its cradle. I based the bow seat position off of my Nova Craft Cronje and worked out the stern position from that, using my wife's and my weight. I set the height at 9 1/2". The seats and yoke are from Nova Craft, the bronze mounting hardware from Noah's.
 
Last edited:
Wow - have we almost arrived? 3 coats of varnish, inside and out (Epiphanes) diluted 50%, 25%, 15% for each coat, respectively. The gunwales and decks got a heated mixture of BLO, tung, and mineral spirits. I mopped it on and kept following up until the wood didn't want anymore, and then wiped off the excess. Time to foist it out!

can35.jpg

can36.jpg

can38.jpg

can39.jpg

can40.jpg
 
Last edited:
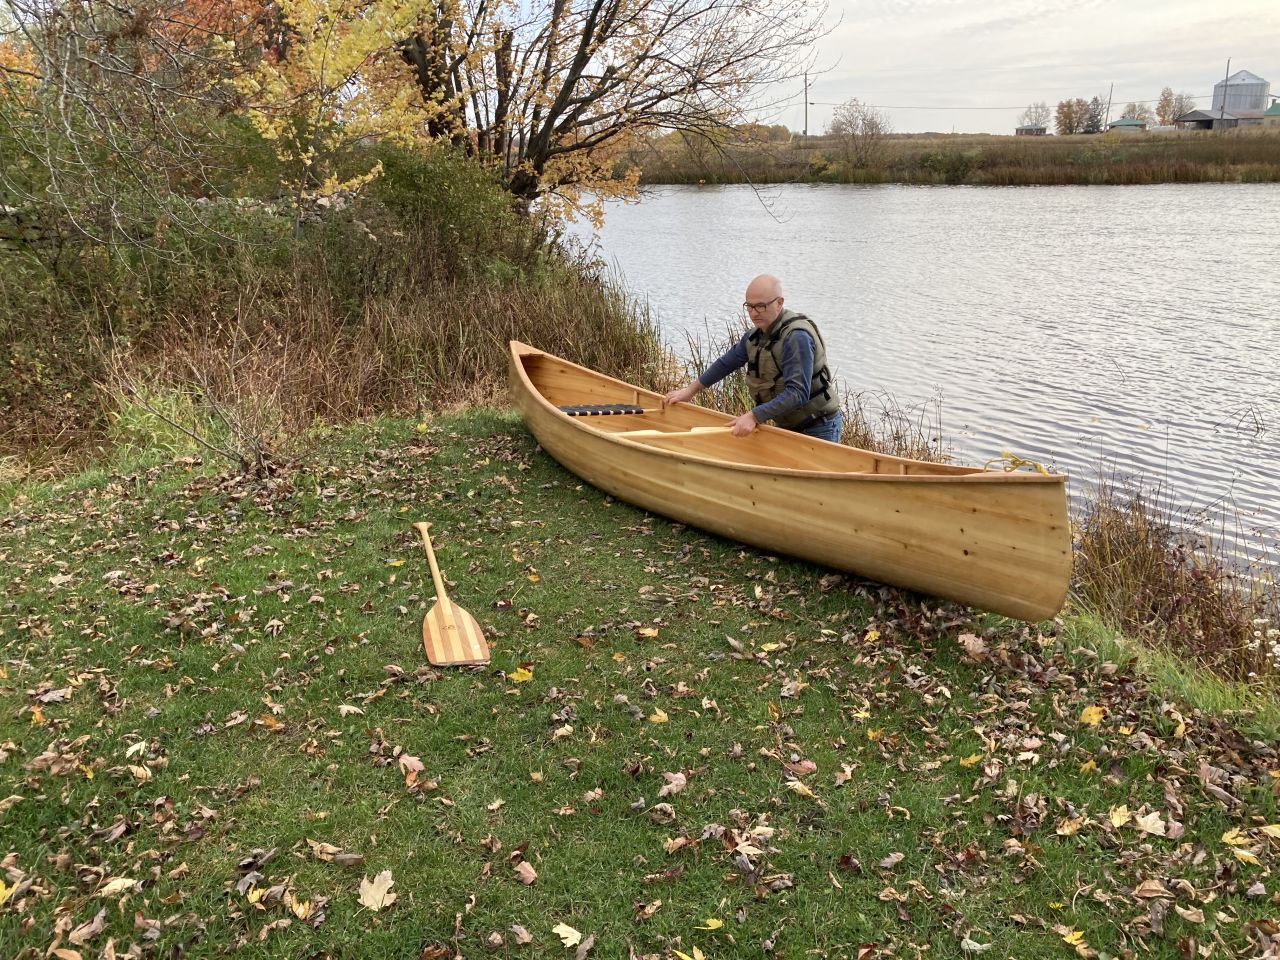
The next day I loaded her up and drove the 8km's to a local rest area next to a river (the same river that abuts my property, but too shallow for canoeing) and plopped her in for her first splash.

can43.jpg


I am very happy with this initial try - it gets through the water nicely and is quite responsive. We'll have to wait until next year to see how it fairs on a multi-day trip.

Oh - and it weighs 54.6 lbs.
 
Very nice sp!!
as much as I don’t like hardwood decks, yours look great
it looks like it’s a very maneuverable hull, I’m sure you’ll be pleased with it
too bad about the bird crap but it all adds to the story
i suppose you’re already planning the next one??
Again, very nice work. Btw, a buddy of mine split his stripped hull fully in half when it fell off the forms while sanding it and he just glued it back together and used that boat for 20 years!!
 
Great job Scratchy !

Congratulations !
A like button is Fine ! But I'd give it a Love ! :)
 
Last edited:
Great job!

I'm the proud owner of a Bobs Special but just of the composite variety. We took many trips in it, both solo and tandem. The Bobs Special was named after Frederick Roberts, a British general, whose nickname was 'Bobs'. Chestnut Canoe was on a roll for a while naming their designs after war heroes.
 
Nice job and congratulations on your first build. I really like the look of white cedar and your decision to use a level starter ....iMO it really helps with the look both on the water and off.

You will really enjoy that first trip.

Brian
 
Nicely done! You can be justifiably proud!

I like the look of your oil finish.

I also have a second floor boat shop with occasional flying visitors!
 
Very very nice!!! Now debating between a 17' Prospector and an extended 16.5' variation on the Bobs for my own tandem build. How does it paddle? Do you think it will carry a good tripping load for two?

When I recently finished my SOF build I wet it down and brought it to the backyard so the sun would help shrink the nylon tight, all the while yammering on to my wife about how much I liked the sleek shape and the look of the clean white hull. Left it for a few minutes and returned to find that it had been permanently "branded" by some large avian visitor (from the size of the stain probably a sea gull). I think it was about a week before my wife could stop laughing.
 
Last edited:
Thanks for the compliments everyone - you are being very kind.

Traveler - the clip above is from a 5 minute solo doddle, after which my wife hopped in and we went for another 5 minutes. Combine that limited experience with the giddiness of having actually built it makes my opinion a tad irrelevant. I found that it felt "smooth" - slippery in fact. Our combined weight of 355 lbs did not eliminate that slight twitch of an empty boat, so I think it would suitably hold a modest load in addition to that. Again, mostly rose-coloured opinion. It is to be my solo boat, so I'm not so concerned with its capacity. Also of note, it is a very flat hull - I may have another opinion once I get it out on some open water (next year).
 
Last edited:
Sratchypants, how did the robobevel work out for you? I'm planning on buying one for my upcoming build using repurposed canvas canoe planks and I don't want to bother with bead and cove. I've been there and done that.
 
Back
Top