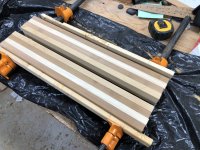
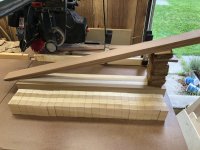
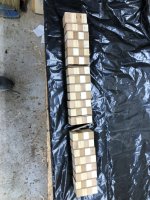
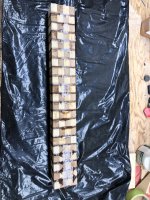
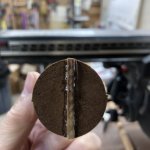
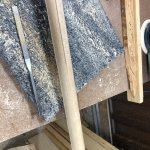
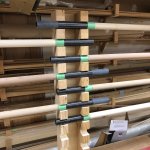
At camp last fall I decided I wanted to try a little longer shaft on my twin paddle ..... guess I must talk in my sleep because I had 3 requests that trip for paddles. I had also promised a friend from Louisiana I would try and make him a paddle to scull his boat in the bayou for fishing. So it was time to make some sawdust.
This is a group pic of the batch, minus one that a friend already received
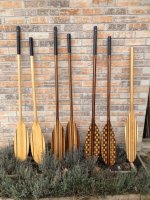
Starting from the left, 932 grams, 1072 gram, 1087 grams , the missing one 953 grams and finally the sculling version 424 grams
All shafts have a 3/32" ash spine, the twins are 270 cm with carbon fiber ferrules and 1.25" round shafts ... all the twins are made from northern white cedar and western red cedar. All tipped in tinted epoxy with chopped glass strand re enforcement added.
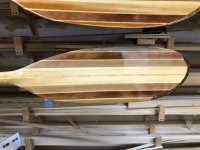
This is a detail shot of the sculling blade, it is a scaled down and shortened Ottertail, with 2 plys of white oak on the lower 2 thirds of the outside edge to help with edge wear (and apparently fish conking)
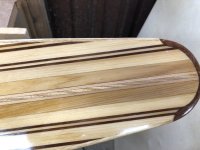
Blade detail of my new twin
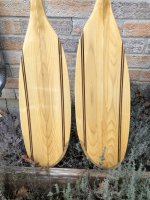
My highschool friends
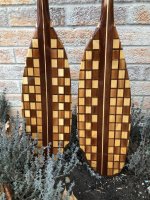
Camp buddy #1
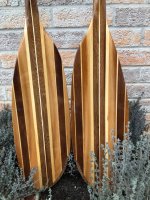
and camp buddy #2
Brian
This is a group pic of the batch, minus one that a friend already received

Starting from the left, 932 grams, 1072 gram, 1087 grams , the missing one 953 grams and finally the sculling version 424 grams
All shafts have a 3/32" ash spine, the twins are 270 cm with carbon fiber ferrules and 1.25" round shafts ... all the twins are made from northern white cedar and western red cedar. All tipped in tinted epoxy with chopped glass strand re enforcement added.
This is a detail shot of the sculling blade, it is a scaled down and shortened Ottertail, with 2 plys of white oak on the lower 2 thirds of the outside edge to help with edge wear (and apparently fish conking)

Blade detail of my new twin

My highschool friends

Camp buddy #1

and camp buddy #2

Brian
Last edited:

