• Happy National Pfeffernusse Day! ⚪🇩🇪😋

Mem's making a paddle so do I....

well go a head on the copy thing... Nothing is new, even if people still claim that such and such design is theres, it is all coming from some where...
Post pictures of what you've done!!
 
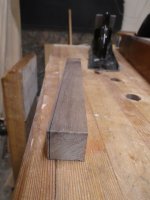
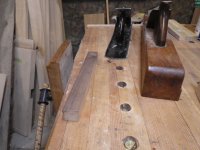
Thanks Jim-- and yes, it makes a pile of shavings-- appetizers for the fireplace. The blank is 1- 5/16 and the shaft will be finished to 1-1/4; the blade is quickly slimmed with band saw and draw knife.
 
Wow that pine paddle look great!! I just got back from a 4 day winter camp, I should be back on the paddles tomorrow!!
 
I have the concave one, and I don't ever use it... I don't think it is really useful!
 
No Title

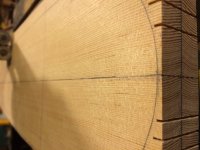
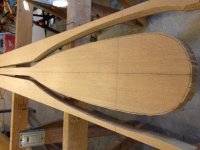
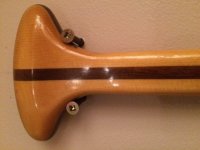
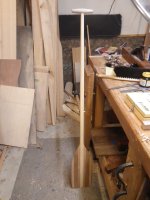
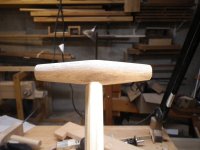
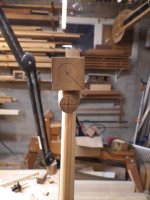
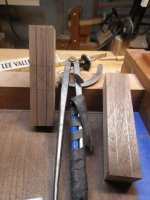
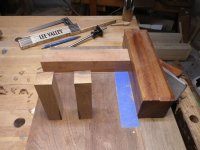
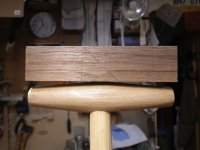
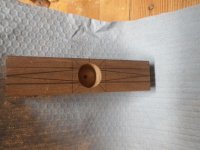
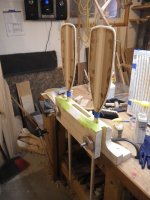
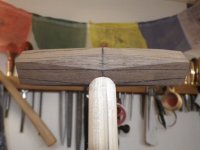
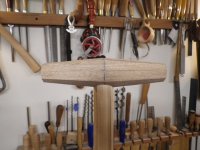
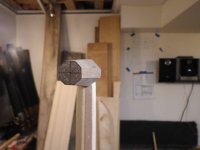
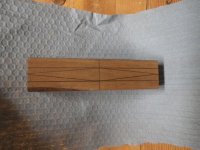
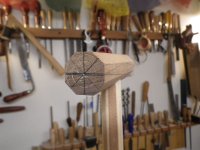
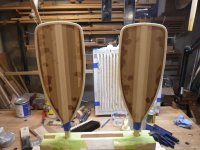
So here is a bit of progress on the girls ww paddles. I'm ready to do the final shaping by sanding... I even shaped a grip for one of them, walnut... I need a lathe....
 

Attachments

  • photo3953.jpg
    photo3953.jpg
    106.7 KB · Views: 1
  • photo3954.jpg
    photo3954.jpg
    126 KB · Views: 1
  • photo3955.jpg
    photo3955.jpg
    130 KB · Views: 1
  • photo3956.jpg
    photo3956.jpg
    99.4 KB · Views: 1
  • photo3957.jpg
    photo3957.jpg
    116.3 KB · Views: 1
  • photo3958.jpg
    photo3958.jpg
    142.1 KB · Views: 1
  • photo3959.jpg
    photo3959.jpg
    140.9 KB · Views: 1
  • photo3960.jpg
    photo3960.jpg
    108.1 KB · Views: 1
Not that much work actually... I mean, much more than if I had a lathe, but it took me no more than 1/2 hour from start to finish and that include the other blank ready and laid out for the other grip as well, so really I think no more than 45-50 minutes for both grips!!
 
No Title

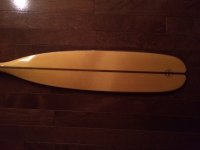
Ok I've done a bit more work, shaped the other grip, and did the final shaping/sanding of the entire paddles. I also installed the Dynel edging....
(interesting that I picked the pictures in order, but they loaded them self randomly:confused:...)
 

Attachments

  • photo3965.jpg
    photo3965.jpg
    125.5 KB · Views: 1
  • photo3966.jpg
    photo3966.jpg
    135.6 KB · Views: 1
  • photo3967.jpg
    photo3967.jpg
    100 KB · Views: 1
  • photo3969.jpg
    photo3969.jpg
    121 KB · Views: 1
  • photo3968.jpg
    photo3968.jpg
    86.4 KB · Views: 1
  • photo3970.jpg
    photo3970.jpg
    143.3 KB · Views: 1
  • photo3971.jpg
    photo3971.jpg
    107.4 KB · Views: 1
Hey Canot, can I ask some questions?
Does the T grip go onto the shaft without any other fastening, just glue?
How do you get the Dynel to lay flat and smooth around those bent edges?
How are the Dynel pieces held on?

Nice work!
 
Hey Canot, can I ask some questions?
Does the T grip go onto the shaft without any other fastening, just glue?
How do you get the Dynel to lay flat and smooth around those bent edges?
How are the Dynel pieces held on?

Nice work!

Hey Odyssey, ask all the questions you want, I'll answer the best I can, I'm no expert and far from that, I'm self thought so others might and will have other ways that might and will be better.... That said, regarding your 3 questions, my method have worked for many years and paddles!!

The "T" gip have a hole that match the shaft diameter where it will go, 5/8, 3/4, 7/8.... And it is just holding there using epoxy, never had one come off even on my paddles!!

So for the Dynel, I cut the dyne to length, soak it in epoxy, squeeze most of the epoxy out, brush on some epoxy on the paddle edge, start at the middle of the dyne cord, and I use long "push" pins(see photos) and force the pin through the Dynel and into the wood at the center of the paddle tip and work my way to each side towards the shoulders of the blade. I squeeze the Dynel flat as I go and place pins. Really easy... Let it partly cure, and then take the pins out and let cure totally...

So the Dynel is held just with the epoxy until I glass the blades with S glass on the bias. and then goes on the Dynel sleeve on the shaft....

Hope it make sense!!
 
No Title

Here you can see the Pins!!!
 

Attachments

  • photo3972.jpg
    photo3972.jpg
    138.2 KB · Views: 2
Very nice work Canotrouge.

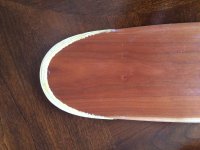
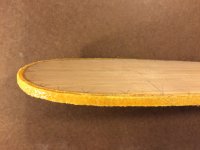
Here are some photos of my roughed-in edging using Kevlar mat and G/flex epoxy.

IMG_3707.JPG IMG_3693.JPG IMG_3694.JPG IMG_3712.JPG
 
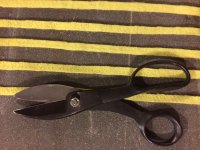
Peach, I'm assuming you will be shaping that kevlar edge after right? Nice shears, where did you get those?
 
Back
Top