• Happy Card Playing Day! ♠️♥️♦️♣️🃏

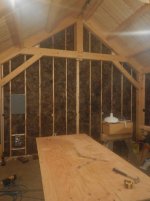
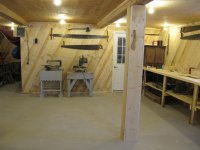
Traditional shop is coming into shape...

Those halogen floodlights are handy for some boatwork as well. I have used them for removing big dents from the stems of Royalex and poly boats. Much easier than using a heat gun or boiling water, just set the lamp 12 to 18 inches away from the hull and let it heat up the hull.

It will gradually heat up a large area of deformed plastic, which can be pushed back into shape and braced there while it cools.

That is a great idea, I always used a heat gun and man sometime I fell like I'm gonna burn a hole through that hull!!
 
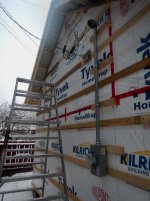
So I found out yesterday that the Electrician didn't get the paper work to the electrical inspector, so no inspection have been done this week... I need to wait for the electrical inspection to be done before finishing the interior insulation to then get the building inspector to come and say yes you can close the walls, so I can then have proper heat and start on building the doors and window!!

I wasn't o happy!!
 
I always used a heat gun and man sometime I fell like I'm gonna burn a hole through that hull!!

The nice part about using a halogen lamp is temperature control, moving the lamp closer or further away to slowly achieve the desired temperature over a large area, without standing around waving a heat gun, trying not to rush things and see bubbling plastic. S L O W L Y, so the hull material heats all the way through to the inside.

I use the Almost An Ouchie That is Hot test, when I can still lay my ungloved hand on the hull for a second or two before saying ouch that is about as hot as I want the plastic.

I have one of those single lamps as in your heated hole, and a duplex halogen flood on an adjustable height tripod stand. That latter one is great, I can adjust it to the perfect hull height and aim both lamps at the problem area.

The first hull I ever fixed that way still seems miraculous. A friend said he had dented the nose of his Dancer kayak. Sure, bring it up and we can do something.

It was the weirdest dent I have ever seen. He had pitoned a rock. The bow of the Dancer was no longer an outie vee, it was now actually an innie vee.

We pondered for a bit and made a bow shaped plug from rags and wood, attached to the end of a brookstick. Heated the bow with the halogen lights and when it was warm enough pushed the innie vee back out into an outie.

It was not perfect, but it was danged close, and easier than I thought it would be.
 
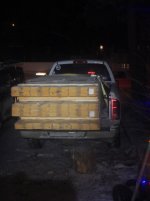
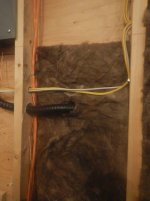
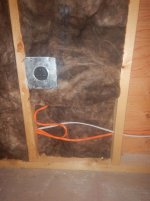
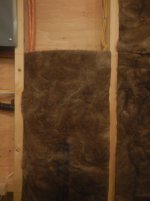
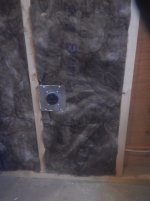
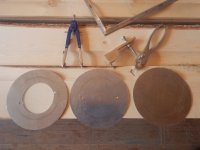
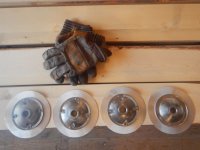
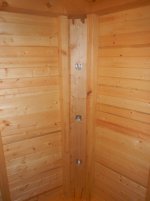
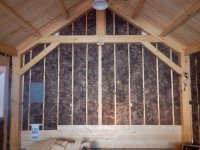
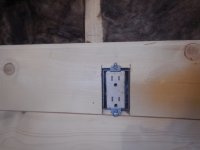
So a bit more going on in the shop build, the electrical as been inspected and the rest of the insulation too!! Now waiting for the Electrical company to come and hook me up!! But in the mean time, I got all the wood to finis the inside, I got a good deal on locally harvest and milled spruce siding that I will install "inside out" so I get eh ship lap look.... It was cheaper than 1/2" G1S ply, it will be a bot more time consuming, but look way better and local stuff!! I also worked on some light fixtures that got given to me by a friend who salvaged them from a reno that was happening where he works! Anyway, there is lots still to do.... But it is getting closer....
 

Attachments

  • photo8802.jpg
    photo8802.jpg
    146.6 KB · Views: 0
  • photo8803.jpg
    photo8803.jpg
    181.7 KB · Views: 0
  • photo8805.jpg
    photo8805.jpg
    209.4 KB · Views: 0
  • photo8804.jpg
    photo8804.jpg
    189 KB · Views: 0
  • photo8806.jpg
    photo8806.jpg
    169.2 KB · Views: 0
  • photo8807.jpg
    photo8807.jpg
    165.8 KB · Views: 0
  • photo8808.jpg
    photo8808.jpg
    192 KB · Views: 0
  • photo8809.jpg
    photo8809.jpg
    184 KB · Views: 0
  • photo8810.jpg
    photo8810.jpg
    157.2 KB · Views: 0
Wow, nice job. I'm proud of myself when I only have to go to Home Depot 3 times after "measuring once and cutting twice" or is it "measure twice and cut once?" I seem to screw that up every time. Must not be in my DNA.

Speaking of friends, one was helping me in my mothers house with electrical work, then I heard, "Hey Dave, ummm I think the wire just broke behind the plaster wall." Yep, cost another $100 to have a better electrician fix his mistake. Funny to recall that from the 80's.

Ha, you know what, there was a lot of mistakes that happened in this built and there will be even more cause it ain't finished yet.....
 
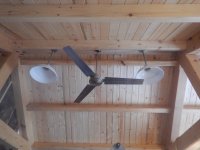
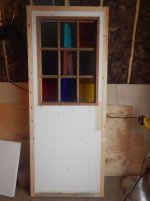
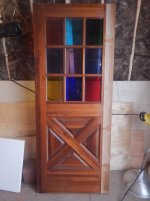
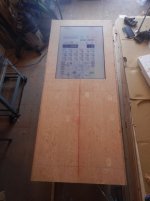
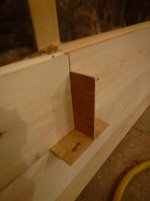
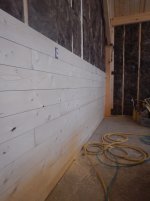
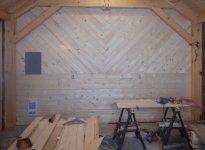
A little progress on the shop, since the last post I got some more work done on the electrical, ceiling lights installed and ceiling fans, the heaters are installed and running, we had a lot of really cold weather, -30c -40c for the last few weeks, but the shop has been pretty warm considering I only have plastics in the window and doors usually I can keep it around 10c.... I worked on a door for the entrance reusing an old cedar door that needed some work and modification, got started on the ship lap board for the walls.... Slow progress, but progress...
 

Attachments

  • photo8883.jpg
    photo8883.jpg
    173.9 KB · Views: 0
  • photo8885.jpg
    photo8885.jpg
    161 KB · Views: 0
  • photo8886.jpg
    photo8886.jpg
    199.9 KB · Views: 0
  • photo8887.jpg
    photo8887.jpg
    182.6 KB · Views: 0
  • photo8888.jpg
    photo8888.jpg
    163.8 KB · Views: 0
  • photo8889.jpg
    photo8889.jpg
    259.7 KB · Views: 0
  • photo8890.jpg
    photo8890.jpg
    140.7 KB · Views: 0
  • photo8891.jpg
    photo8891.jpg
    171.9 KB · Views: 0
  • photo8892.jpg
    photo8892.jpg
    185.3 KB · Views: 0
SWEET ! Yeah Power is Soo essential ! Looks like you have plenty of natural light !

Jim
 
... Looks like you have plenty of natural light !

Jim

Hahaha that is because the 8x8 feet door in the front is only covered with poly.... I will have windows in those doors, but not that much windows lol... It should be good, the doors are facing south and the main wall with the 4x7 window is facing ouest so I should get good light!!
 
I may have missed it, but do you have any finish on the beams or inside planking ?

Jim
 
I may have missed it, but do you have any finish on the beams or inside planking ?

Jim

The timber frame is all oiled with Allback boiled linseed oil. I did it as I built it, when the inside is fully finish, I will clean it all up and oil every thing including the walls. I might lighten up the top 4 feet of the walls with a tinted linseed/beeswax from the same company, to make it a bit different, cause that is a lot of wood right now!
 
It may be 'Traditional' but it looks Uncommonly well done.

If it is worth doing, it is worth doing well!! I try the best I can to make something that will last many life time with as much local stuff as possible.
 
Canotrouge, After seeing all the pics here and on FB I wish I could have gone with wood boards in my new shop but dang the cost of wood seems to be going up while my paycheck seems to go down. Maybe down the road I'll take off what I've put up and go that route. You do nice work, it looks great! I like the lights up where the roof meets the walls.

dougd

Doug, the reason I went with wood boards on the walls is simple, 1/2" good one side plywood is now close to $50 a sheet up here, would have cost me close to $1200+ to sheet that shop. The ship lap board cost me $950, it is locally harvested and milled, it will take more time than ply wood for sure, but way better health wise on the long run and way better looking!!
 
I just finished retrofitting a small barn into a boathouse/ woodworking shop and cut the wood for the walls and work bench on my sawmill so it only cost me some time and gas for the mill plus cutting the logs and hauling them out of the bush. I can convince myself that it was cheap if I set my time at $5/ hour, haha! I cut the boards ⅝ inch thick and random widths depending on log size. The individual boards took quite a while to nail up but I like the look, especially for a wood shop.
 

Attachments

  • photo8908.jpg
    photo8908.jpg
    236 KB · Views: 0
Back
Top