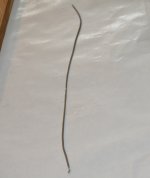
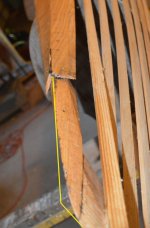
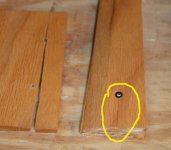
Time to start putting some of this beast together permanently. Some of the joints are not suitable to be glued, but they do need to be sealed. I need a bedding compound. I choose... Butyl rubber. It's inexpensive, stays flexible, and lasts forever. Not an adhesive.
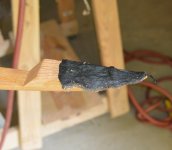
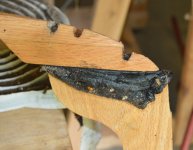
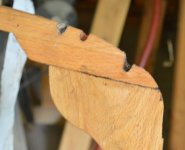
This particular batch is from the old, ratty butyl roll out in the shed. All the bugs were on the edges, so they got cut off when I trimmed it down.
Please forgive some of the blurry photos. I was having a terrible time with the camera yesterday.
Layed out the Gar plank on the form. Some of the pencil marks weren't as visible as I'd hoped, so needed to mark in with some splines. (This will be fixed going forward - need to use a different pencil for this.)
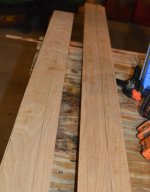
As advertised, I only marked out the starboard side. I then stacked with the matching piece of stock for the port side. Small #6 wood screws just countersunk so that I can run the stack through the bandsaw.

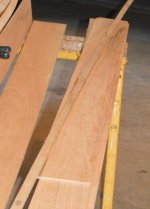
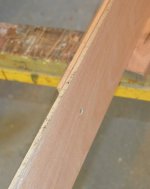
I did end up putting a screw through somewhere I shouldn't have, so I have a permanent repair to make a little later. What's a build project without at least one "oops" scar?
I didn't get any pictures of the bandsawing operation. Nothing too exciting there, and when family hangs around to help out, it's often simpler to just get on with it.
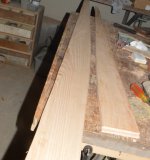
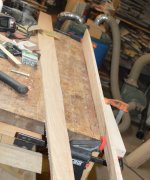
I've got a little workstation figured out on the bench, since we don't have a proper bench vise. Cleanup done with a handplane. If you're looking at the really scruffy bandsaw line, you're not wrong. I swapped out blades after making that cut.
Sanity check before removing the batten spline:
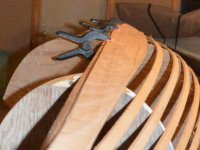
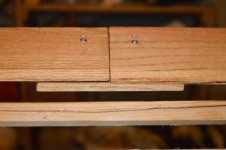
I did miss getting a photo of how the splice is supposed to work, I'll try to catch that next time.
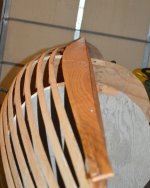
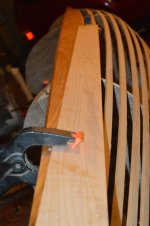
The trickiest thing about the gar planks is this winding bevel on the inner edge. Those who understand traditional lapstrake will note that there is typically a rabbet cut into the keel timber. For this build, I thought that that would just move the winding bevel to another location, so here we be.
Also: every project needs some shop-made jigs, right? This little thing lets me set the correct angle on the bevel that the next plank will land on.
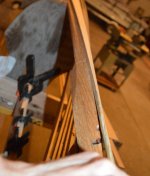
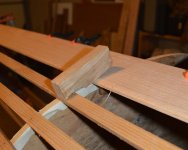
All in all, didn't get as far as I hoped. Learned some stuff, so hopefully efficiency will improve as I work in.


This particular batch is from the old, ratty butyl roll out in the shed. All the bugs were on the edges, so they got cut off when I trimmed it down.
Please forgive some of the blurry photos. I was having a terrible time with the camera yesterday.
Layed out the Gar plank on the form. Some of the pencil marks weren't as visible as I'd hoped, so needed to mark in with some splines. (This will be fixed going forward - need to use a different pencil for this.)
As advertised, I only marked out the starboard side. I then stacked with the matching piece of stock for the port side. Small #6 wood screws just countersunk so that I can run the stack through the bandsaw.


I did end up putting a screw through somewhere I shouldn't have, so I have a permanent repair to make a little later. What's a build project without at least one "oops" scar?
I didn't get any pictures of the bandsawing operation. Nothing too exciting there, and when family hangs around to help out, it's often simpler to just get on with it.


I've got a little workstation figured out on the bench, since we don't have a proper bench vise. Cleanup done with a handplane. If you're looking at the really scruffy bandsaw line, you're not wrong. I swapped out blades after making that cut.
Sanity check before removing the batten spline:

I did miss getting a photo of how the splice is supposed to work, I'll try to catch that next time.
The trickiest thing about the gar planks is this winding bevel on the inner edge. Those who understand traditional lapstrake will note that there is typically a rabbet cut into the keel timber. For this build, I thought that that would just move the winding bevel to another location, so here we be.
Also: every project needs some shop-made jigs, right? This little thing lets me set the correct angle on the bevel that the next plank will land on.


All in all, didn't get as far as I hoped. Learned some stuff, so hopefully efficiency will improve as I work in.

