G
Guest
Guest
Live aboard motor canoe update, week 2
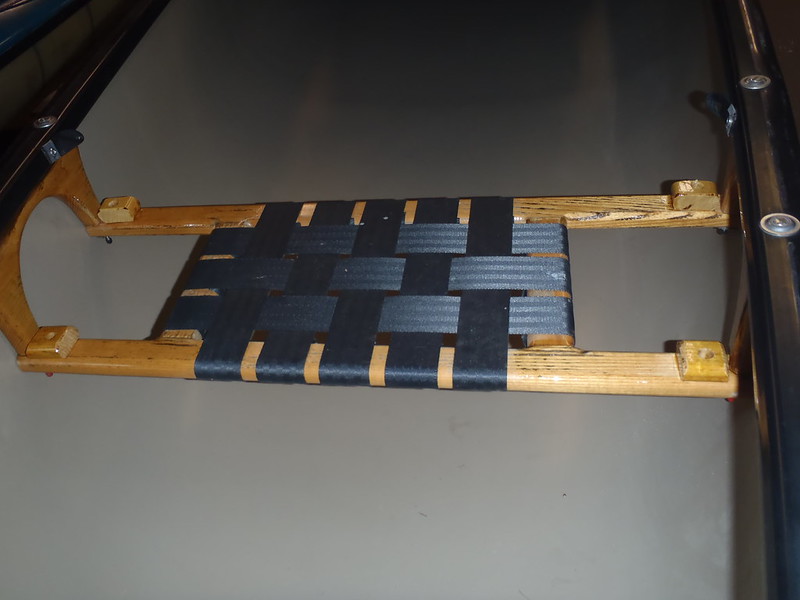
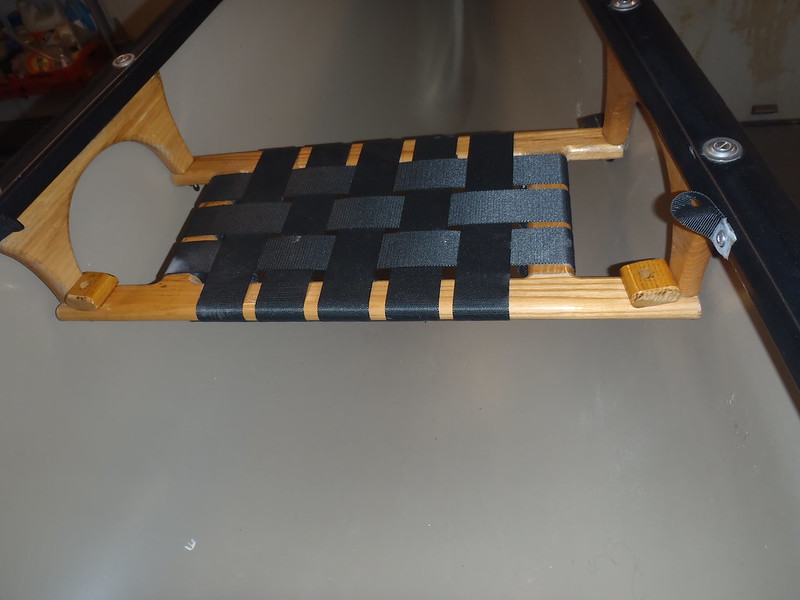
Many coats of Spar urethane on the platform boats. Twice a day for 4 days, including urethane swabbed in the pole and connection holes.
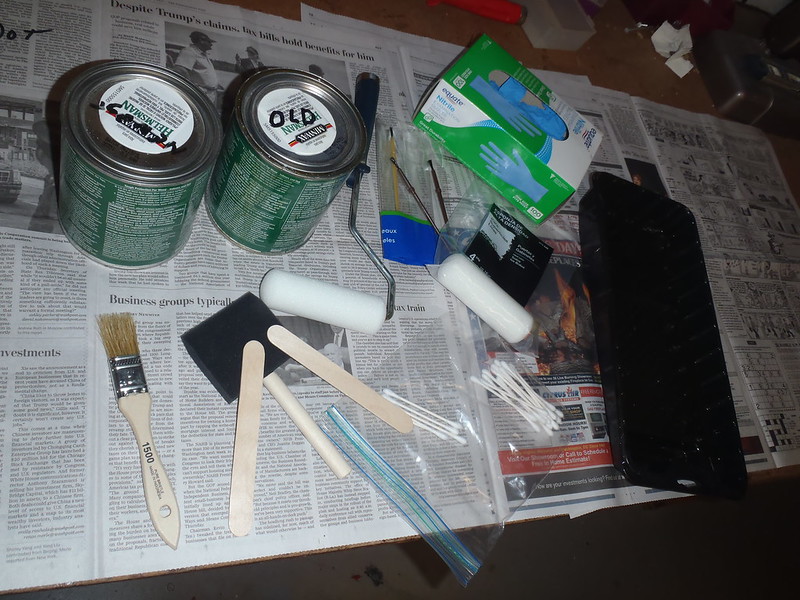 PC130079 by Mike McCrea, on Flickr
Urethane coated they look mighty nice.
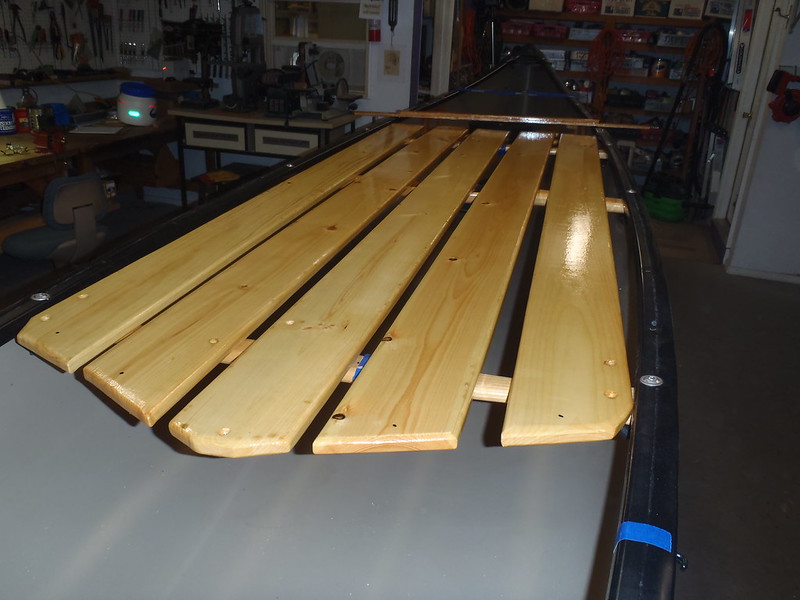 PC140081 by Mike McCrea, on Flickr
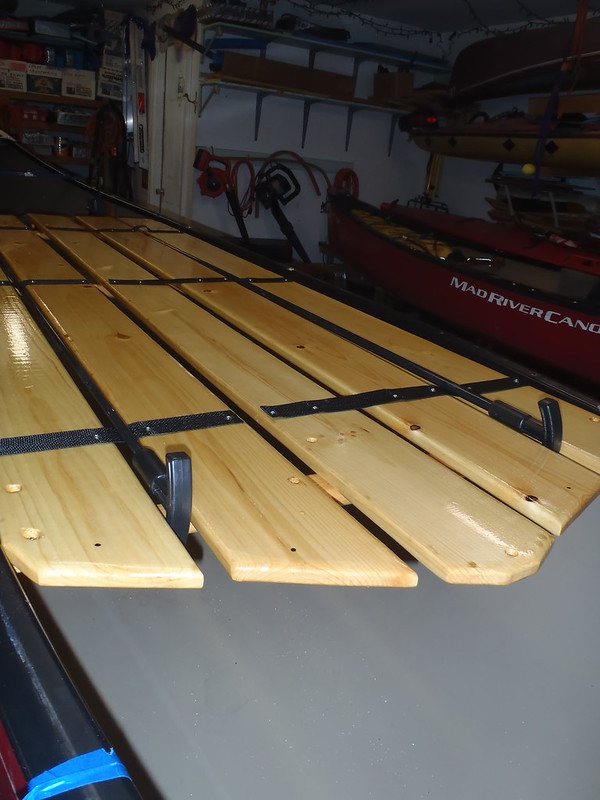
On to attaching the webbing straps that hold the platform planks together, and to keep them spaced apart when the planks are pulled towards the gunwales.
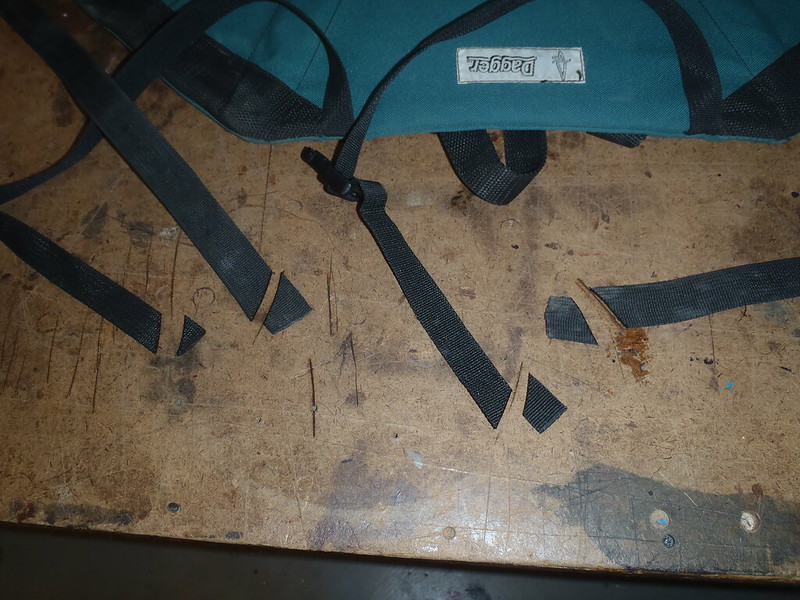
We got plenty of webbing in the shop. Cut to length with a hot putty knife for sealed webbing ends.
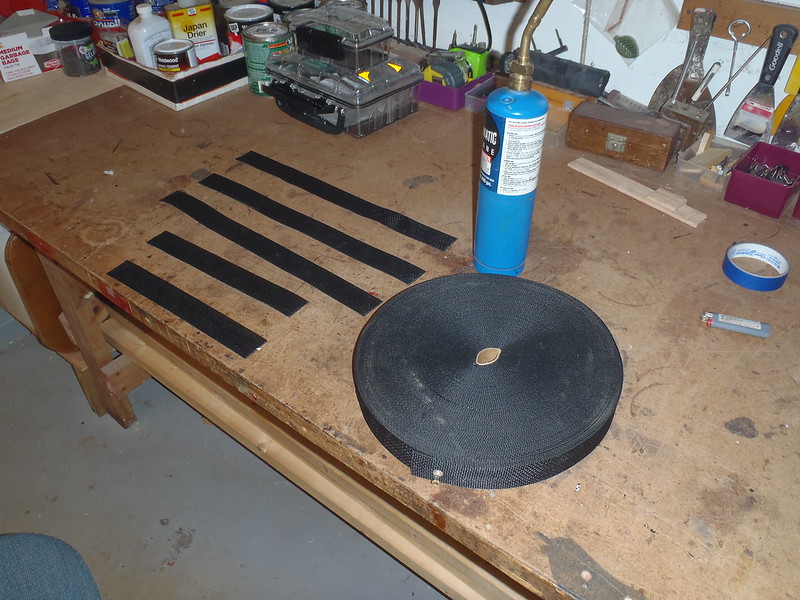 PC150095 by Mike McCrea, on Flickr
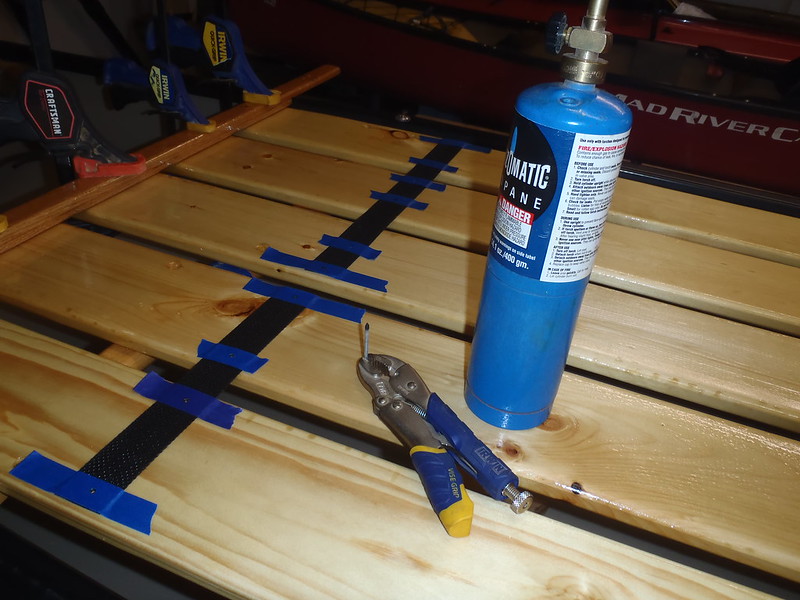
With the planks properly spaced and clamped in place, and the webbing taped down I could melt sealed screw holes in situ using a hot nail.
 PC150098 by Mike McCrea, on Flickr
Not too shabby. The distances between screws on each subsequent board are at specific locations, predetermined on the prototype so that the boards can flat stack for transport.
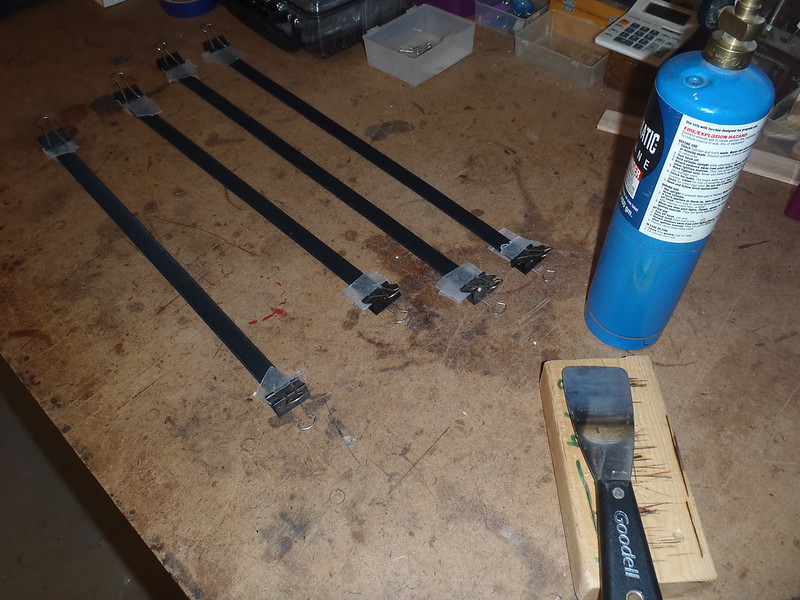
For holding the stacks together during transport I made some bundling straps from lengths of double sided Velcro. An inch at each end is folded over, Gflexed together and held to dry with wax paper under binder clips for an easy to find and pull end tab. Velcro without an easy pull tab is a pick at it with your fingernails PITA.
 PC160103 by Mike McCrea, on Flickr
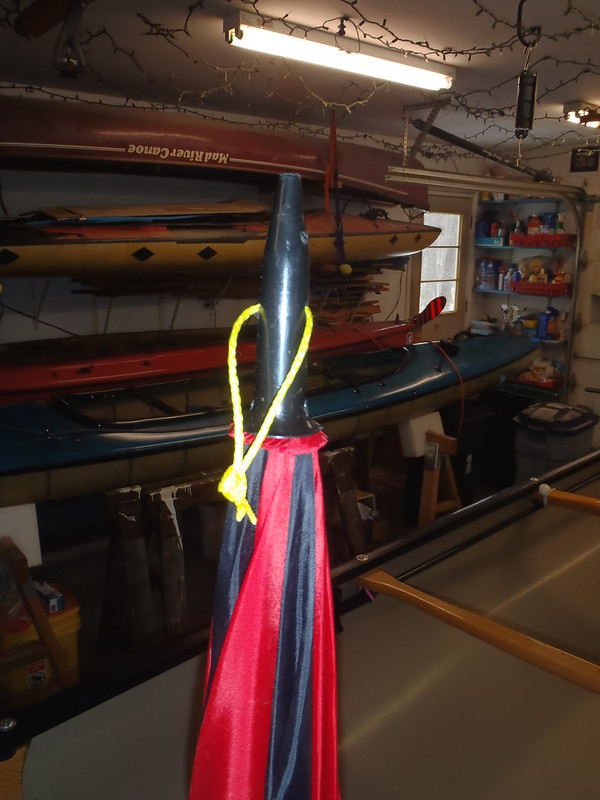
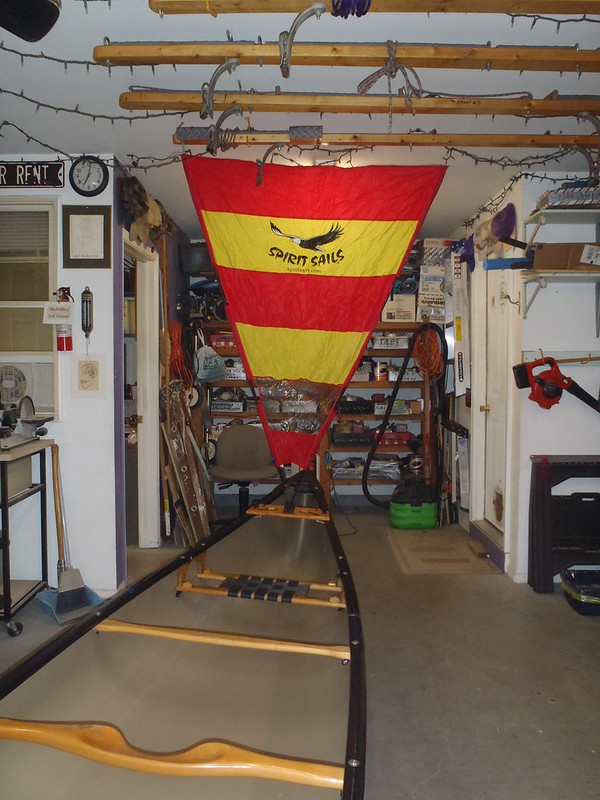
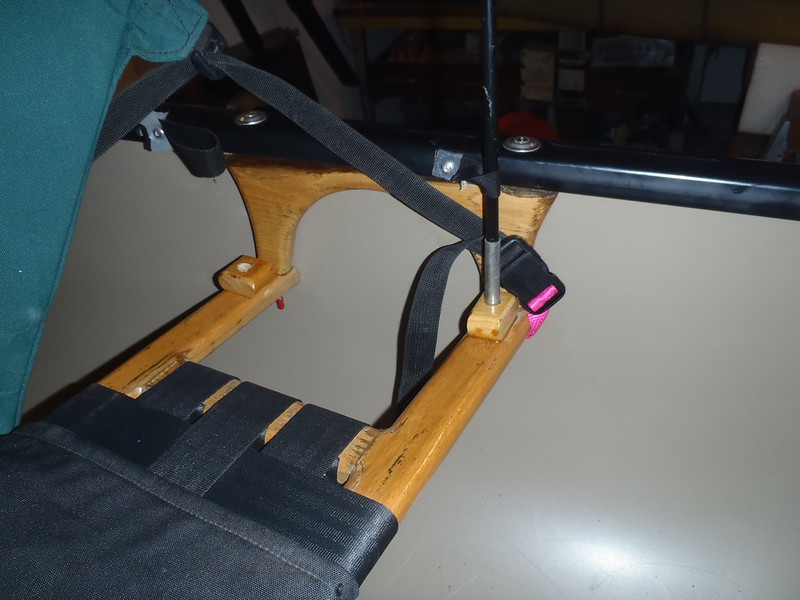
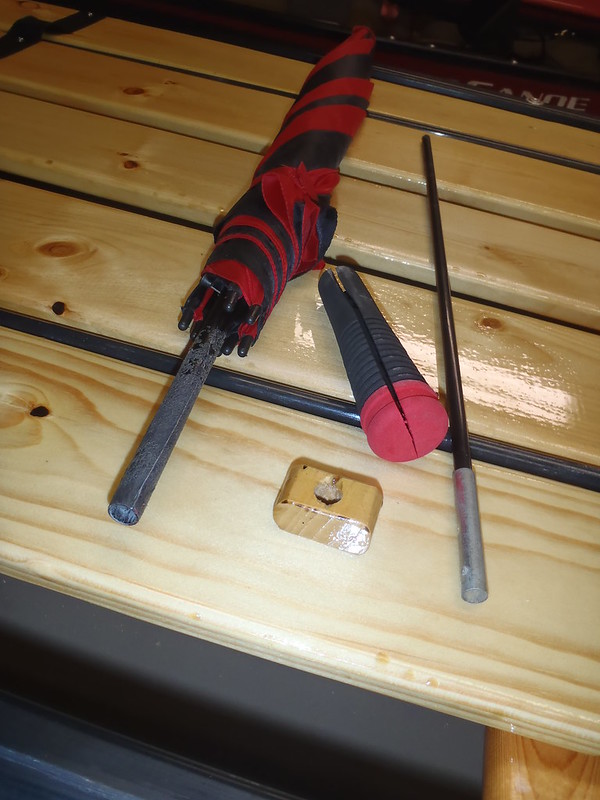
Joel mentioned in passing that he would like a faux Bimini golf umbrella for shade. Parts needed, one golf umbrella with the handle cut off, one old tent pole extension that sleeves inside the umbrella shaft to raise it higher, one mini mast step to seat it in.
 PC160113 by Mike McCrea, on Flickr
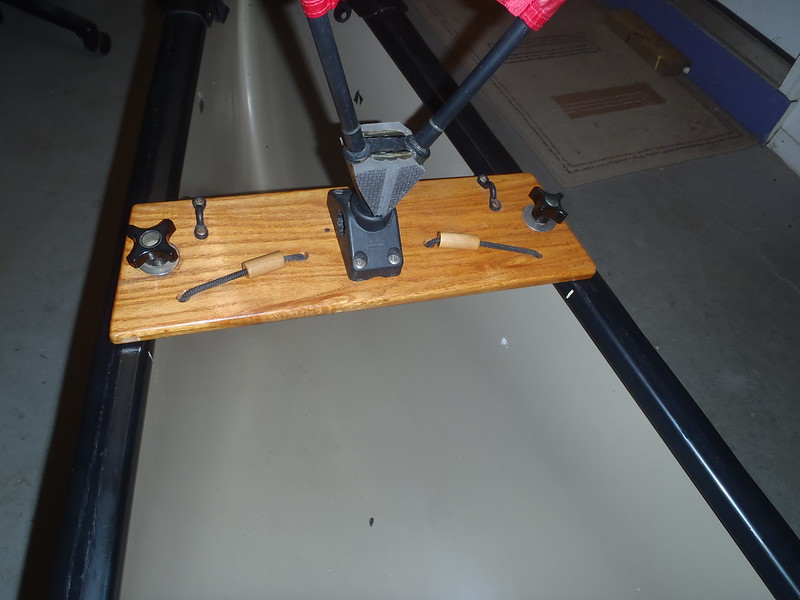
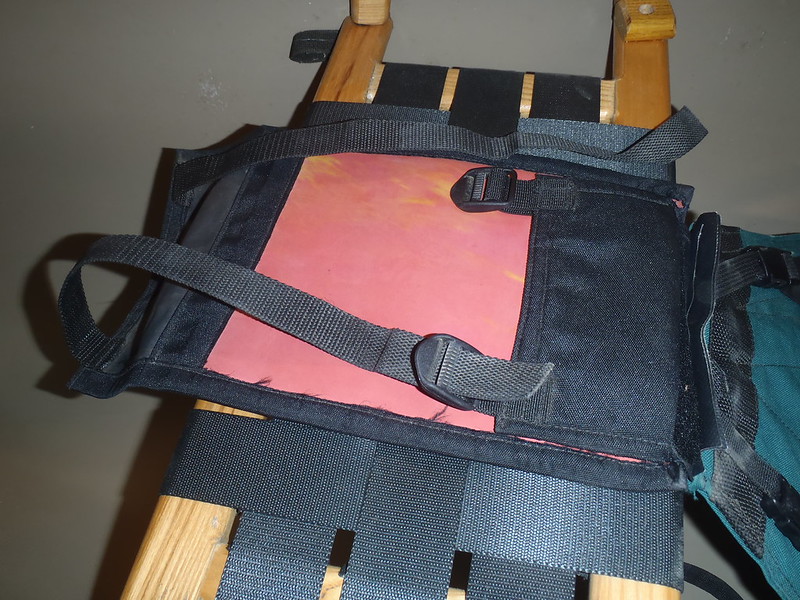
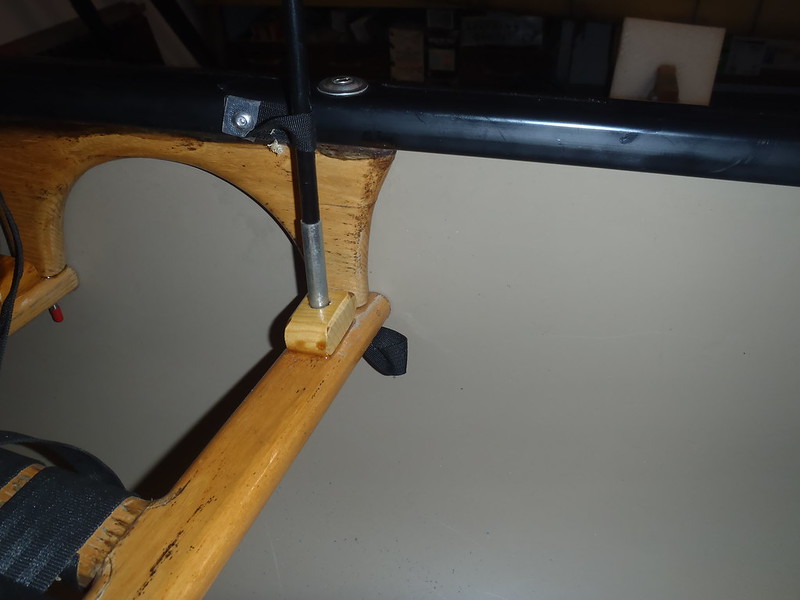
Mini mast step Gflexed and clamped to the edge of the seat frame.
 PC160105 by Mike McCrea, on Flickr
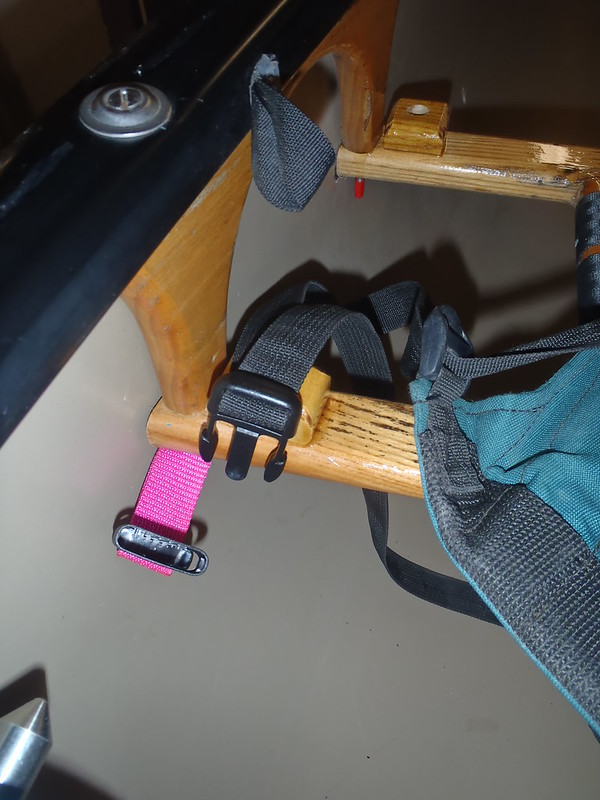
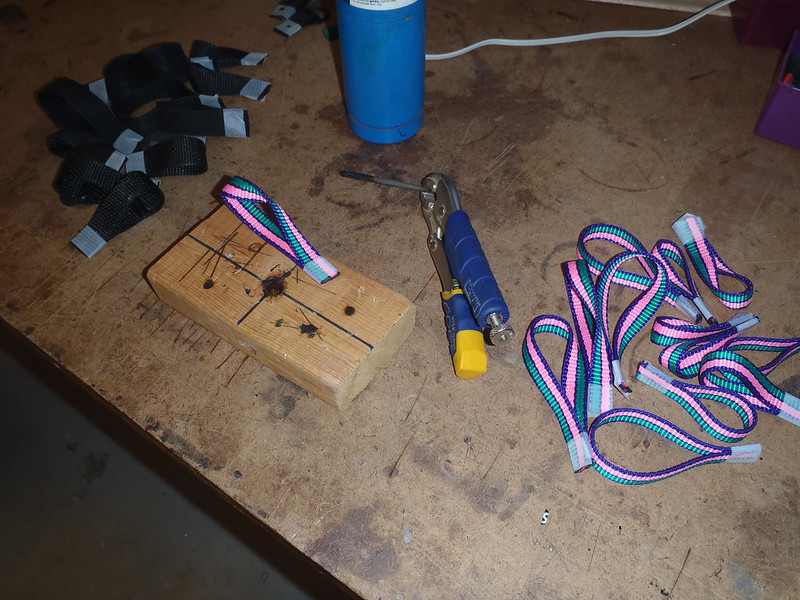
Time to make a bunch of webbing loops. A hot 20 penny nail will melt a perfect three sixteenths inch hole for machine screws or pop rivets. Different lengths of those webbing loops will be used for the golf umbrella shaft and to anchor the platform spread apart and held in place. Might as well put one in each of the old center seat hardware holes under the inwales, the holes are already drilled there.
 PC160107 by Mike McCrea, on Flickr
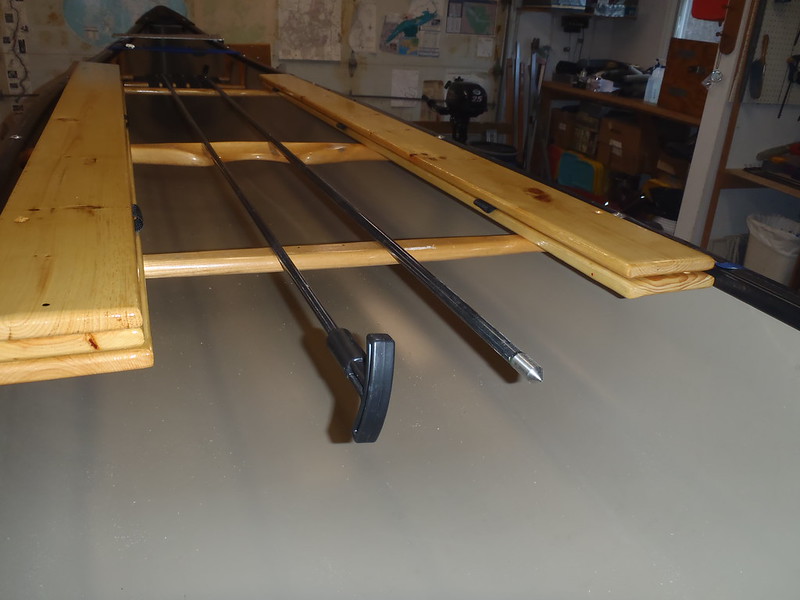
The Gflex on the tee grips and spike ends of the end anchor poles, which will pass through the painter loops at either stem and be driven into the sand, marl or mud bottom to help hold the canoe in place has set up and they are ready to go.
 PC160108 by Mike McCrea, on Flickr
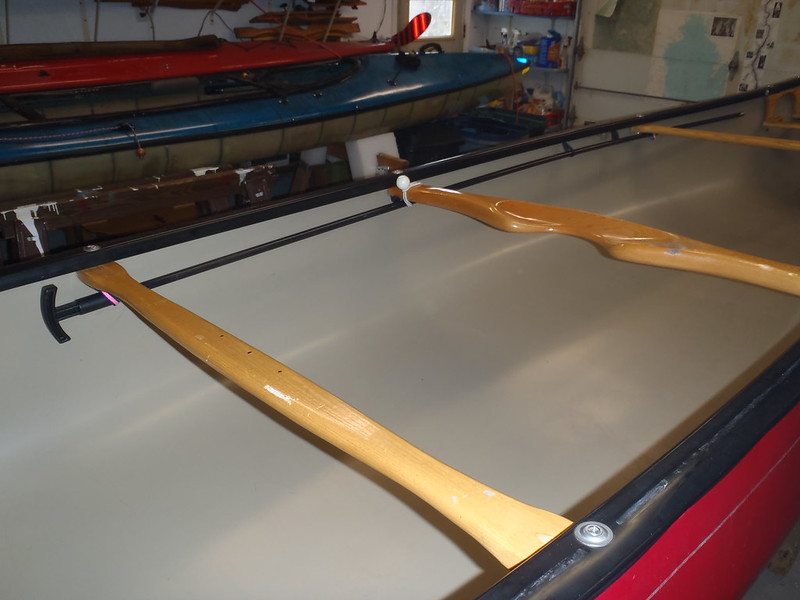
Those 8 foot long end anchor poles fit nicely between the platform boards. 8 feet is plenty long enough to drive a couple feet into the bottom, pass through the high stem painter loops and still leave room for tidal rise.
 PC160111 by Mike McCrea, on Flickr
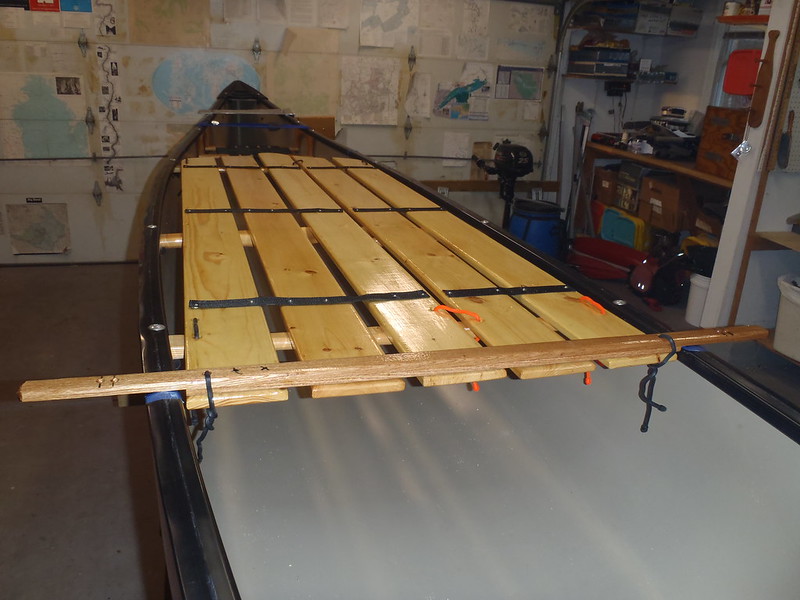
The laminated oak spreader board at the tent door end was urethane top coated as well.
 PC160115 by Mike McCrea, on Flickr
Joel is back. We got busy and I missed a lot of detail action photos, including using a heat gun and pliers to compress the ends of the J hooks for tighter catch, making spare side wands, installing webbing loops, drilling new thumb button holes in the outrigger tubes, and weighing the empty Miramichi. 110 lbs.
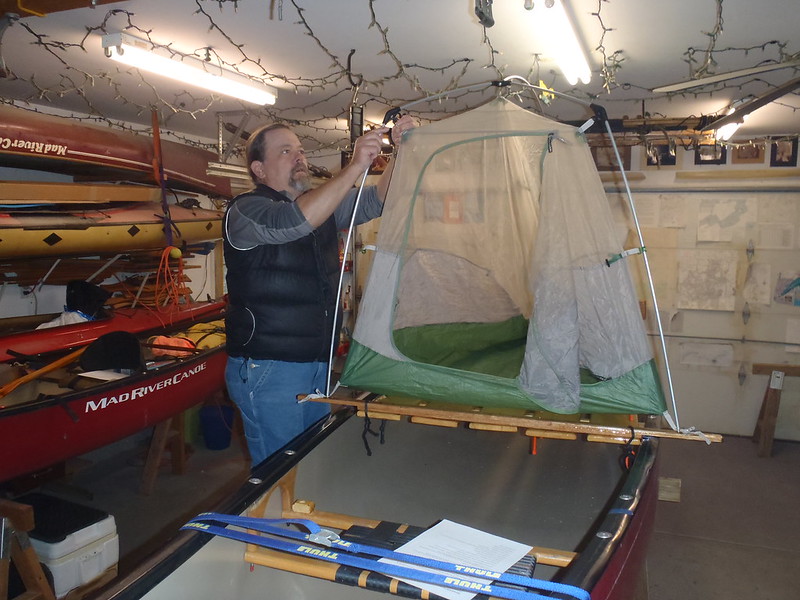
Time to put up the tent again.
 PC160117 by Mike McCrea, on Flickr
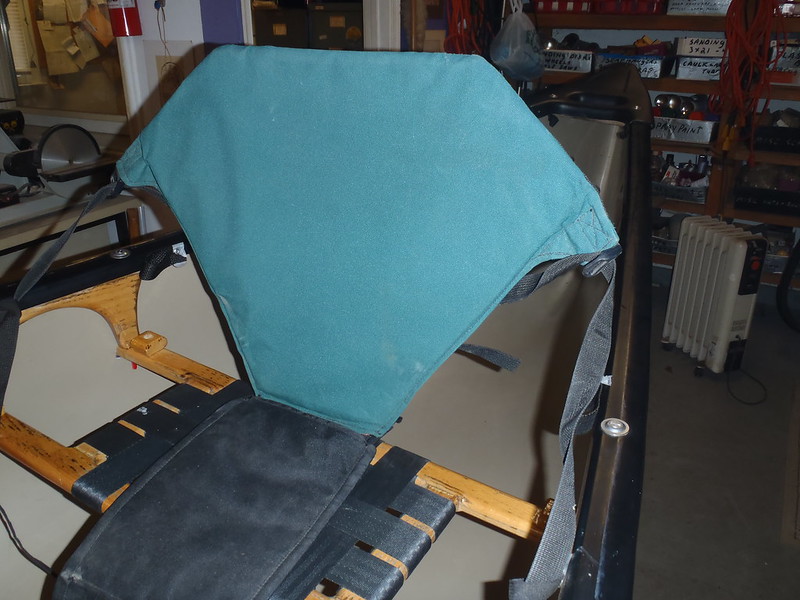
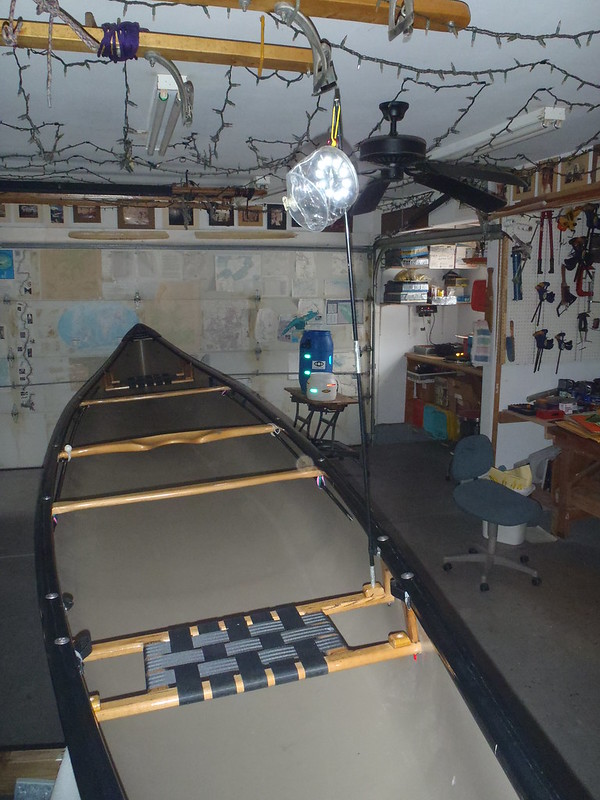
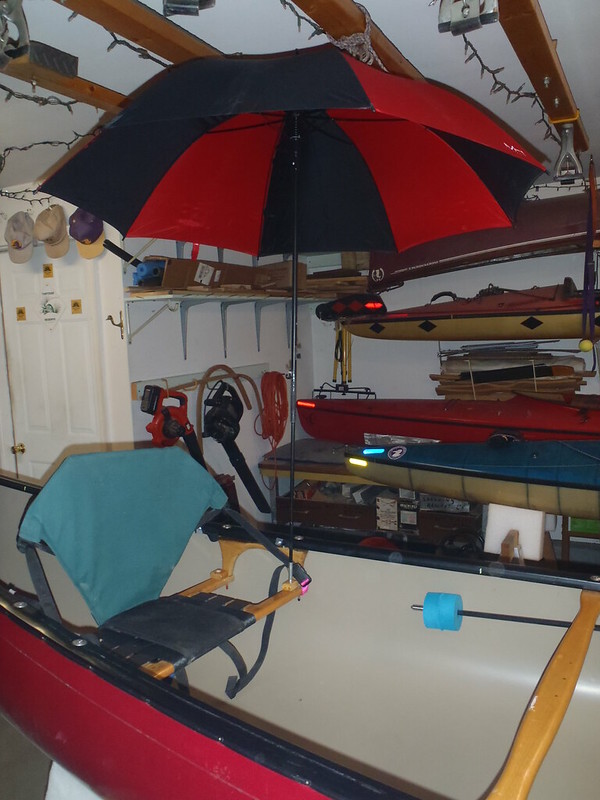
With the tent secured it was time to install the golf umbrella bimini. The extended umbrella shaft passes through a small webbing loop at the inwale and seats in the mini mast step on the seat edge, with a J hook attachment and bungee on the umbrella shaft to keep it from blowing away.
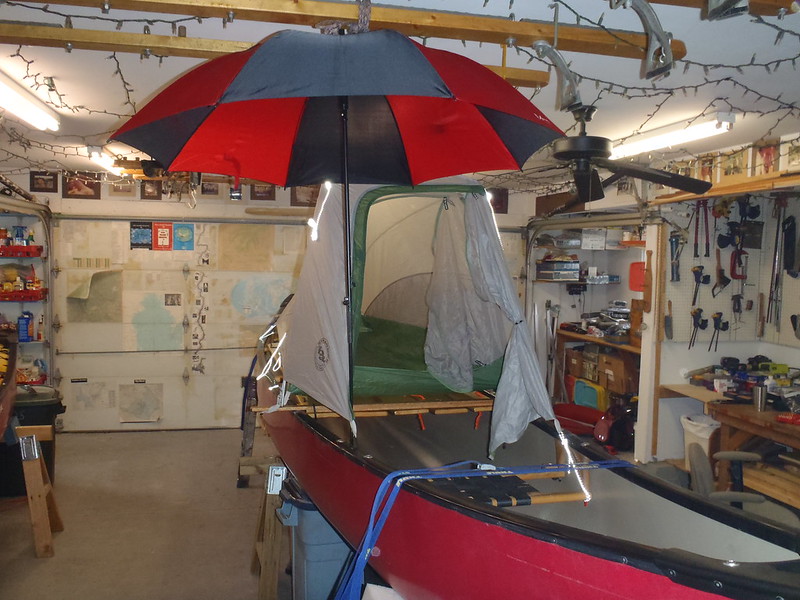 PC160118 by Mike McCrea, on Flickr
We are almost done with the live aboard motor canoe. Almost, Joel wisely wants mini mast steps for the stern seat, and then it is just registration numbers, marine fire extinguisher and some work on the canoe trailer.
Many coats of Spar urethane on the platform boats. Twice a day for 4 days, including urethane swabbed in the pole and connection holes.
 PC130079 by Mike McCrea, on Flickr
Urethane coated they look mighty nice.
 PC140081 by Mike McCrea, on Flickr
On to attaching the webbing straps that hold the platform planks together, and to keep them spaced apart when the planks are pulled towards the gunwales.
We got plenty of webbing in the shop. Cut to length with a hot putty knife for sealed webbing ends.
 PC150095 by Mike McCrea, on Flickr
With the planks properly spaced and clamped in place, and the webbing taped down I could melt sealed screw holes in situ using a hot nail.
 PC150098 by Mike McCrea, on Flickr
Not too shabby. The distances between screws on each subsequent board are at specific locations, predetermined on the prototype so that the boards can flat stack for transport.
For holding the stacks together during transport I made some bundling straps from lengths of double sided Velcro. An inch at each end is folded over, Gflexed together and held to dry with wax paper under binder clips for an easy to find and pull end tab. Velcro without an easy pull tab is a pick at it with your fingernails PITA.
 PC160103 by Mike McCrea, on Flickr
Joel mentioned in passing that he would like a faux Bimini golf umbrella for shade. Parts needed, one golf umbrella with the handle cut off, one old tent pole extension that sleeves inside the umbrella shaft to raise it higher, one mini mast step to seat it in.
 PC160113 by Mike McCrea, on Flickr
Mini mast step Gflexed and clamped to the edge of the seat frame.
 PC160105 by Mike McCrea, on Flickr
Time to make a bunch of webbing loops. A hot 20 penny nail will melt a perfect three sixteenths inch hole for machine screws or pop rivets. Different lengths of those webbing loops will be used for the golf umbrella shaft and to anchor the platform spread apart and held in place. Might as well put one in each of the old center seat hardware holes under the inwales, the holes are already drilled there.
 PC160107 by Mike McCrea, on Flickr
The Gflex on the tee grips and spike ends of the end anchor poles, which will pass through the painter loops at either stem and be driven into the sand, marl or mud bottom to help hold the canoe in place has set up and they are ready to go.
 PC160108 by Mike McCrea, on Flickr
Those 8 foot long end anchor poles fit nicely between the platform boards. 8 feet is plenty long enough to drive a couple feet into the bottom, pass through the high stem painter loops and still leave room for tidal rise.
 PC160111 by Mike McCrea, on Flickr
The laminated oak spreader board at the tent door end was urethane top coated as well.
 PC160115 by Mike McCrea, on Flickr
Joel is back. We got busy and I missed a lot of detail action photos, including using a heat gun and pliers to compress the ends of the J hooks for tighter catch, making spare side wands, installing webbing loops, drilling new thumb button holes in the outrigger tubes, and weighing the empty Miramichi. 110 lbs.
Time to put up the tent again.
 PC160117 by Mike McCrea, on Flickr
With the tent secured it was time to install the golf umbrella bimini. The extended umbrella shaft passes through a small webbing loop at the inwale and seats in the mini mast step on the seat edge, with a J hook attachment and bungee on the umbrella shaft to keep it from blowing away.
 PC160118 by Mike McCrea, on Flickr
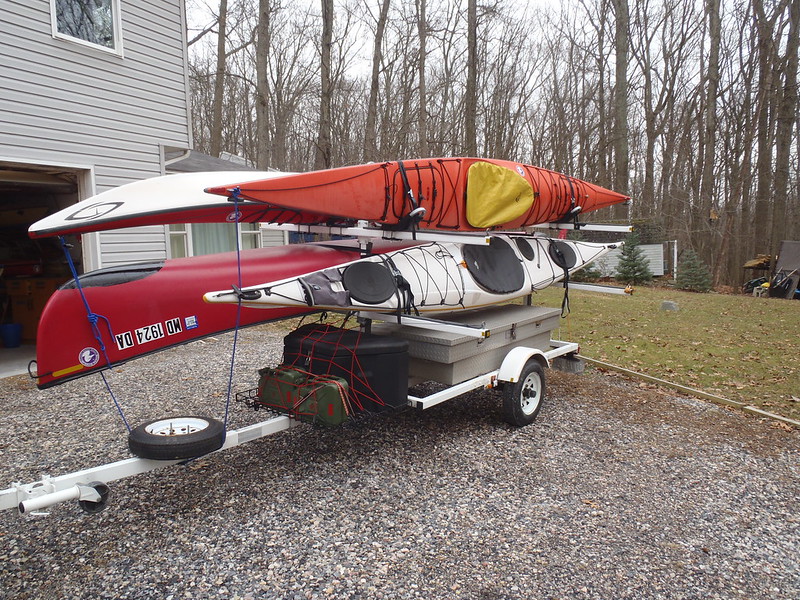
We are almost done with the live aboard motor canoe. Almost, Joel wisely wants mini mast steps for the stern seat, and then it is just registration numbers, marine fire extinguisher and some work on the canoe trailer.

