G
Guest
Guest
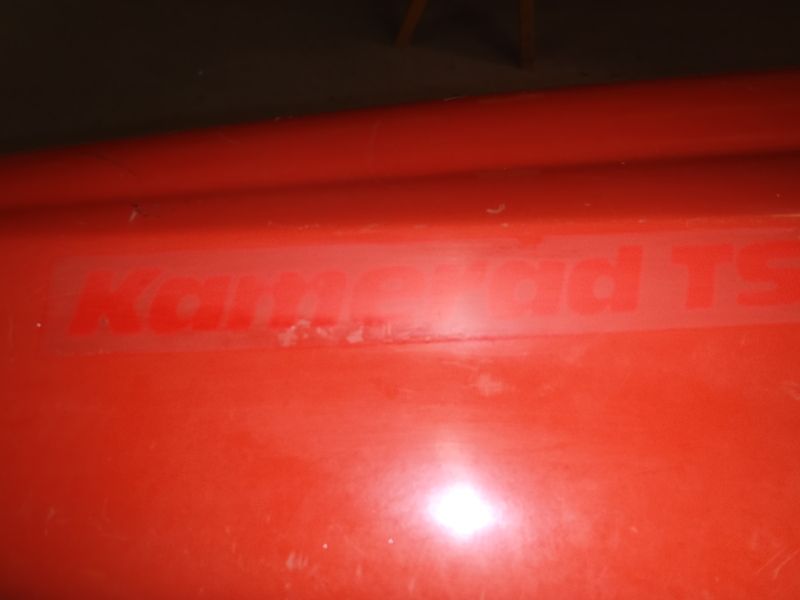
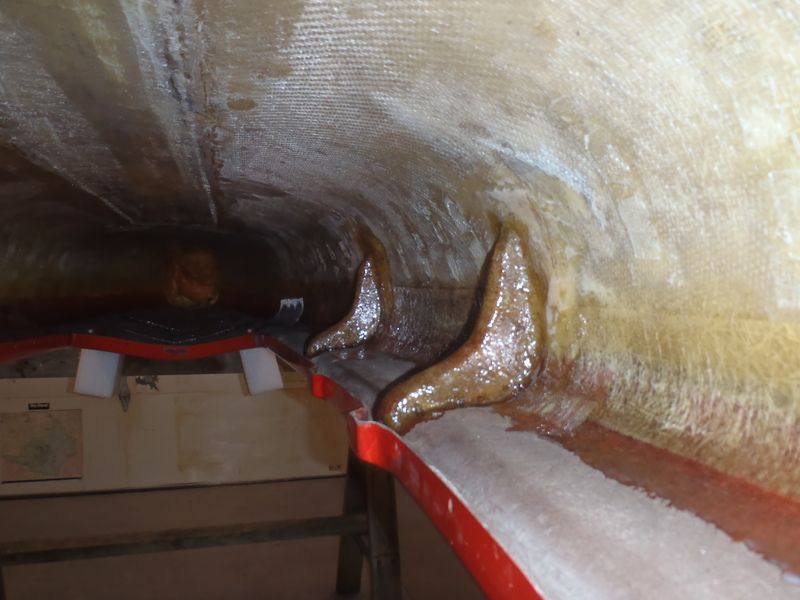
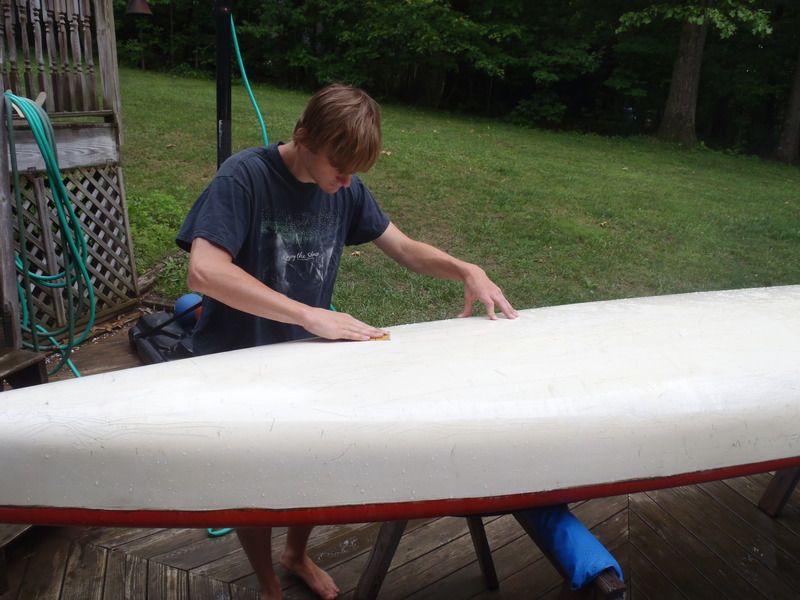
That week’s work was just to get the Comrade hull gutted and repaired. A solid week of putzing around just to get a clean, naked and repaired hull to begin outfitting.
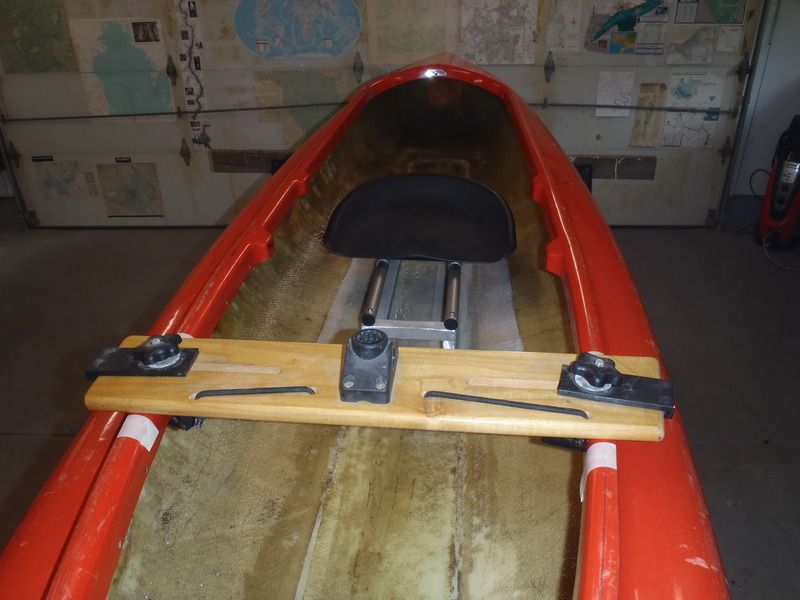
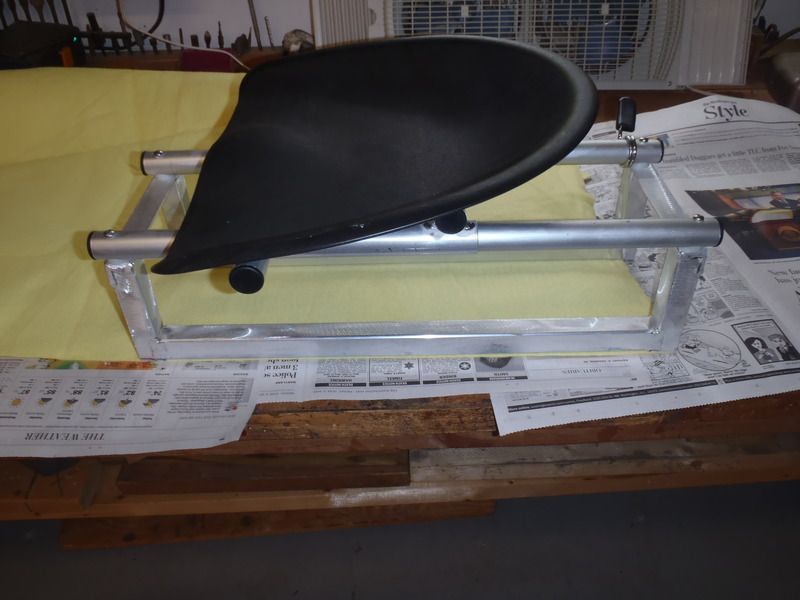
Now the real fun began, starting with some serious seat cogitation. I opted for the sliding Wenonah pedestal, in part because the weight savings become important in a hull that tips the scale at 60 lbs without outfitting, but mostly because the slider allows for easy trim adjustment and eliminates the issue of the fixed utility thwart being too far away for short statured paddlers.
I used the Monarch seat placement as a model. The Monarch is 13 ¾” deep at center and, with the seat in the middle hanger notches, the seat pan is about 7” high with the center of the seat positioned 6” back of center hull.
The Comrade is 13” deep and the bucket seat on a Wenonah pedestal slider will sit 6 ¼” high. Depth-wise the Wenonah pedestal should be just about right.
On solo hulls Wenonah often positions the pedestal so that the front edge of the seat, if slid all the way forward, is nearly at the center of the hull. I tend to prefer sailing hulls be seat positioned a little bow light, to compensate for when the sail presses the bow into the water. The sliding seat should accommodate that for different loads, conditions or paddlers.
Fore and aft positioning required additional sliding seat considerations, prime among them making sure there was room for a blue barrel behind the seat.
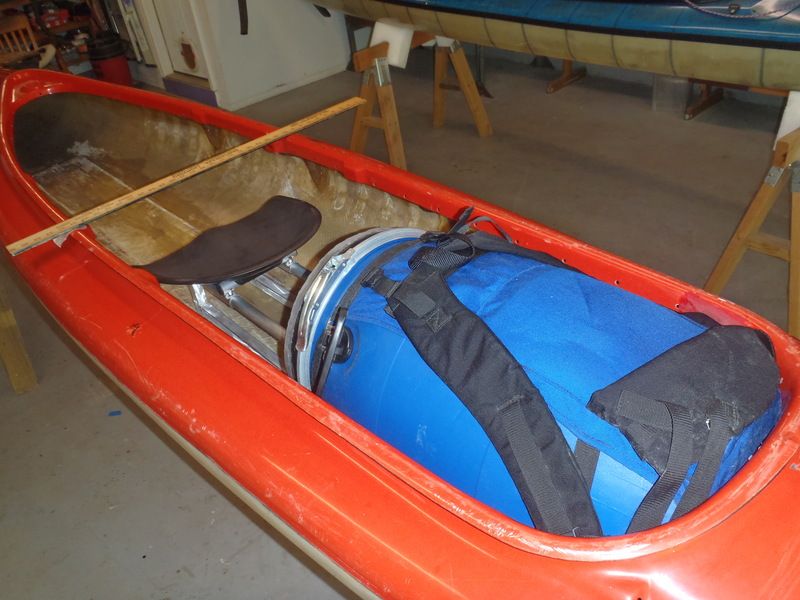
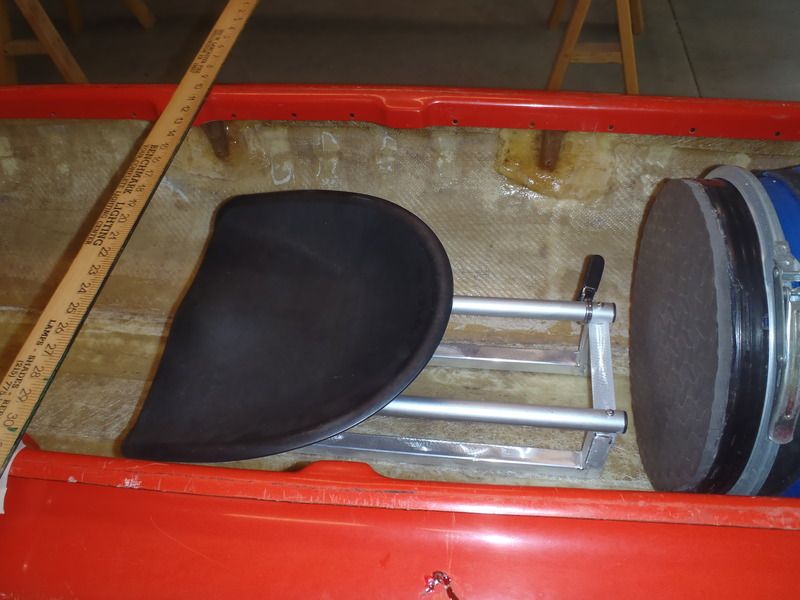
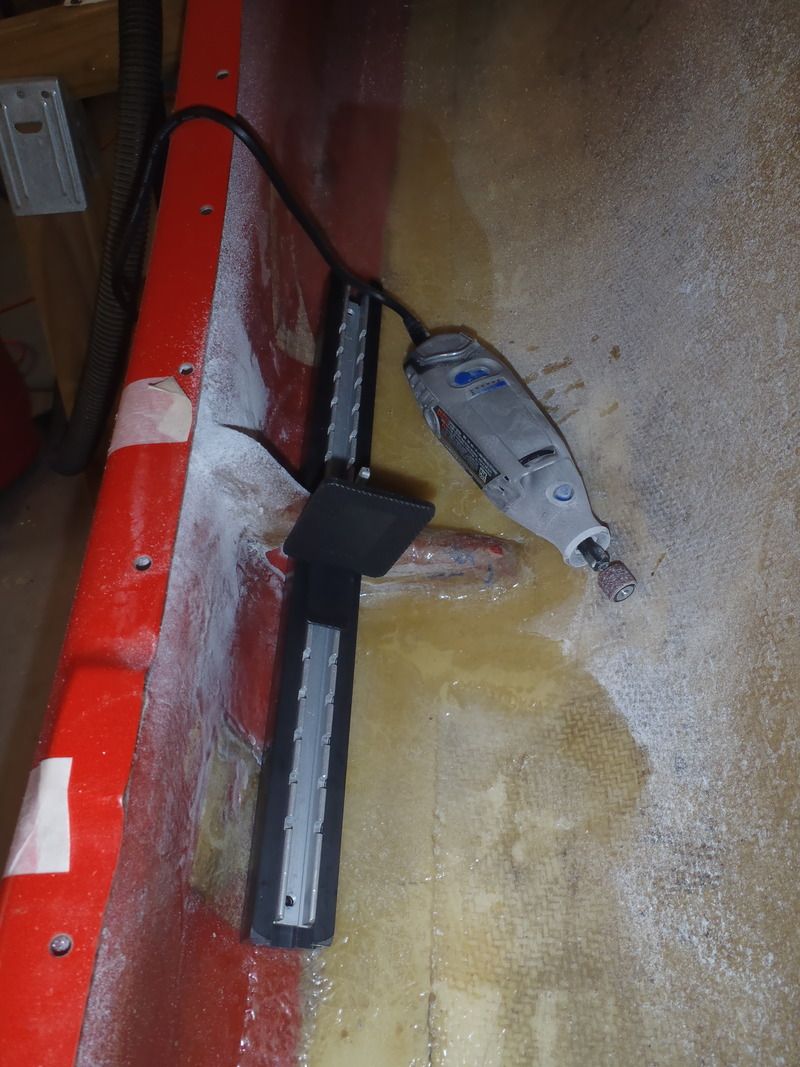
Wow, I love it when a plan comes together. With the pedestal laid in the hull at the typical Wenonah placement, with the front edge of the seat pan slid all the forward to the center of the hull, I can slide the seat all the way back (10” of travel) and still have room for a 60L barrel (or 115L pack) behind the seat. That looks to be spot on for a sliding seat.
Marking the exact position of a pedestal mount, especially on old somewhat imperfect hulls, is tricky, with lots of measuring from different points, lots of eye balling.
That was made easier on the Comrade. The parallel lines from the old seat and mast step keelson are plainly visible and a couple of conveniently (unintentionally) pre-warped 1x2’s laid in the hull atop those lines gave me a good aiming point.
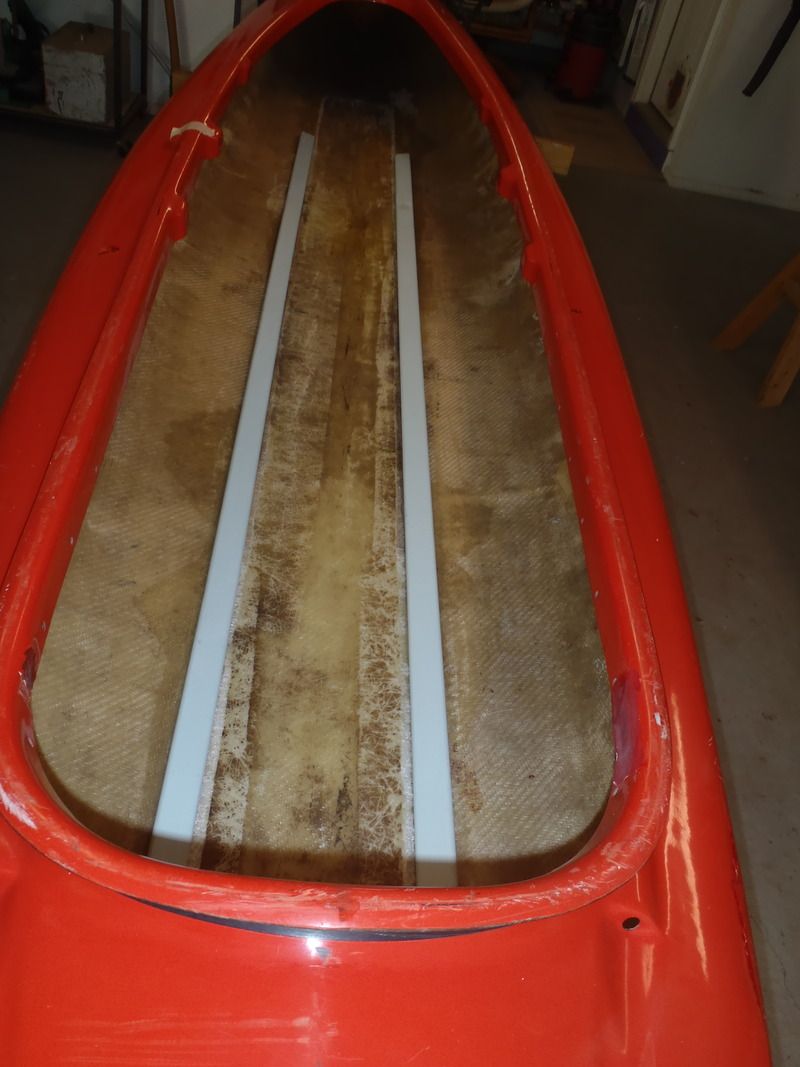
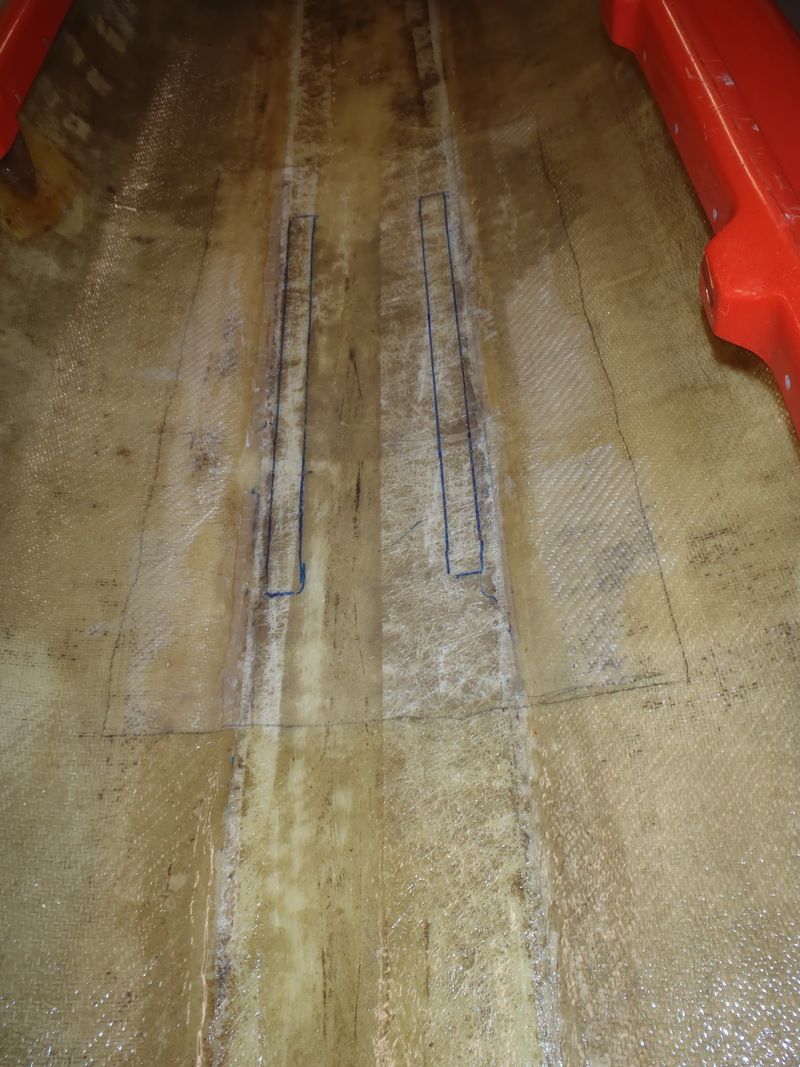
I still measured the seat and frame position off a half dozen fixed hull points, adjusted it 1/8” this way and that ‘til I deemed it Wabi-sabi perfect and marked the pedestal frame on the hull in Sharpie. I want those rail outlines to be plainly visible through several layers of cloth.
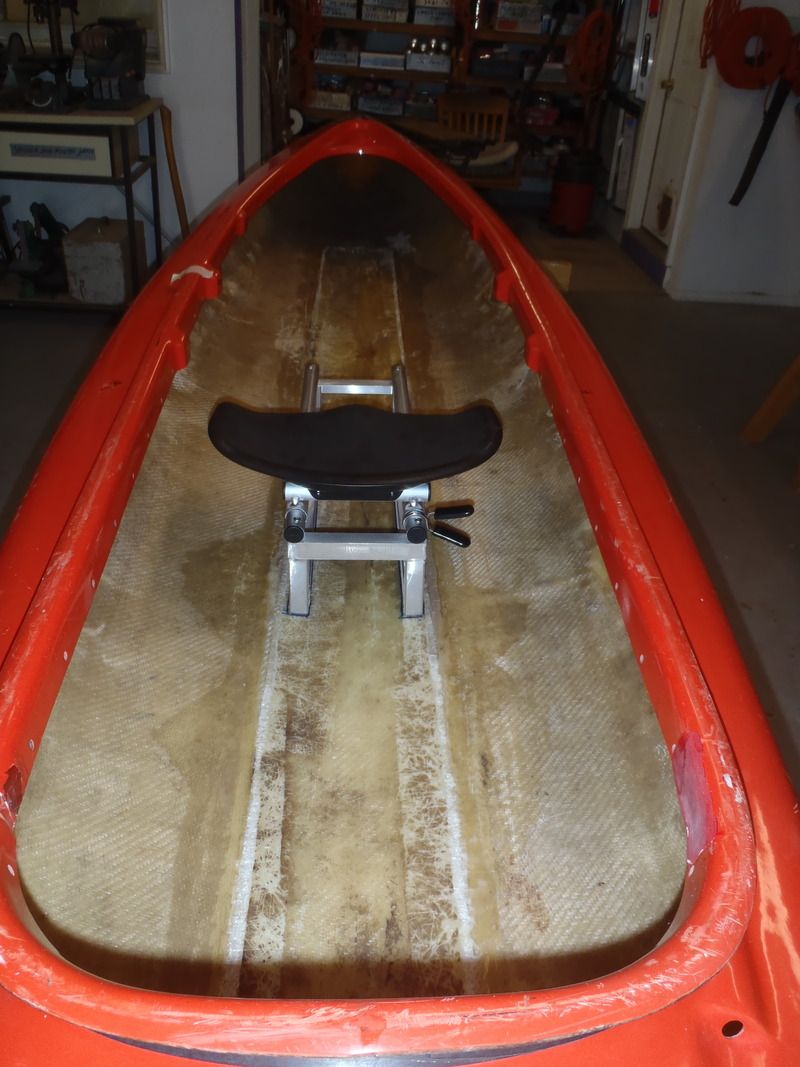
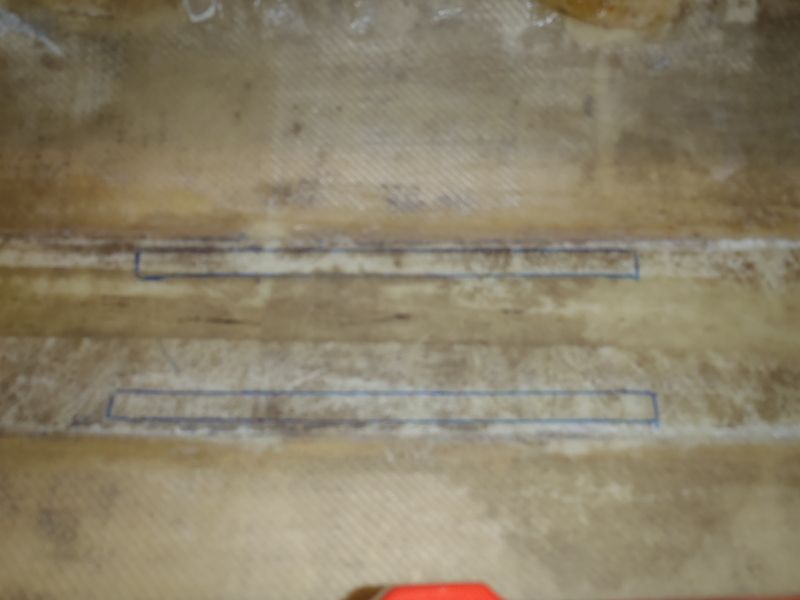
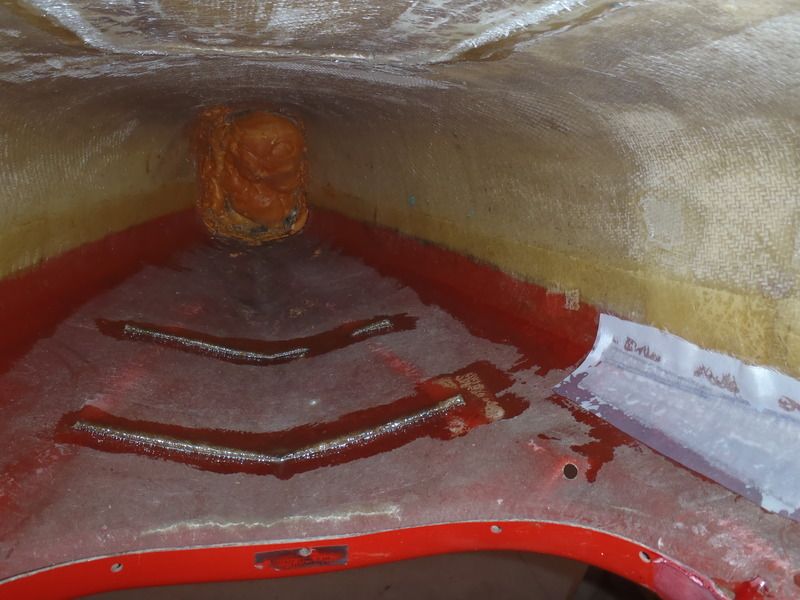
On a 40 year old woven roving hull full of spider cracks I wanted to install a sturdier sub-floor for the pedestal, to help better distribute paddler weight on the seat frame, starting with a large rectangle of Dynel.
While the Comrade was clean and upright I rolled out a thin coat of unadulterated 105/206 over any of the foot/heel or gear wear areas of the bottom. And then I mixed a little more epoxy and kept going until I had rolled out all of the bottom and sides I could reach. 8 more pumps of West System epoxy was probably another ounce well spent.
I had traced out the Dynel position and left that rectangle bare of epoxy when I roll out the rest of the inside. For the Dynel and glass tape sub-floor I used a 50/50 mix of West 105/206 and G/flex to lay and wet out the cloth layers in that sub-floor.
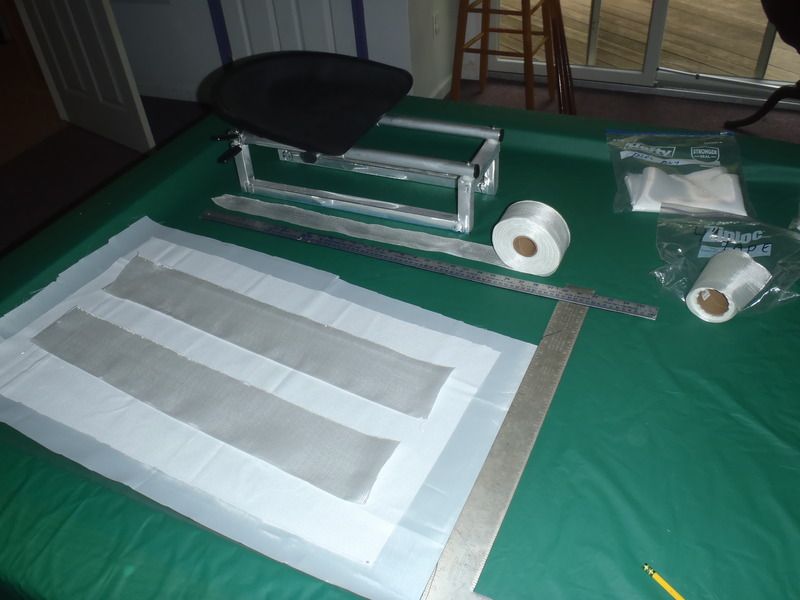
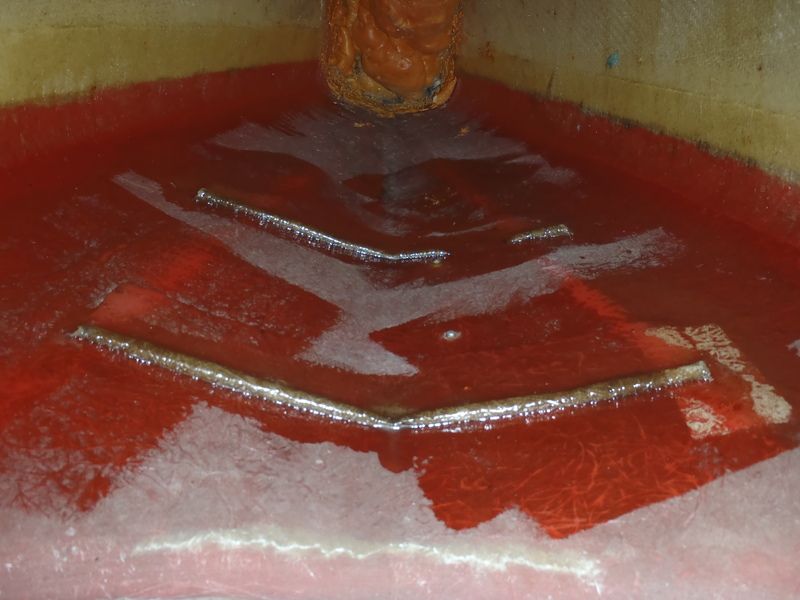
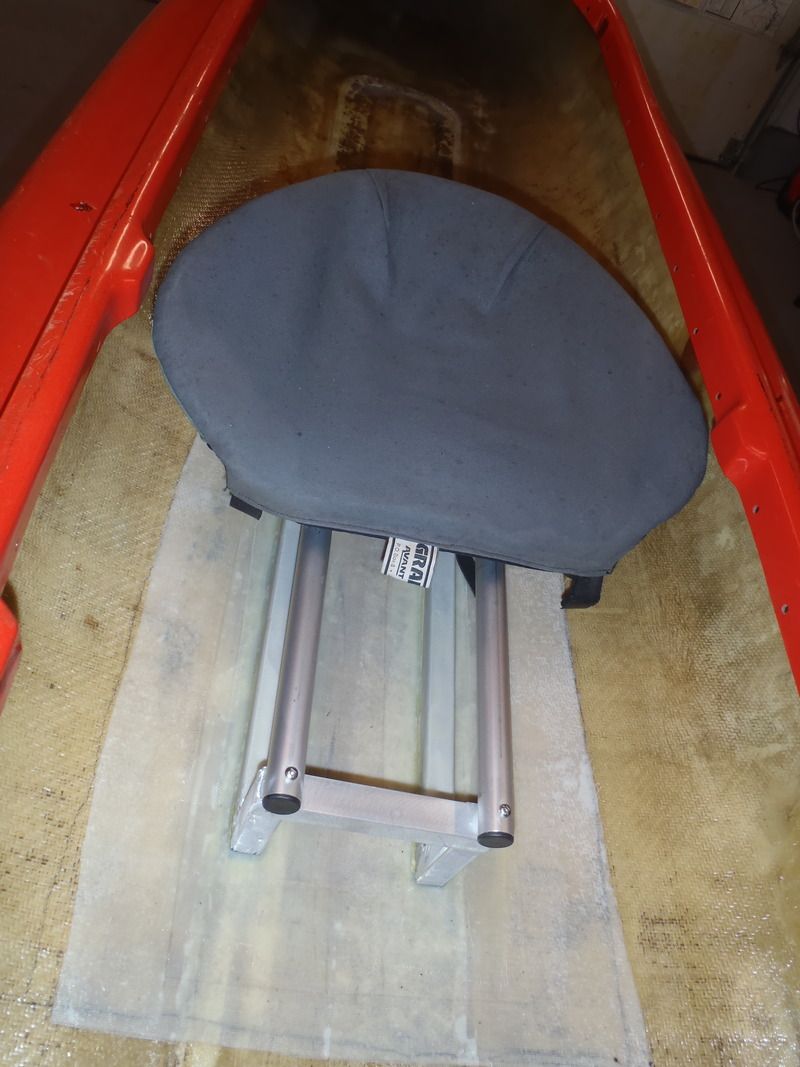
First a 30 long by 16 wide piece of Dynel, followed by two 26” long pieces of 4” tape, topped by two 24” long pieces of 2” tape. Those staggered shorted layers were laid and positioned in sequence to fit beneath the pedestal platform base, epoxied with 105/206 and G/flex mix and covered with a large piece of peel ply.
While I was slicing cloth I cut two 1” x 21” pieces of kevlar felt, sized to fit underneath the pedestal frame tubes. That kevlar felt is a godawful skid plate material (never again), but it is useful for filling the slight gap where the slight curve of the hull bottom and straight aluminum base the platform tubes don’t quite match.
Those pieces of epoxy saturated kev felt go inside the platform base trace, and hold the seat firmly in place when I get to laying glass tape across the platform base to affix it to the sub-floor.
I walked away for a few hours, until I could pull the peel ply with the epoxy still green*, laid and resined the kevlar felt, put the seat down and walked away for another couple of hours. Once that had set up immovably I epoxied a length of 4” glass tape across the bottom of the seat frame and covered the tape with peel ply.
*I discovered that release treated peel ply is as hard to remove from still-green epoxy as the nylon stuff that HAS to be pulled green. I wanted all of the base layers installed with the epoxy still green for better chemical adhesion. Release treated peel ply pulls like a Post-it note after a 12 hour cure, and needs both hands and a strong back if pulled green.
The (possibly excessive) sub floor, interior resin roll out and seat installation added considerable weight. The Comrade now weighs in at just under 65 lbs, without the rudder or controls.


Now the real fun began, starting with some serious seat cogitation. I opted for the sliding Wenonah pedestal, in part because the weight savings become important in a hull that tips the scale at 60 lbs without outfitting, but mostly because the slider allows for easy trim adjustment and eliminates the issue of the fixed utility thwart being too far away for short statured paddlers.
I used the Monarch seat placement as a model. The Monarch is 13 ¾” deep at center and, with the seat in the middle hanger notches, the seat pan is about 7” high with the center of the seat positioned 6” back of center hull.
The Comrade is 13” deep and the bucket seat on a Wenonah pedestal slider will sit 6 ¼” high. Depth-wise the Wenonah pedestal should be just about right.
On solo hulls Wenonah often positions the pedestal so that the front edge of the seat, if slid all the way forward, is nearly at the center of the hull. I tend to prefer sailing hulls be seat positioned a little bow light, to compensate for when the sail presses the bow into the water. The sliding seat should accommodate that for different loads, conditions or paddlers.
Fore and aft positioning required additional sliding seat considerations, prime among them making sure there was room for a blue barrel behind the seat.


Wow, I love it when a plan comes together. With the pedestal laid in the hull at the typical Wenonah placement, with the front edge of the seat pan slid all the forward to the center of the hull, I can slide the seat all the way back (10” of travel) and still have room for a 60L barrel (or 115L pack) behind the seat. That looks to be spot on for a sliding seat.
Marking the exact position of a pedestal mount, especially on old somewhat imperfect hulls, is tricky, with lots of measuring from different points, lots of eye balling.
That was made easier on the Comrade. The parallel lines from the old seat and mast step keelson are plainly visible and a couple of conveniently (unintentionally) pre-warped 1x2’s laid in the hull atop those lines gave me a good aiming point.

I still measured the seat and frame position off a half dozen fixed hull points, adjusted it 1/8” this way and that ‘til I deemed it Wabi-sabi perfect and marked the pedestal frame on the hull in Sharpie. I want those rail outlines to be plainly visible through several layers of cloth.


On a 40 year old woven roving hull full of spider cracks I wanted to install a sturdier sub-floor for the pedestal, to help better distribute paddler weight on the seat frame, starting with a large rectangle of Dynel.
While the Comrade was clean and upright I rolled out a thin coat of unadulterated 105/206 over any of the foot/heel or gear wear areas of the bottom. And then I mixed a little more epoxy and kept going until I had rolled out all of the bottom and sides I could reach. 8 more pumps of West System epoxy was probably another ounce well spent.
I had traced out the Dynel position and left that rectangle bare of epoxy when I roll out the rest of the inside. For the Dynel and glass tape sub-floor I used a 50/50 mix of West 105/206 and G/flex to lay and wet out the cloth layers in that sub-floor.

First a 30 long by 16 wide piece of Dynel, followed by two 26” long pieces of 4” tape, topped by two 24” long pieces of 2” tape. Those staggered shorted layers were laid and positioned in sequence to fit beneath the pedestal platform base, epoxied with 105/206 and G/flex mix and covered with a large piece of peel ply.
While I was slicing cloth I cut two 1” x 21” pieces of kevlar felt, sized to fit underneath the pedestal frame tubes. That kevlar felt is a godawful skid plate material (never again), but it is useful for filling the slight gap where the slight curve of the hull bottom and straight aluminum base the platform tubes don’t quite match.

Those pieces of epoxy saturated kev felt go inside the platform base trace, and hold the seat firmly in place when I get to laying glass tape across the platform base to affix it to the sub-floor.

I walked away for a few hours, until I could pull the peel ply with the epoxy still green*, laid and resined the kevlar felt, put the seat down and walked away for another couple of hours. Once that had set up immovably I epoxied a length of 4” glass tape across the bottom of the seat frame and covered the tape with peel ply.
*I discovered that release treated peel ply is as hard to remove from still-green epoxy as the nylon stuff that HAS to be pulled green. I wanted all of the base layers installed with the epoxy still green for better chemical adhesion. Release treated peel ply pulls like a Post-it note after a 12 hour cure, and needs both hands and a strong back if pulled green.
The (possibly excessive) sub floor, interior resin roll out and seat installation added considerable weight. The Comrade now weighs in at just under 65 lbs, without the rudder or controls.

