- Joined
- Jul 6, 2021
- Messages
- 643
- Reaction score
- 1,174
I love custom outfitting. There are dozens of little steps, and a best sequential order that requires some contemplation and planning. I started with the outfitting that doesn’t require a paddler’s custom physiology test sit.
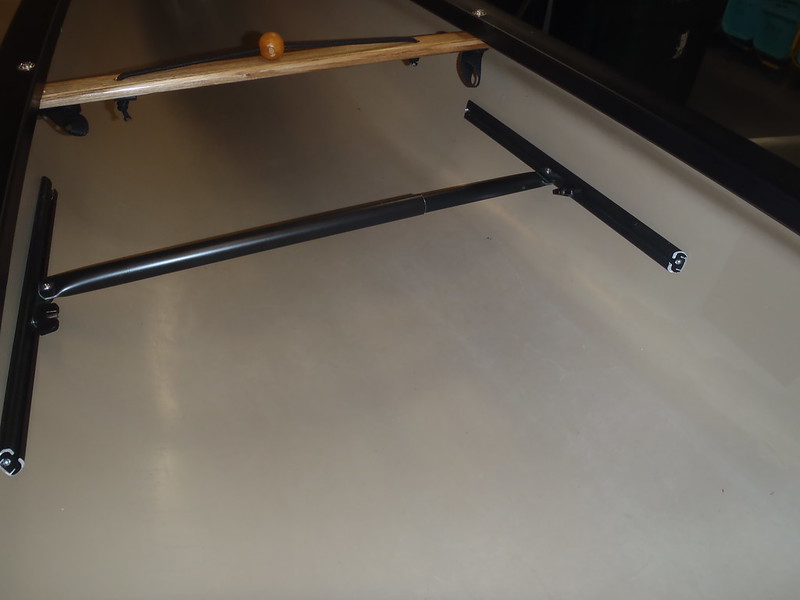
A Wenonah adjustable foot brace first, taking measurements from my wife and younger son’s foot brace positions in their preferred canoes. Averaging those measurement positioned the foot brace bar 5” high and 28 1/2” distant from the front edge of the seat with the bar in the middle of the track. With 6 inches of adjustment fore or aft that should accommodate either of their legs, or anyone else. Ball of foot height is in the right vicinity, +/-.
 PB230004 by Mike McCrea, on Flickr
The foot brace bar still needs (er, ok, I wants) a length of split foam pipe insulation for sandy summer waters barefoot comfort, but I have no quality split foam pipe insulation with the correct inner diameter. Next hardware store trip.
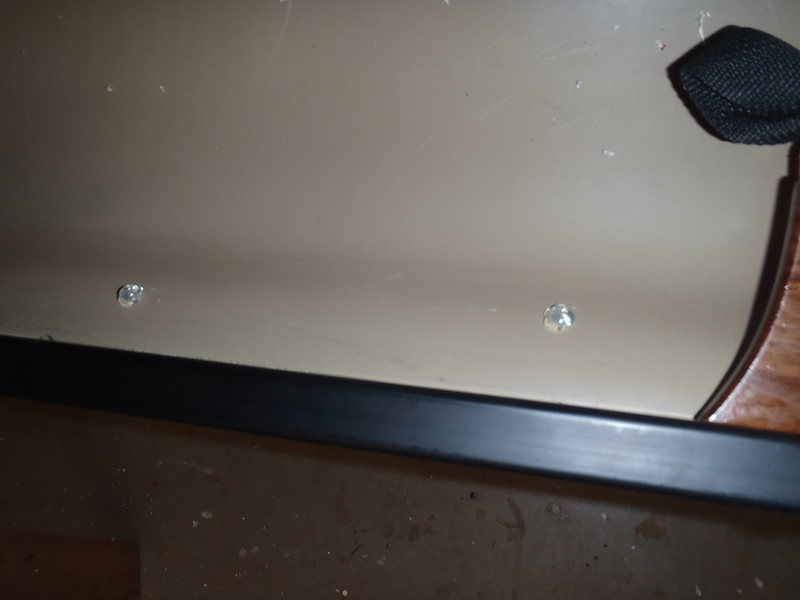
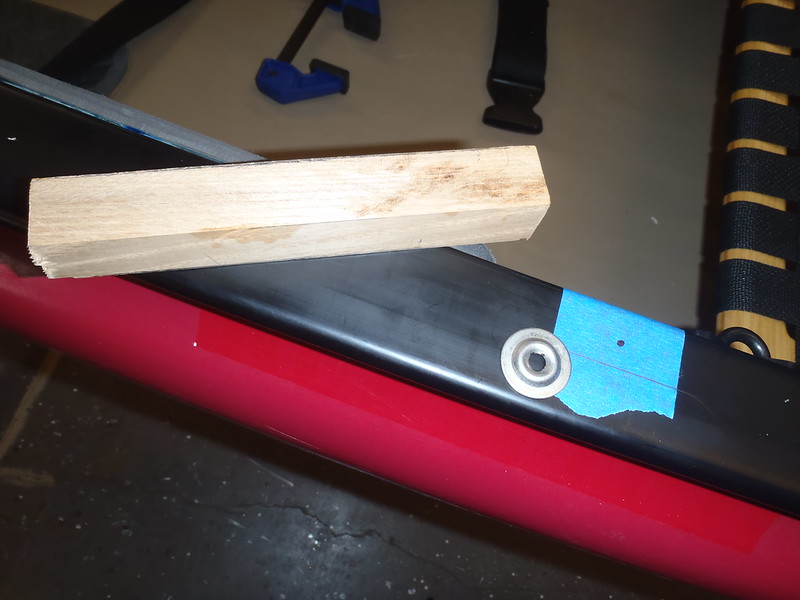
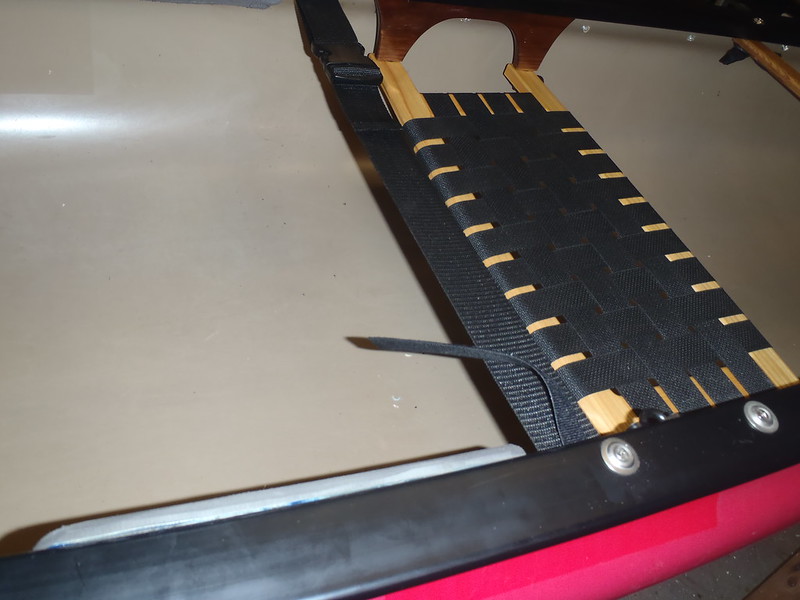
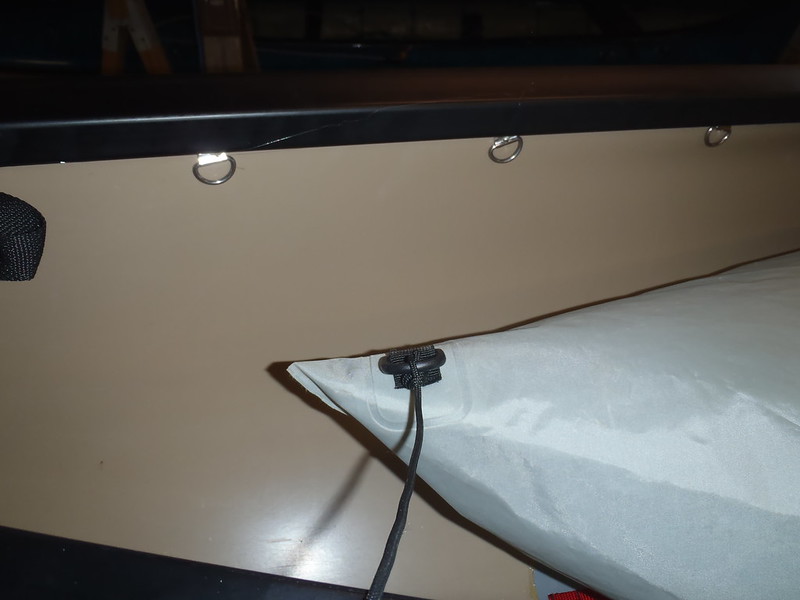
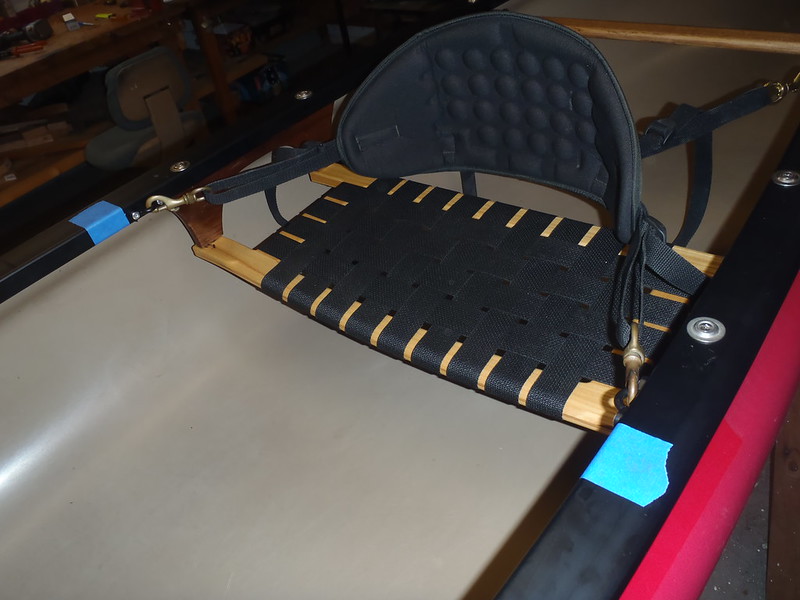
A Surf-to-Summit Performance back band doesn’t need a test sitter either, I know how and where it best shapes curved behind the aft seat rail. The webbing loops on the stern thwart are perfectly located to attach the rear swivel clips. Nylon pad eyes pop riveted to the side of the inwale work well for the front straps. The weight bearing experiments showed that a single pad eye, pop riveted into no-insert vinyl gunwale, held 163lbs. Even I don’t press against a back band with 326lbs of combined force.
 PB230005 by Mike McCrea, on Flickr
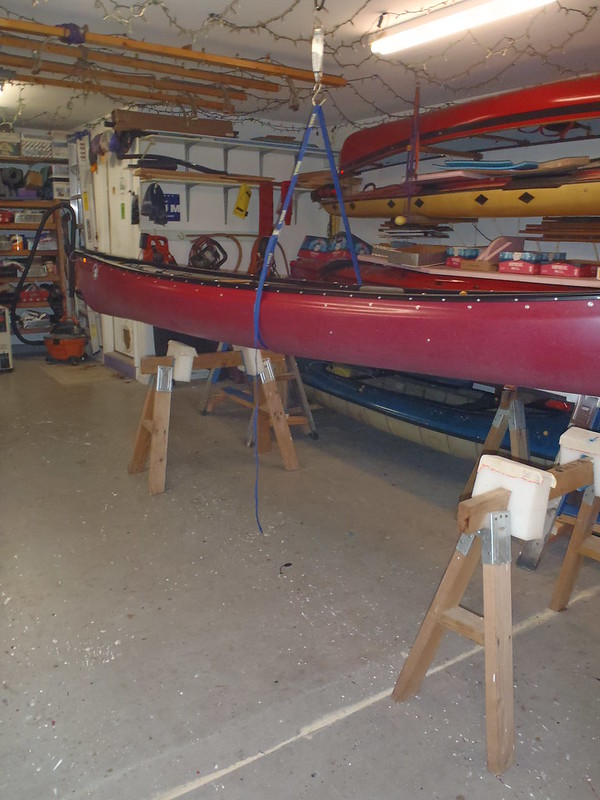
 PB230006 by Mike McCrea, on Flickr
The painter’s tape marks the current balance point for the strap yoke, which will be the last thing installed, after a final weight and re-balance check.
With the foot brace and back band installed the canoe moved to the floor on a thick pad and my test subject had a seat, got his knees, legs and feet comfy with foot brace adjusted and padding temporarily held in place, and I marked the locations/dimensions for knee bumpers and heel pads.
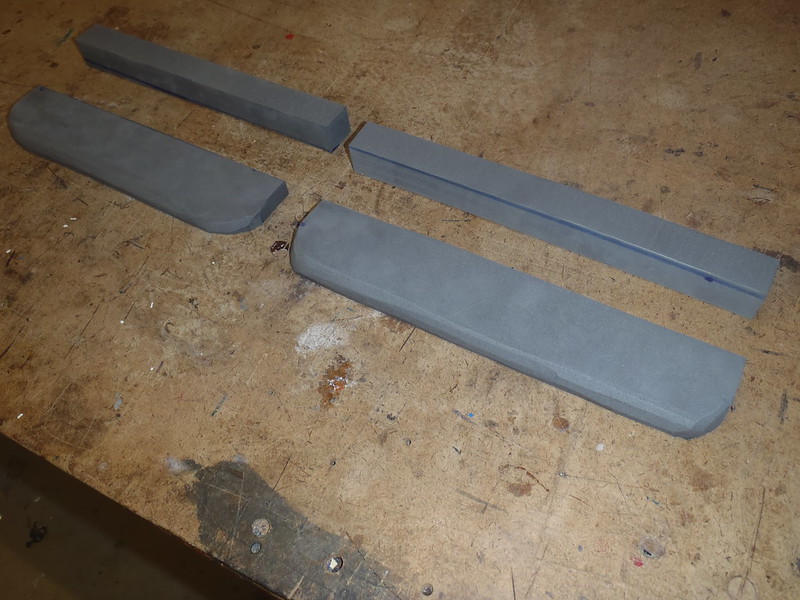
Cushy minicel for the knee bumpers. With the inwale edges only 24” apart at knee location it won’t need much narrowing to press knees against inwale. A 1 ¼” wide piece of minicel at knee location brought the “hull” edges flush with the inner lip of the inwale.
The shouldered tumblehome sides made contact cementing the initial minicel base trickier than usual. Instead of a large fill slab I cut two pieces 1 ¼” x 1” X 10” long. The shouldered tumblehome curve doesn’t start for the first inch below the bottom of the inwale, so I’ll have a flat, flush 1” surface there to contact cement the minicel “base” layer.
That inwale sized base layer got topper pieces of half inch thick minicel, cut 10” x 2”, glued on flush with the top edge of the inwale so the ouchie right angle edge is cushioned. I rounded the corners and beveled the edges of the “topper” pieces with the 1” tabletop sander, so there is less exposure to sheer forces when getting in or out.
 PB230007 by Mike McCrea, on Flickr
Exercise flooring for the heel pads. Those are not as much for comfort as for non-slippery heel purchase in place of a slick wet vinyl floor (or in UL composite hulls so you don’t wear down heel scuffs). The embossed side is much more boot heel durable than minicel. Same rounded corners and beveled edges, again to limit heel-peeling sheer forces, and allow easy bilge water flow between the pads.
The usual timed multi-coats of contact cement, heat gun, press, clamp or weight.
While the contact cement and foam was setting up I installed Northwater double-D rings, for single strap ladder-locked D convenience, or for two straps pulling in opposite directions.
I need some extra G/flex mixed for the ongoing mystery dowel project anyway. Vinyl pads coated with G/flex, laid inside a marked pencil trace, wax paper, sand bag weights. Nothing to see here, and I can move along. And come back occasionally to check the vinyl pads, hard roller compress them to push out any bubbles or lift, and re-lay the sandbags.
 PB240010 by Mike McCrea, on Flickr
Bags and clamps off the foam and D-rings look good. Once the contact cement had a firm post-clamp grip a few minutes of Dragonskin shaped the bottom of those knee bumpers so that in addition to pressing knees against the inwale sides, you can thigh brace them locked underneath the foam bumpers when needed.
 PB240017 by Mike McCrea, on Flickr
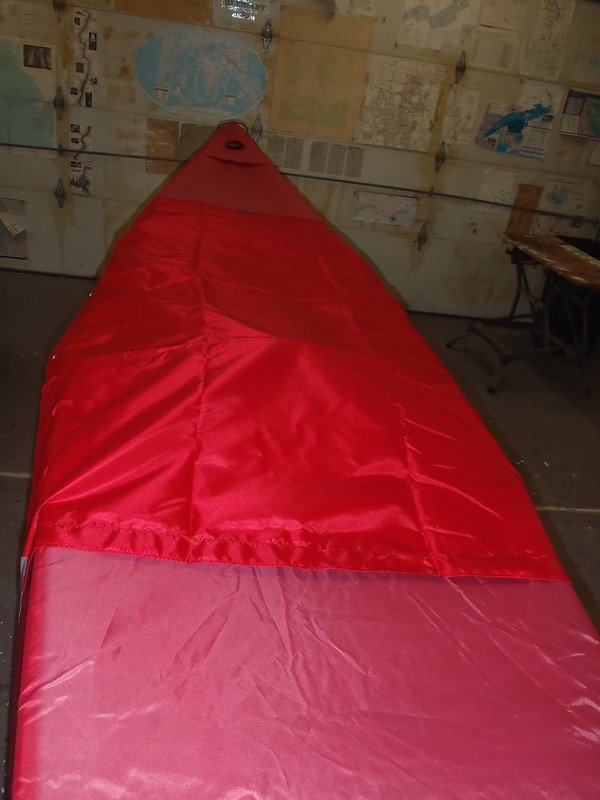
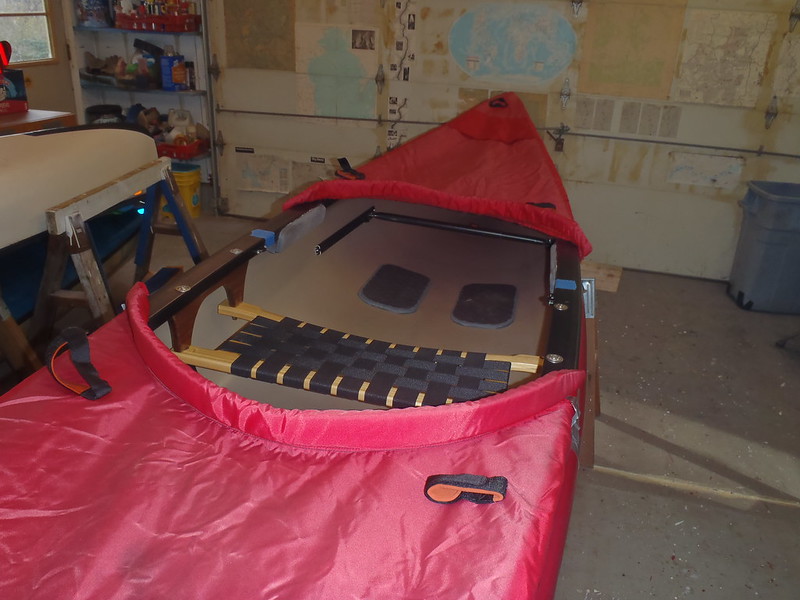
Before I moved on to the last couple things I had a wild hair, and tried the Cooke Custom Covers from the Wenonah Wilderness on the Yellowstone Solo. Oh lordy, they are a perfect fit*, and those partial covers are red, keeping in the color scheme.
 PB240011 by Mike McCrea, on Flickr
*They fit because the Wilderness covers were designed for tripping/sailing, the bow cover ends in front of the utility sail thwart, and the stern cover end a foot + behind the back of the seat to provide easier gear access.
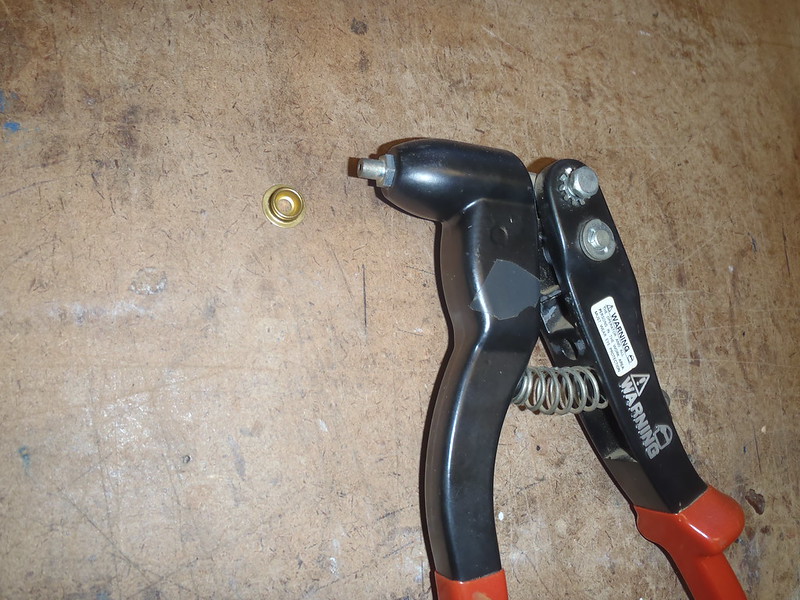
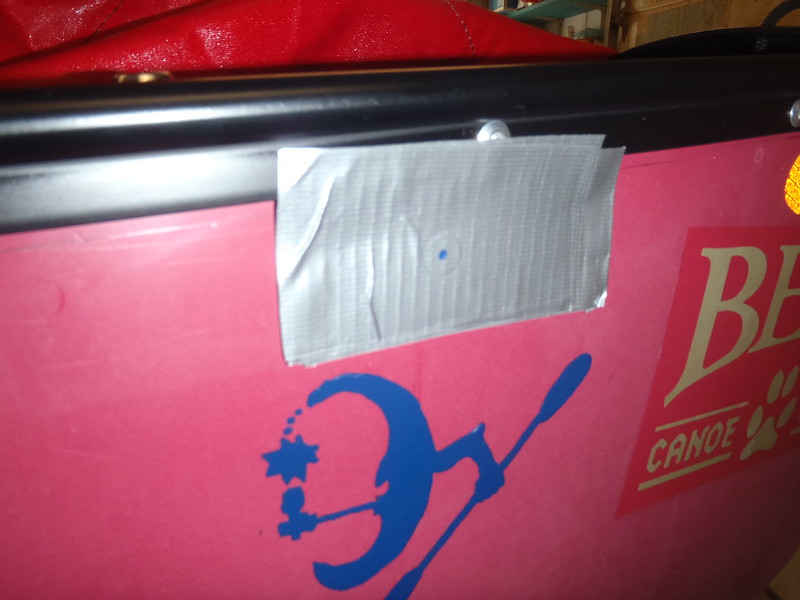
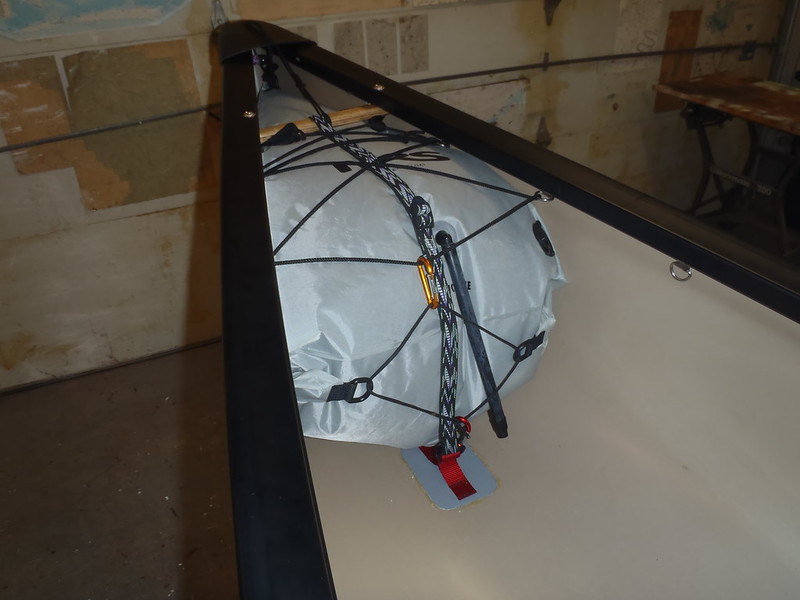
I’ve put on a bunch of Cooke covers and know the installation is easy simple. 36 snap rivets, one every 8 inches along the covers, don’t weigh much, so yet another too-hard-to-resist thing added to the outfitting list. Those covers need to go on before I do any lacing points for float bags or gear; I can back up some of the pop rivets inside the hull with miniature SS D-ring tie downs instead of using just washers.
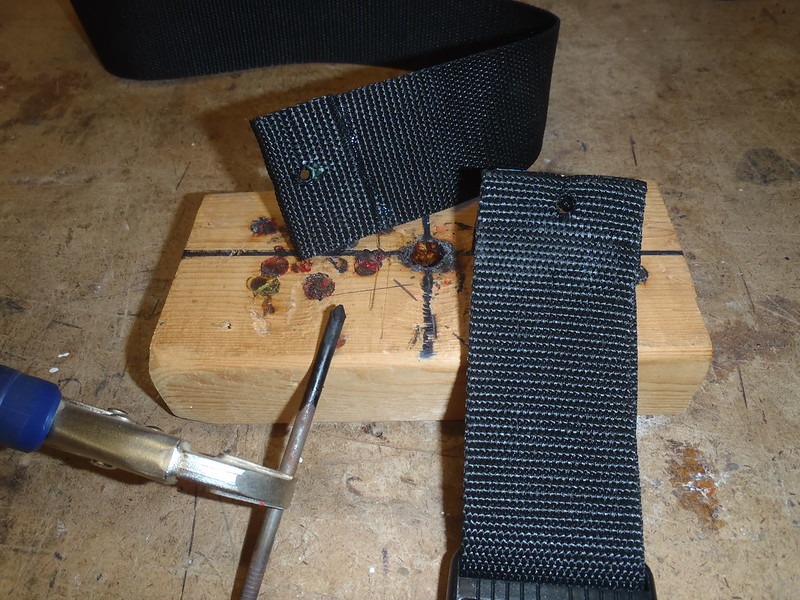
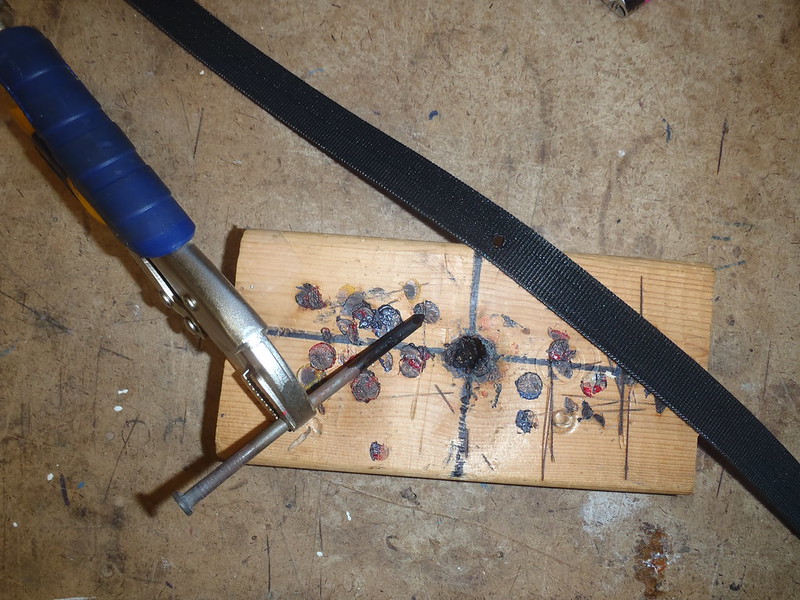
I’m confident in the strength of that stud/rivet/D-ring combination; I know how much weight it took to fail a single stud through Royalex affixed with a 1/8” pop rivet and mini D-ring backing. 124.5 lbs before the rivet broke. A few mini-D’s will do nicely.
https://www.canoetripping.net/threads/canoe-outfitting-attachment-weight-bearing-experiment.107260/
A Wenonah adjustable foot brace first, taking measurements from my wife and younger son’s foot brace positions in their preferred canoes. Averaging those measurement positioned the foot brace bar 5” high and 28 1/2” distant from the front edge of the seat with the bar in the middle of the track. With 6 inches of adjustment fore or aft that should accommodate either of their legs, or anyone else. Ball of foot height is in the right vicinity, +/-.
 PB230004 by Mike McCrea, on Flickr
The foot brace bar still needs (er, ok, I wants) a length of split foam pipe insulation for sandy summer waters barefoot comfort, but I have no quality split foam pipe insulation with the correct inner diameter. Next hardware store trip.
A Surf-to-Summit Performance back band doesn’t need a test sitter either, I know how and where it best shapes curved behind the aft seat rail. The webbing loops on the stern thwart are perfectly located to attach the rear swivel clips. Nylon pad eyes pop riveted to the side of the inwale work well for the front straps. The weight bearing experiments showed that a single pad eye, pop riveted into no-insert vinyl gunwale, held 163lbs. Even I don’t press against a back band with 326lbs of combined force.
 PB230005 by Mike McCrea, on Flickr
 PB230006 by Mike McCrea, on Flickr
The painter’s tape marks the current balance point for the strap yoke, which will be the last thing installed, after a final weight and re-balance check.
With the foot brace and back band installed the canoe moved to the floor on a thick pad and my test subject had a seat, got his knees, legs and feet comfy with foot brace adjusted and padding temporarily held in place, and I marked the locations/dimensions for knee bumpers and heel pads.
Cushy minicel for the knee bumpers. With the inwale edges only 24” apart at knee location it won’t need much narrowing to press knees against inwale. A 1 ¼” wide piece of minicel at knee location brought the “hull” edges flush with the inner lip of the inwale.
The shouldered tumblehome sides made contact cementing the initial minicel base trickier than usual. Instead of a large fill slab I cut two pieces 1 ¼” x 1” X 10” long. The shouldered tumblehome curve doesn’t start for the first inch below the bottom of the inwale, so I’ll have a flat, flush 1” surface there to contact cement the minicel “base” layer.
That inwale sized base layer got topper pieces of half inch thick minicel, cut 10” x 2”, glued on flush with the top edge of the inwale so the ouchie right angle edge is cushioned. I rounded the corners and beveled the edges of the “topper” pieces with the 1” tabletop sander, so there is less exposure to sheer forces when getting in or out.
 PB230007 by Mike McCrea, on Flickr
Exercise flooring for the heel pads. Those are not as much for comfort as for non-slippery heel purchase in place of a slick wet vinyl floor (or in UL composite hulls so you don’t wear down heel scuffs). The embossed side is much more boot heel durable than minicel. Same rounded corners and beveled edges, again to limit heel-peeling sheer forces, and allow easy bilge water flow between the pads.
The usual timed multi-coats of contact cement, heat gun, press, clamp or weight.
While the contact cement and foam was setting up I installed Northwater double-D rings, for single strap ladder-locked D convenience, or for two straps pulling in opposite directions.
I need some extra G/flex mixed for the ongoing mystery dowel project anyway. Vinyl pads coated with G/flex, laid inside a marked pencil trace, wax paper, sand bag weights. Nothing to see here, and I can move along. And come back occasionally to check the vinyl pads, hard roller compress them to push out any bubbles or lift, and re-lay the sandbags.
 PB240010 by Mike McCrea, on Flickr
Bags and clamps off the foam and D-rings look good. Once the contact cement had a firm post-clamp grip a few minutes of Dragonskin shaped the bottom of those knee bumpers so that in addition to pressing knees against the inwale sides, you can thigh brace them locked underneath the foam bumpers when needed.
 PB240017 by Mike McCrea, on Flickr
Before I moved on to the last couple things I had a wild hair, and tried the Cooke Custom Covers from the Wenonah Wilderness on the Yellowstone Solo. Oh lordy, they are a perfect fit*, and those partial covers are red, keeping in the color scheme.
 PB240011 by Mike McCrea, on Flickr
*They fit because the Wilderness covers were designed for tripping/sailing, the bow cover ends in front of the utility sail thwart, and the stern cover end a foot + behind the back of the seat to provide easier gear access.
I’ve put on a bunch of Cooke covers and know the installation is easy simple. 36 snap rivets, one every 8 inches along the covers, don’t weigh much, so yet another too-hard-to-resist thing added to the outfitting list. Those covers need to go on before I do any lacing points for float bags or gear; I can back up some of the pop rivets inside the hull with miniature SS D-ring tie downs instead of using just washers.
I’m confident in the strength of that stud/rivet/D-ring combination; I know how much weight it took to fail a single stud through Royalex affixed with a 1/8” pop rivet and mini D-ring backing. 124.5 lbs before the rivet broke. A few mini-D’s will do nicely.
https://www.canoetripping.net/threads/canoe-outfitting-attachment-weight-bearing-experiment.107260/


