• Happy Mathematics Day! ❌📐♾️

Restoring a Chestnut Bob's canoe

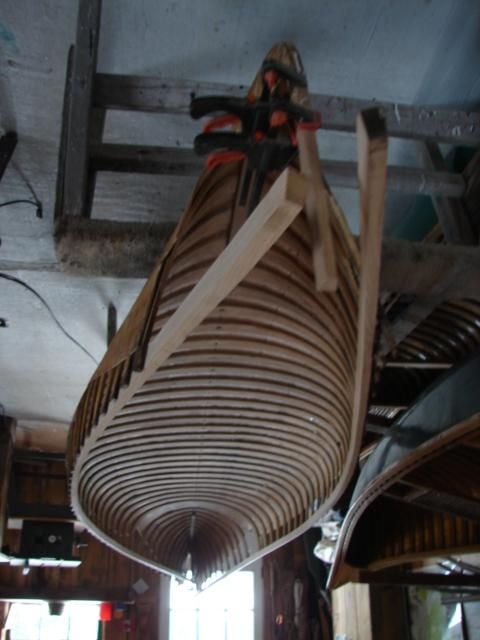
It looks like the hull holds its form even with no inwale ..or did you form the inwale somehow pre installation?

How many clamps does it take to work on a canoe. I know lots is the answer but do you have any recommendations? Jim is looking to go clamp shopping
 
Yes, the hull holds it's shape. I never thought it would, but Skyuler showed us (me and my bud Bob) how easy replacing inwales is. I have read where you need to install temporary inwales below the existing inwales, but we don't. Mark where the seats and thwarts go back in, on the outside of the hull so you know where to put them back. I have 8 clamps, plus a few smaller, seems to work.
You never have enough clamps I guess, just like canoes.
 
I have about 30 clamps and I need more. I have the larger spring clamps, metal, not plastic, C-clamps, mostly 3" but 4" would be better, a dozen 2" C-clamps and 4 bar clamps 12" long. When we do the little Huron later this Spring we will pre-soak the inwales and clamp under the existing to get the shape, it may not be necessary but we feel it holds the shape of the boat better and we have time.
 
"so I fired up the wood stove"

Robin that looks like a Vermont castings -Resolute- wood stove burning away in the corner there...
 
"so I fired up the wood stove"

Robin that looks like a Vermont castings -Resolute- wood stove burning away in the corner there...

Yes it is a Resolute, it was given to me a few years ago, and for good reason. It's missing 2 legs, (I use 2 rocks for support), the front glass is missing so I wired some sheet metal in place of the glass, so it's not air tight, the front door is sealed shut, no way it will open and inside the firebox there is some damage to a baffel. Other wise it's golden..
I'm looking for a replacement, but the good deals fly out the door on Craigslist, hopefully before next winter. Hoping to find a Little Moe All Nighter for the shop.
 
Wow, looks like it fell on hard times. I recognized it because I have one also, got it for 20 bucks a while back. It puts out some withering heat. The "all nighter" looks like a solid stove too. Good luck in your search.
 
Started scarfing in new stem tips today. One end needed about 5", the other just a couple of inches. I'll form this one with a belt sander, it's almost good now.

 
I took my one remaining deck over to Skyuler's shop and asked him to make two new ones. He suggested I bring the canoe over and he would help me install them after I finished the inwales. Well, I started having problems with some of the ribs on one side being a little too short and I really was a bit confused as to why.

So I brought the canoe over and Skyluer figured out what was the problem. The canoe had been missing the ends of both inwales (and no gunnels) for quiet a few years and the hull had become a little miss-shaped. When I installed the new inwales, I didn't pick this up and when I got towards the ends of the canoe, one side was off.

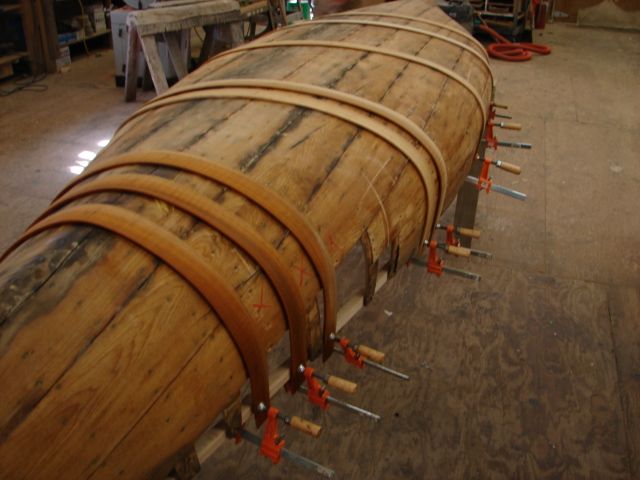
Schuyler was able to figure things out and he also had two matching jigs to bend the new inwales correctly. I removed half the ring nails holding the new inwales in and we where able to twist the canoe back into shape with the aid of the jigs and boiling water on the new inwales.

Rather than bring the canoe home, I decided to just finish it at Schuylers shop. He charges something like $100 for his shop and tool usage, plus a few extra $ if I need more expertise. My friend Bob who own's the Old Town OCTA we just finished in the "Therapy canoe" thread is going to help me.

Here's the canoe this morning, we finished installing the inwales on one end and installed the jigs on the other end with the aid of boiling water. Tomorrow we will remove the jigs and complete that end. Then install the decks and start removing the 8 ribs the canoe needs.

I thought I could restore this canoe without much help, but I soon realized it needed more skill and knowledge than I have.

Yesterday with the jigs holding the steamed inwales in place. (24 hours dry time)


This morning nailing in the new shaped inwales


Today with the jigs on the other end,

 
Mondays is my day with my Grandson, so Bob went over to the shop by himself and pulled out the 8 bad ribs and worked on installing some plank. Today we went over and Frank layed out the marks where we where to bend the ribs.


It's important that each new rib is made exactly like the one being removed, plus a little extra. Then when the new rib is pulled from the steam box, you look at the number on the rib and bend it at the spot Frank marked on the canoe, which is close but not exactly where it will go into the canoe.
8 new ribs bent.


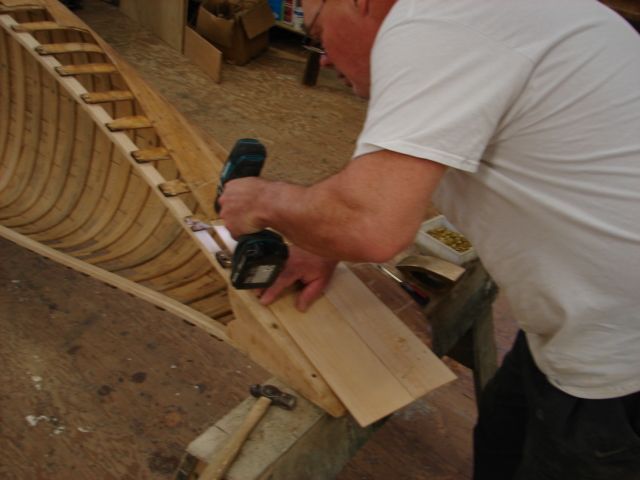
Bob pre drilling the plank to prevent splitting when we hammer down the tacks.


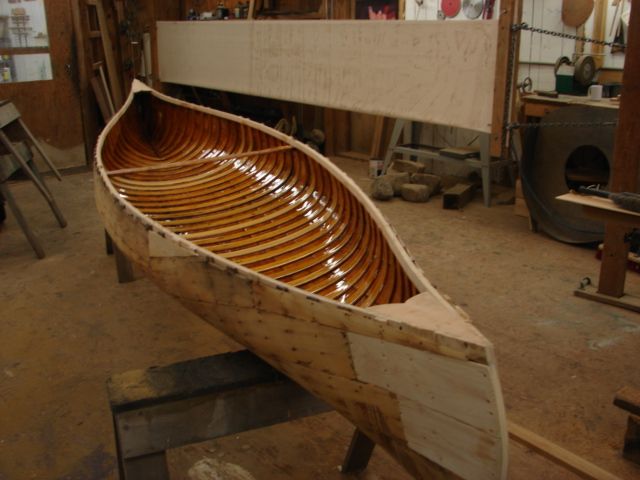
Tomorrow we will finish planking and then lightly sand the interior, then we apply the first coat of varnish.
 
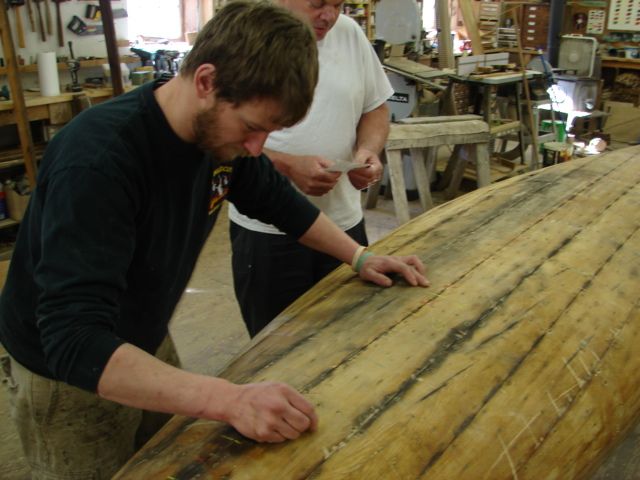
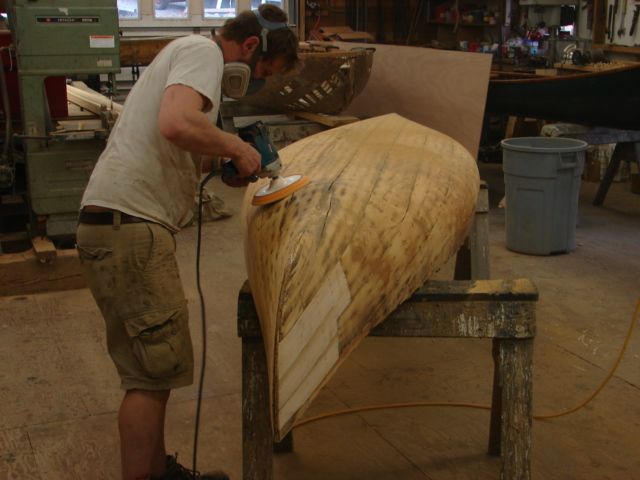
I finished the interior varnish (4 coats) this weekend and today we put the canoe in the canvas envelope. First the outside of the hull had to be sanded with 40 grit. Since this canoe (Chestnut Bob's Special) is built light-weight with 1/8 inch plank, Frank did the sanding otherwise I might be replacing more plank. The sanded takes a skilled hand and I gladly stepped aside.


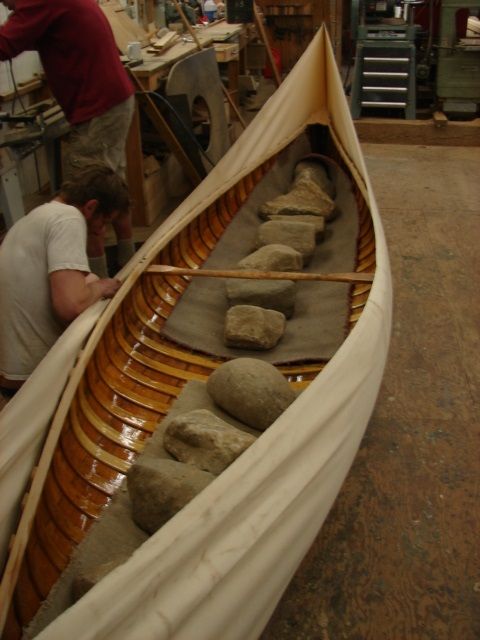
After the sanding I went over the canoe looking for any damaged tacks from the sanding. I found a few and hammered them tight with the aid of a clinching iron. The canvas the canoe is going into is stretched tight behind the canoe in this picture.


We dropped the canoe into the canvas "envelope", threw in some rugs and dropped some good old Northwest Connecticut rocks in to weigh the canoe down into the canvas. Tomorrow at 8 am we will remove the rocks and use an air powered staple gun with SS staples to secure the canvas to the canoe at the gunnels and stems. Right after that I will apply the first coat of Gluvit epoxy filler to the #12 canvas.


In the first picture, behind Frank is an old wood canvas dingy a wealthy southern Connecticut woman wants restored. It's transom had rotted off and they had to build a strongback to get the thing back in shape. Schuyler likes these jobs, it's a nice change of pace, a real challenge and the pay is good and on time.
He also added, (listen up Mihun) "You can make a small fortune working on these canoes, you just need to start with a large fortune."

 
Yes, I've heard that before and know it to be true, but I can think of nothing better than waking in the morning, grabbing a mug of coffee, walking out to the shop and working on canoes all day. I don't need to make a fortune, never been rich, never will be, have no need for fancy things. If I could build and sell a half dozen canoes a year, I would be quite happy and living the good life.
 
Yeterday turned out to be a disaster. We began stapling the canvas to the canoe and suddenly the canvas gave way at one end of the canoe. It still had the rugs and rocks in it, and it narrowly missed taking Bob and myself out.

Fortunately, it landed flat otherwise the canoe would have broken in half. We lost 2 full ribs and two Cant ribs up under the deck. We are not sure why the canvas ripped, maybe too much weight from the rocks, too much tension from the come-along, maybe we added some pressure while stapling,maybe it was the light weight canvas (#12). Or a combination of everything.

Well, we will never know, but we removed the broken ribs, made new ribs from cedar and dropped them into the water to soak overnight. The canvas was shot for this length canoe but Skyuler said not to worry, he'll make good. I felt bad and brought over some canvas I had bought from him last year for another canoe. He Thanked me and said it wasn't necessary, but we agreed the broken canvas will be saved for when I build a 14' Chestnut Fox this winter in his shop.

So today we steamed and installed the 4 new ribs, then I found another rib had broken, UGH, (with a couple of four letter words added in), we replaced that too with the aid of boiling water rather than steam to make it pliable, a risky way of installing ribs as they tend to break this way, but it worked. Then we found a hump had developed at the other end of the canoe where a rib had been replace, so we pulled the rib and replaced it too.
I was pretty discouraged during this whole process, but Bob remained positive and for that I am grateful.

So here are the 4 new ribs, just before I found the 5th broken rib, the light colored ribs in this blurry picture.
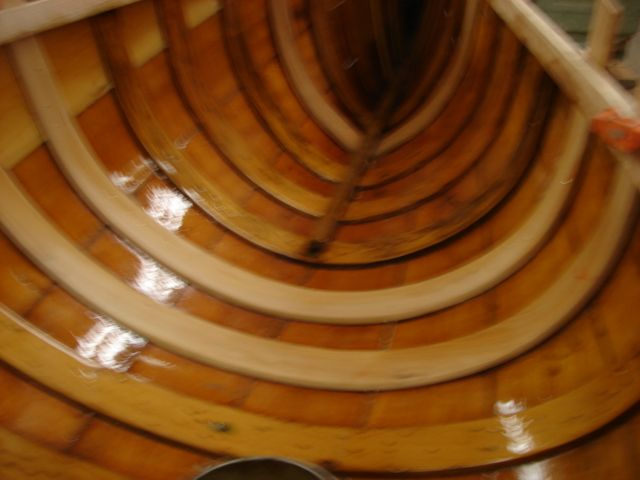


Here is the last rib, just before being made pliable with boiling water and being bent around the outside of the hull near where it will be installed to get the right shape
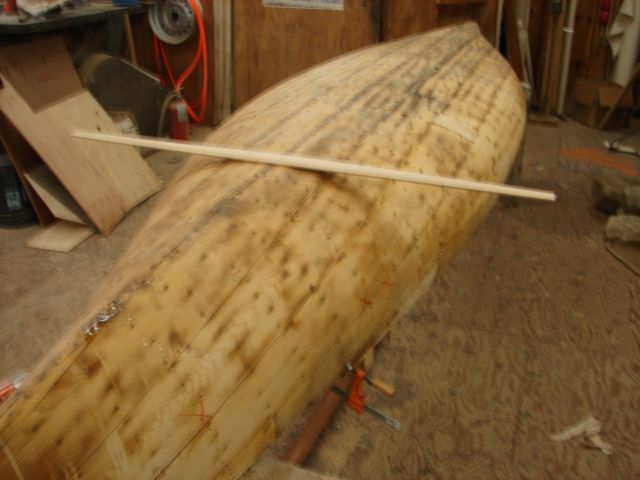


Back in canvas with the rocks to stretch the canvas around the canoe, just not as many rocks this time.
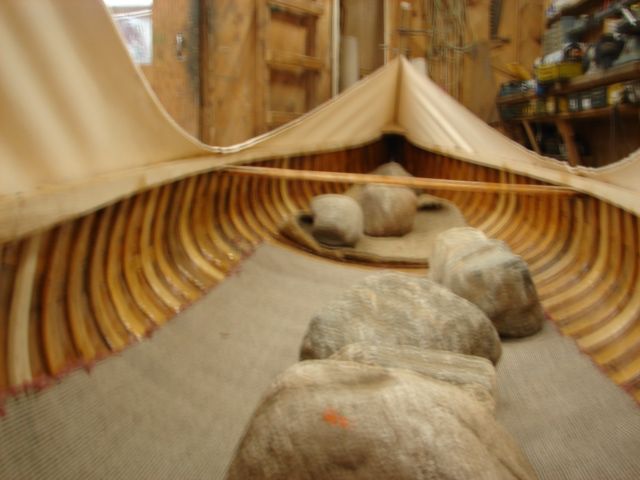


Sorry about the poor quality of the pictures, the setting was wrong on the camera and my mind was wandering all over the place....ha

Tomorrow we try to staple and fill the canvas, keeping my fingers crossed!
 
Argh, I feel your pain, I've had some disasters and near disasters building cedar strips too, it can be really heartbreaking. Glad you are back on track so quickly though!
 
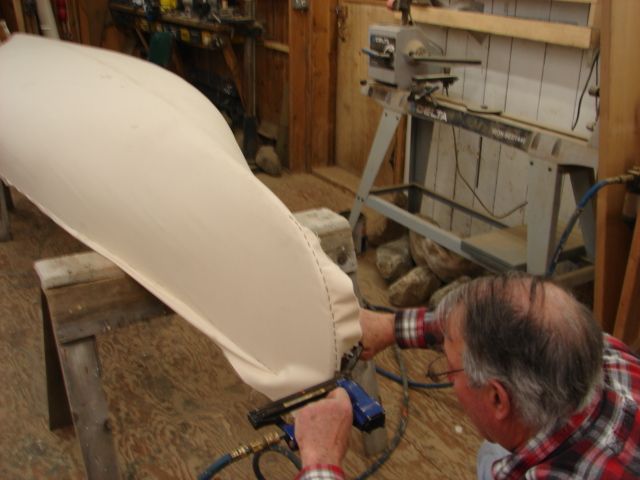
Back on track, we got the canvas on without mishap and filled it with Gluvit. Got one picture before the batteries died...me stapling the stem. The canvas looks good, and the hull for being 85 years old looks pretty good under it. It's got most of the original white cedar 4 1/2 inch plank, some of it is curled and wavy and shows it's age a little, but so am I so we'll make a good team.;)
 
I know all about the wavy planking, despite sanding the hull prior to canvas... only now I can really see how the planking warped with fiberglass on it for years. It really still amazes me how good canvas looks when stretched and filled.

Ooooo, power stapler, what a concept!
 
Power stapler is nice, I have an electric stapler which is good, but this air stapler is Great, we had to remove some staples to work out some wrinkles and it as tough getting the staples out.
Skyuler just called this morning, Gluvit epoxy canvas filler is still a little tacky so instead of 9am I'll be putting the second coat on at 4pm this afternoon.
 
Last edited:
Back
Top