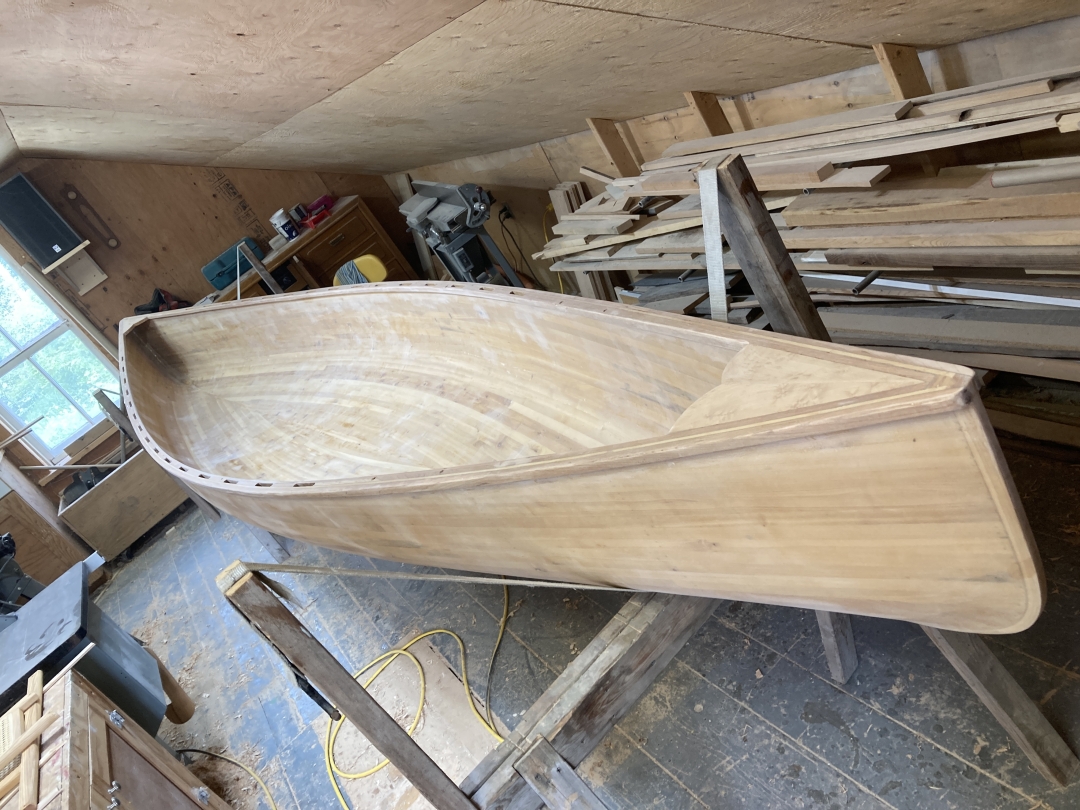
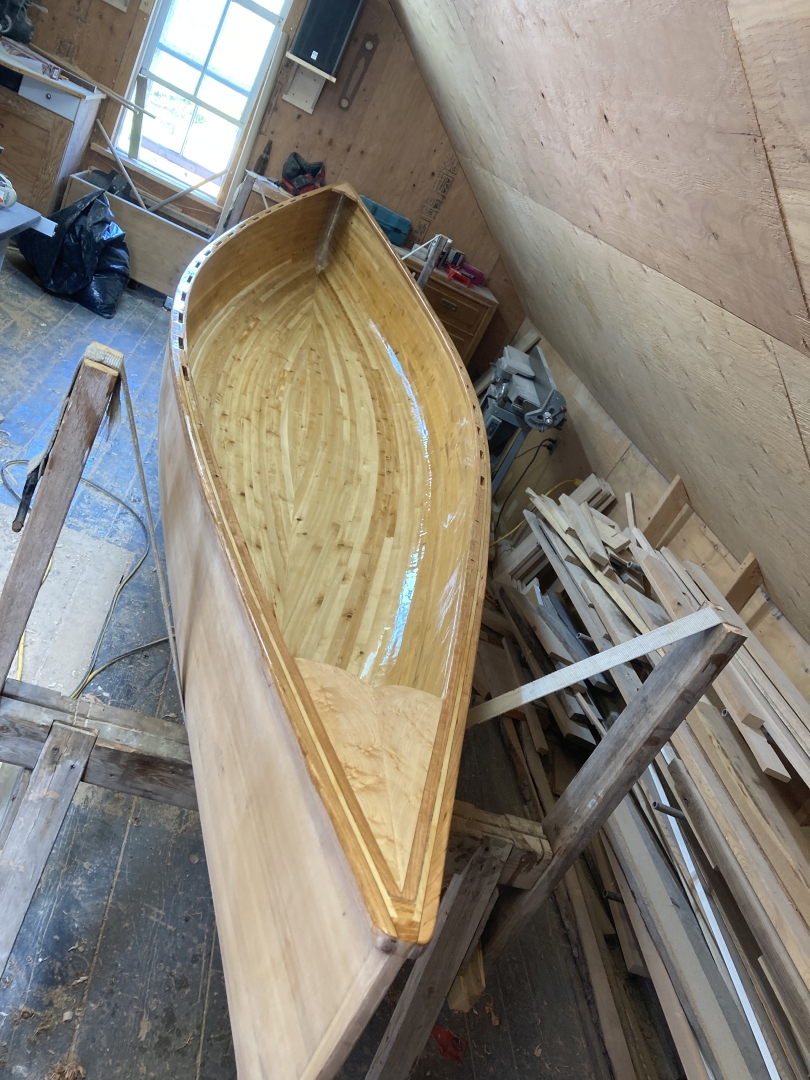
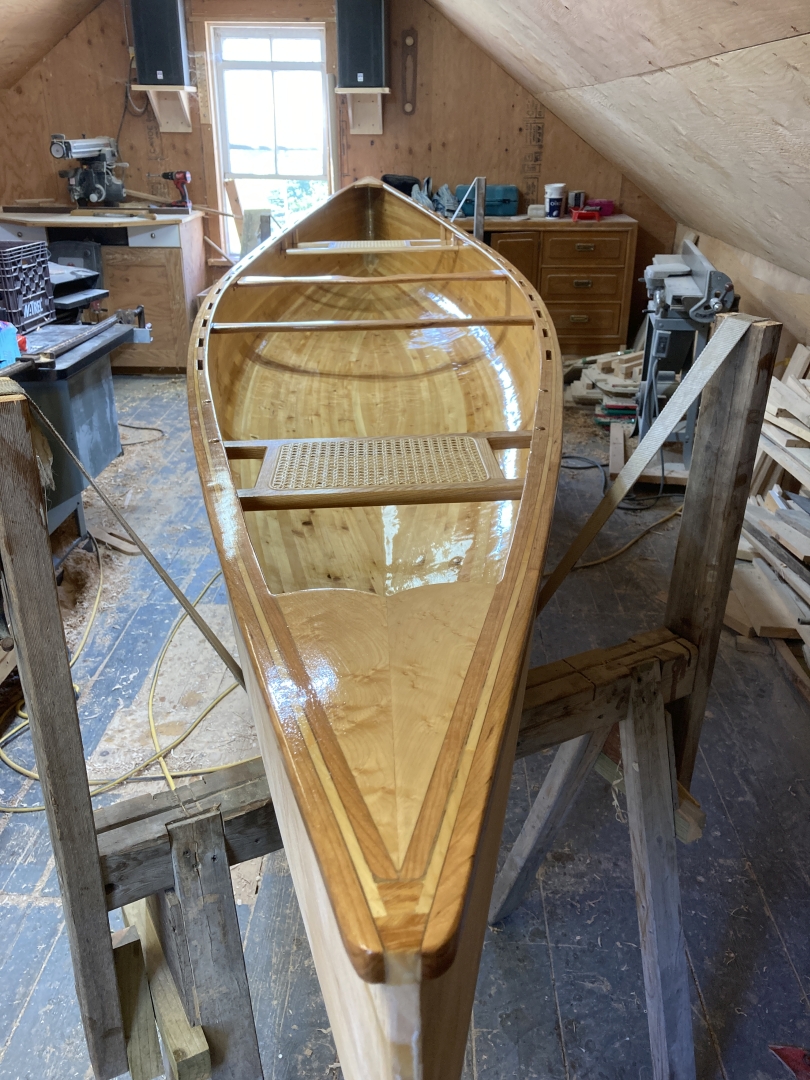
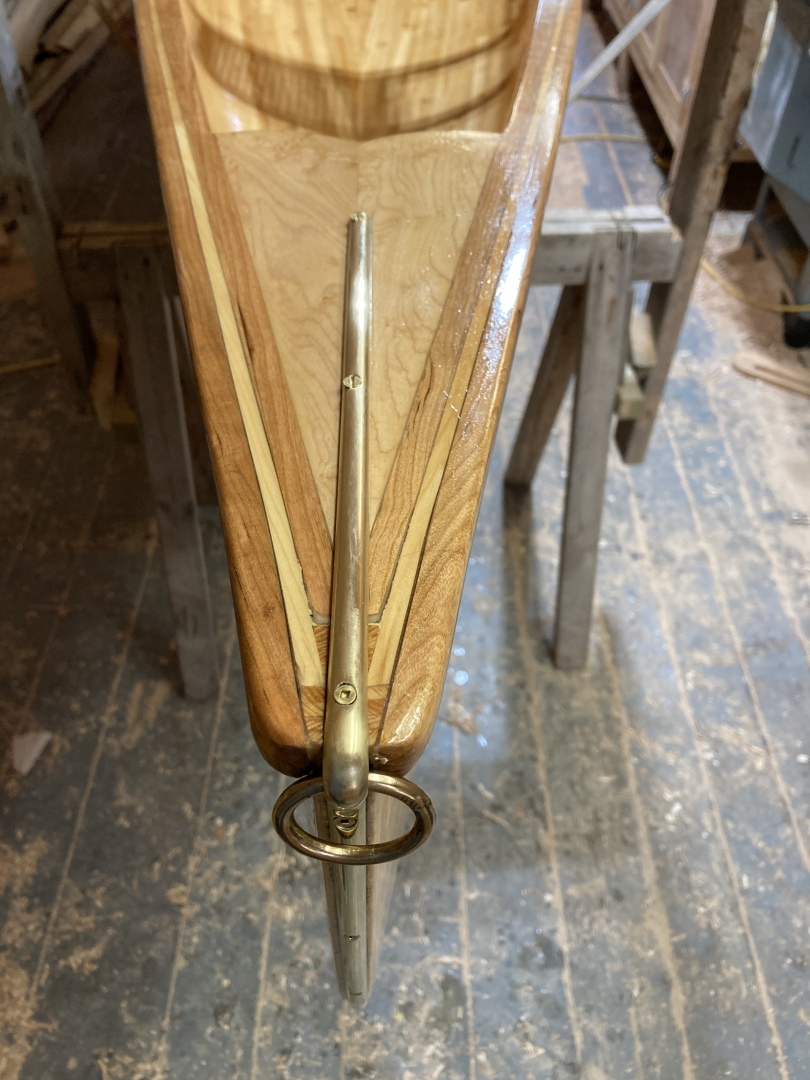
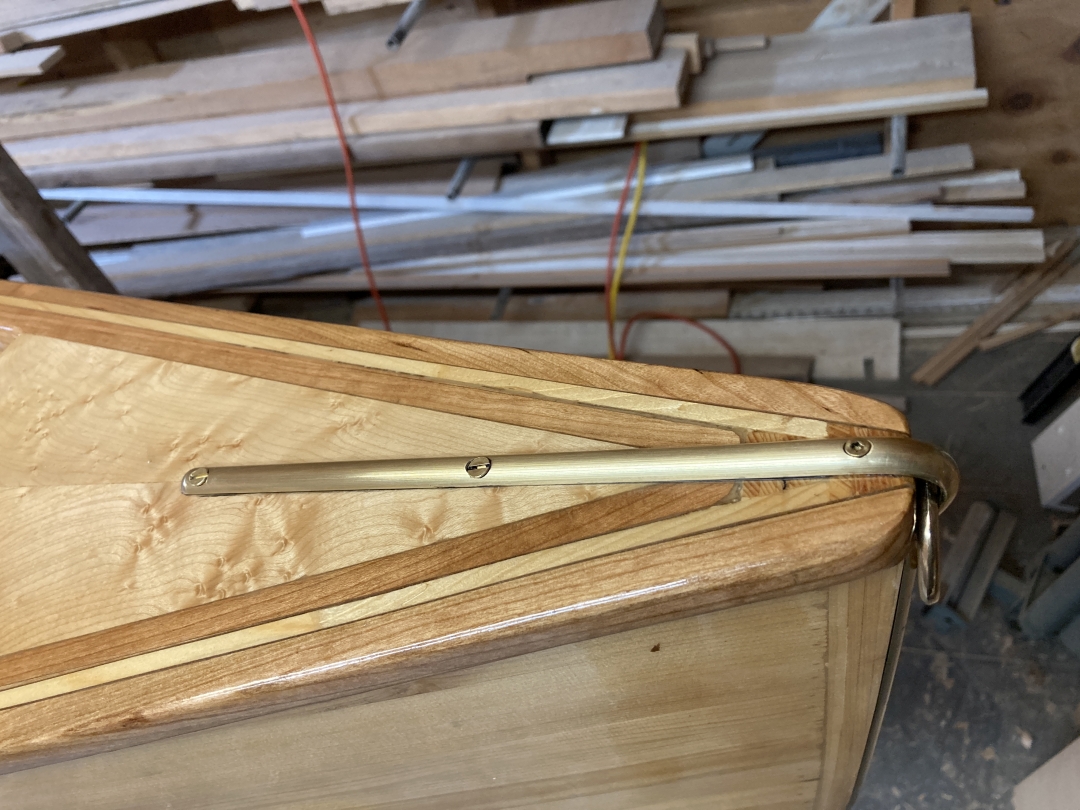
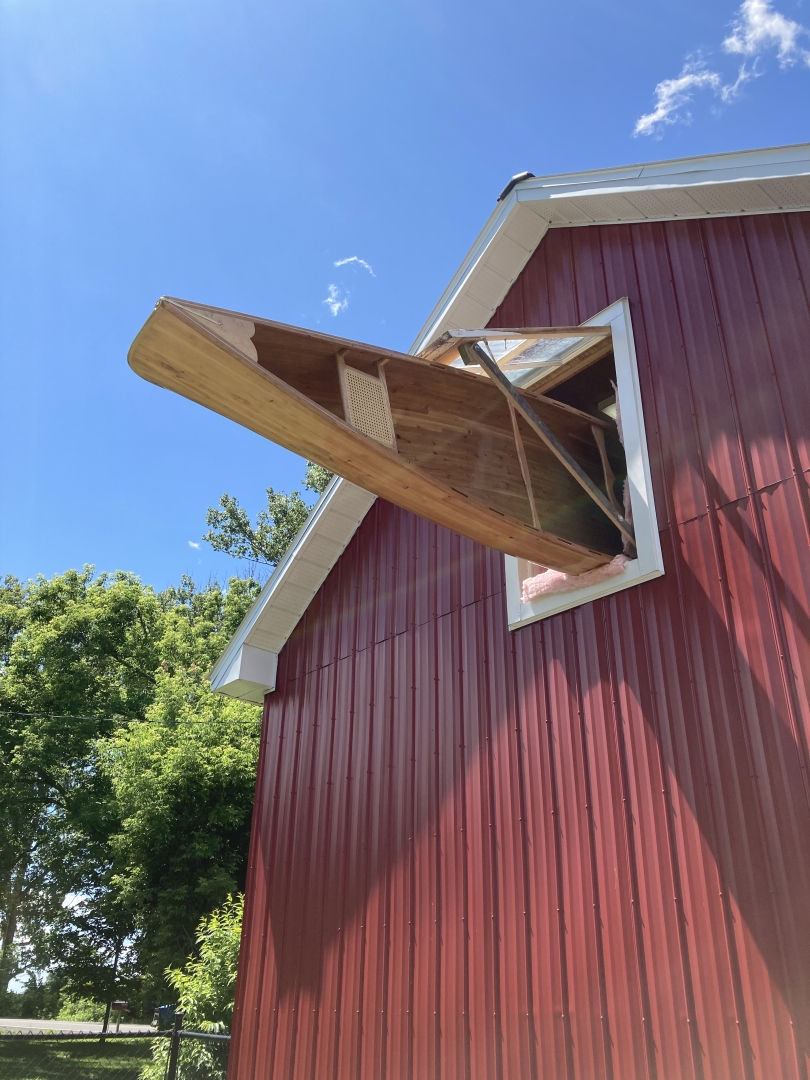
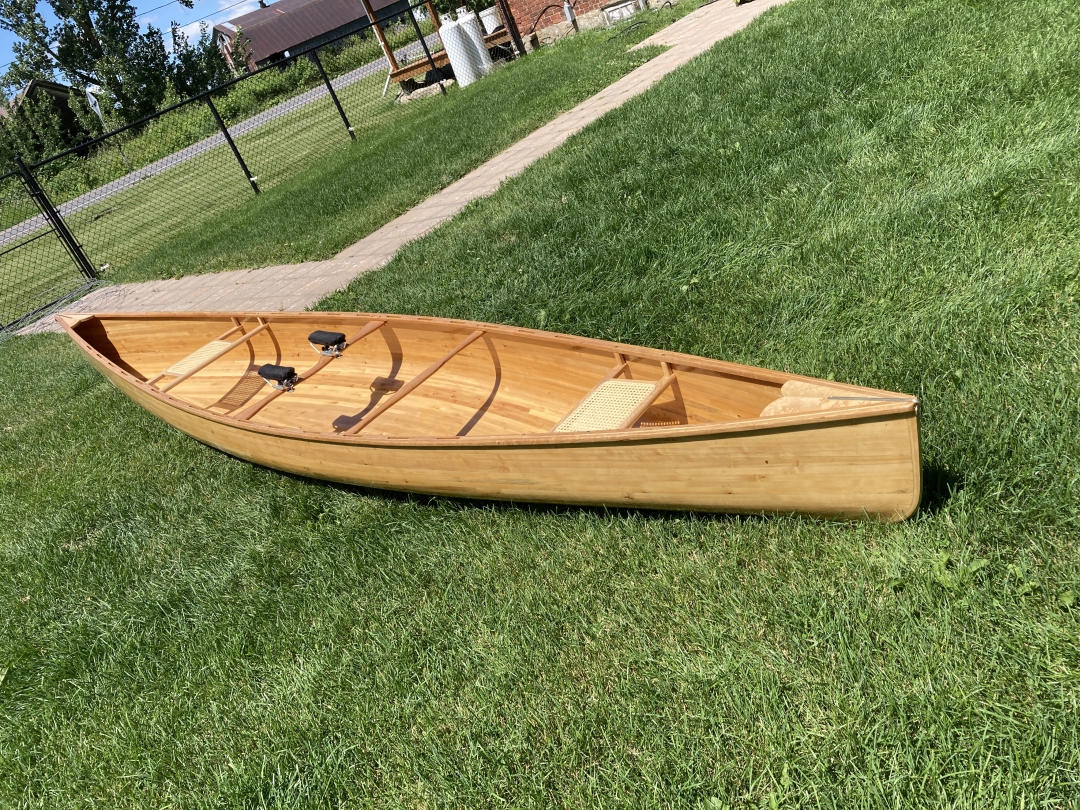
It wasn't long after completing my Bob Special build that I got the hankering to build something else. Perhaps a bit bigger this time, maybe we'll give traditional stem construction a try...
The Freedom 17' plans arrived sometime in December 2020.
I had left over cedar from the last build. I am amazed at how little wood it takes to build one of these. For those interested, I bought 21 pieces of 4/4 x 4" with average lengths of about 10'. This was enough for both boats with a little left over. The Bob's strips were cut to 0.210", I cut the Freedom's to 0.250".
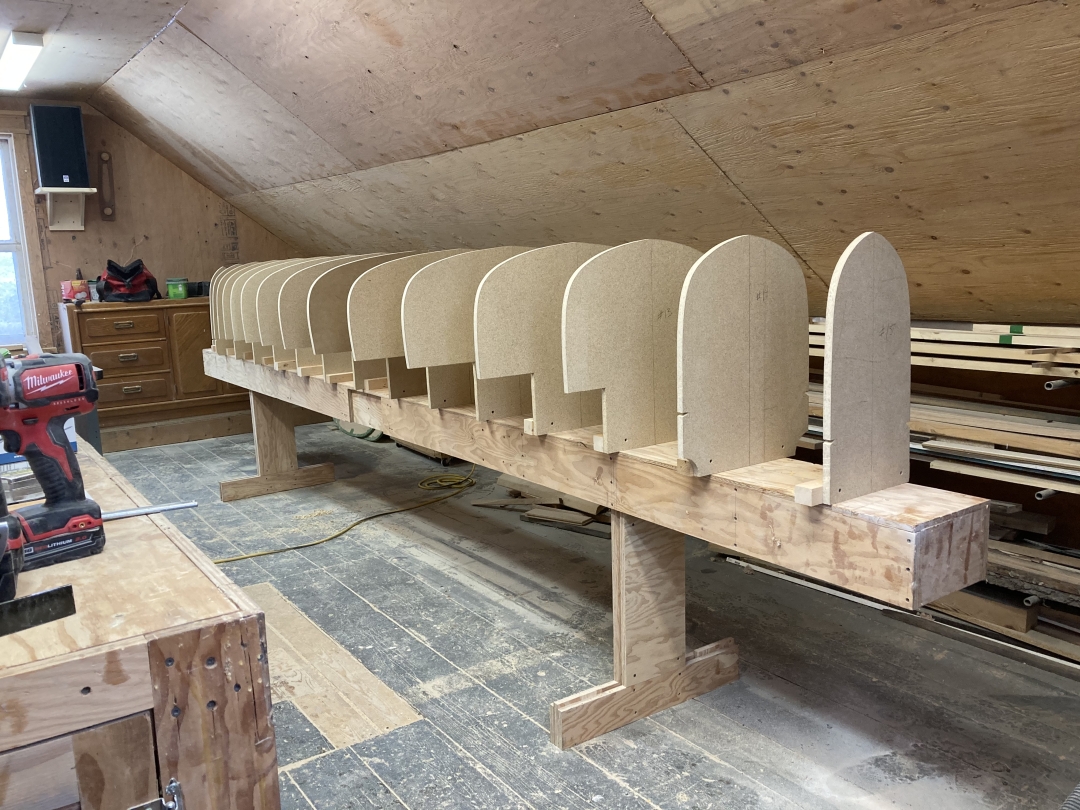
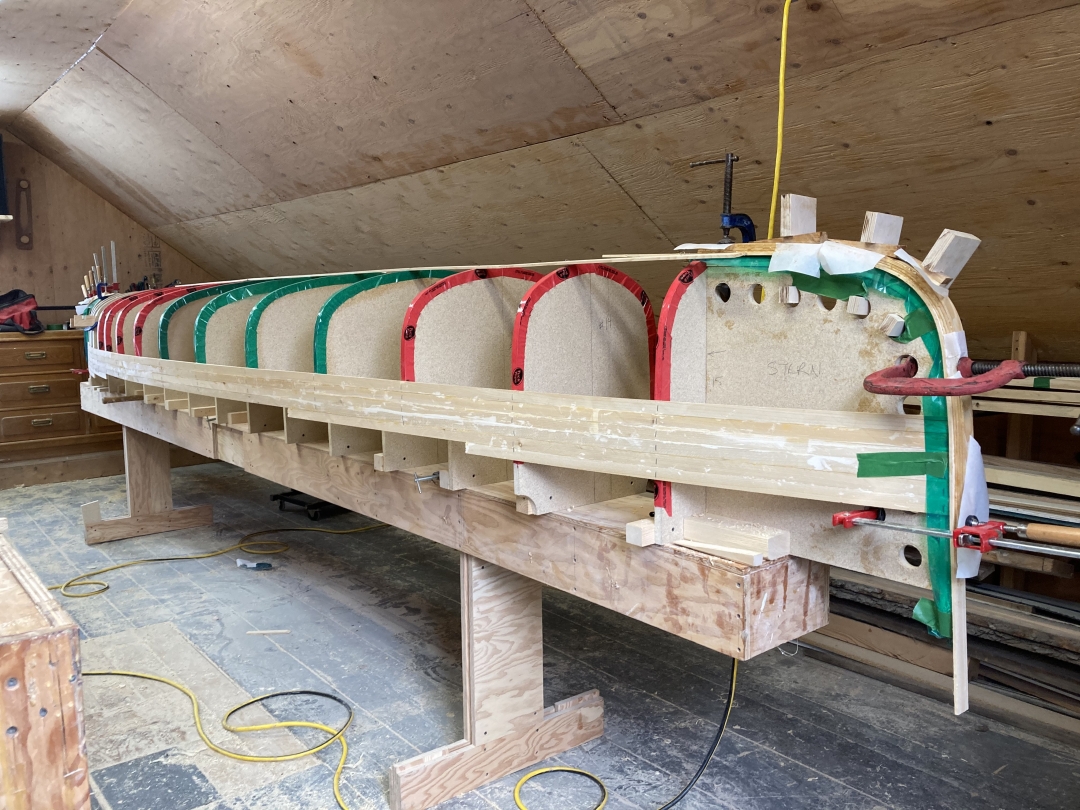
I traced and cut the forms, cut my strips (table saw, thin-kerf Freud); and set up the strong-back. Particle-board this time around, and better tape! I used green masking tape on the Bob's forms and ended up breaking the boat in half when I released it.
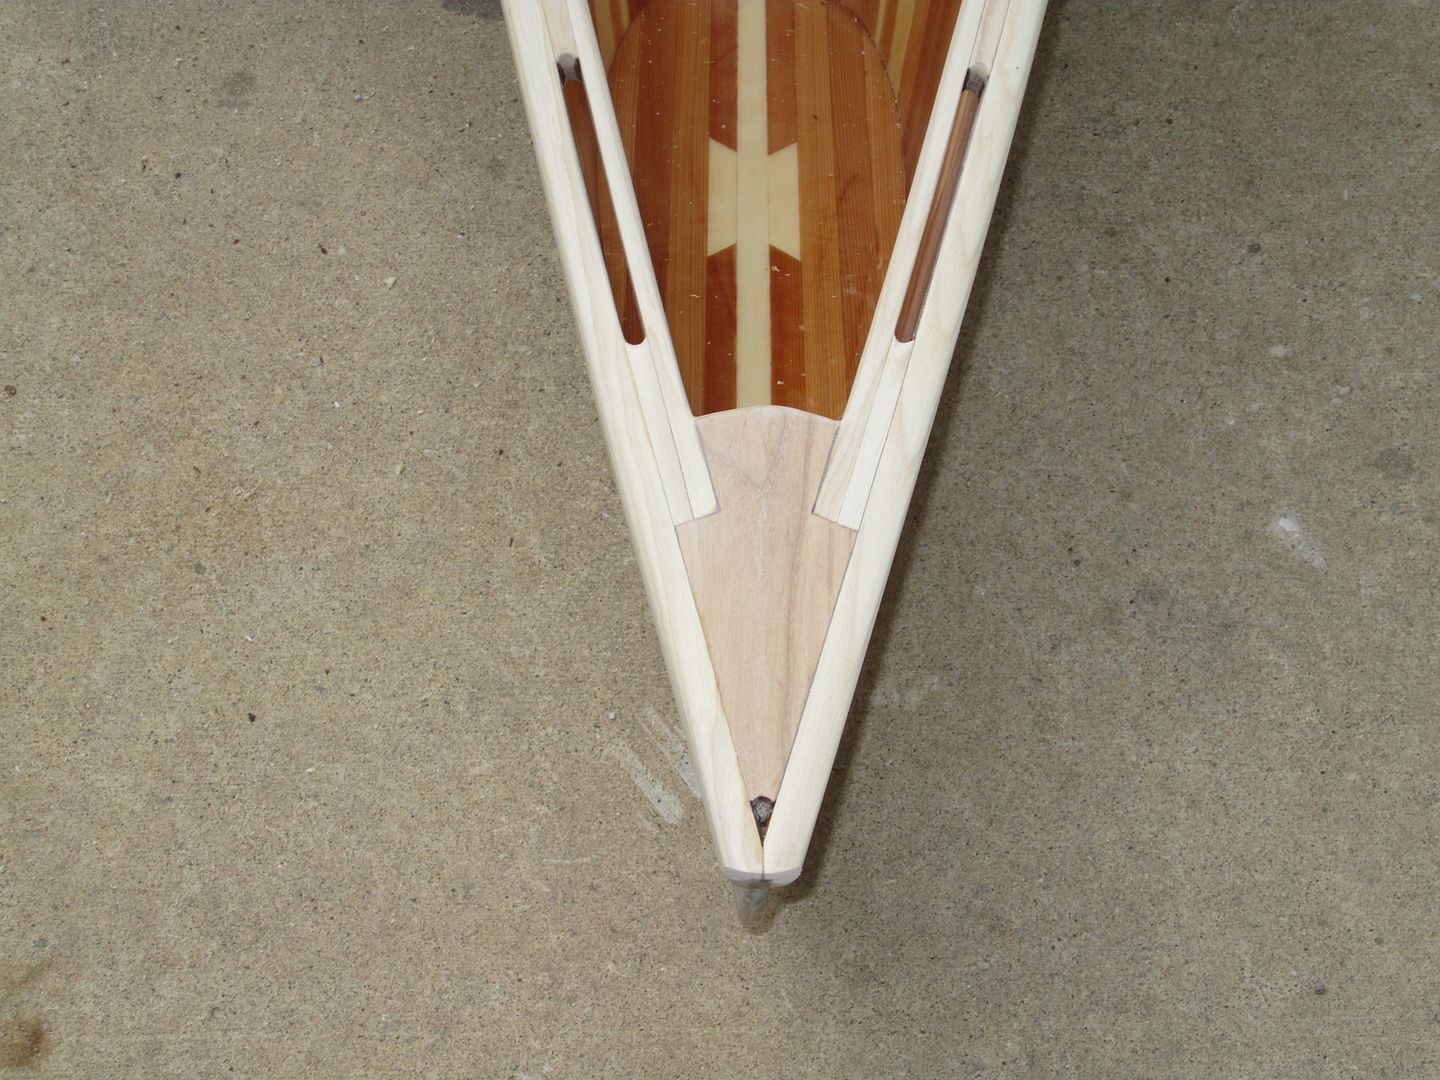
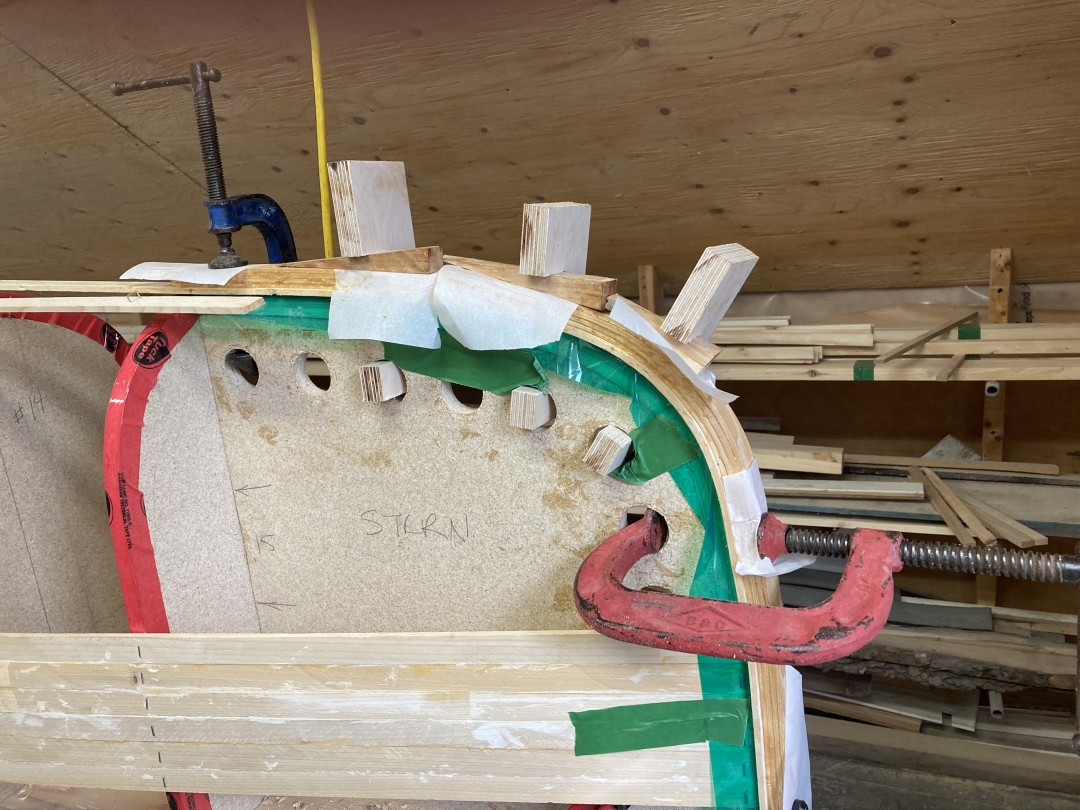
No bead and cove. This technique eliminates a good bit of mill work up front and uses fewer strips. However, it also means glue getting everywhere until you become a maestro with the squeeze bottle. There is also the chance for strips to become misaligned. Some of my pictures make it look like I had this problem, but this is merely the lighting making it seem worse than it is. Squeeze bottle of choice is the ketchup/mustard bottles from the dollar store - the cheaper ones are easier to squeeze. I made the stems by laminating cedar strips together. I bent them using a heat gun (before laminating them, which is probably obvious to most of you).


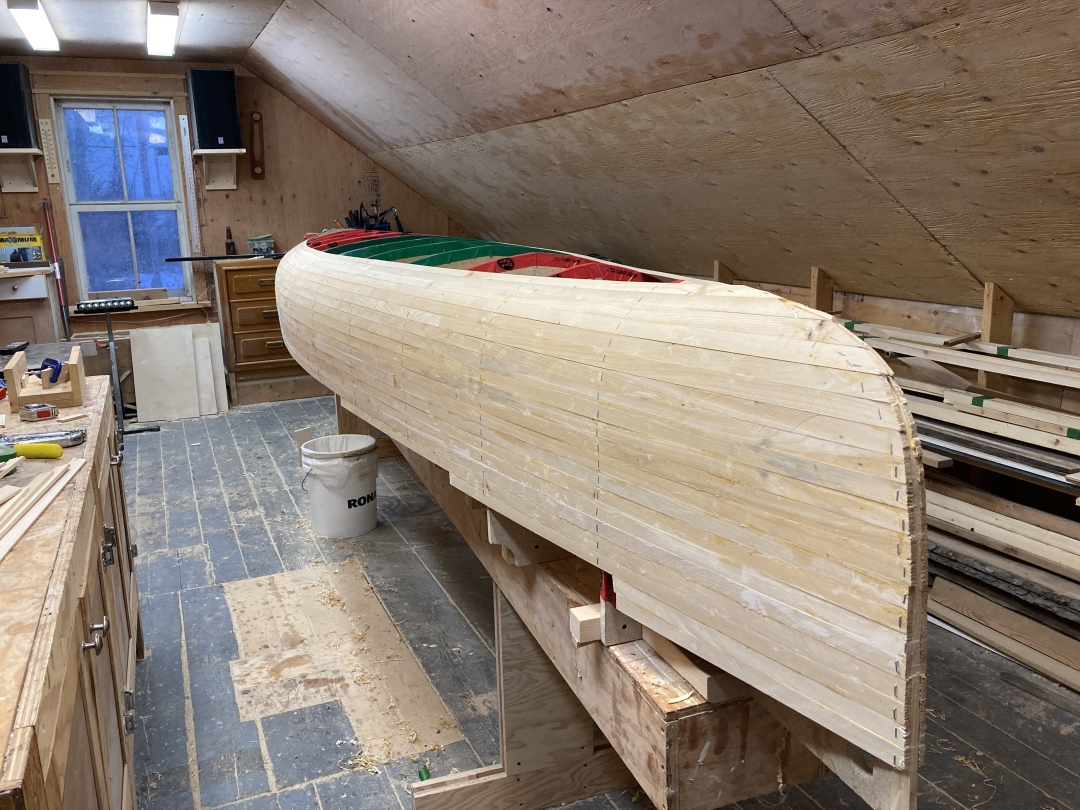
Additionally, where the curves get more severe, one must bevel the strips to ensure a tight fit to one another. On my last build I used Guillemot's Robo-Bevel (hanging by the speaker) with Lee Valley's Miniature Shoulder Plane. On this build I used the shoulder plane by itself.

Place the plane on the previously installed strip and then lean it over onto the exposed form. Run it until the gap between its base and the previously installed strip disappears. Do the same on the next form and then blend the transitions between the forms. It is not as tedious as it sounds, maybe 3 - 5 minutes per strip.

I got the hull closed up, put my head down and got to fairing. 60 grit on an RO is my weapon of choice, taking care to make long strokes to avoid creating waves. I wet the hull to raise the staple dents and wiped them away with a sanding block.
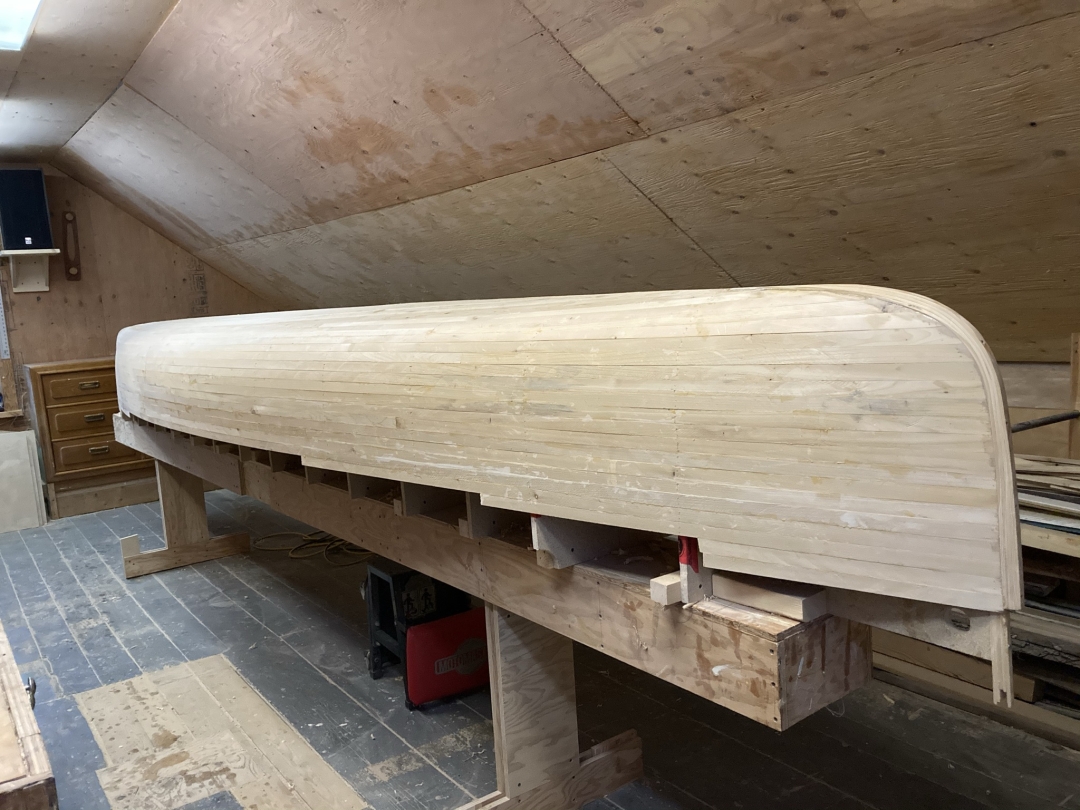


Ready for glass.
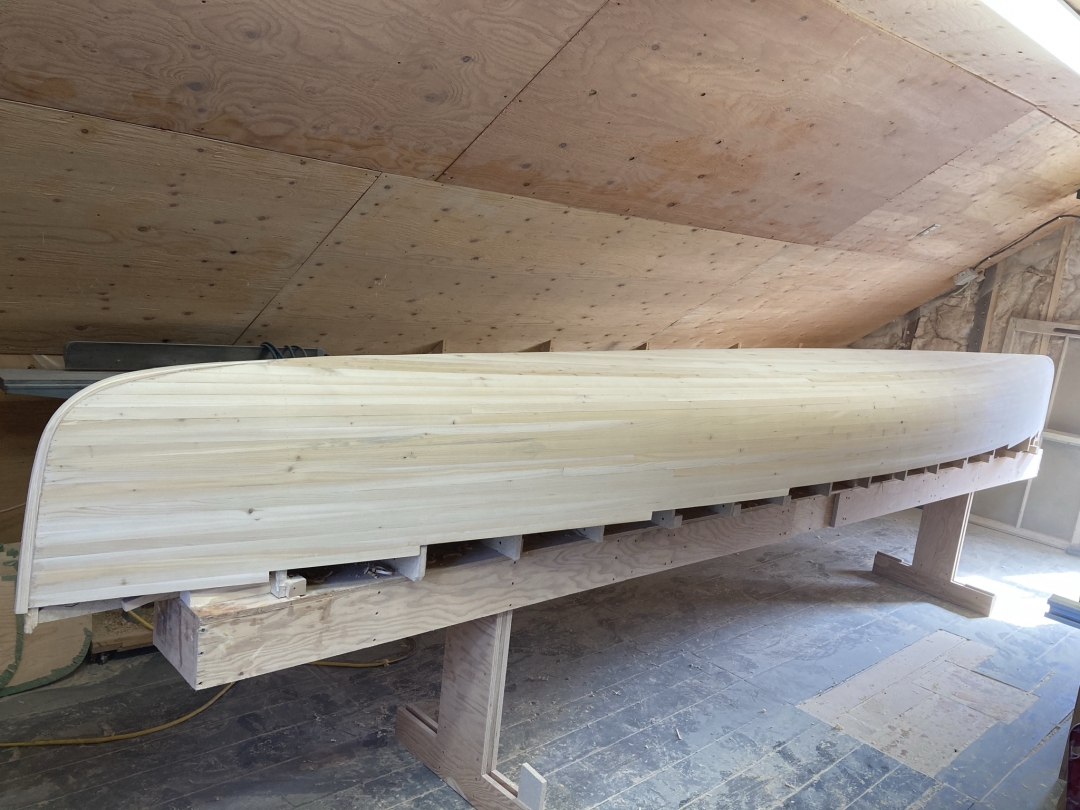
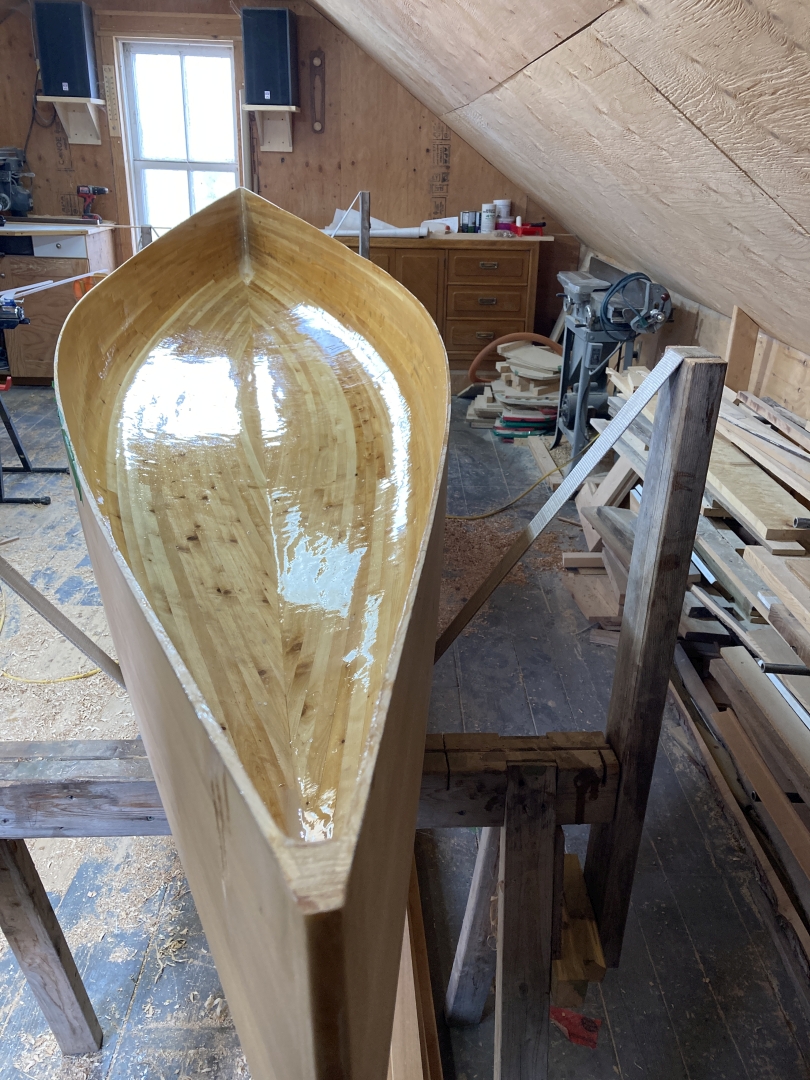
Apologies for not having pictures of the glassing - taking pictures is the last thing on my mind while flailing around the shop during this step. Here's a shot of a final "touch-up" coat.
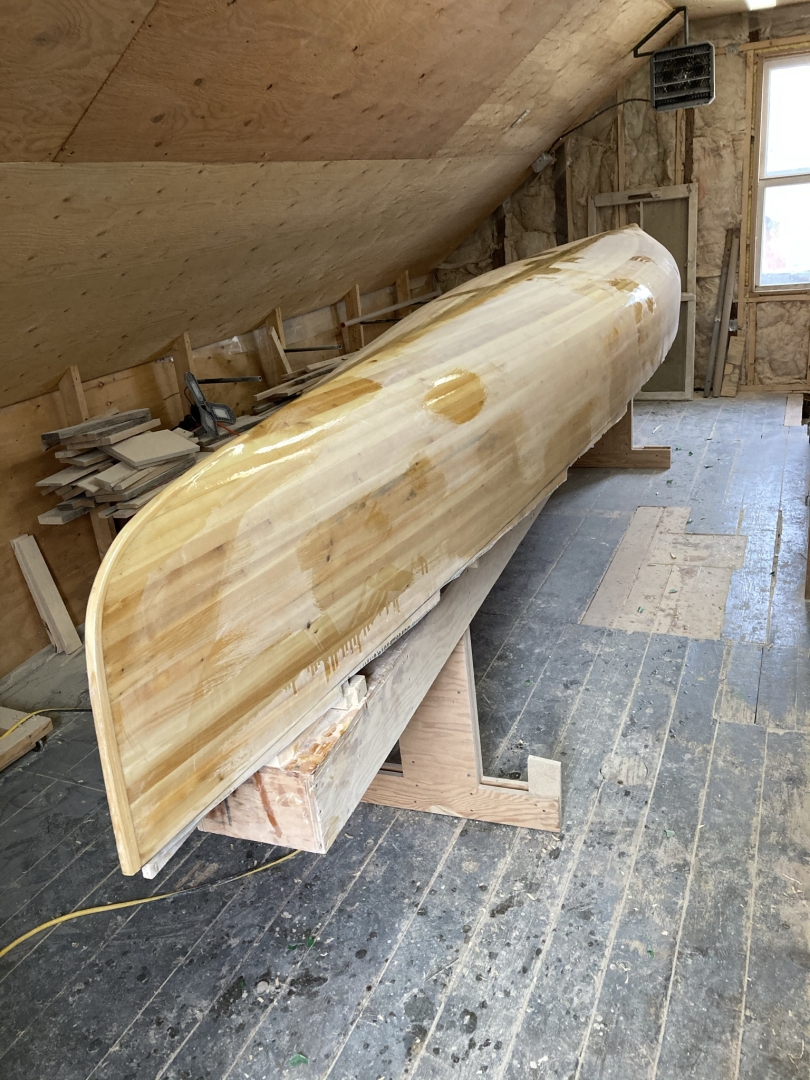
Ah - the conflict between the joy of finally removing the hull from the forms and the anguish upon the realization of the forthcoming task of sanding the interior. If anyone has any tricks on how to not make this the worst part of building a canoe, I'm all ears.

So the boat sat for a bit.
Before I knew it, BAM! July. Temperatures were a bit high for resin but who doesn't enjoy a good bit of self-inflicted panic? I got some bubbles in this one - bad enough that they pushed the fabric off of the hull. Biggest bubble was maybe 5/8 in diameter. I dremelled away those bits and now have some craters that need to be patched/filled. Again - no pics of the main event, but here we are marking and cutting the shearline on the right side.

Then this happened:


Agnes is a field-bred black lab. I always thought that the names they give registered dogs were a bit goofy, but decided to try to find something interesting to put on her papers: AJTop's Defender of Dunbar. Neat story - check it out.
So it sat for a bit. Again.
With renewed hope for a season that might actually see me in a boat, I got back to it. I finished (rough) cutting the shearline and called my wood guy.


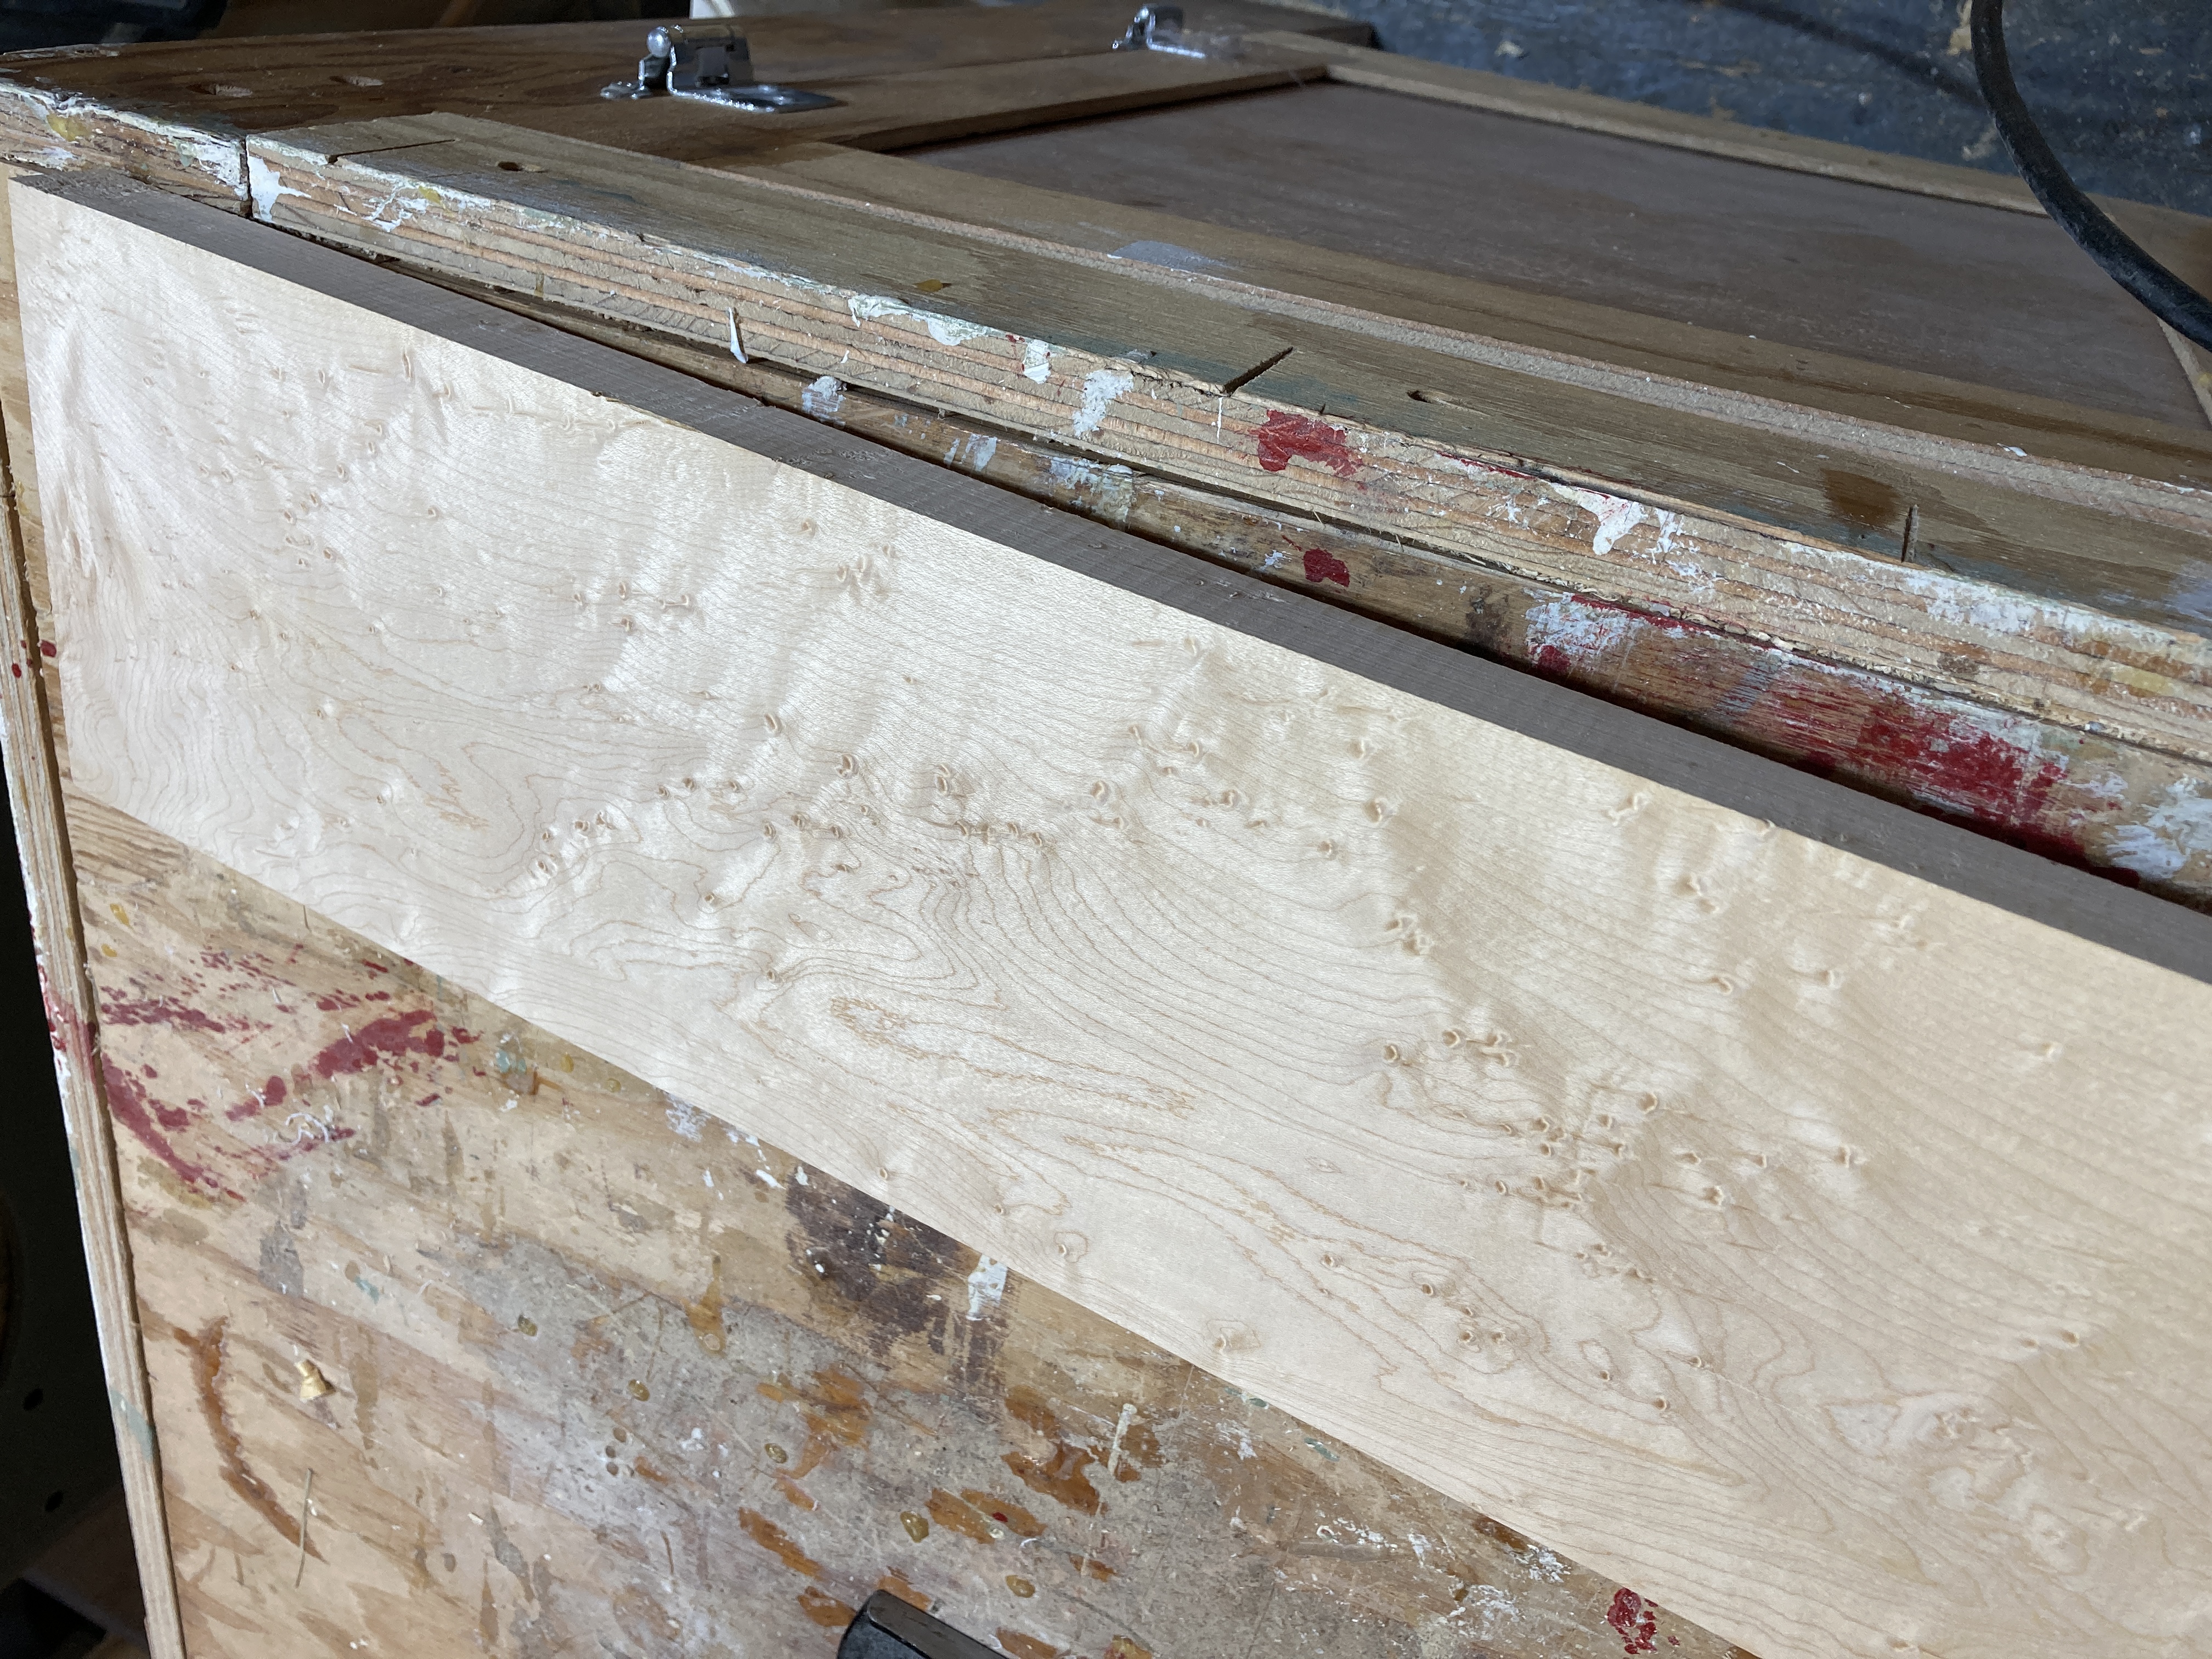
I picked up some nice, clear, 8/4 cherry for the gunnels, but without a way to re-saw material that wide, I asked if he had anything "interesting" in 4/4 for the decks. He guided me over to his pile of birds eye maple. Yes please.
And so that's where we are. Next tasks are:
The Freedom 17' plans arrived sometime in December 2020.
I had left over cedar from the last build. I am amazed at how little wood it takes to build one of these. For those interested, I bought 21 pieces of 4/4 x 4" with average lengths of about 10'. This was enough for both boats with a little left over. The Bob's strips were cut to 0.210", I cut the Freedom's to 0.250".
I traced and cut the forms, cut my strips (table saw, thin-kerf Freud); and set up the strong-back. Particle-board this time around, and better tape! I used green masking tape on the Bob's forms and ended up breaking the boat in half when I released it.

No bead and cove. This technique eliminates a good bit of mill work up front and uses fewer strips. However, it also means glue getting everywhere until you become a maestro with the squeeze bottle. There is also the chance for strips to become misaligned. Some of my pictures make it look like I had this problem, but this is merely the lighting making it seem worse than it is. Squeeze bottle of choice is the ketchup/mustard bottles from the dollar store - the cheaper ones are easier to squeeze. I made the stems by laminating cedar strips together. I bent them using a heat gun (before laminating them, which is probably obvious to most of you).


Additionally, where the curves get more severe, one must bevel the strips to ensure a tight fit to one another. On my last build I used Guillemot's Robo-Bevel (hanging by the speaker) with Lee Valley's Miniature Shoulder Plane. On this build I used the shoulder plane by itself.

Place the plane on the previously installed strip and then lean it over onto the exposed form. Run it until the gap between its base and the previously installed strip disappears. Do the same on the next form and then blend the transitions between the forms. It is not as tedious as it sounds, maybe 3 - 5 minutes per strip.

I got the hull closed up, put my head down and got to fairing. 60 grit on an RO is my weapon of choice, taking care to make long strokes to avoid creating waves. I wet the hull to raise the staple dents and wiped them away with a sanding block.


Ready for glass.

Apologies for not having pictures of the glassing - taking pictures is the last thing on my mind while flailing around the shop during this step. Here's a shot of a final "touch-up" coat.

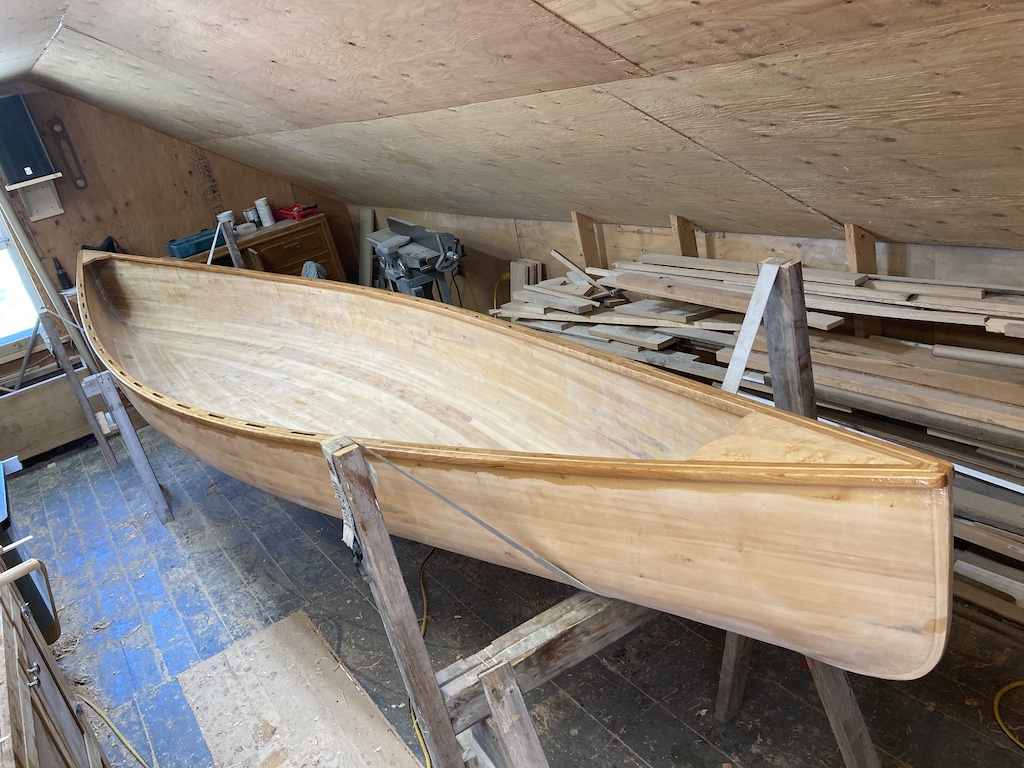
Ah - the conflict between the joy of finally removing the hull from the forms and the anguish upon the realization of the forthcoming task of sanding the interior. If anyone has any tricks on how to not make this the worst part of building a canoe, I'm all ears.

Sometime around late March, one of my dogs started to exhibit health issues - swollen lymph nodes. We thought cancer but that was not the case and in fact we never did get a straight diagnosis other than there was something going on with her immune system. She passed at the end of May and while losing a dog/loyal hunting partner sucks like nothing else I know, I was glad to finally put her to rest after 2 months of constant prodding and worry. Piper was 12.
So the boat sat for a bit.
Before I knew it, BAM! July. Temperatures were a bit high for resin but who doesn't enjoy a good bit of self-inflicted panic? I got some bubbles in this one - bad enough that they pushed the fabric off of the hull. Biggest bubble was maybe 5/8 in diameter. I dremelled away those bits and now have some craters that need to be patched/filled. Again - no pics of the main event, but here we are marking and cutting the shearline on the right side.

Then this happened:


Agnes is a field-bred black lab. I always thought that the names they give registered dogs were a bit goofy, but decided to try to find something interesting to put on her papers: AJTop's Defender of Dunbar. Neat story - check it out.
So it sat for a bit. Again.
With renewed hope for a season that might actually see me in a boat, I got back to it. I finished (rough) cutting the shearline and called my wood guy.


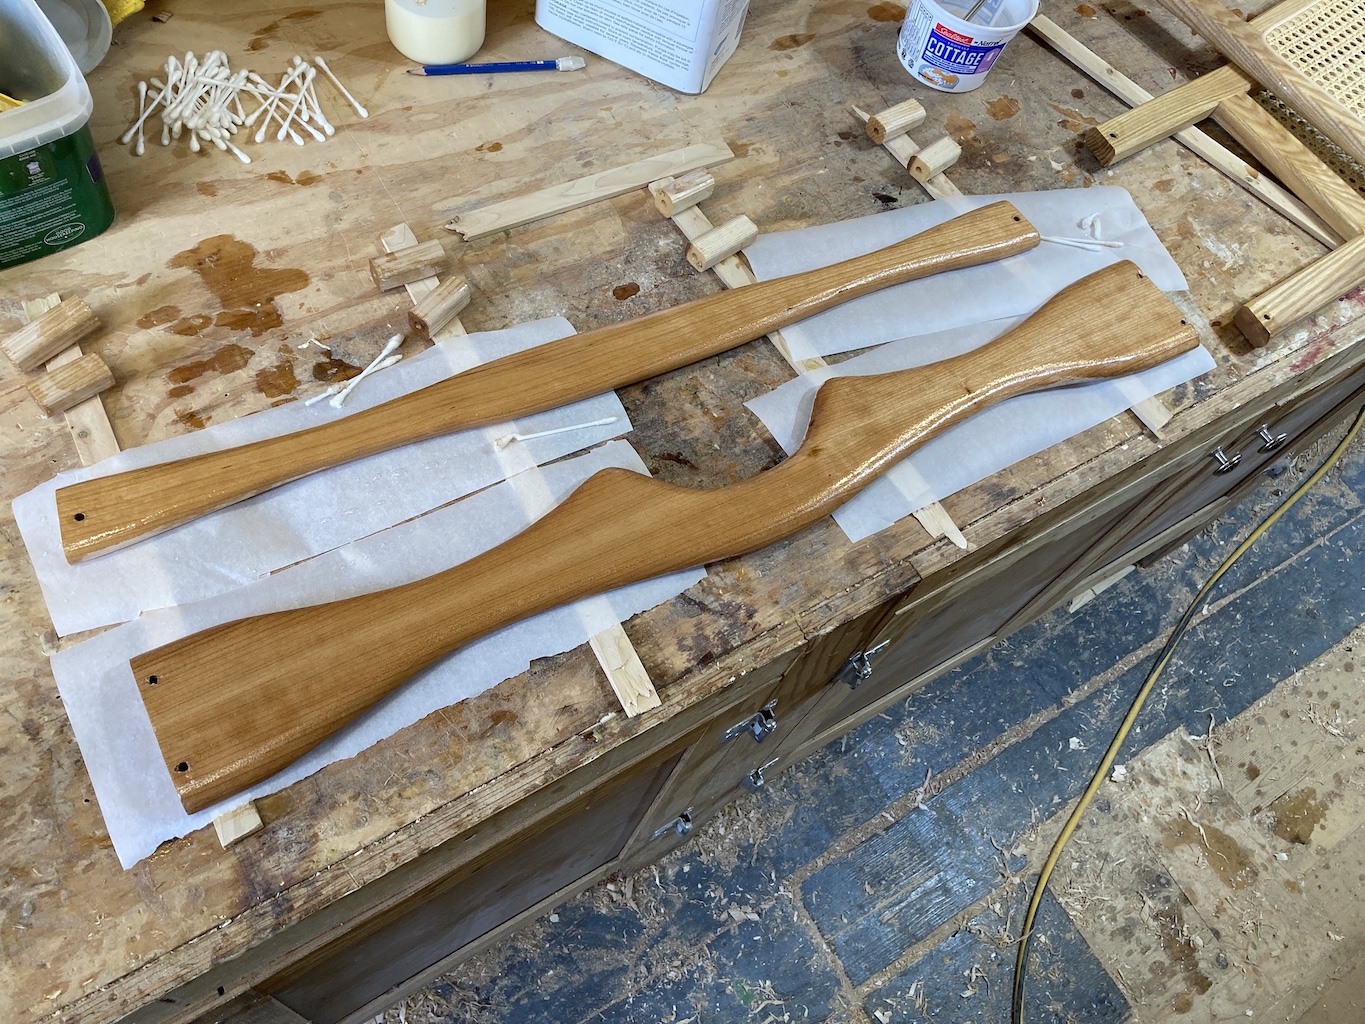
I picked up some nice, clear, 8/4 cherry for the gunnels, but without a way to re-saw material that wide, I asked if he had anything "interesting" in 4/4 for the decks. He guided me over to his pile of birds eye maple. Yes please.

And so that's where we are. Next tasks are:
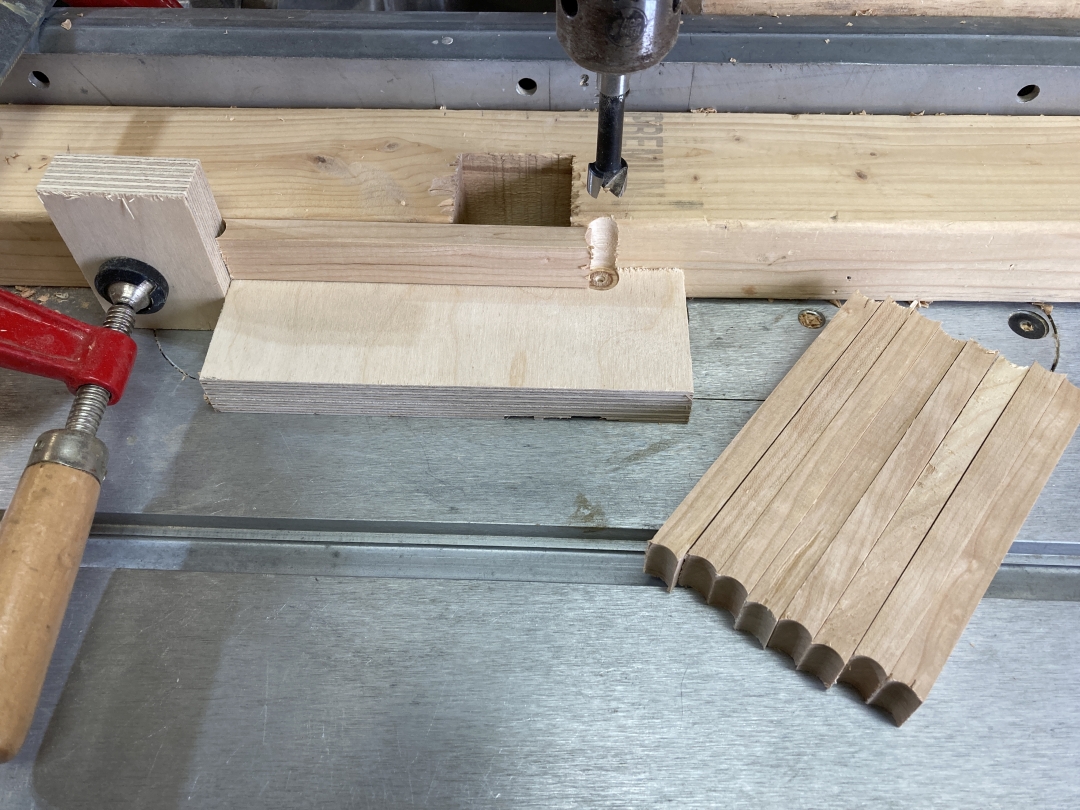
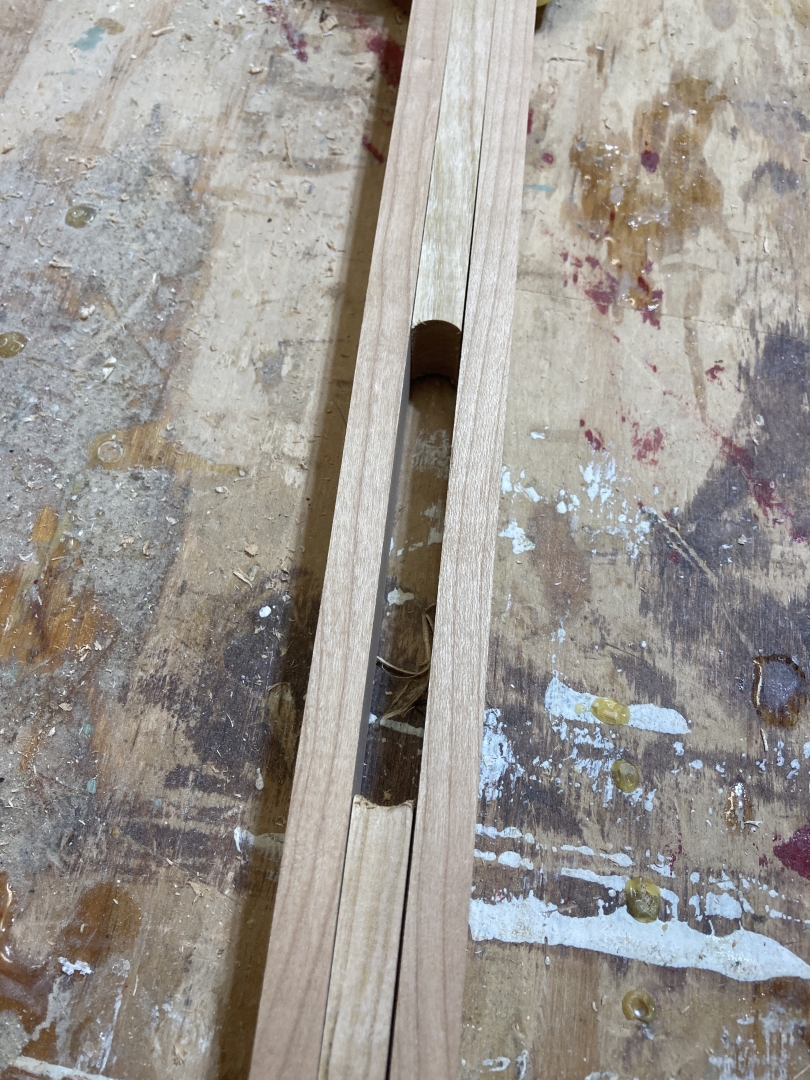
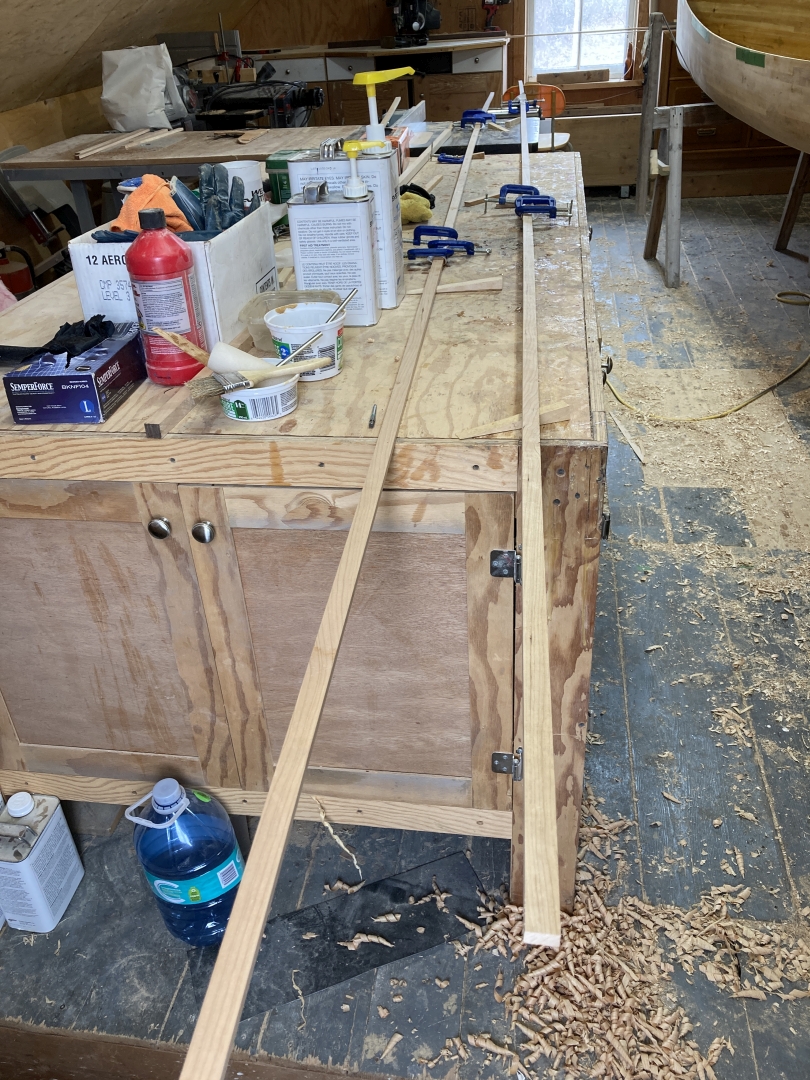
- mill and scarf my gunnel material - doing scuppers this time.
- make the decks
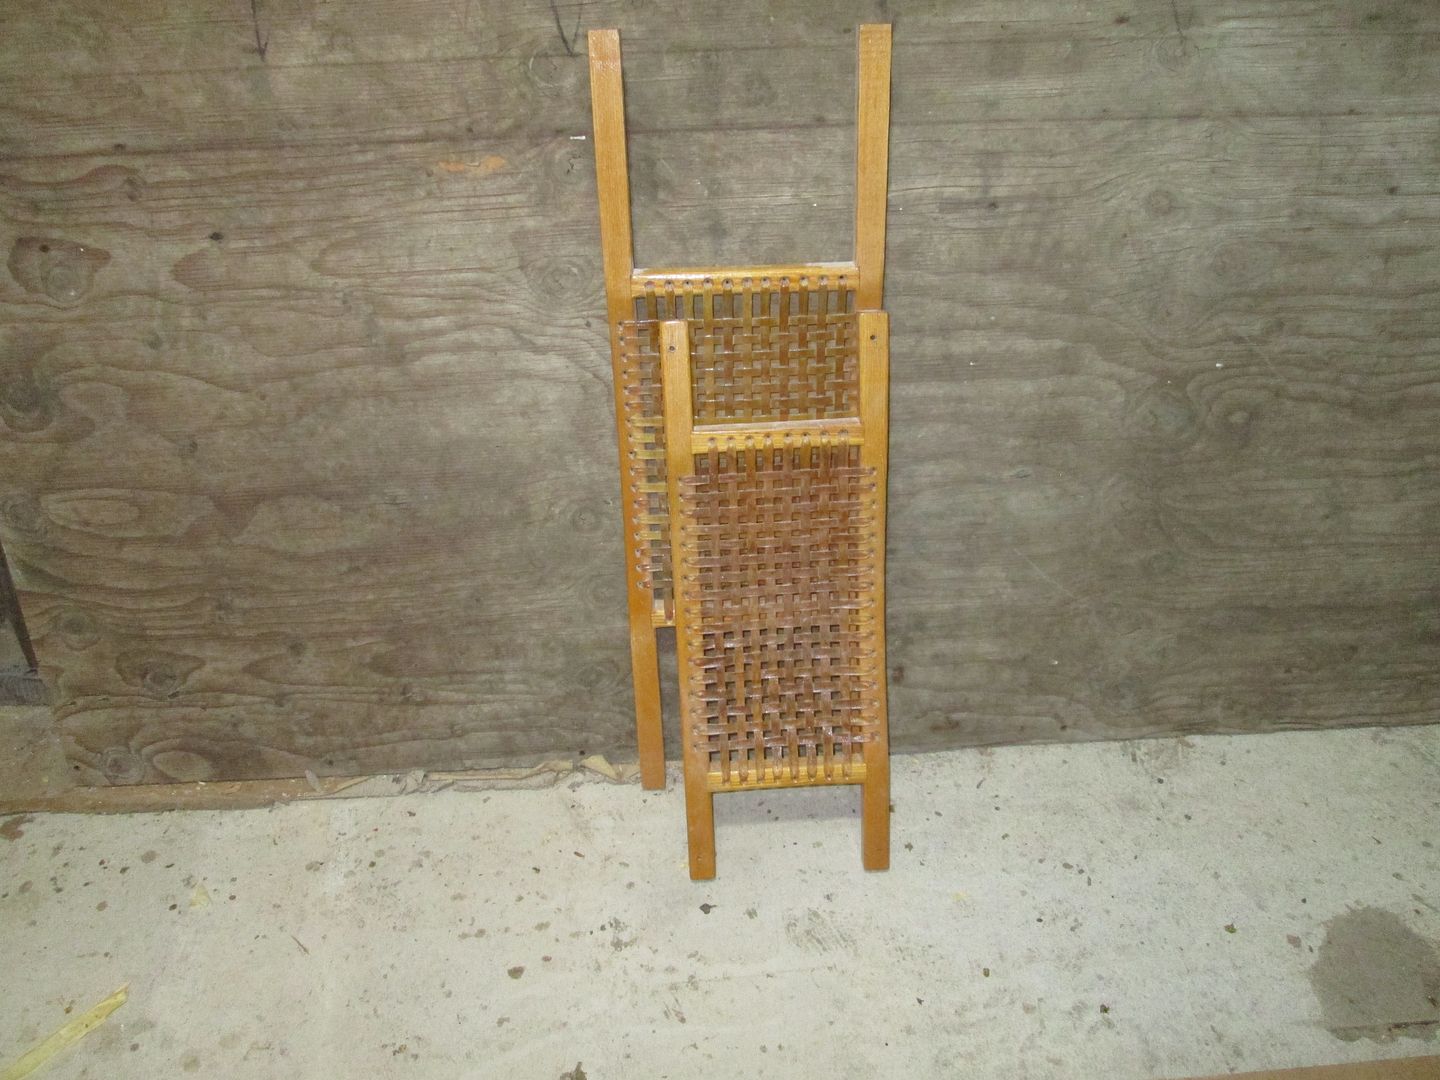
- order seats so that scupper spacing can be finalized
- fill in resin voids / final coat of interior resin
- install trim
- varnish
- install brass stem guards
Last edited:

