G
Guest
Guest
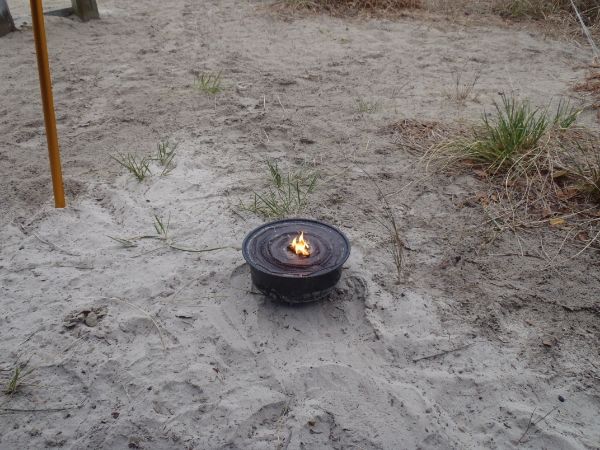
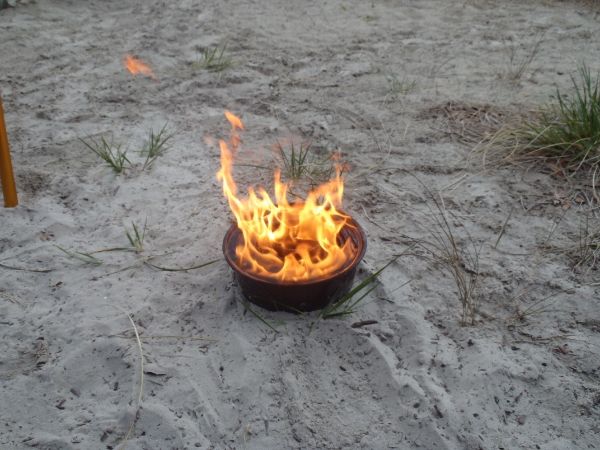
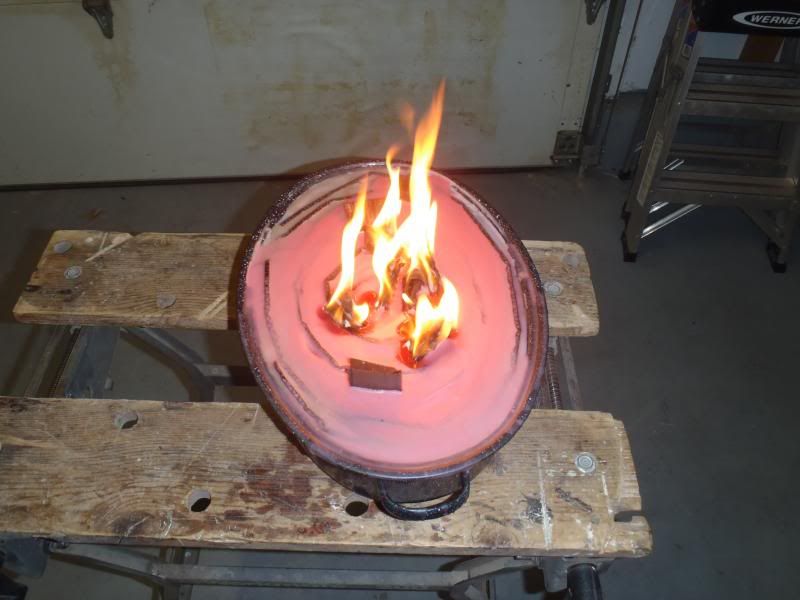
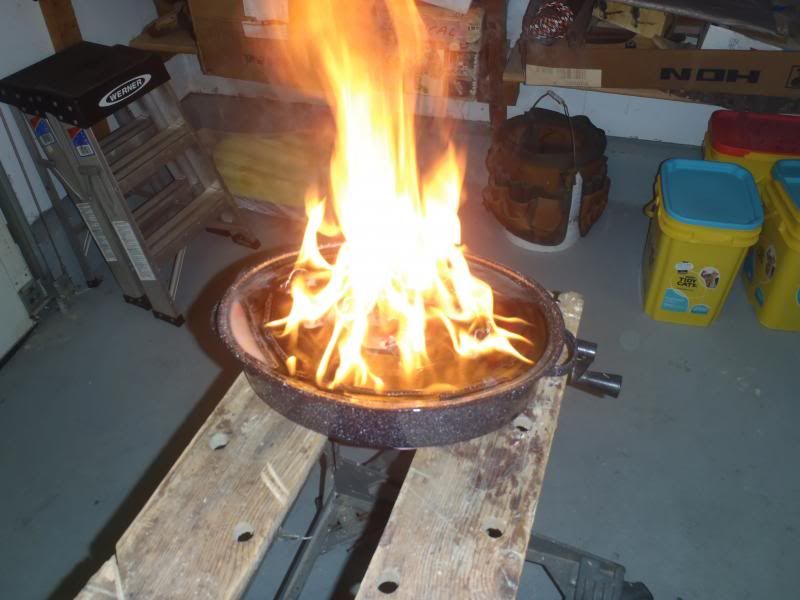
Time to make another Fire in a Can. The germ of the FIAC idea came from Maine Sea Kayak guides, so I thought I’d make one for that purpose incorporating what I’ve learned so far.
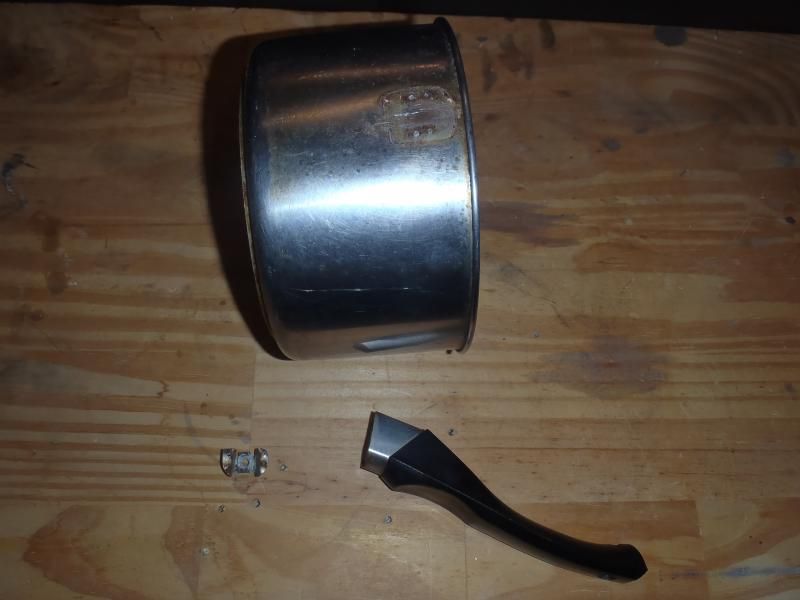
Step 1, find a suitable pot. For starters, as a kayak FIAC, it needs to be hatch sized and rustproof. A trip to Goodwill turned up a 6 ½” wide x 3 ½” deep stainless steel kitchen pot for a couple of bucks.
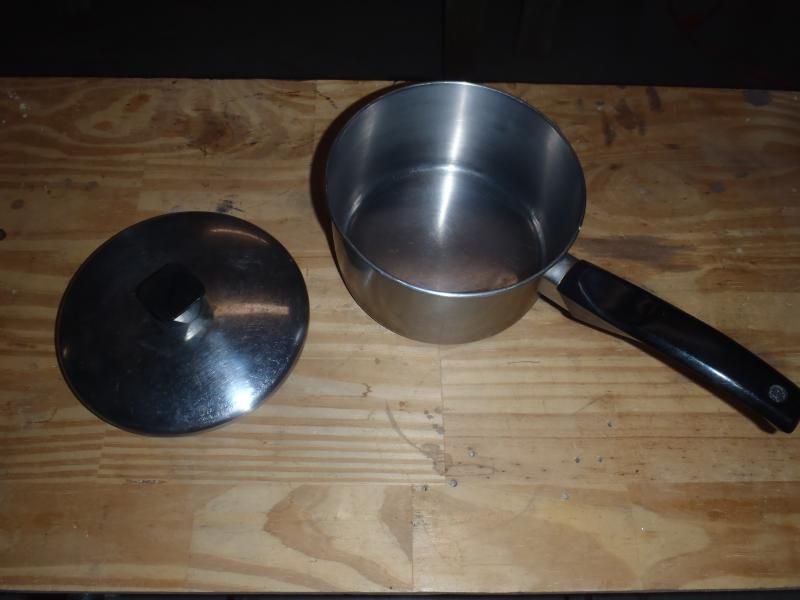
The handle came off easily and I had something that would stow in a hatch.
Step 2, cut the wick. Find a thickly corrugated box and cut a strip of cardboard to height and length. The needed length is unknown until I start coiling the cardboard wick in the pot, so I cut something way longer than needed and trim to fit.
I have learned that the “wick” height should be a bit shorter that the top of the pot, so that when the FIAC is full of hot melted wax it doesn’t it doesn’t leak over the edge on unlevel surfaces. A bit of pot lip also provides some wind screen. So for this build a cardboard wick 3” tall.It helps to roll and re-roll the cardboard coil a couple of times until it holds a spiral on its own.
Step 3, cut and fold a half dozen cardboard spacers to help hold the spiral wick apart. A couple of those can be taller than the main wick to provide easy starter points.
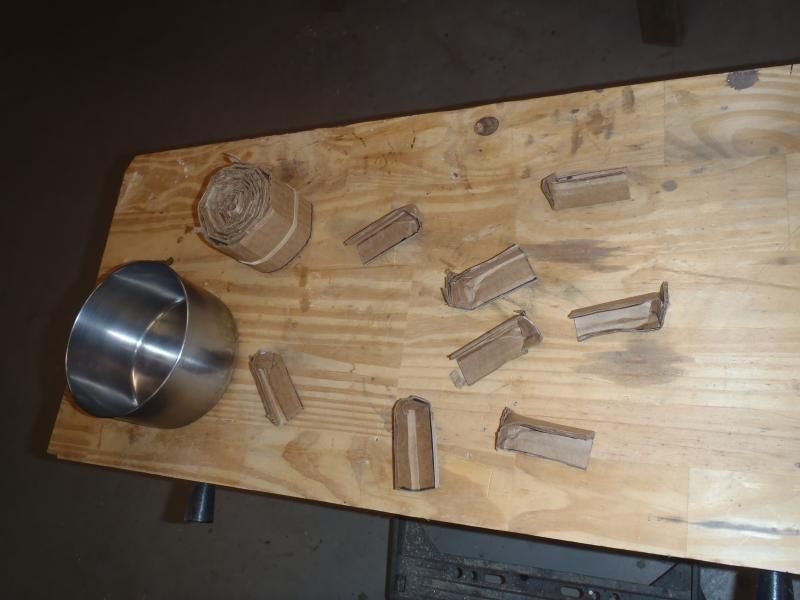
Step 4, coil up the spiral wick and spacers, aiming for a finger’s width of wax area between the coils. Play with rolling (and re-rolling) that until you have a satisfactory honeycomb for the wax.
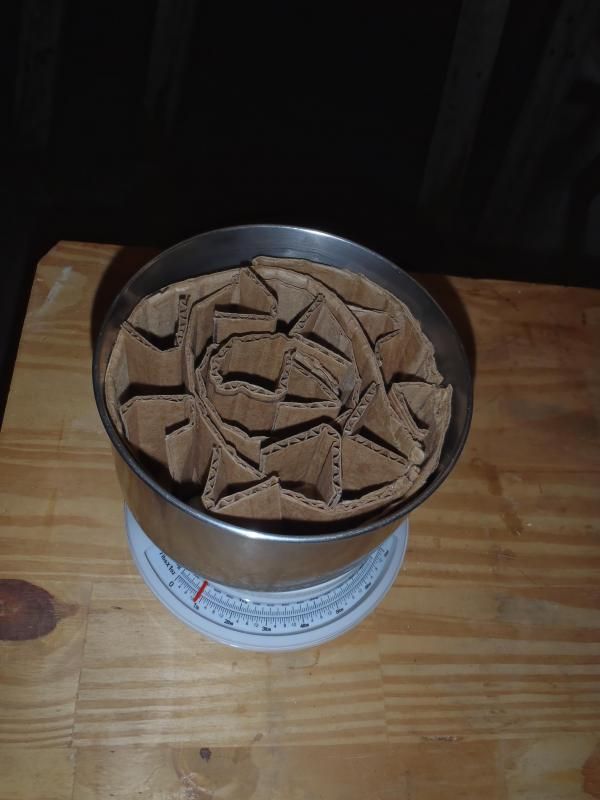
Ok, that’s not much of a spiral, but I have been increasing the wax space with each FIAC, and up to some (yet unreached) point the more wax the better. BTW - the SS pot took 3 feet of cardboard wick plus spacers.
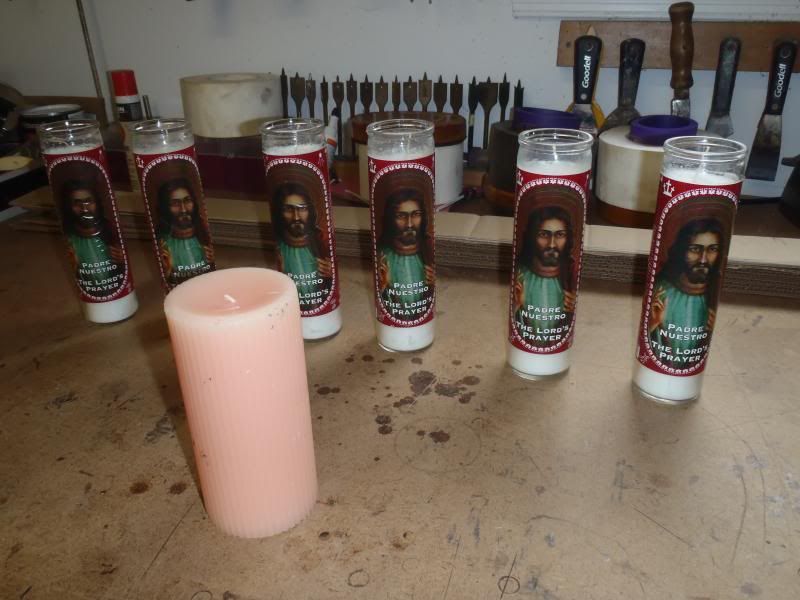
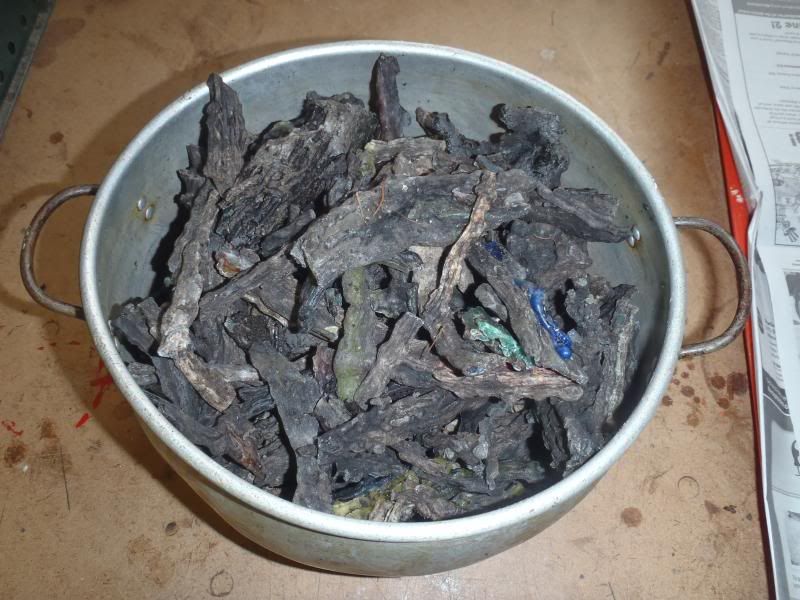
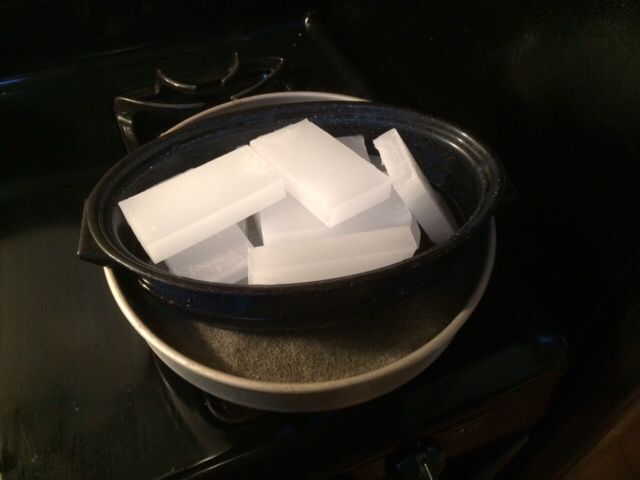
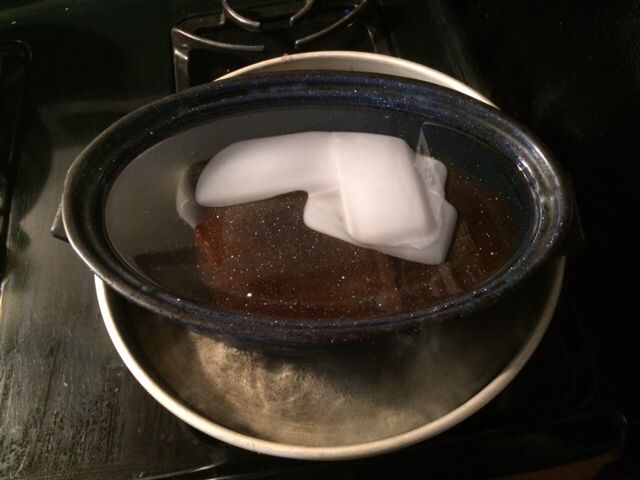
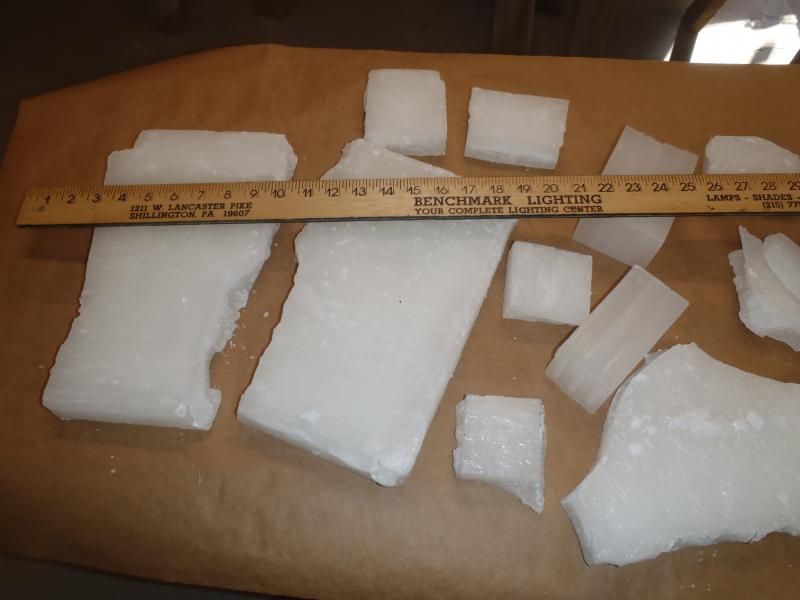
Step 4, melt some wax. Melting wax is the most time consuming part of this, and wax I got.
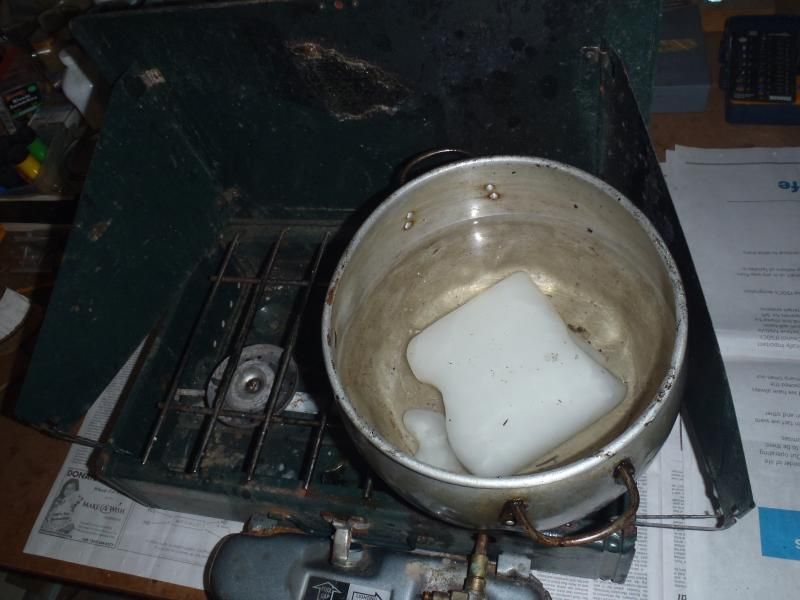
FIAC #5 will be a give away, and I have a unused Dollar Store stock pot identical to a friend’s FIAC #4, which was built oversized for family car camping travels. I’ve got wax, the stock pot and plenty of cardboard. Why not.
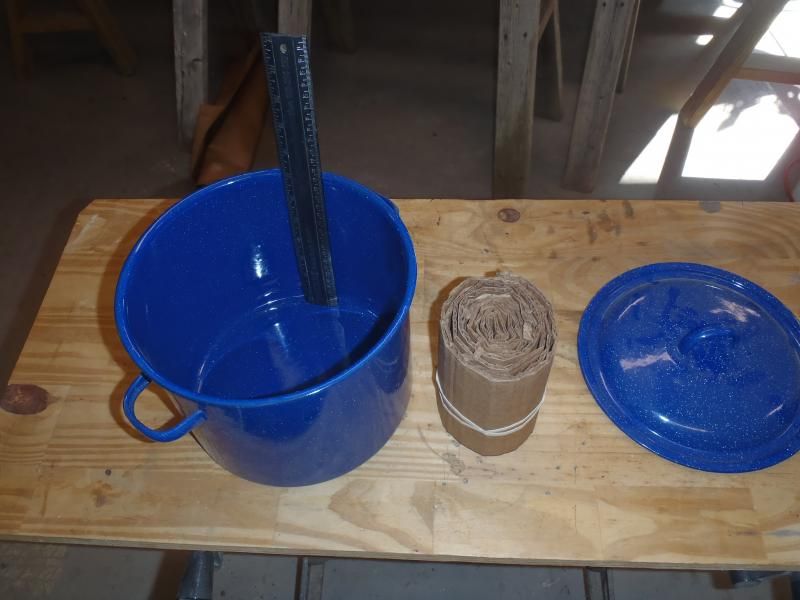
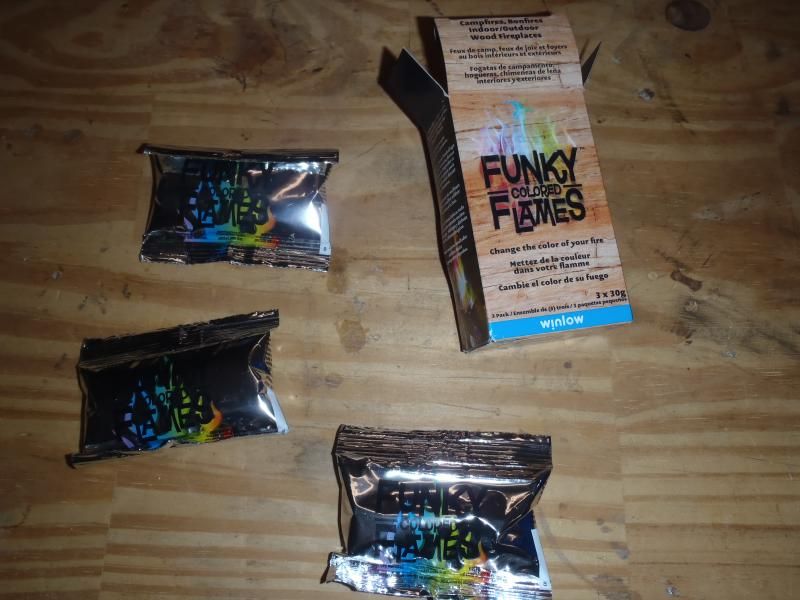
Step 5. While I have a pot of melted wax on the stove I’d like to make some custom “feeder” bricks to refill the FIACs. Some feeder bricks with citronella oil for rational purposes, some with “Funky Flames”, just to be, well, funky.
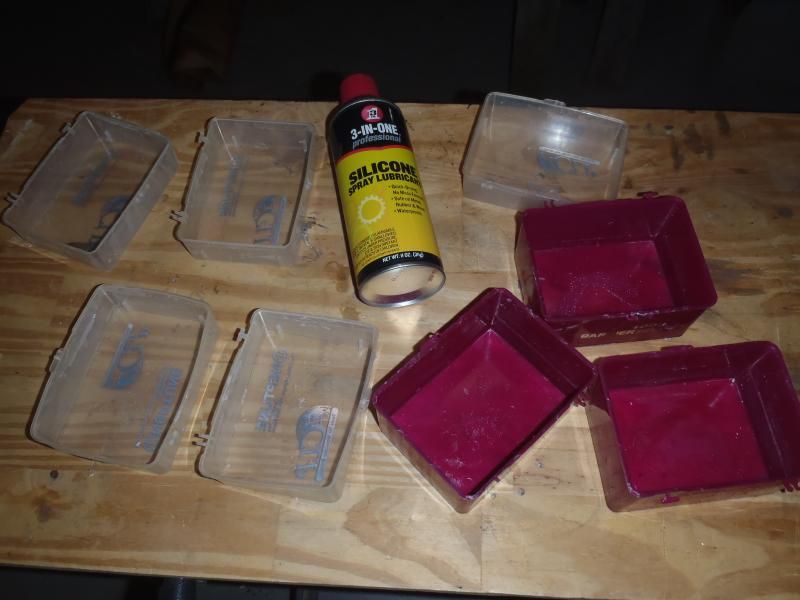
The easiest way I’ve found to make feeder bricks with additives is to silicon spray some small containers and pour the melted wax in those. Old pipette tip boxes in this case. Once hardened the wax will pop free from the siliconed plastic.
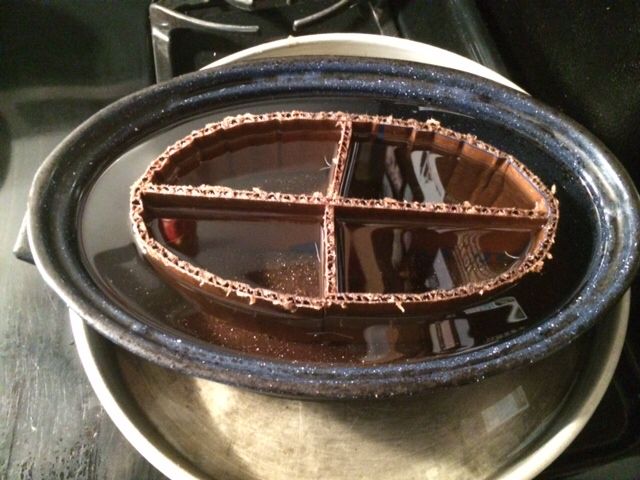
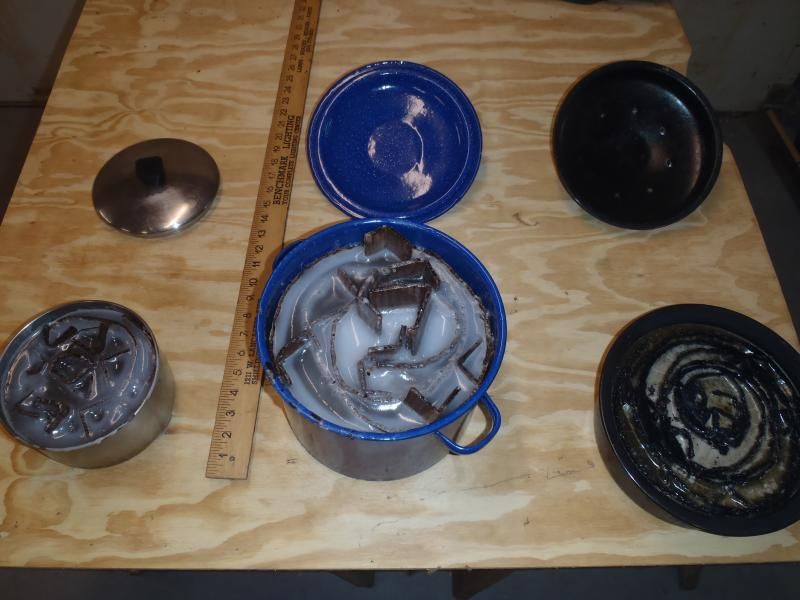
Step 6, pour some melted wax into the pots and feeder brick containers. Sea kayak sized FIAC, car camping FIAC and the small roaster pan FIAC I’ve been using for a few years:
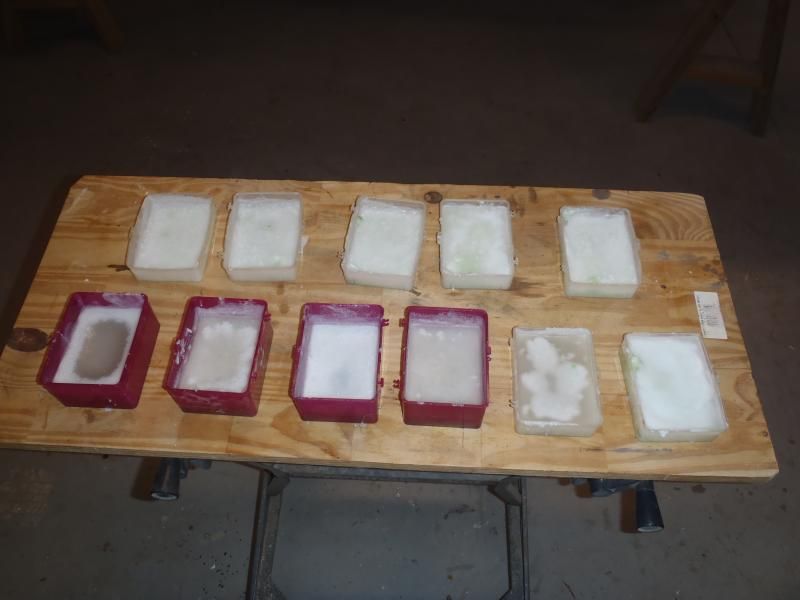
Step 7, melt and pour additional wax the next day to fill any voids that as the cardboard wick soaks in wax overnight. Knock the feeder bricks out of the plastic containers.
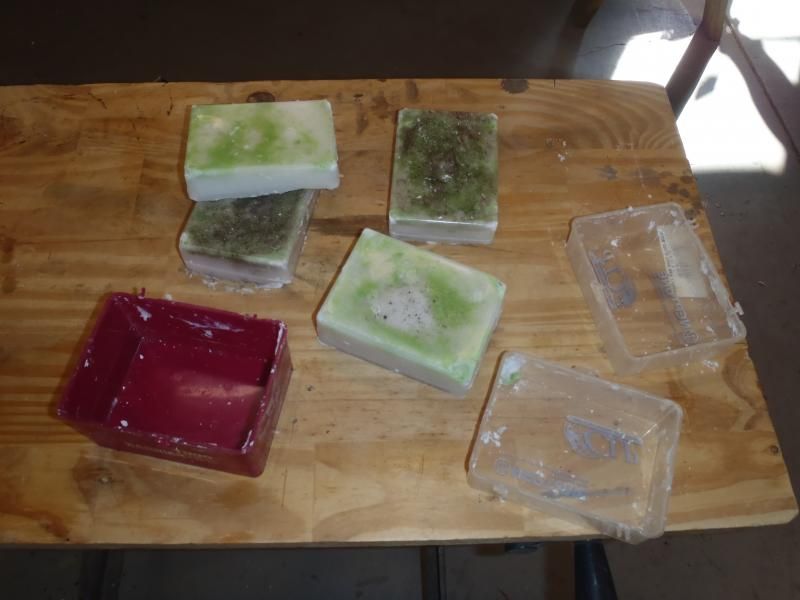
Well, that should be a few year’s supply of feeder bricks, including some oddities. Some are straight wax, some have citronella or Funky Flames.
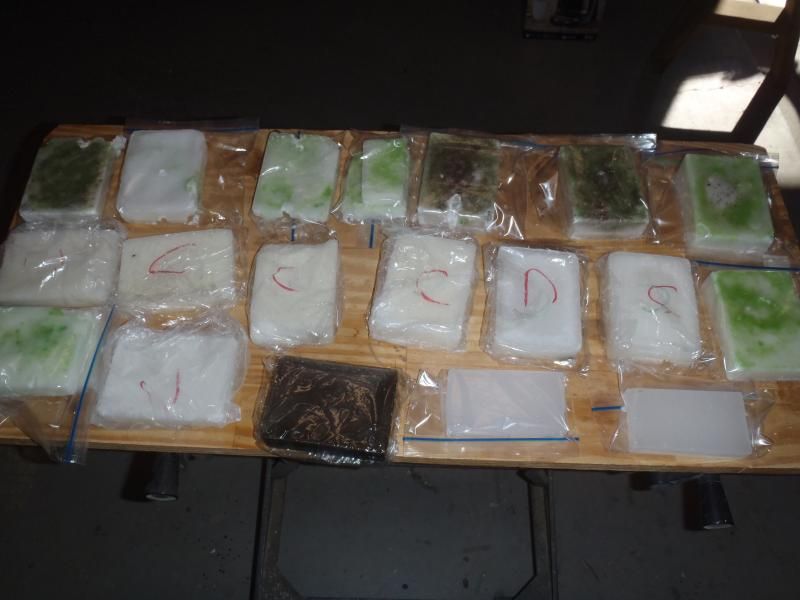
The sea kayak sized FIAC weighs 3 lbs 7 oz after the wax pours.
Step 1, find a suitable pot. For starters, as a kayak FIAC, it needs to be hatch sized and rustproof. A trip to Goodwill turned up a 6 ½” wide x 3 ½” deep stainless steel kitchen pot for a couple of bucks.

The handle came off easily and I had something that would stow in a hatch.

Step 2, cut the wick. Find a thickly corrugated box and cut a strip of cardboard to height and length. The needed length is unknown until I start coiling the cardboard wick in the pot, so I cut something way longer than needed and trim to fit.
I have learned that the “wick” height should be a bit shorter that the top of the pot, so that when the FIAC is full of hot melted wax it doesn’t it doesn’t leak over the edge on unlevel surfaces. A bit of pot lip also provides some wind screen. So for this build a cardboard wick 3” tall.It helps to roll and re-roll the cardboard coil a couple of times until it holds a spiral on its own.
Step 3, cut and fold a half dozen cardboard spacers to help hold the spiral wick apart. A couple of those can be taller than the main wick to provide easy starter points.

Step 4, coil up the spiral wick and spacers, aiming for a finger’s width of wax area between the coils. Play with rolling (and re-rolling) that until you have a satisfactory honeycomb for the wax.

Ok, that’s not much of a spiral, but I have been increasing the wax space with each FIAC, and up to some (yet unreached) point the more wax the better. BTW - the SS pot took 3 feet of cardboard wick plus spacers.
Step 4, melt some wax. Melting wax is the most time consuming part of this, and wax I got.


FIAC #5 will be a give away, and I have a unused Dollar Store stock pot identical to a friend’s FIAC #4, which was built oversized for family car camping travels. I’ve got wax, the stock pot and plenty of cardboard. Why not.

Step 5. While I have a pot of melted wax on the stove I’d like to make some custom “feeder” bricks to refill the FIACs. Some feeder bricks with citronella oil for rational purposes, some with “Funky Flames”, just to be, well, funky.

The easiest way I’ve found to make feeder bricks with additives is to silicon spray some small containers and pour the melted wax in those. Old pipette tip boxes in this case. Once hardened the wax will pop free from the siliconed plastic.

Step 6, pour some melted wax into the pots and feeder brick containers. Sea kayak sized FIAC, car camping FIAC and the small roaster pan FIAC I’ve been using for a few years:


Step 7, melt and pour additional wax the next day to fill any voids that as the cardboard wick soaks in wax overnight. Knock the feeder bricks out of the plastic containers.

Well, that should be a few year’s supply of feeder bricks, including some oddities. Some are straight wax, some have citronella or Funky Flames.

The sea kayak sized FIAC weighs 3 lbs 7 oz after the wax pours.

