-
Happy National Garlic Day! 🧄🚫🧛🏼♂️
You are using an out of date browser. It may not display this or other websites correctly.
You should upgrade or use an alternative browser.
You should upgrade or use an alternative browser.
50 Pounder Rebuild
- Thread starter Cheeseandbeans
- Start date
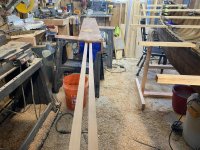
Nice steamed gunwales. I'm glad that you don't have to replace any ribs!
I do- that’s next. A few rib ends as well.
Bob
Bob
Just a suggestion with bending the white cedar, wet the pieces down well with water before you steam them. NWC cedar is very light and doesn't really retain the heat very well, getting some water on it helps it heat up and hold the heat longer, so bending is easier with less breakage.
Brian
Brian
Thanks Brian- will do.
Bob
Bob
I'm enjoying following this thread. Thanks for posting your progress. Looking good!
Thanks Rick. Milled the rib stock today. Hope to get back at it later this week.
Bob
Bob
If I may ask, how did you cut the scarf joints on all those rib ends? That looks like quite the project to me. Nicely done!
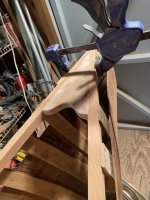
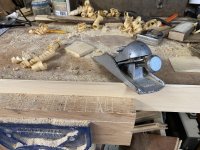
Over twenty of them... wasn’t bad after I got going. I cut the rib stock to length- about an inch or so more than I needed and cut it to the width of where the bottom of the scarf would be on the existing rib with a block plane. Then I cut the angle on the new piece with a belt sander clamped in a vise upside down. These ribs taper and are beveled (trapezoid shape) and I roughed that in with a block plane. Then I used the belt sander to cut the angle on the old rib matching it to the new piece as I went. Brushed tight bond III on both pieces and clamped. I will have to sand them smooth and touch up the tapers/bevels with a spoke shave. And stain them to match.
I have done this with a chisel before, but find I get a better fit with the sander. I have also used epoxy and PU glue. All work well, but the PVA glue cleans up easiest for me.
This is my method, but as with most things always more than one way.
Bob
I have done this with a chisel before, but find I get a better fit with the sander. I have also used epoxy and PU glue. All work well, but the PVA glue cleans up easiest for me.
This is my method, but as with most things always more than one way.
Bob
Nice work Bob!
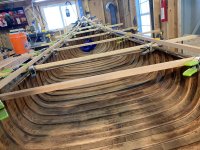
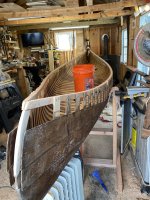 Well I was supposed to be on a trip this week, but weather took a turn for the worse- “hail and damaging winds” according to a couple forecasts. So some local fishing and wood shop time finally. The inwales are in, rib ends trimmed, and getting the stems shaped. Next- decks, planking and replacement ribs. Not to mention cleaning the shop!
Bob
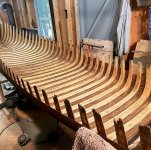
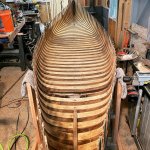
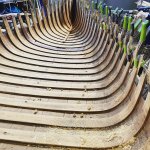
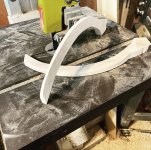
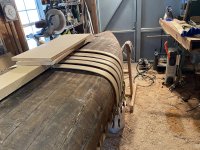
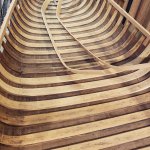
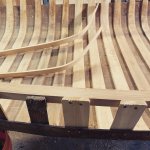
It has been a while since I’ve had some time to work on this. I have the week off work, the kids are in school, and it’s raining… perfect. I have replaced four ribs and have two to go. I forgot how enjoyable this work is and that 90% is done with hand tools.
Attachments
Looking good! It’s satisfying work rebuilding, right?
Thanks. Yes, I often wonder when working on it about who put it together 75 years ago and the trips it’s been on. I don’t think they were intended to be used and rebuilt so long after being built, but if feels good to keep them going!Looking good! It’s satisfying work rebuilding, right?
Bob
Similar threads
- Replies
- 28
- Views
- 3K
- Replies
- 10
- Views
- 2K
- Replies
- 32
- Views
- 6K

