G
Guest
Guest
Keep on putting the weird into weird.
As you wish.
I use a circle of thick scrap minicel glued to a wood block as a beverage stabilizing, insulating beverage holder. Sized to fit a coozie, coffee cup or canteen. I use one in the canoe, and in camp when I set my beer or coffee on uneven ground to prevent spillage of my vital fluids.
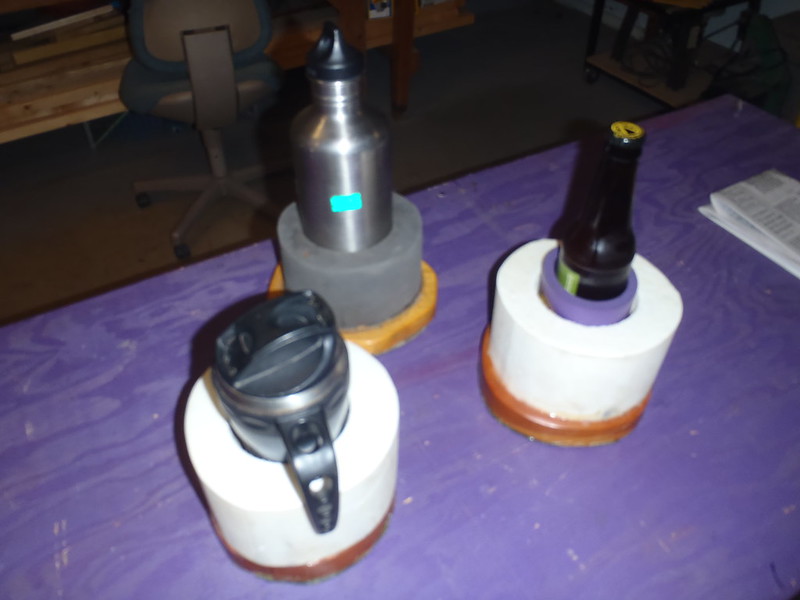 PC230196 by Mike McCrea, on Flickr
Nothing says those drink stabilizers have to be round. I have a couple of new Walmart Yoga Blocks, and some half inch thick Home Depot oak left over from the Live Aboard motor mount. Hey, that oak scrap is exactly the width of the yoga blocks. That got me thinking.
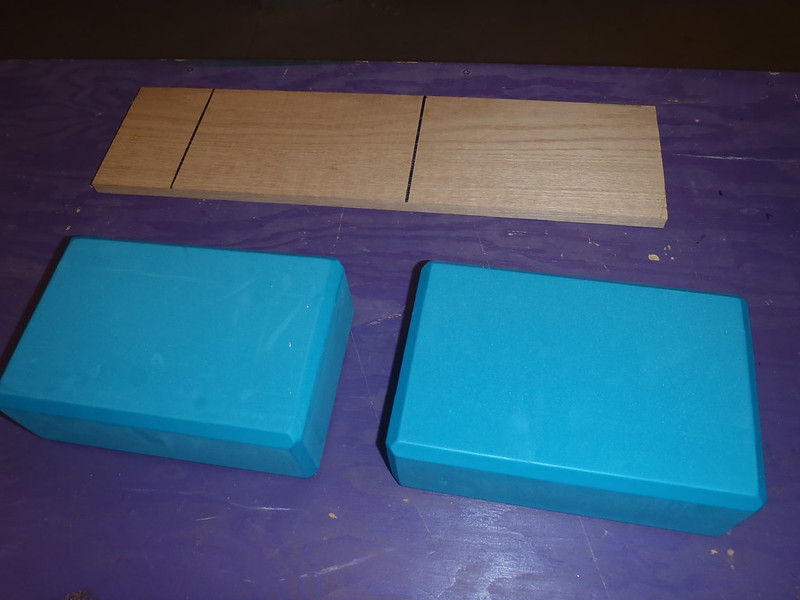 PC230200 by Mike McCrea, on Flickr
I could cut the yoga blocks and wood into circles as usual, or easier into squares, but I have a cozzie stabilizer accessory in mind, and cut the wood bases to full yoga block length.
That was a lot faster and easier than band saw cutting circles of minicel and a circular wood base. Rectangular yoga blocks, matching rectangular bases, straight cuts and done in seconds.
I needed to remove a coozie sized cylinder from the minicel. A three and a half inch hole saw fits a standard coozie diameter perfectly. Choose wisely and a canteen or coffee cup does as well.
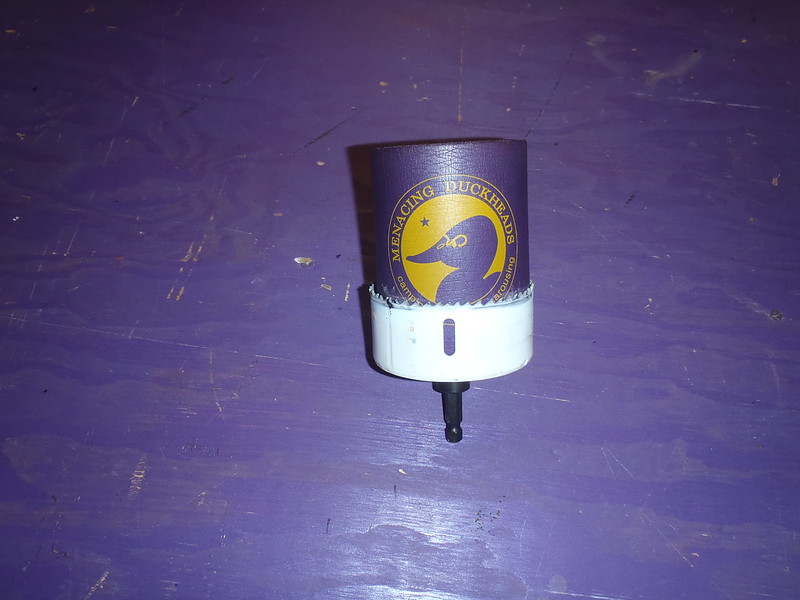 PC230204 by Mike McCrea, on Flickr
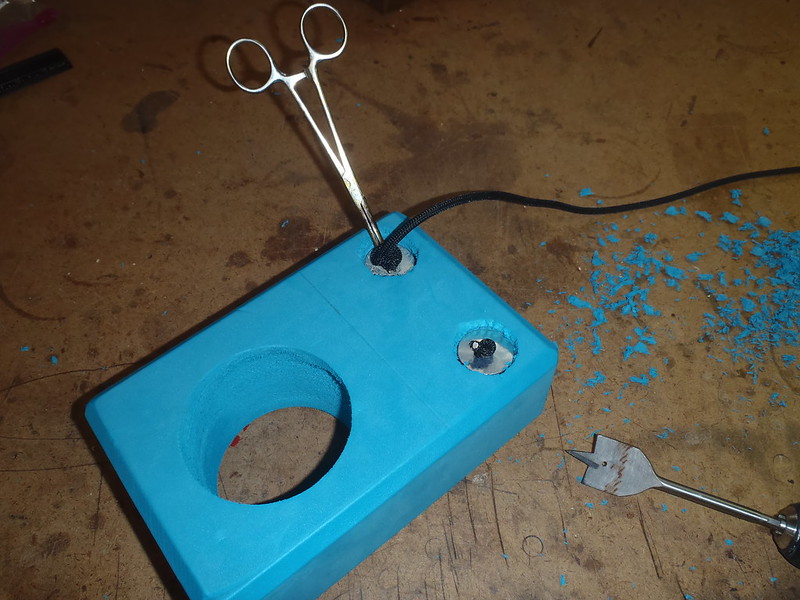
That cylinder removal part was quick and easy too, if minicel dust messy.
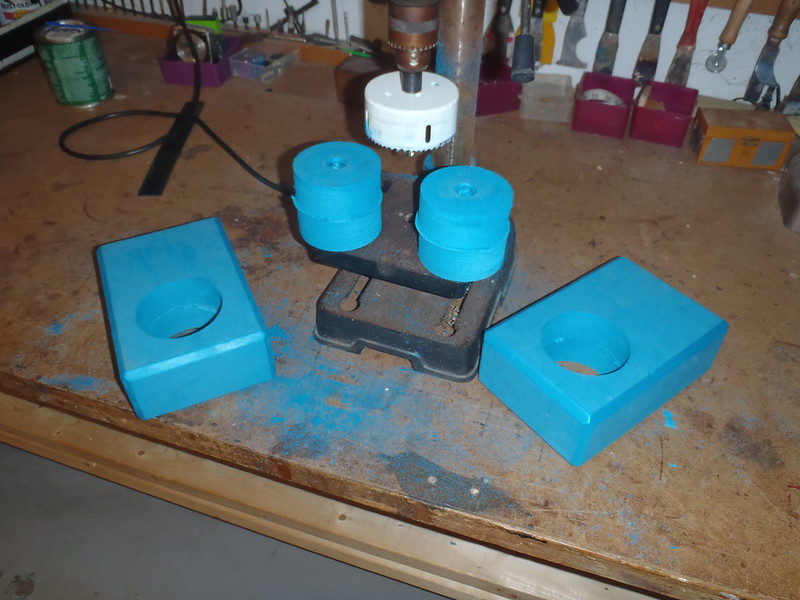 PC230205 by Mike McCrea, on Flickr
What is next while the little drill press is still on the Bench? Scott, what do you think?
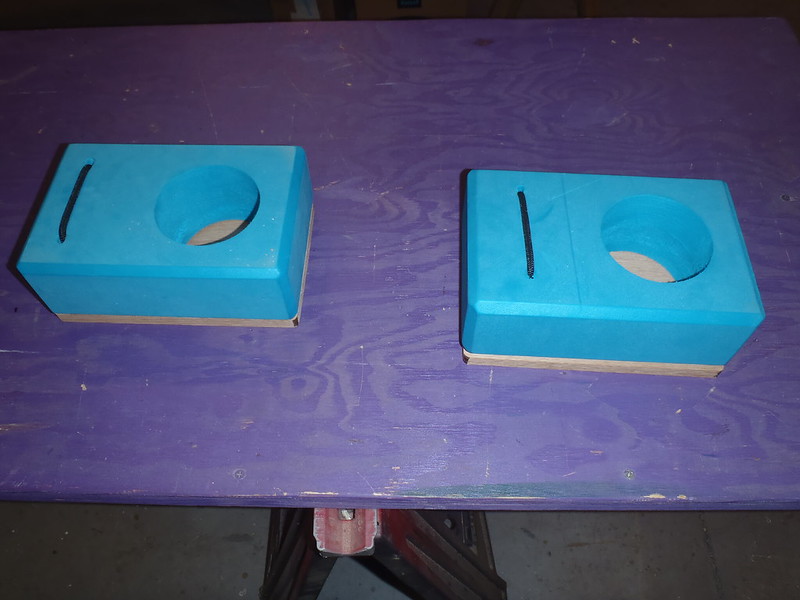
I needed to drill a drain hole in the wood base centered below the drain hole in the coozie bottom. Sharpie dot and drill. Then a little Dragonskin work to smooth out the minicel inside the hole and the foam part was done.
Or was it? I have a large blank area on one side of the extended yoga block, just begging for something. A slot for a lighter maybe, or even a full on ash tray recess for a smoker, with hidden stash void underneath.
 PC230207 by Mike McCrea, on Flickr
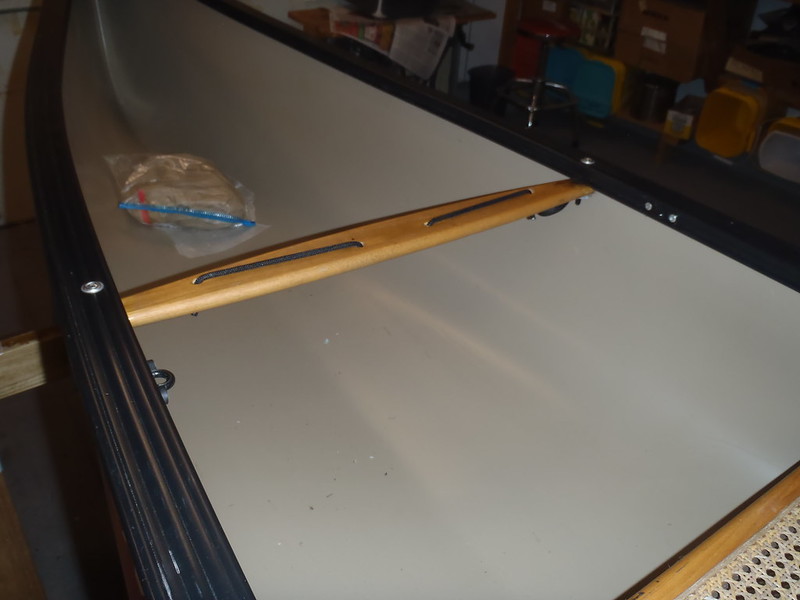
Hmmm, I am also a fan of bungee cord on thwarts to secure miscellaneous items at easy reach. Trapping loose stuff under a bungee is as convenient as it gets.
 PC180140 by Mike McCrea, on Flickr
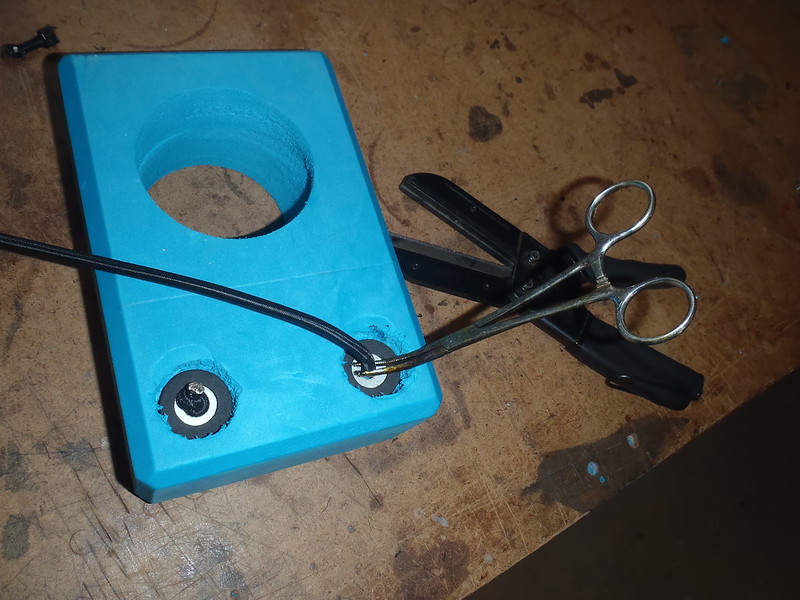
Maybe next time with the hidden stash compartment. Keep it simple stupid. A length of bungee, stopper knotted and run through recessed fender washers on the bottom of the minicel blocks.
 PC230209 by Mike McCrea, on Flickr
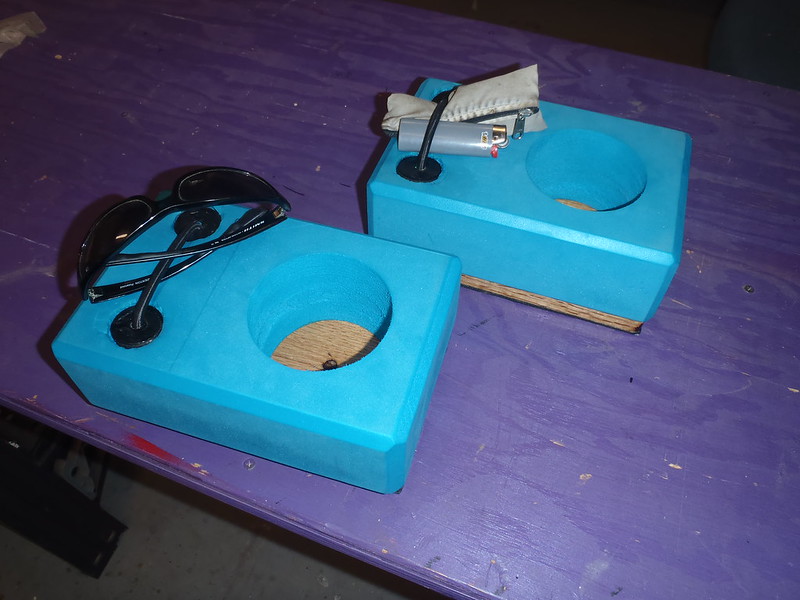
That simple bungee will hold a lighter, sunglasses, spray can of Sexy Thang perfume, whatever accessory the paddler desires to have held accessible near at hand.
That bungee use is also a Scotsman approved waste not want not for short lengths of leftover bungee cord. Ten inches of bungee, including the stopper knot on each end, provided a firm but not too taut bungee run atop the now multifunctional minicel beverage holders.
 PC230210 by Mike McCrea, on Flickr
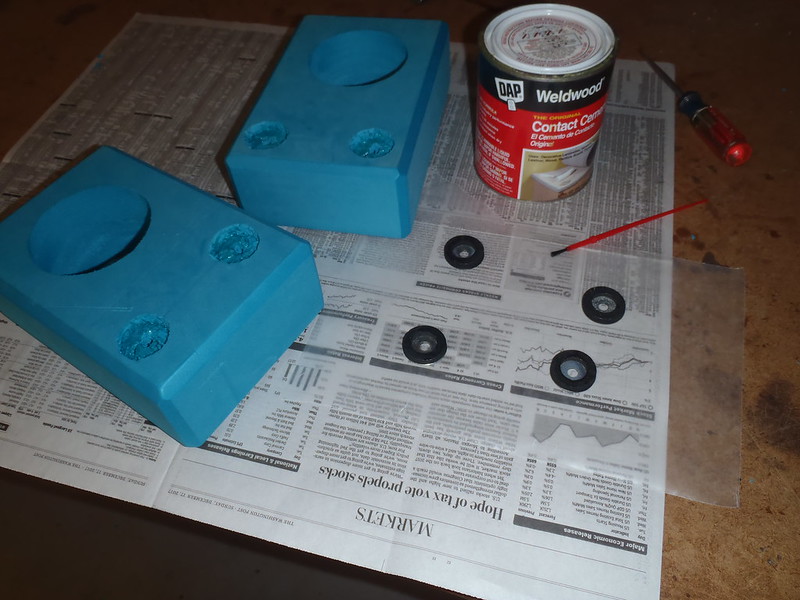
Looks good, but nope, I did not like it. The semi taut bungee was already starting to cut sideways into the top of the minicel. Bungee off for design attempt number 2. I have fender washers with neoprene gaskets on one side. Those are not stainless, so I spray painted them black for rust prevention.
A little shallow countersink on top of the minicel holes, a little contact cement on the fender washer gaskets and minicel countersink, some heat gun action and presto, the bungee cord slicing into minicel issue was resolved with a hardtop.
 PC230217 by Mike McCrea, on Flickr
Time for a few coats of spar urethane on the oak bases. While I have the urethane out I might as well make some additional mini mast steps for Joels faux bimini umbrella use.
 PC230215 by Mike McCrea, on Flickr
I did not want the slick urethane bottomed beverage stabilizers sliding around on the bottom of the canoe. A rectangle of neoprene cut to size and contact cemented on the bases will do the trick.
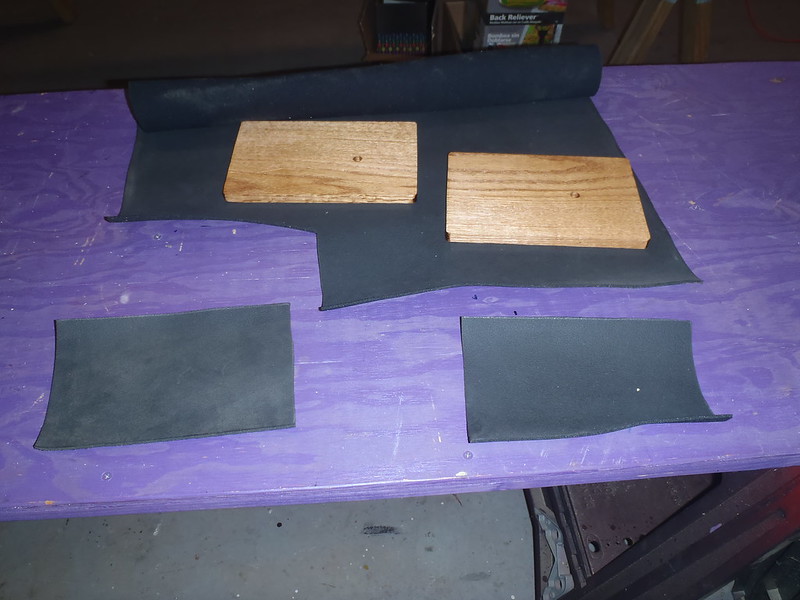 PC230218 by Mike McCrea, on Flickr
Contact cement on neoprene, or even on thin pieces of minicel, can pose a problem. The neoprene or minicel will curl up as the contact cement dries. Did not want that. The simple solution is to use a push pin at each corner to hold the material flat while the contact cement dries, and especially while hitting it with a heat gun.
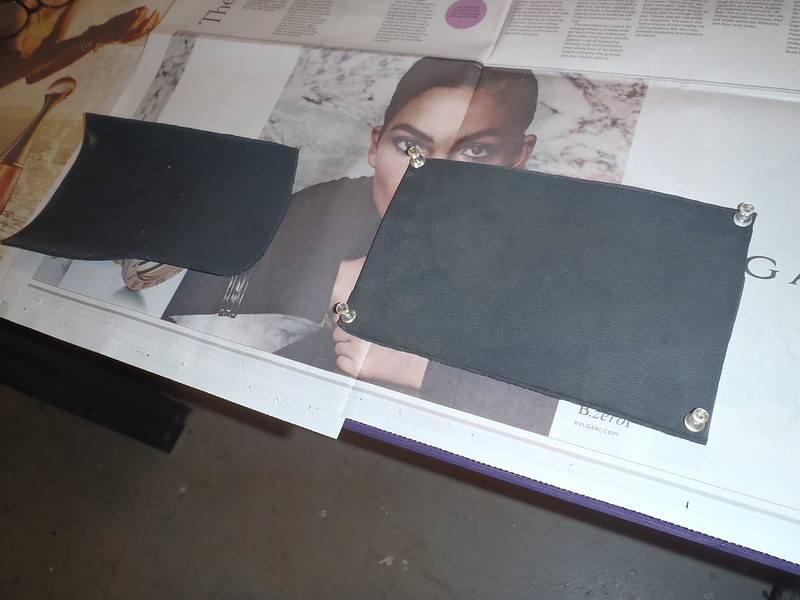 PC230220 by Mike McCrea, on Flickr
The disposable chip brush I used a couple days ago was wrapped tightly in wax paper to preserve it and is still good to go for another round of contact cement work.
 PC230222 by Mike McCrea, on Flickr
The usual contact cement methodology, three dried between coats on the neoprene or minicel, two on any impermeable surface, wait, heat gun both surfaces, aim well and truly, press and clamp together.
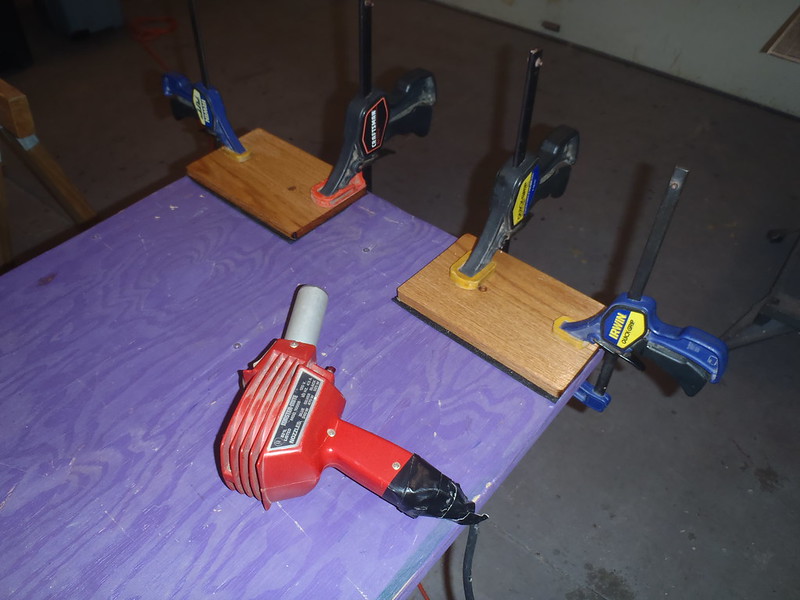 PC230224 by Mike McCrea, on Flickr
Once that nonskid neoprene base was firmly adhered it needed a drain hole to match the one in the wood. Hot nail and propane torch again, this time using the head a 20 penny nail for a edge sealed neoprene drain hole.
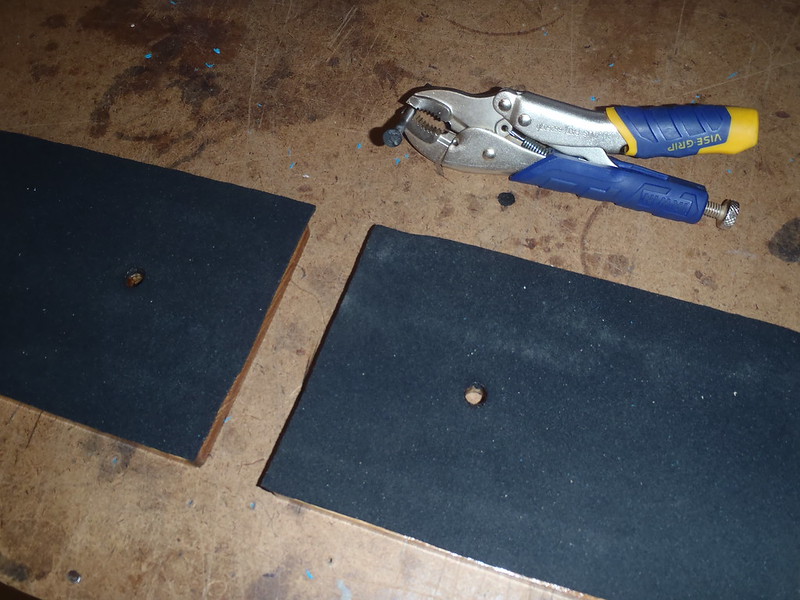 PC230226 by Mike McCrea, on Flickr
I have recipients in mind for these two utility beverage stabilizers, and wanted to personalize them with their names stamped into the side of the base. Easier to do that step now, with just the wood base held in the vice.
https://www.amazon.com/TEKTON-6610-...514119256&sr=8-4&keywords=metal+letter+stamps
Run the bungee cord and fender washers again, clamp taut, tie the stopper knot, and it is time for last bit of contact cement work, minicel block to oak base.
 PC230229 by Mike McCrea, on Flickr
Three coats on the minicel, two on the wood, wait, heat gun, clamp. I will probably use that same contact cement brush again soon on another project, so it got wrapped in fresh wax paper before I put it aside.
 PC230230 by Mike McCrea, on Flickr
I like the them. Not exactly portage friendly, but then neither is beer. Or me.
.jpg")
.jpg")
.jpg")