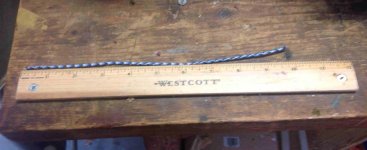
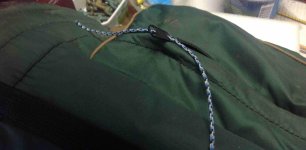
Within the last 5-7 years I happened upon this technique for adding a pull tab to a zipper. Today I was putting yet another on and thought documenting the steps might be of interest to others.
Using this method, it would strain me to tell anyone how many I've put on in the last 7 years. So many companies will use a zipper in their product but leave you only the little metal tab for a handle. The counter balanced pull from each side of the zipper, and being anchored low on the zipper makes the whole assembly operate very smoothly.
Finish it off with a figure 8 knot and you have a nice zipper pull.
Works with all size zippers. The key is finding a rope diameter small enough to thread the lower aperture on the zipper. 2mm line works on the smaller zippers, and many will accept 3mm line.
This has been too useful to me not to share with others. Just be careful when you get all excited and start to tie one on.
STEP 1

STEP 2

STEP 3

STEP 4

STEP 5

Using this method, it would strain me to tell anyone how many I've put on in the last 7 years. So many companies will use a zipper in their product but leave you only the little metal tab for a handle. The counter balanced pull from each side of the zipper, and being anchored low on the zipper makes the whole assembly operate very smoothly.
Finish it off with a figure 8 knot and you have a nice zipper pull.
Works with all size zippers. The key is finding a rope diameter small enough to thread the lower aperture on the zipper. 2mm line works on the smaller zippers, and many will accept 3mm line.
This has been too useful to me not to share with others. Just be careful when you get all excited and start to tie one on.
STEP 1

STEP 2

STEP 3

STEP 4

STEP 5

Last edited:
