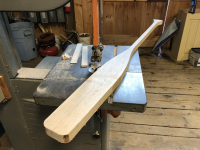
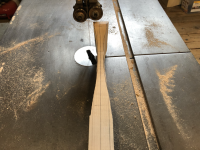
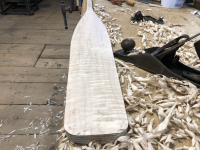
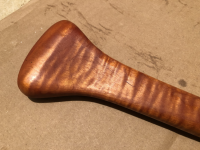
Update: I finished the paddle; my first curly maple. I'm very happy with the weight and feel, though undecided about the grip. I usually like a grip which has a 'notch' for my thumb to curl into and this grip is a bit simpler. Time will tell...
I am very fortunate to have a friend who has been a life-long furniture builder and restorer. High-end furniture fabricated by the same methods with which 18th century craftsmen would have used. Lots of hand tools and talent and patience. It was he who taught me to sharpen and use a card scraper which I used on nearly every surface but the very top of the grip of this paddle. It's very effective at finishing highly figured hardwoods to avoid grain tear out.
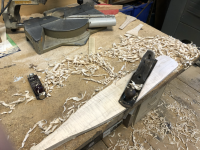
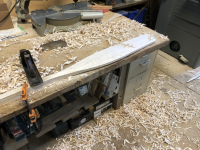
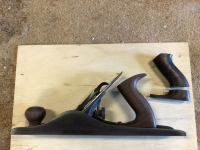
In the previous pictures you may have noticed the Stanley Bailey #5 plane I used to remove the stock from the blade. It created the piles of shavings strewn about the work space. I recently reconditioned it after having sat unused in my barn. However, the rear handle, or tote, was not only split but also was missing the top curl into which one nestles the web between thumb and index finger when pushing. Also the front screw was missing at the base of the tote. Turns out Stanley used a "no longer available" 12-20 x 1/2" screw. I had to order one from an eBay seller for 8 bucks, but it made a huge difference in control. I decided to make a new tote and downloaded a schematic from Lee Valley Tools which allowed me to make the new tote seen here
https://assets.leevalley.com/Original/10090/56664-stanley-number-5-and-up-plane-tote-c-06-e.pdf. I made it from a saved scrap of black walnut countertop removed some years ago when I was renovating an old 18th century estate here in Chester County, PA.
Now for the fun stuff:
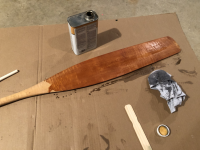
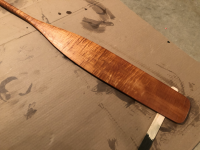
Having finished the paddle carving I wanted to put on a finish which would really make the maple figure "pop". I called my friend and asked him if he would give me a tutorial on his curly maple finish technique which I had seen and admired several times. Here's the result.
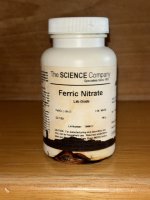
First, a brush on of dilute nitric acid (sorry I don't recall the strength of the solution), followed by applying heat to oxidize the acid on the wood. Apparently the heat converts the nitric acid NO2 to nitrous oxide NO3, and in the process creates color without a stain.
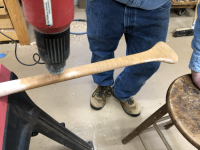
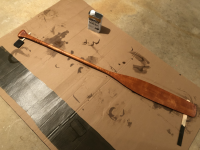
After a light sanding to reduce the raised grain, a wipe with denatured alcohol removes the sanding dust and gives a preview of the color once oiled.
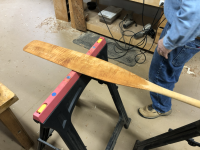
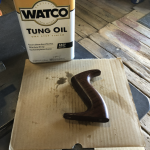
And finally, the first coat of Tung Oil; before:
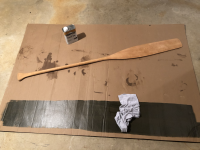
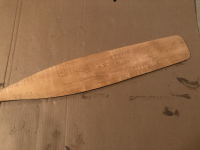
And, after:
I will provide daylight pictures on the next sunny day! Thanks for following along...
