Ended up repurposing some discarded stuff to make a set of portage pads. I used the following online tutorial as a reference point but tweaked the dimensions a bit...
http://myweb.arvig.net/knudsen/bwca/portagepads/
Last fall during an end-of-season shoreline cleanup on the cottage, I came across a barely used, kid-sized, lifejacket tangled in some reeds.
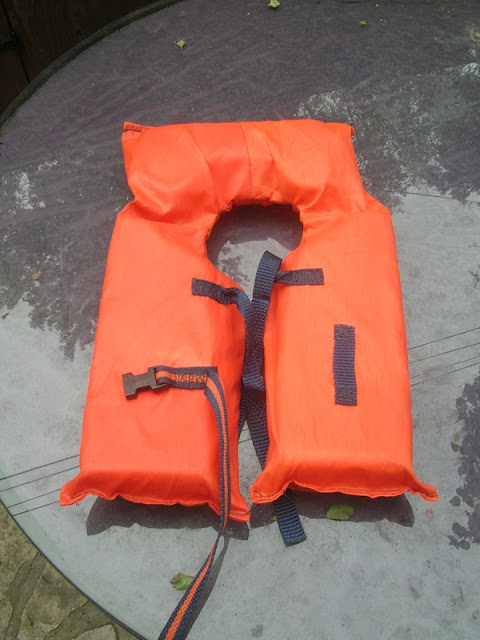
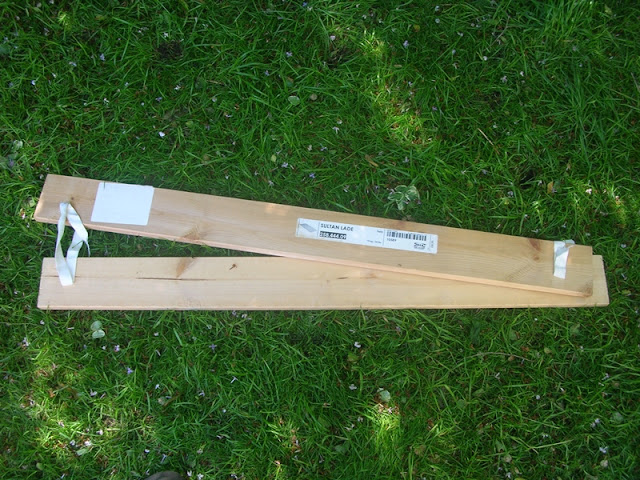
Instead of tossing it, the foam inserts seemed perfect for this project so the PFD was cut up and the innards removed. The orange nylon will be re-purposed into a rope bag or a sack for tent stakes. For the wooden base, I used some pristine looking pine that were originally slats from an IKEA bed. A neighbor left them to be tossed into landfill on garbage day.
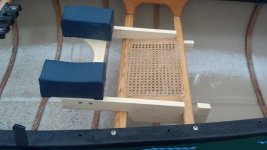
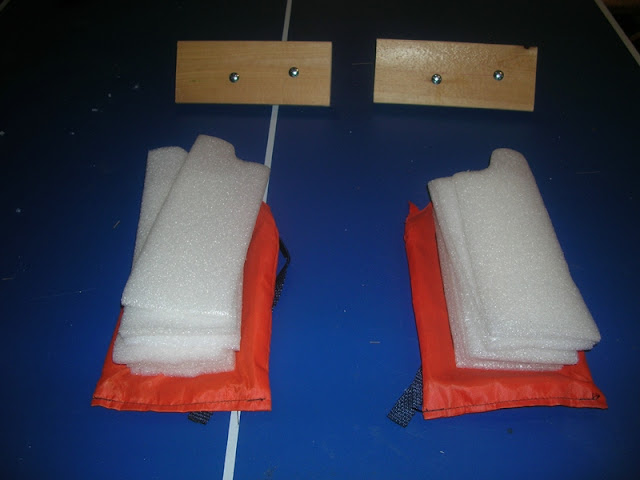
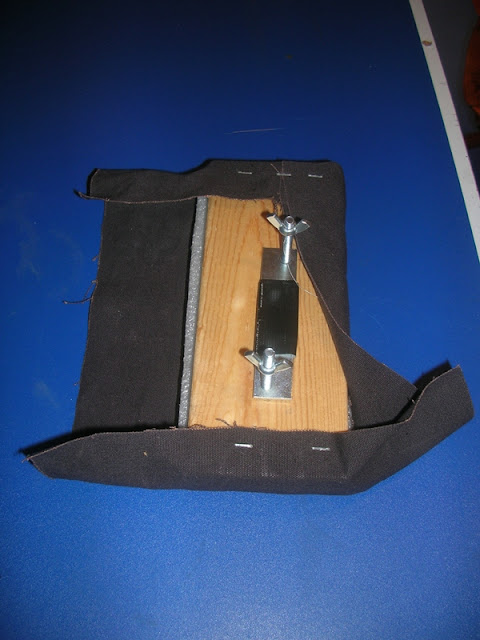
I basically followed the tutorials instructions but used 2-1/2" carriage bolts. For the metal bar, I used a 4" straight steel brace commonly used in shelving. The holes in the brace are offset which explains why the carriage bolts don't look aligned. Here is a picture of the wood bases (3.5" wide by 8" long) along with the foam from the lifejacket.
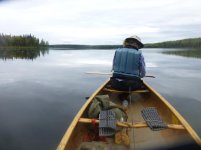
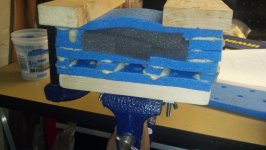
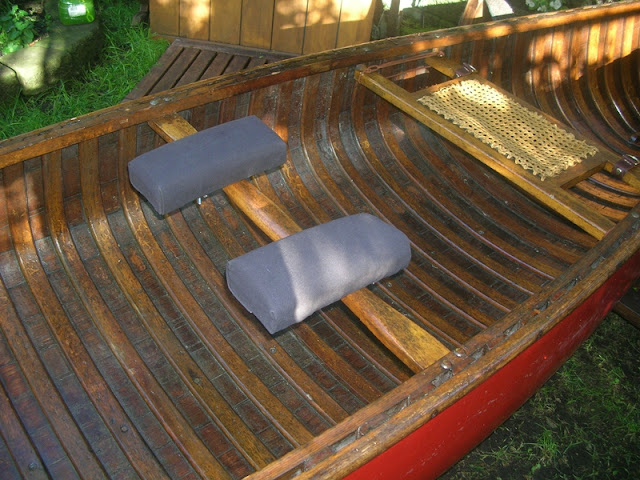
The foam was trimmed to shape but before wrapping in canvas, I wanted to test how many layers would be suitable for the pads in order to be comfortable but also reduce the bulk. After temporarily wrapping the wooden bases with foam and rubber bands, they were attached to the canoe for a test run.
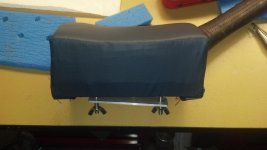
After tinkering a bit, ended up using 5 pieces of foam each. This worked out to about 2-1/4" of padding and 3" overall height including the wood base. Also wrapped the metal plate with some duct tape to minimize scratching up the varnish on the original center thwart. Differed from the original tutorial in the fold up technique. Not very professional looking from underneath but the canvas material is pretty taut around the foam.
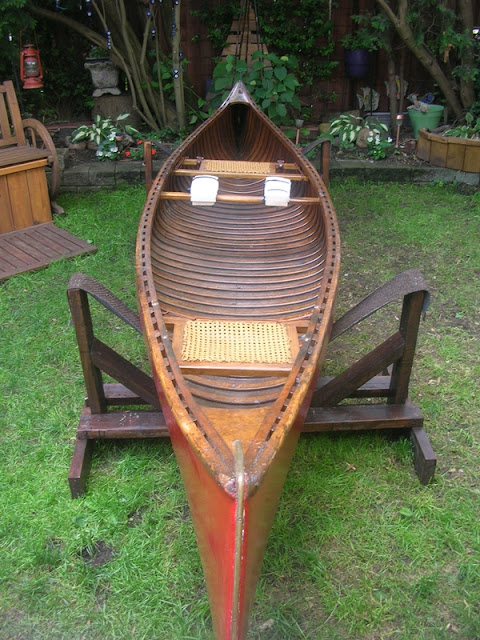
Here's the finished work...
Anybody else make their own pads?
http://myweb.arvig.net/knudsen/bwca/portagepads/
Last fall during an end-of-season shoreline cleanup on the cottage, I came across a barely used, kid-sized, lifejacket tangled in some reeds.
Instead of tossing it, the foam inserts seemed perfect for this project so the PFD was cut up and the innards removed. The orange nylon will be re-purposed into a rope bag or a sack for tent stakes. For the wooden base, I used some pristine looking pine that were originally slats from an IKEA bed. A neighbor left them to be tossed into landfill on garbage day.
I basically followed the tutorials instructions but used 2-1/2" carriage bolts. For the metal bar, I used a 4" straight steel brace commonly used in shelving. The holes in the brace are offset which explains why the carriage bolts don't look aligned. Here is a picture of the wood bases (3.5" wide by 8" long) along with the foam from the lifejacket.
The foam was trimmed to shape but before wrapping in canvas, I wanted to test how many layers would be suitable for the pads in order to be comfortable but also reduce the bulk. After temporarily wrapping the wooden bases with foam and rubber bands, they were attached to the canoe for a test run.
After tinkering a bit, ended up using 5 pieces of foam each. This worked out to about 2-1/4" of padding and 3" overall height including the wood base. Also wrapped the metal plate with some duct tape to minimize scratching up the varnish on the original center thwart. Differed from the original tutorial in the fold up technique. Not very professional looking from underneath but the canvas material is pretty taut around the foam.
Here's the finished work...
Anybody else make their own pads?