G
Guest
Guest
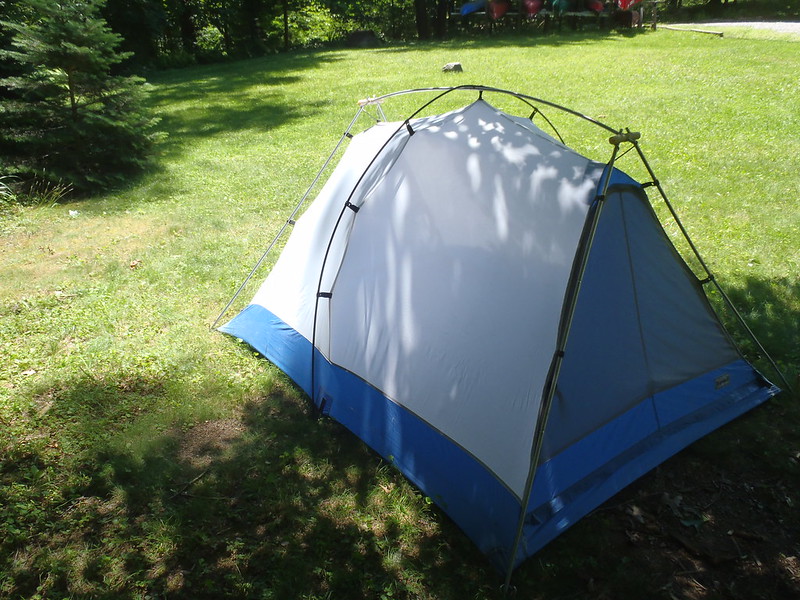
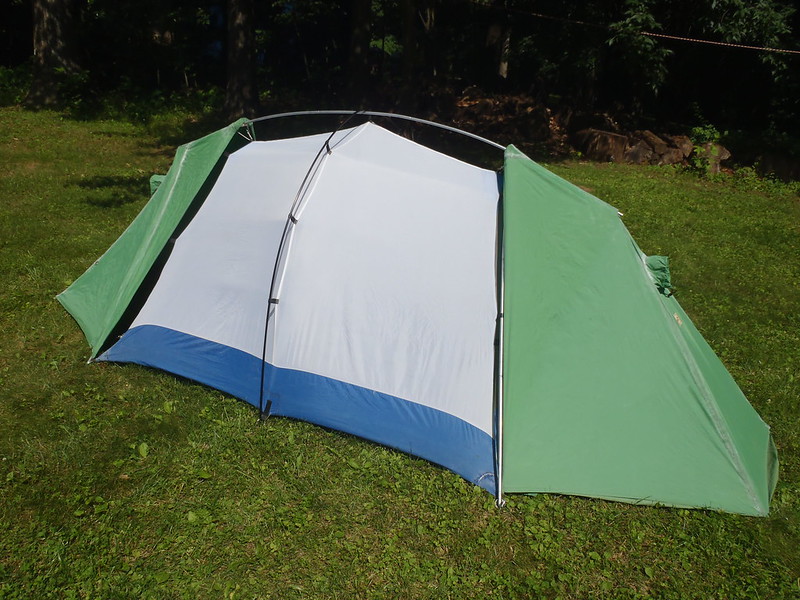
The Eureka Alpine Meadows as essentially a Timberline with a wanded center pole. That single center wand provided much more interior tent space, eliminating the side droop or damp fly stuck to the wall.
 P6160897 by Mike McCrea, on Flickr
Why Eureka stopped making that Timberline variation is a mystery; like much of our gear the Alpine Meadows is 20 years old and going strong.
The two-person Alpine Meadows is still the Missus favorite tent for ease of familiar set up, but only for trips where she thinks it will not rain. Hahahahaha.
Time to get that tent out and do some much needed seam sealing and maintenance work.
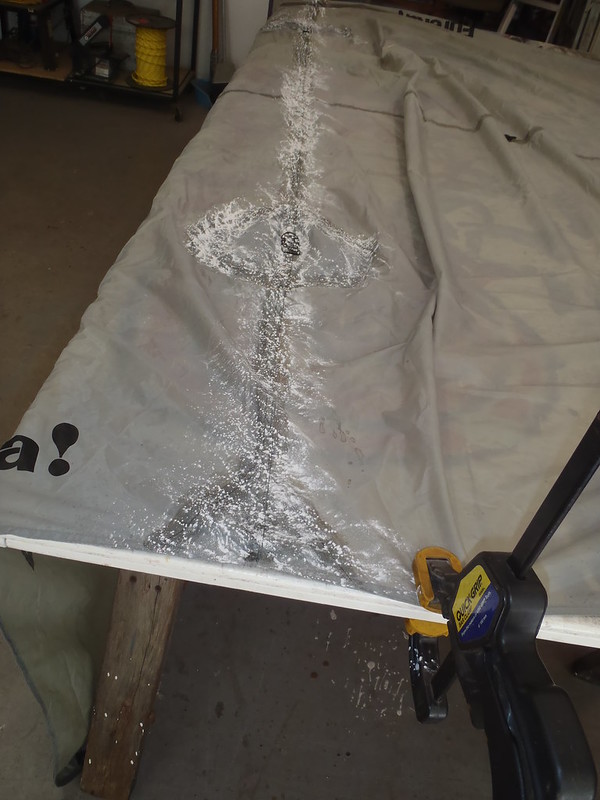
Eureka! Or so to speak; the fly for the Alpine Meadows was flat enough to seam seal atop the table. The secret on that less dome-shaped fly was to do one-half of each seam at a time, so it would lay clamped flat and easily brushable with seam sealer.
 P6140887 by Mike McCrea, on Flickr
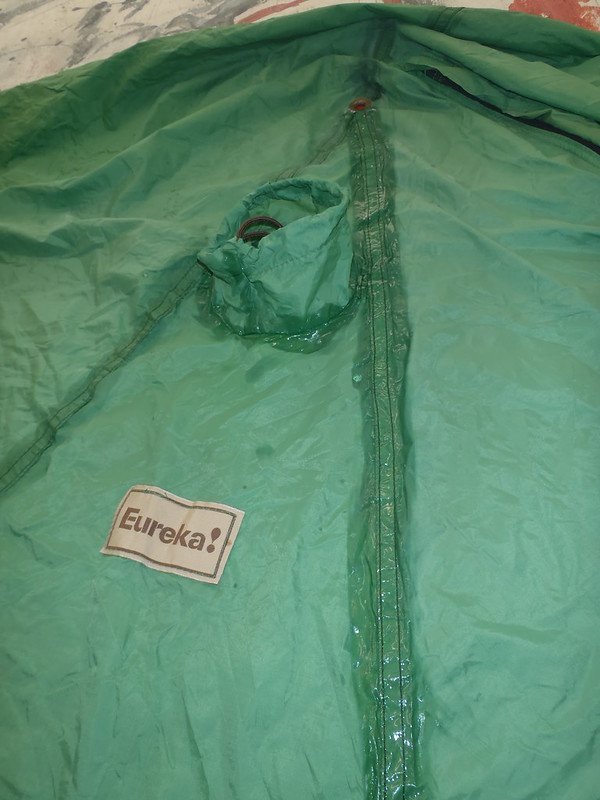
Fly done quickly enough. In for a penny. . . .one of the vestibules on that Alpine Meadows is 10 years older than the tent, originally bought for a 2-man Timberline a several decades ago. I do not know about Eurekas current offerings, but back in the day those Timberline vestibules were built to last. One of them dates from the late 70s.
I might as well seal both of them. Wow, many years ago I really did a half arsed job of seam sealing those vestibules. In fact I had only ever bothered to seam seal one of them, the other was a stitching sealant virgin. I must be more anal in latter life; I even sealed abound the little smokehole tunnel this time.
 P6150889 by Mike McCrea, on Flickr
The vestibules were tricky to flatten out and do on the tabletop. Best done, like the fly, in sections. Still easier working enflat than while affixed to the erect tent.
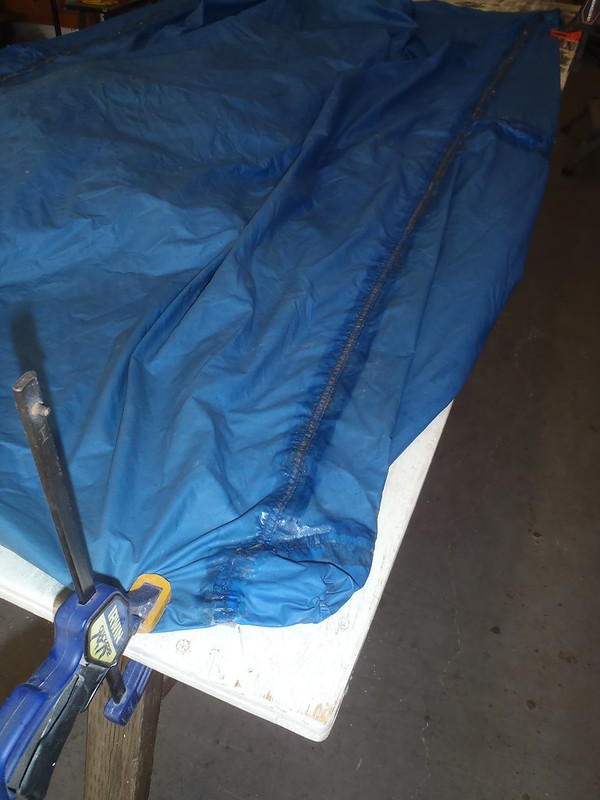
And, finally, the most important leakage piece; the bathtub floor of the tent body. I had sealed those seams years ago. Sans any talcum powder; they were stickyicky and rain splatter dirt encrusted, so I had to clean them before sealing the seams.
The straight bathtub floor seams were easier than the fly when stretched and clamped on the table. First the two seams and bottom corners.
 P6150893 by Mike McCrea, on Flickr
Flipped to the other side and the remainder of the seams that are splash exposed up the corners seamed. The entirety of the outside was done.
Then an even more heartening discovery; if I turned the tent inside out I could seal the seams on the inside in the same fashion. The inside seams were worse stickyicky than the outside seams, and I had originally done a really half arsed job while crawling around inside the tent years ago, missing some areas entirely. Much more complete seam seal coverage this time.
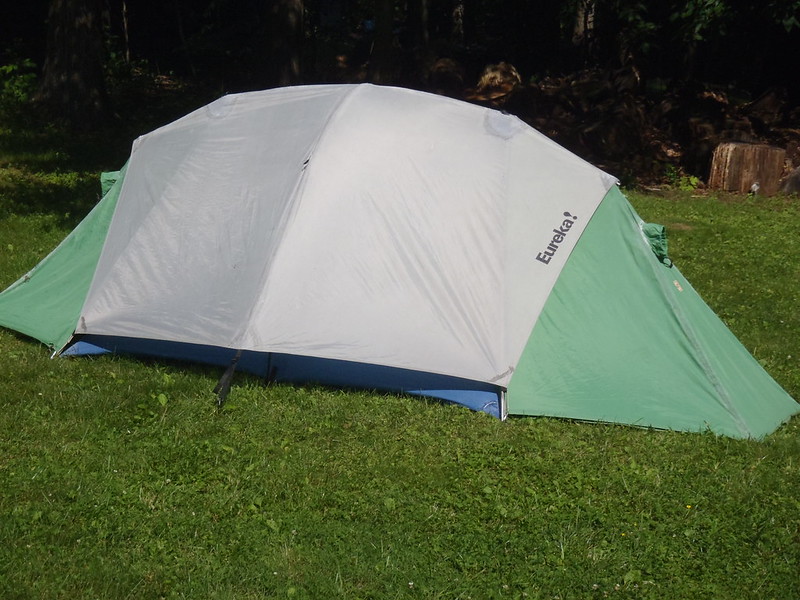
With every seam on every piece sealed both inside and out it was time to put the Alpine Meadows up to air out. The oldest of the vestibules was getting a hint of that vomitus odor and need some air, and later a Mirazyme bath.
 P6160898 by Mike McCrea, on Flickr
 P6160900 by Mike McCrea, on Flickr
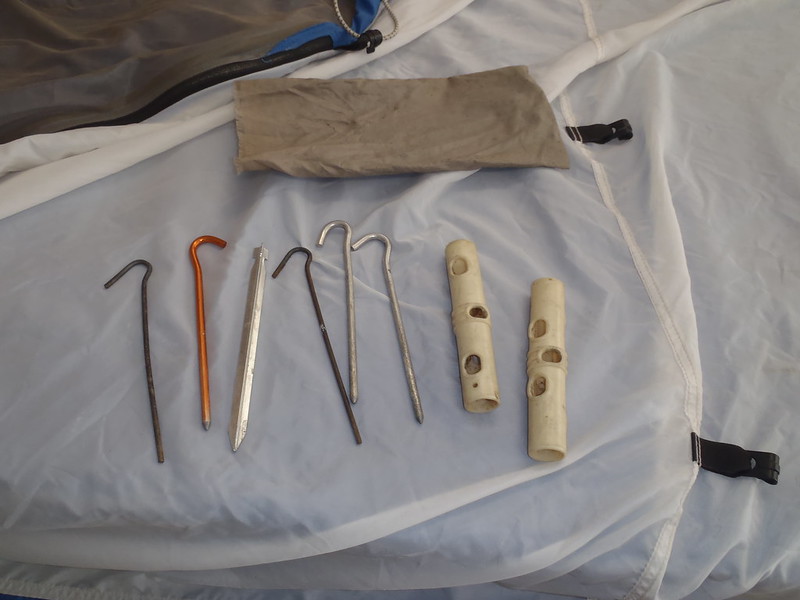
While putting that tent up I discovered this was the extent of the stakes that remained; set up with both vestibules it needs 8 stakes, 10 if the two guylines are used. At least the pole connectors are there (which is itself a loaned tent story or two).
 P6160895 by Mike McCrea, on Flickr
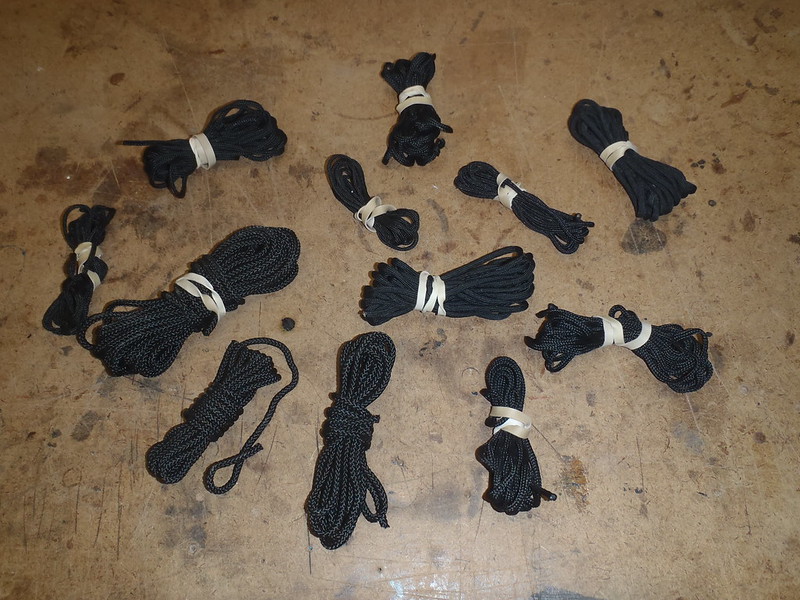
The Alpine Meadows has only 2 guylines, usually unnecessary but useful in windy rain. More Glowire. But, beyond a simple airing out I wanted to put it up because the ground cloth was a long battered piece of Visgueen plastic and needed replacement.
It needs a new ground cloth/footprint. We are all outies with groundsheets, although most of the tents have a thin emergency inner ground cloth. Or did, before some were sacrificially given away to folks with wet tents met along the way. That is something else to replace in each tent while I am at it, made a little bigger all around than floor of the tent so it wraps up the inside walls a few inches.
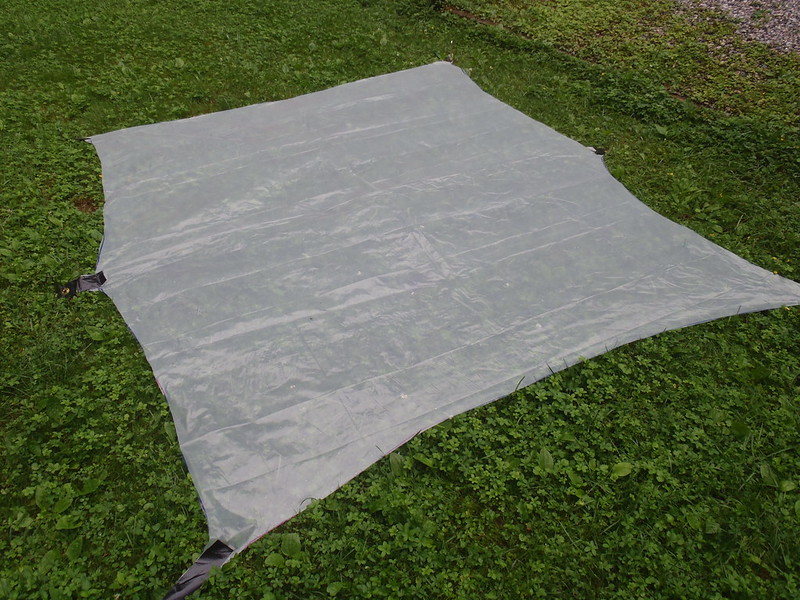
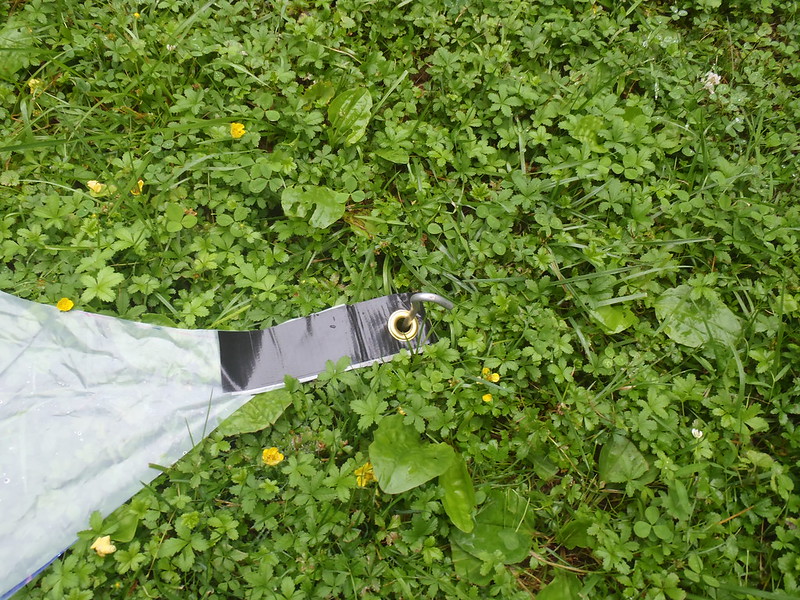
Our DIY ground cloths are thick visqueen, cut with scalloped edges and Duct tape corner tabs & grommets for stakes, just like a pricey manufactured footprint.
I have no Visqueen large and thick left enough to use, but I do have a piece of Tyvek. Why not (other than perhaps the crinkly sound when you roll over) give that a try.
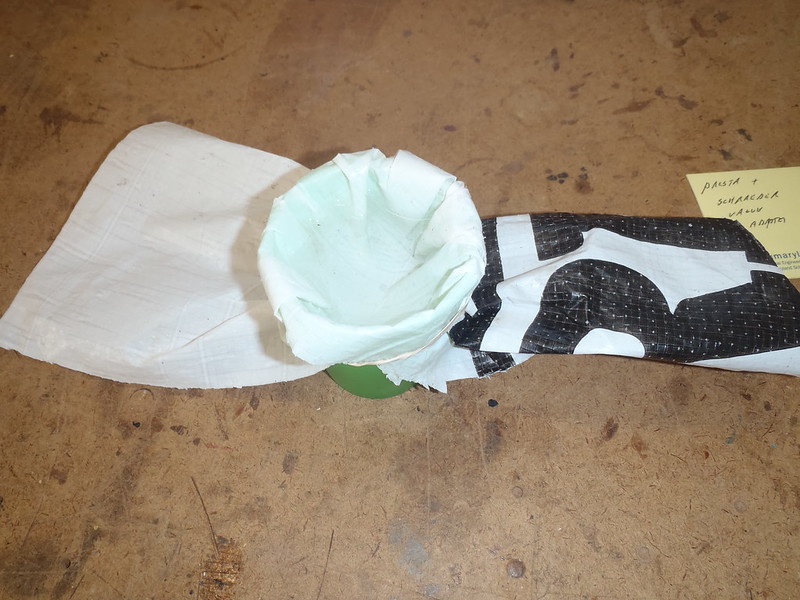
Hmmm, I do not know how waterproof-ish Tyvek actually is. Time for an experiment; cup of water in a Tyvek scrap in a glass, wait a couple hours and . . . . . . yeah, half if it leaked into the cup.
 P6160904 by Mike McCrea, on Flickr
Add Visqueen to hardware store list. I dunno; might it be beneficial to a have a breathable, semi-permeable footprint? It would not trap windblown rain between the footprint and tent bottom, but the scalloped edges largely eliminate that infiltration.
Eh, who knows, the Tyvek will have to do for now, the scrap I have left is not big enough to do anything else with. At least I will have a footprint template for the Visqueen.
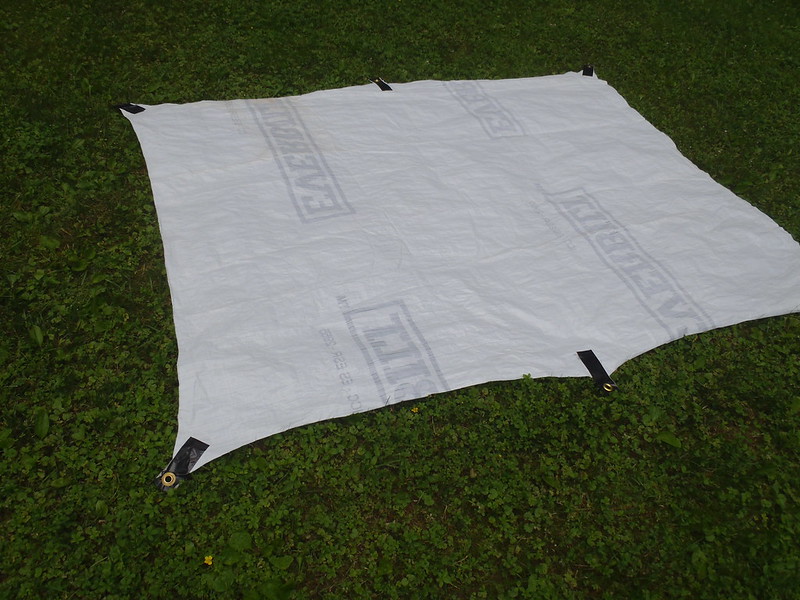
Tent atop the Tyvek scrap, with scalloped edges Sharpied on the Tyvek under the tent floor. Cut to scalloped edge pattern, with Gorilla tape tab reinforcements and grommets to match the stake locations at tent corners and center wand.
 P6160902 by Mike McCrea, on Flickr
The Gorilla tape wrapped top and bottom over Tyvek tabs was tough stuff; it was impossible to pound grommet hole punch through it, but the head of a 20 penny nail heated over a torch created a perfect snug grommet fit.
It is mighty convenient to be able to stake down the ground cloth/footprint before laying the tent out. In part because once staked down the ground cloth does not blow away or fold over in the wind while I am setting up, and it provides a different unhurried visual perspective of ground slope and drainage. Or to discern the bump of a pine cone hidden in the duff that I missed while I was kicking them out of the way.
Constructed as a properly designed and dimensioned footprint, with scalloped edges that can not stick out past the edges of tent floor, corner tabs and grommets that match the corner stake locations on the tent body, so the stakes holding down the foot print can be pulled out and go back through the tent corners and foot print grommet, holding everything just so.
Someone probably makes an aftermarket footprint for the ubiquitous Timberlines/Alpine Meadows, but those on more modern tents are stupid pricey for a piece of urethane coated nylon with four grommet corners. $30 to $50 for a footprint? Are you crapting me?
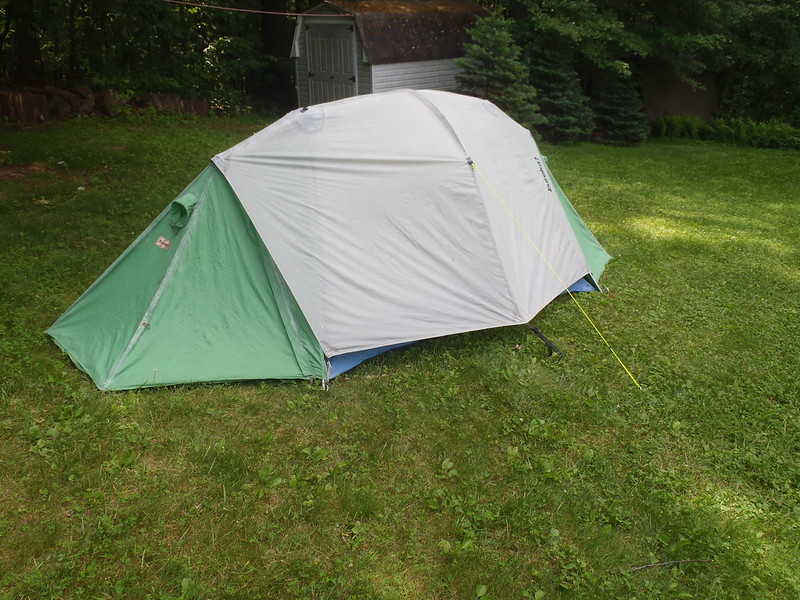
Left up in blowy thunderstorms overnight the Alpine Meadows was dry inside, though a little coated nylon droopy while still damp. I need to replace the old, stretched out corner bungee with new bungee and that tent should be good for another 20 years.
 P6160907 by Mike McCrea, on Flickr
Thoughts on using Tyvek as a ground cloth?

Why Eureka stopped making that Timberline variation is a mystery; like much of our gear the Alpine Meadows is 20 years old and going strong.
The two-person Alpine Meadows is still the Missus favorite tent for ease of familiar set up, but only for trips where she thinks it will not rain. Hahahahaha.
Time to get that tent out and do some much needed seam sealing and maintenance work.
Eureka! Or so to speak; the fly for the Alpine Meadows was flat enough to seam seal atop the table. The secret on that less dome-shaped fly was to do one-half of each seam at a time, so it would lay clamped flat and easily brushable with seam sealer.

Fly done quickly enough. In for a penny. . . .one of the vestibules on that Alpine Meadows is 10 years older than the tent, originally bought for a 2-man Timberline a several decades ago. I do not know about Eurekas current offerings, but back in the day those Timberline vestibules were built to last. One of them dates from the late 70s.
I might as well seal both of them. Wow, many years ago I really did a half arsed job of seam sealing those vestibules. In fact I had only ever bothered to seam seal one of them, the other was a stitching sealant virgin. I must be more anal in latter life; I even sealed abound the little smokehole tunnel this time.

The vestibules were tricky to flatten out and do on the tabletop. Best done, like the fly, in sections. Still easier working enflat than while affixed to the erect tent.
And, finally, the most important leakage piece; the bathtub floor of the tent body. I had sealed those seams years ago. Sans any talcum powder; they were stickyicky and rain splatter dirt encrusted, so I had to clean them before sealing the seams.
The straight bathtub floor seams were easier than the fly when stretched and clamped on the table. First the two seams and bottom corners.

Flipped to the other side and the remainder of the seams that are splash exposed up the corners seamed. The entirety of the outside was done.
Then an even more heartening discovery; if I turned the tent inside out I could seal the seams on the inside in the same fashion. The inside seams were worse stickyicky than the outside seams, and I had originally done a really half arsed job while crawling around inside the tent years ago, missing some areas entirely. Much more complete seam seal coverage this time.
With every seam on every piece sealed both inside and out it was time to put the Alpine Meadows up to air out. The oldest of the vestibules was getting a hint of that vomitus odor and need some air, and later a Mirazyme bath.


While putting that tent up I discovered this was the extent of the stakes that remained; set up with both vestibules it needs 8 stakes, 10 if the two guylines are used. At least the pole connectors are there (which is itself a loaned tent story or two).
 P6160895 by Mike McCrea, on Flickr
The Alpine Meadows has only 2 guylines, usually unnecessary but useful in windy rain. More Glowire. But, beyond a simple airing out I wanted to put it up because the ground cloth was a long battered piece of Visgueen plastic and needed replacement.
It needs a new ground cloth/footprint. We are all outies with groundsheets, although most of the tents have a thin emergency inner ground cloth. Or did, before some were sacrificially given away to folks with wet tents met along the way. That is something else to replace in each tent while I am at it, made a little bigger all around than floor of the tent so it wraps up the inside walls a few inches.
Our DIY ground cloths are thick visqueen, cut with scalloped edges and Duct tape corner tabs & grommets for stakes, just like a pricey manufactured footprint.
I have no Visqueen large and thick left enough to use, but I do have a piece of Tyvek. Why not (other than perhaps the crinkly sound when you roll over) give that a try.
Hmmm, I do not know how waterproof-ish Tyvek actually is. Time for an experiment; cup of water in a Tyvek scrap in a glass, wait a couple hours and . . . . . . yeah, half if it leaked into the cup.

Add Visqueen to hardware store list. I dunno; might it be beneficial to a have a breathable, semi-permeable footprint? It would not trap windblown rain between the footprint and tent bottom, but the scalloped edges largely eliminate that infiltration.
Eh, who knows, the Tyvek will have to do for now, the scrap I have left is not big enough to do anything else with. At least I will have a footprint template for the Visqueen.
Tent atop the Tyvek scrap, with scalloped edges Sharpied on the Tyvek under the tent floor. Cut to scalloped edge pattern, with Gorilla tape tab reinforcements and grommets to match the stake locations at tent corners and center wand.

The Gorilla tape wrapped top and bottom over Tyvek tabs was tough stuff; it was impossible to pound grommet hole punch through it, but the head of a 20 penny nail heated over a torch created a perfect snug grommet fit.
It is mighty convenient to be able to stake down the ground cloth/footprint before laying the tent out. In part because once staked down the ground cloth does not blow away or fold over in the wind while I am setting up, and it provides a different unhurried visual perspective of ground slope and drainage. Or to discern the bump of a pine cone hidden in the duff that I missed while I was kicking them out of the way.
Constructed as a properly designed and dimensioned footprint, with scalloped edges that can not stick out past the edges of tent floor, corner tabs and grommets that match the corner stake locations on the tent body, so the stakes holding down the foot print can be pulled out and go back through the tent corners and foot print grommet, holding everything just so.
Someone probably makes an aftermarket footprint for the ubiquitous Timberlines/Alpine Meadows, but those on more modern tents are stupid pricey for a piece of urethane coated nylon with four grommet corners. $30 to $50 for a footprint? Are you crapting me?
Left up in blowy thunderstorms overnight the Alpine Meadows was dry inside, though a little coated nylon droopy while still damp. I need to replace the old, stretched out corner bungee with new bungee and that tent should be good for another 20 years.

Thoughts on using Tyvek as a ground cloth?
Last edited:

