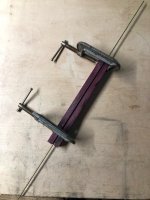
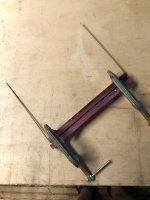
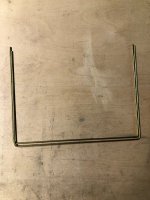
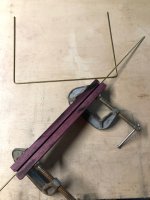
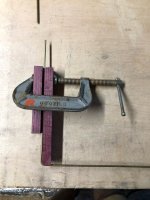
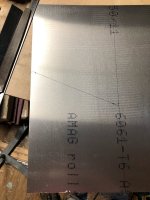
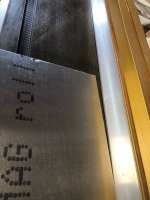
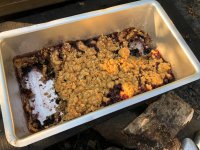
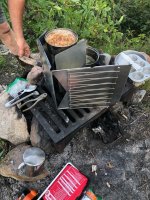
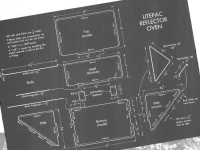
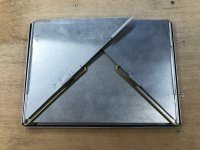
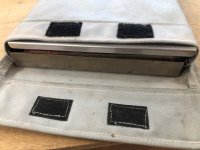
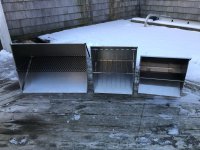
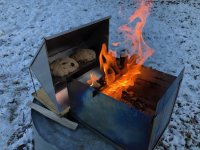
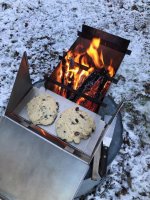
This is how I built the reflector oven I recently showed over on the camp kitchen thread. On my very first oven I used aluminum that can be readily purchased at most hardware stores or home centers, the thickness is .022 and although it worked I found it a bit too thin and easily bent or deformed. It will work and make a lighter oven. I ordered a 2’x3” sheet of grade 6061 .032 from an online source. It was enough to make one stove and the leftover will go into another stove. It cost me $35 a sheet plus shipping. I used 1/8 brass rod for the frame because I had and still have about 12’ of it. It is a little thin but it seems to be stiff enough. Were I to buy rod I might try stainless steel in the same size. A possible source might be brass welding rod. The oven grate came from the thrift store. For the last couple months whenever I had a chance to go to the thrift store I always checked out the wire racks from toaster ovens and the like. I now have quite a variety of sizes and thickness.paid anywhere from $1-5 dollars tops. The size and design parameters all came from the materials on hand and the needs of using it with the fire box. Not a whole lot was planned too far in advance. The wire rack dictated the length and width, the height of the rack was so it could fit under the cross bars on top of the firebox and the overall height was what I could fit on the aluminum plate with minimum waste.
As I said I’ve made a couple ovens so far but two used identical racks and I’ll show how I changed the design.
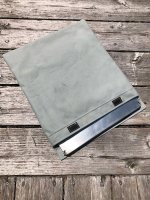
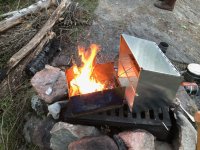
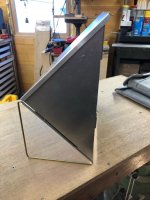
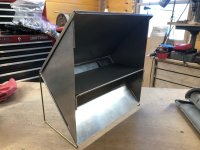
First this is the oven, the baking surface is 9”x12”, a good size for a muffin tin or loaf pan.
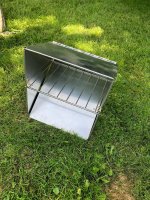
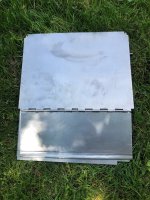
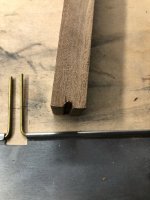
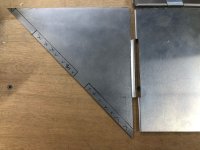
This one was the first and I used the cut ends of the rack to engage holes is the sides to support the rack. That of course left rod ends to poke things.

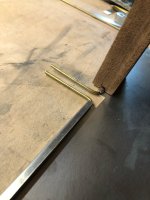
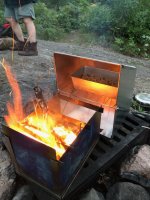
On version 2.0 I cut the back bar flush and bent the front one to lock into the side. Much neater.
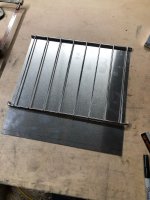
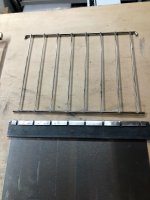
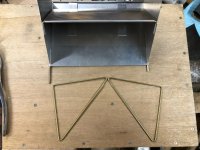
This was the rack I bought and at the time they had two of them, I do not know what their original use was.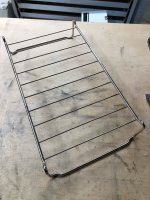
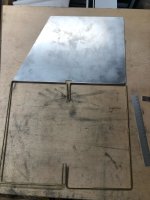
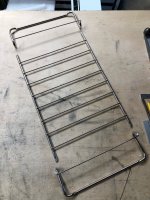
And I cut them here to have the long straight rods to work with.
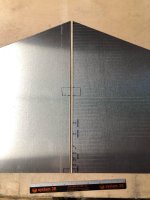
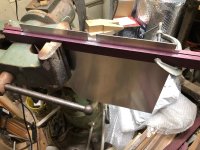
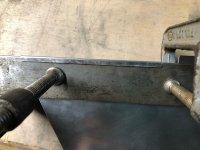
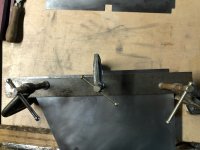
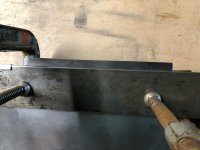
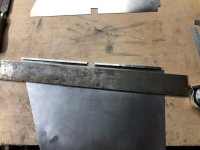
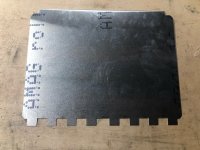
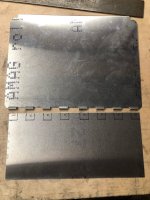
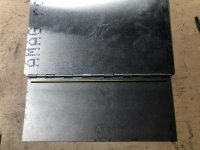
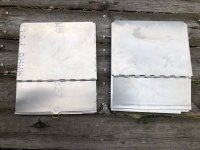
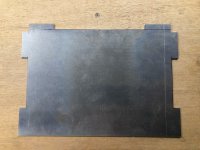
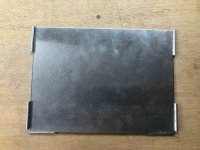
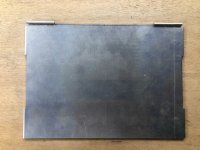
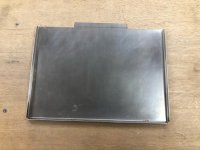
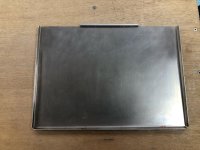
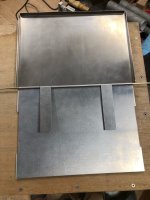
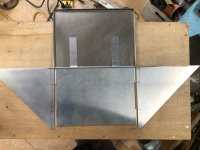
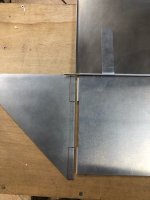
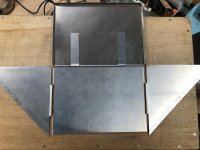
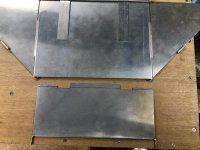
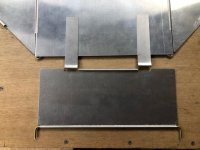
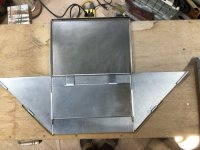
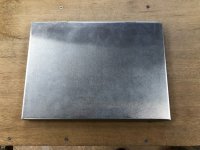
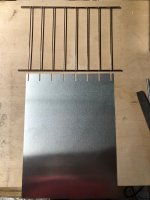
Then a piece of aluminum was cut to the width of the rack and a bit long because I still didn’t know what the angle was going to be to where it would ultimately tie into the frame. It was notched to fit the rack and the tabs folded over to form a connection and hinge. More about that later.

That’s it for the first installment.
Feel free to ask questions whenever they come up. I learned a lot by doing this and want to share that knowledge but I too might learn from you.
Jim
As I said I’ve made a couple ovens so far but two used identical racks and I’ll show how I changed the design.
First this is the oven, the baking surface is 9”x12”, a good size for a muffin tin or loaf pan.


This one was the first and I used the cut ends of the rack to engage holes is the sides to support the rack. That of course left rod ends to poke things.

On version 2.0 I cut the back bar flush and bent the front one to lock into the side. Much neater.

This was the rack I bought and at the time they had two of them, I do not know what their original use was.

And I cut them here to have the long straight rods to work with.

Then a piece of aluminum was cut to the width of the rack and a bit long because I still didn’t know what the angle was going to be to where it would ultimately tie into the frame. It was notched to fit the rack and the tabs folded over to form a connection and hinge. More about that later.


That’s it for the first installment.
Feel free to ask questions whenever they come up. I learned a lot by doing this and want to share that knowledge but I too might learn from you.
Jim

