G
Guest
Guest
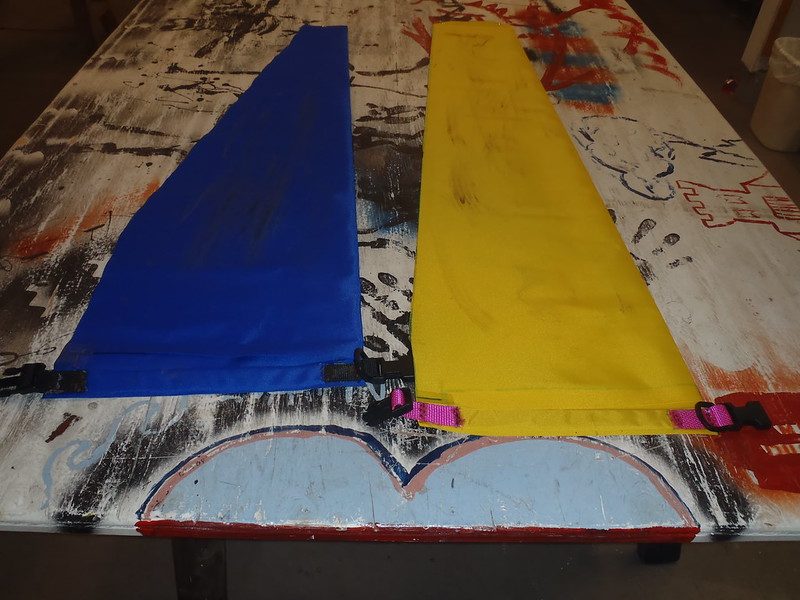
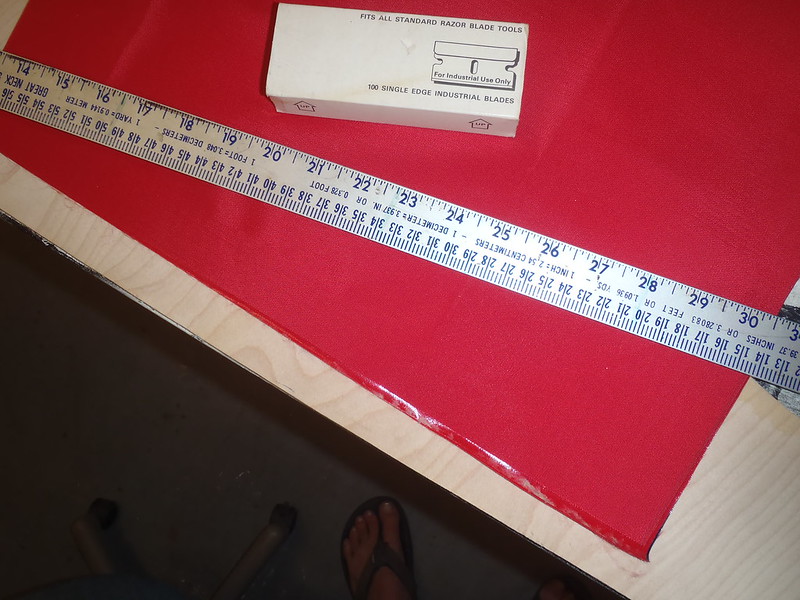
It has been a while since I made any DIY dry bags using Seattle Fabrics heat-sealable fabric. I have had a couple yards of tough 400 denier heat sealable packcloth waiting in the wings for several months for a DIY dry bag need.
https://www.seattlefabrics.com/Heat-Sealable-Nylons_c_80.html
While the new Inspector Gadget ALPS chairs still fit in their OEM carry bags they do not fit in our existing DIY chair dry bags. Those full sized folding camp chairs, being both heavy and rigid, fit best in the bottom of the canoe. In the bilge water. I want a dry chair when I get to camp. And, as important, I want a dry chair when I get up the next morning. Stuck under the tarp may get wet in windblown rain, stuck in the vestibule takes up valuable space.
I want a long linear dry bag that easily accommodates the chair. Easily is key, most of our folding camp chairs are a strugglesnug fit going into their OEM carry bags. If the chair slides easily into a custom sized dry bag I am more likely to put it away for the night, and do not even need the too-snug carry bags.
Hmmm, what do I remember about making DIY dry bags?
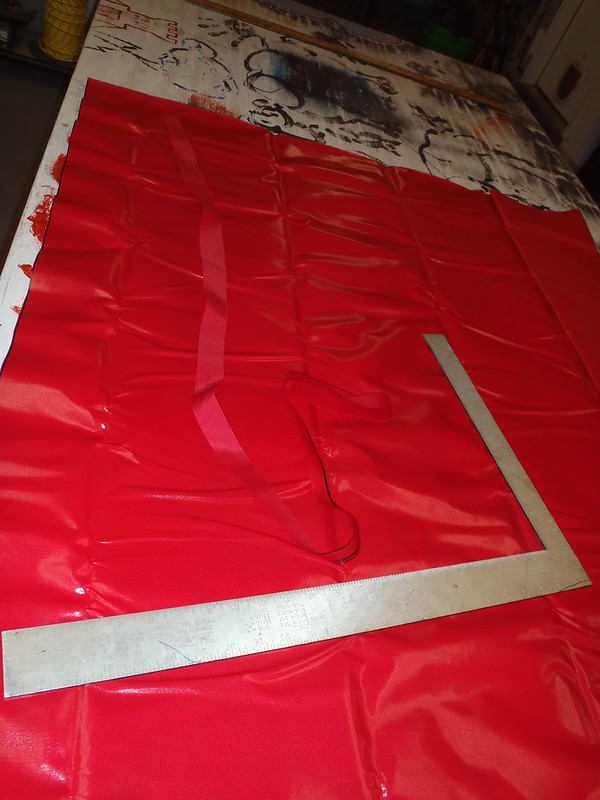
Step 1. Square up the end of the cut Seattle Fabrics made. That fabric cuts clean and easy with scissors, and because of the heat sealable coating has zero frays.
 P7291041 by Mike McCrea, on Flickr
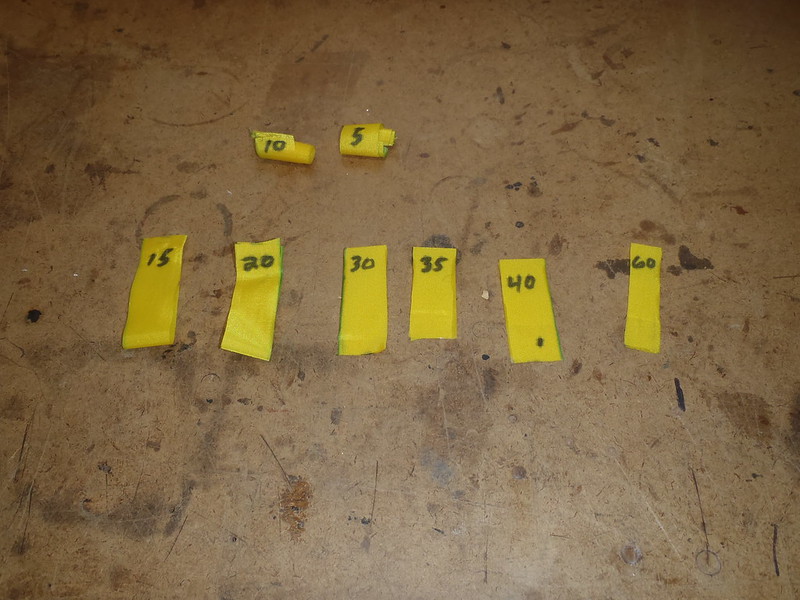
The strip cut off from straightening the edge is handy for test ironing. Using 4 inch long pieces of that scrap folded over with different ironing times showed that pieces with a wee 1 inch square ironed for 5 and 10 seconds could be pulled apart, but at 15 seconds or longer it was nearly impossible to pull the heat seam apart, and the Oxford and Packcloth varieties do not begin to show any scorch until 60 seconds. Twenty to thirty seconds is plenty of iron time for the heat seams.
 P7291042 by Mike McCrea, on Flickr
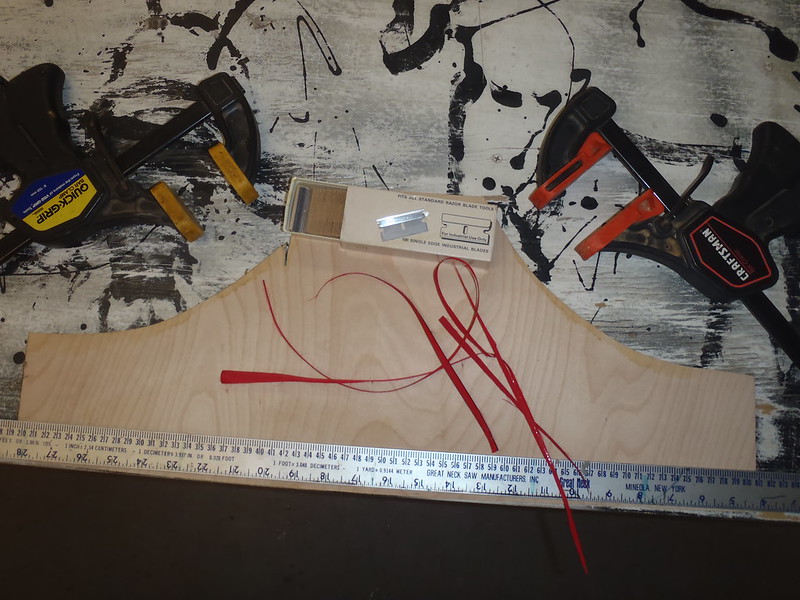
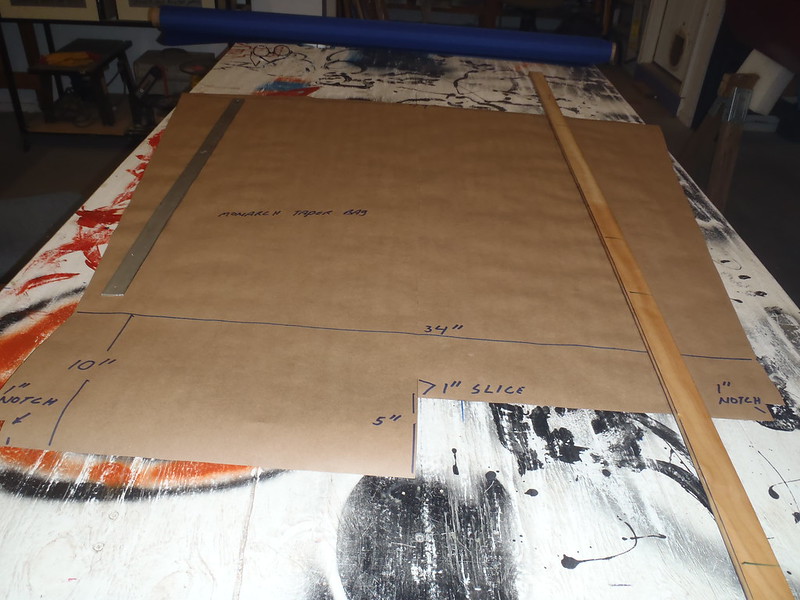
Step 2. Make a template. I have the templates from past DIY dry bags for sleeping pads, guitars, banjos and chairs, including the template from our narrower chair bags. The ALPS chair bags need to be 3 or 4 inches wider in circumference than the existing chair bags. I can extrapolate that design from the existing template. To be on the safe side and assure easy chair entry and girth fit I went 5 inches wider, better a little loose than a little tight.
Cylindrical bags are easier than shaped instrument bags or tapered bags, but the open end cuts require a specific pattern. This instructional from Chuck Holst is helpful, although I use a slightly different pattern to eliminate any sewing.
http://www.paddlewise.com/topics/boatequip/drybag.pdf
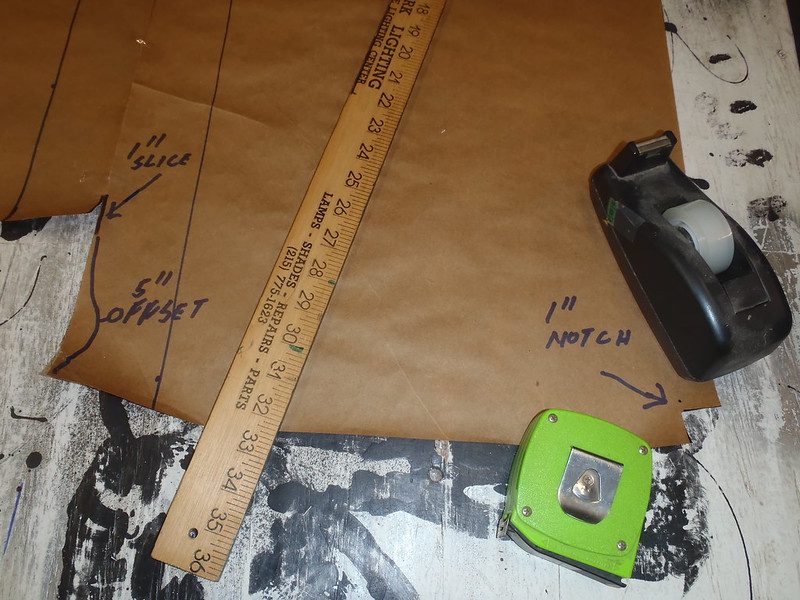
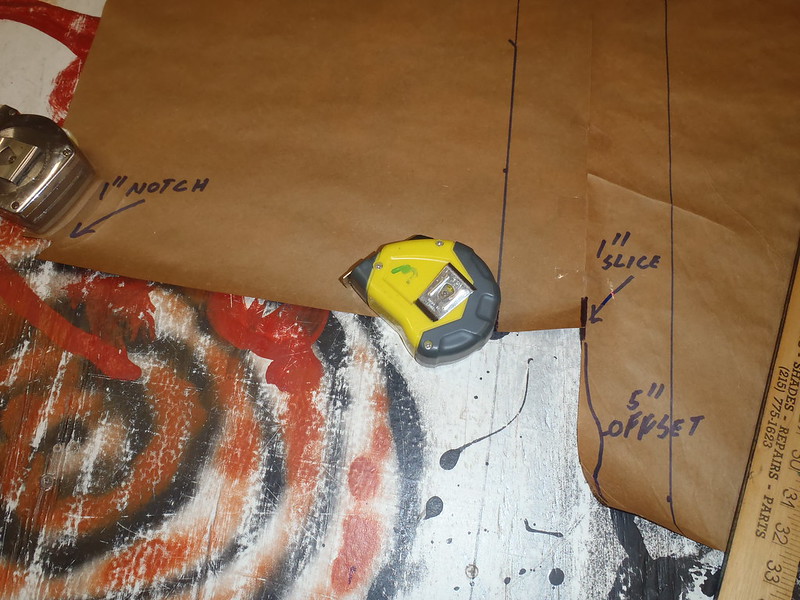
In a (confusing to read) nutshell that top pattern incorporates a 1 inch notch cut from each outside corner, a 1 inch long slice up the middle and a 4 or 5 inch offset to provide material length for the webbing strap closure (1 inch of webbing on both sides equals 2 inches, 1 inch ironed together equals another 2 inches of overlap, and for that top webbing fold over I may use 1.5 inches of fabric ironed together). Confused yet? Call it 5 inches of fold over fabric total on the longer side.
 P7291045 by Mike McCrea, on Flickr
 P7291046 by Mike McCrea, on Flickr
That all makes much more sense when you get to ironing and see how the heat sealable inner sides of the fabric meet.
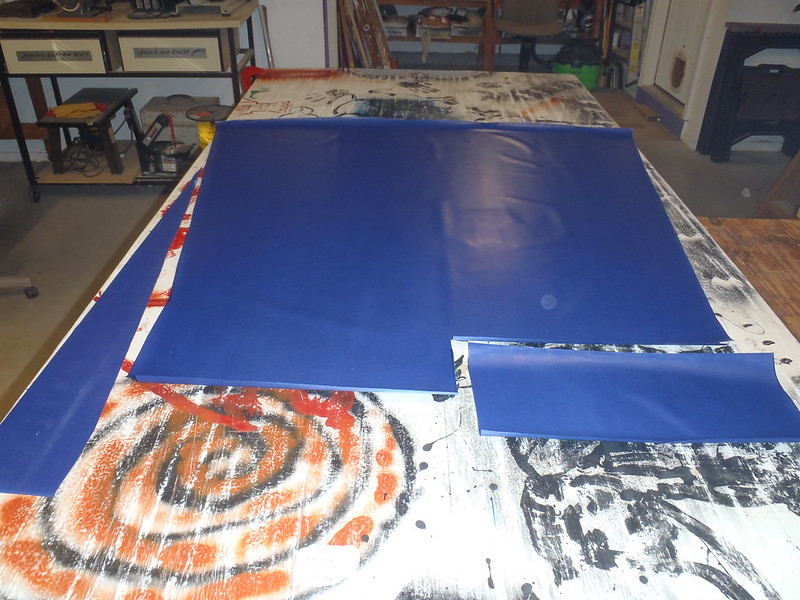
Template traced and cut out. The folded ALPS chairs are 38 inches tall. Add 5 inches for the webbing fold over top pattern, and another 8 inches or so for multiple fold overs at the dry bag end and I am up to 51 inches.
The heat sealable fabric is 58 inches wide; screw it, I have no use for a 7 inch scrap of heat sealable fabric, so I cut material full width. I can use the extra length to stuff in a hammock or some emergency beers. Plus I like the scant material wastage.
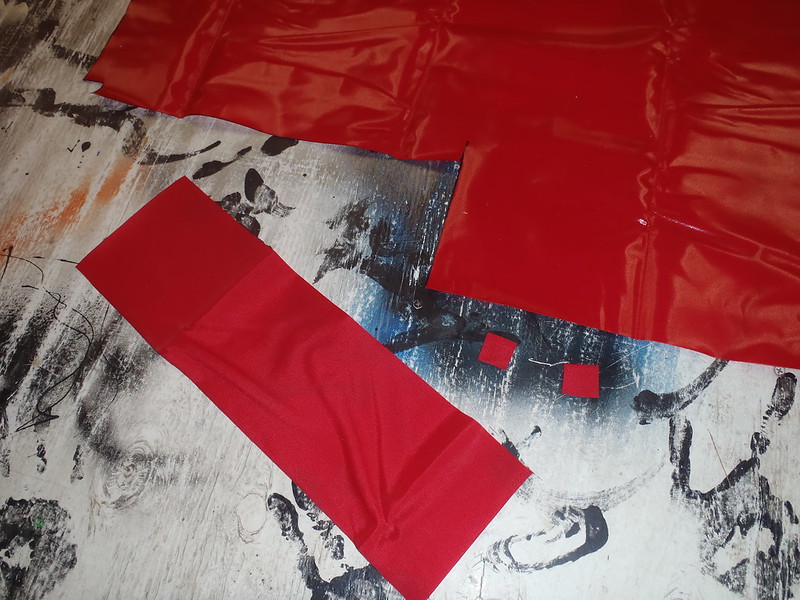 P7291048 by Mike McCrea, on Flickr
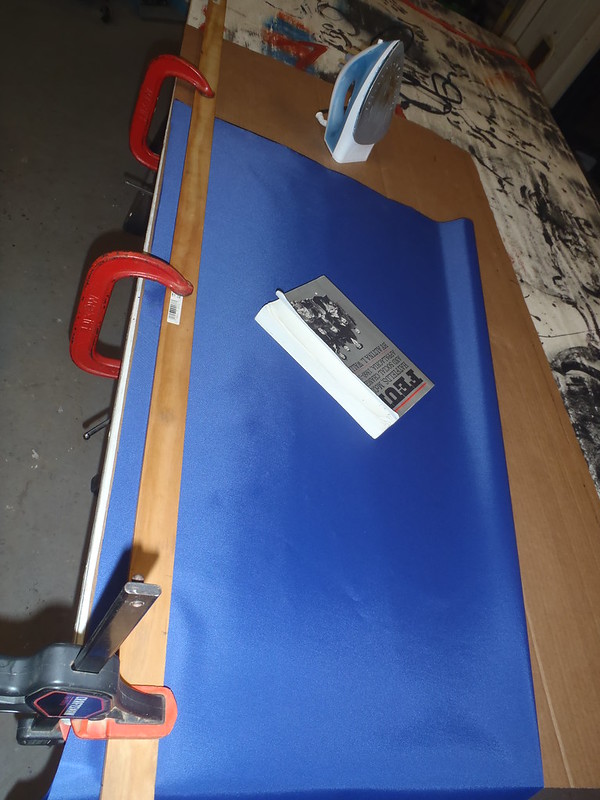
Time to break out the iron and some Golidlocks action. For pressing the iron onto the heat sealable material the wood table surface is too hard. An ironing board is too soft. A long piece of cardboard atop the table is jussst right.
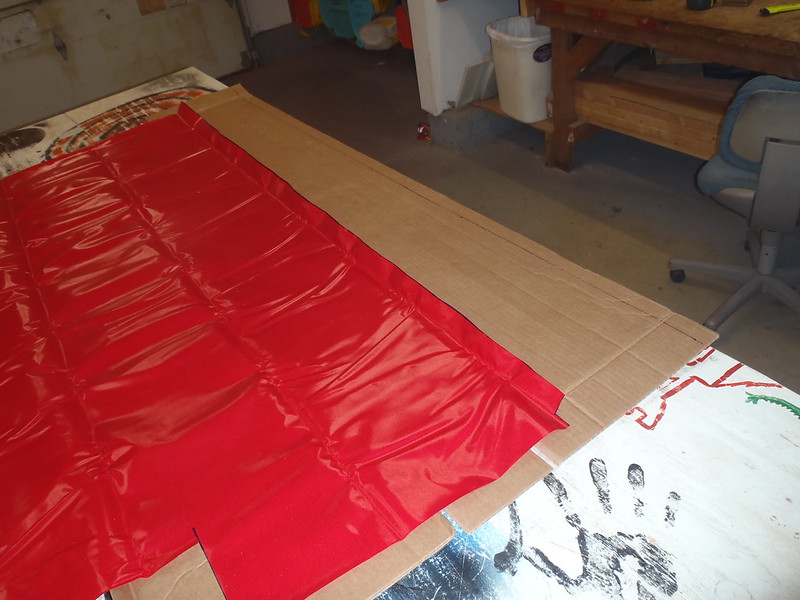 P7291049 by Mike McCrea, on Flickr
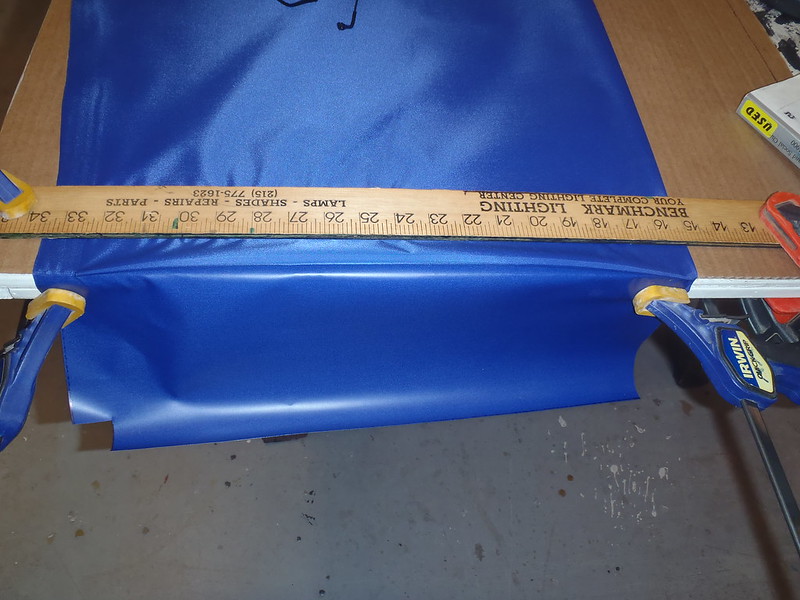
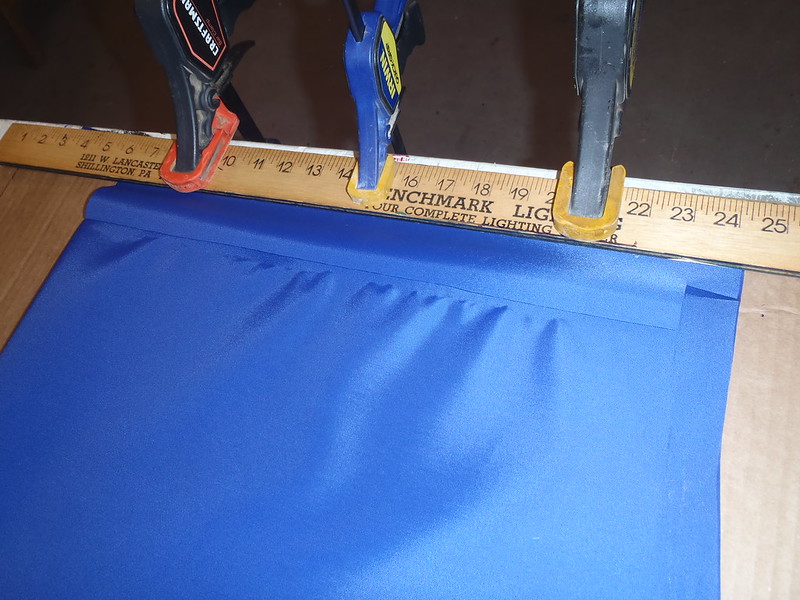
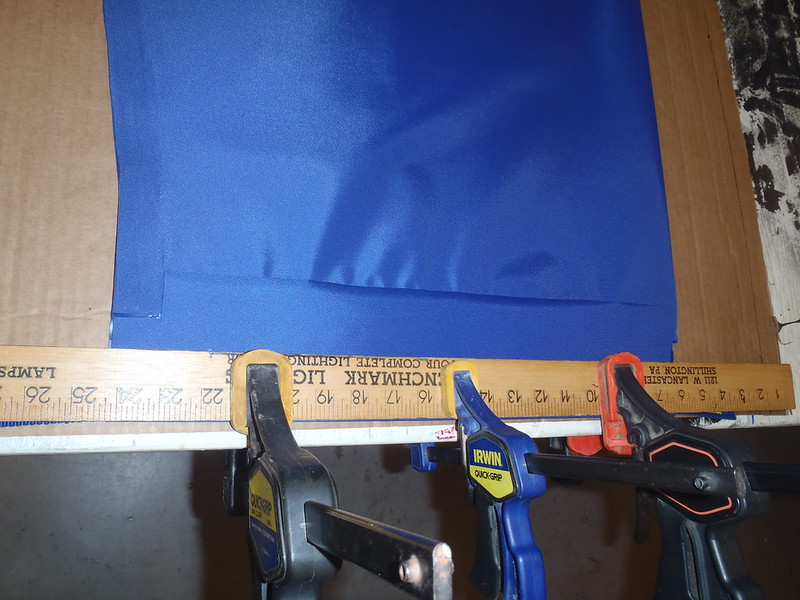
Heat sealable fabric folded over and clamped in place, with an ironing fence for an even 1 inch heat sealed seam.
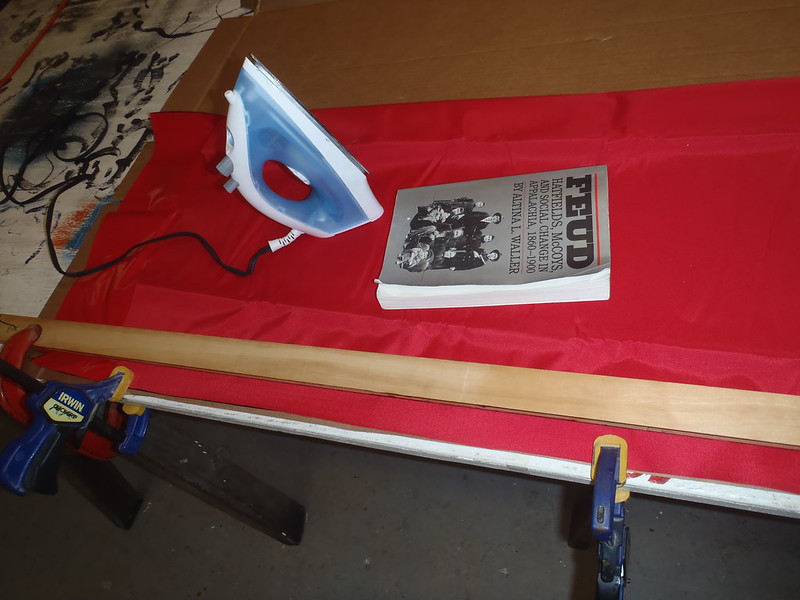 P7301052 by Mike McCrea, on Flickr
Ironing is a one hand job. I could occupy my left hand with a beer, but better to have a paperback book or thick magazine to press the hot fabric together behind the iron. Not sure if that matters or not, but it does not hurt.
Ironing the side and bottom heat sealed seams is actually the easiest part of making DIY dry bags. 30 seconds +/- on each area of heat sealable fabric.
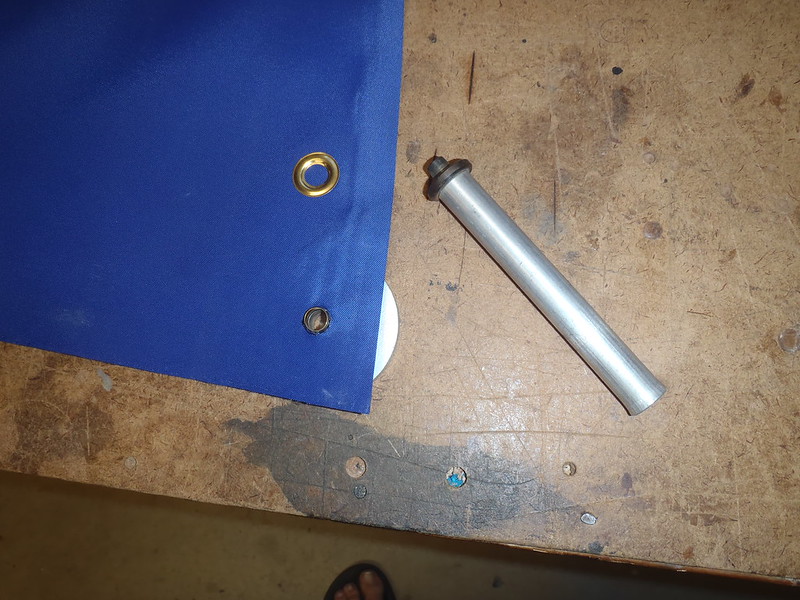
With the long side ironed together I was please to discover that my template was truly square and the bottom seam met evenly. Since I had some extra dry bag length I dog eared the bottom corners for future grommet installation. The dry bag roll over and buckles make for a convenient tie down at the open end, but the bottom can use a couple grommets, and the dog ear seams add strength to the bottom.
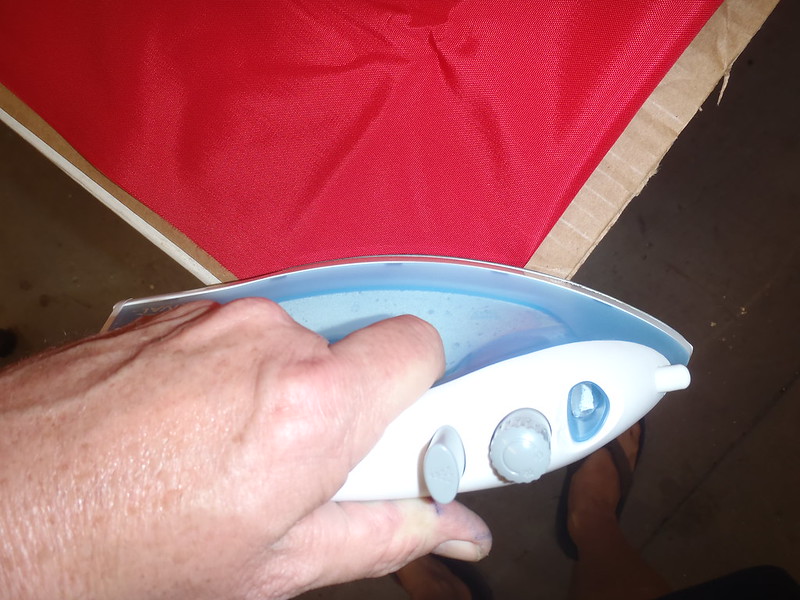 P7301055 by Mike McCrea, on Flickr
Now it gets a little trickier, and harder to describe. The short half of the top offset folds inside the bag and onto itself, and is ironed heat sealable to heat sealable sides together.
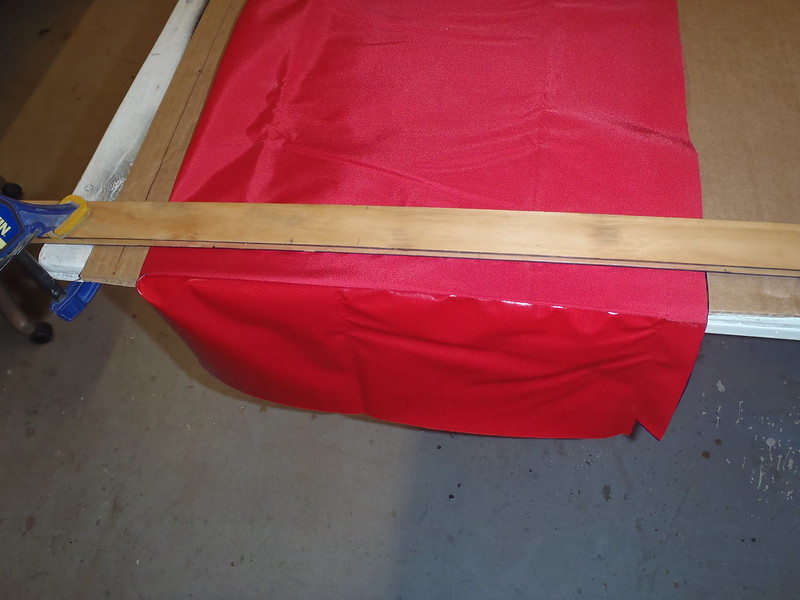 P7301056 by Mike McCrea, on Flickr
And, finally, it gets really tricky. I need a length of 1 inch webbing that spans the long edge of the offset, plus a couple or three inches on each side. Call it 26 inches in length for this bag. Never thought I would see the day, but I am running short on quality 1 inch webbing.
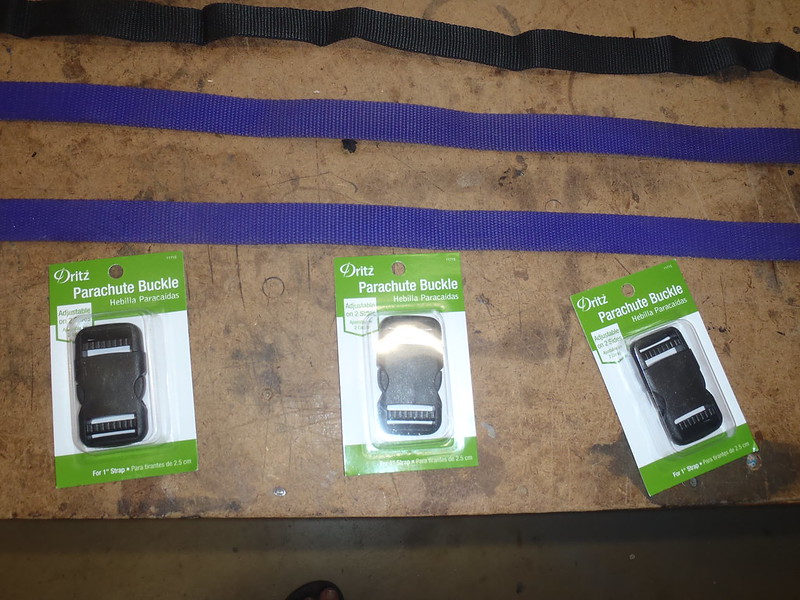 P7301059 by Mike McCrea, on Flickr
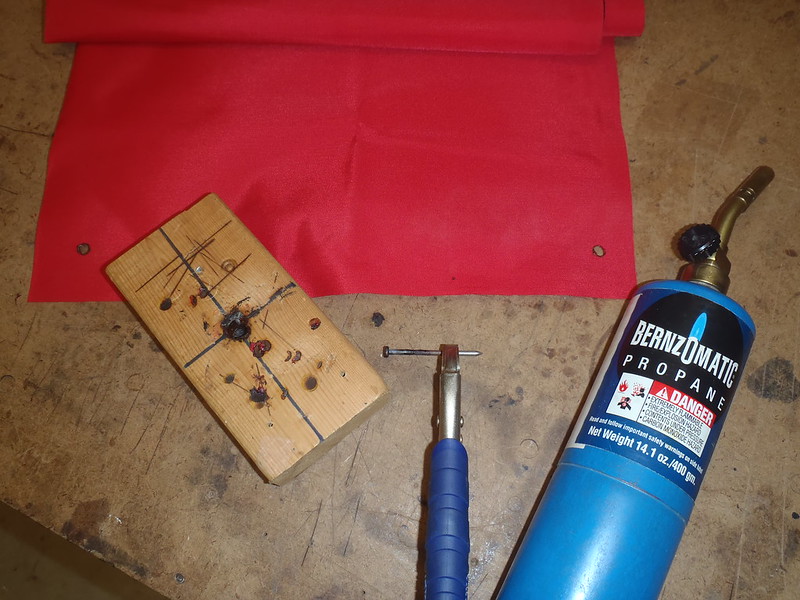
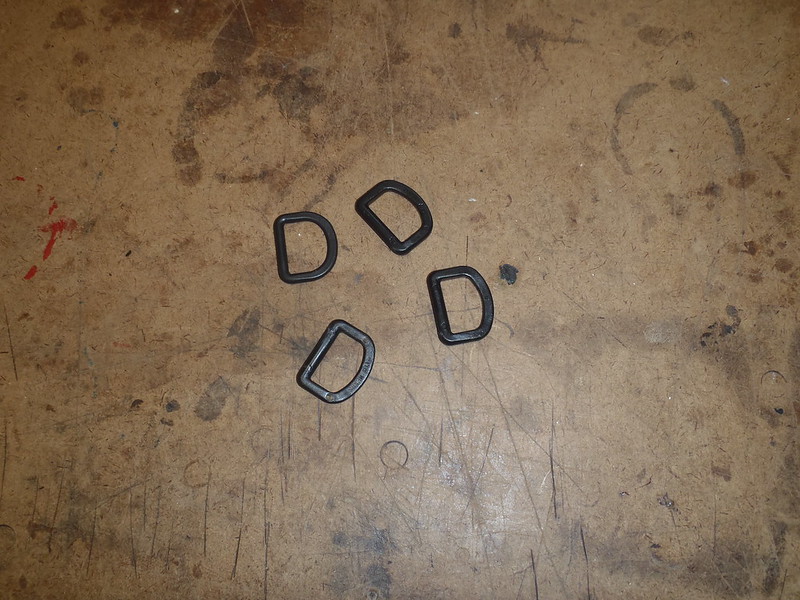
(Yes, three pieces of webbing hot putty knife cut; with a template made I am not doing all this just to make a single DIY dry bag. And three Dritz double-ladder lock buckles, to eliminate sewing a webbing end)
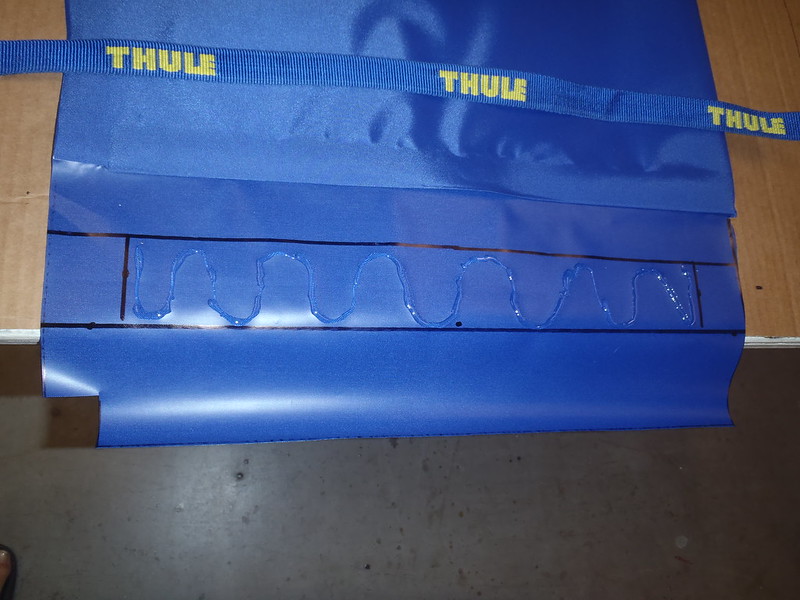
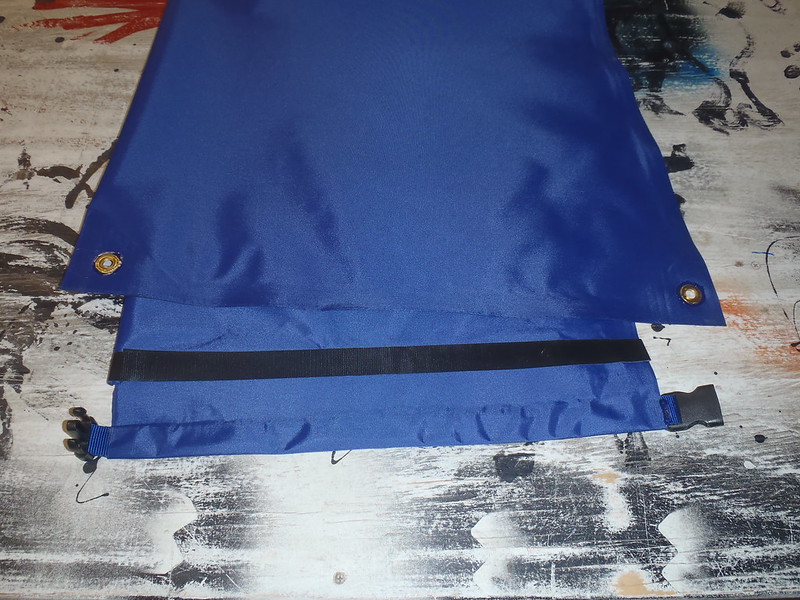
The webbing strap gets tucked in place and the long offset end gets folded over and stuck up into the bag, heat sealable to heat sealable (hence the need for the notch on the corner), and ironed together.
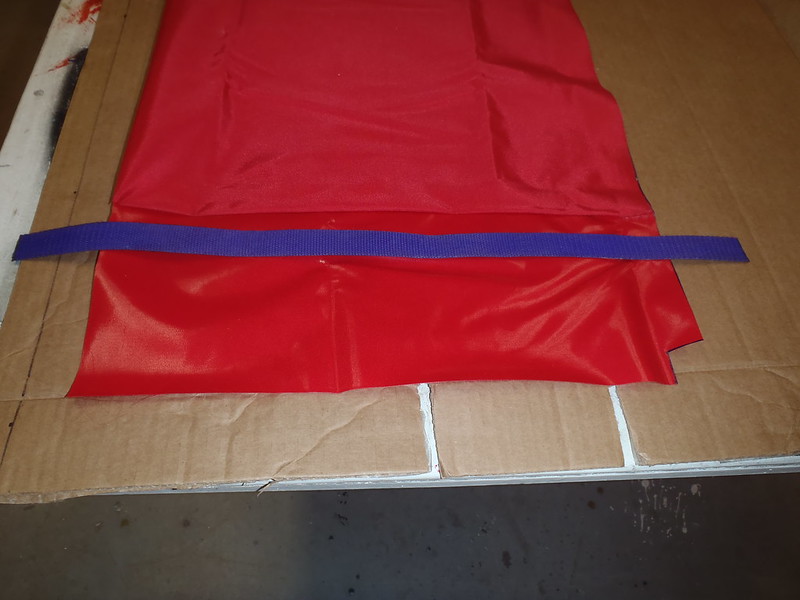 P7301060 by Mike McCrea, on Flickr
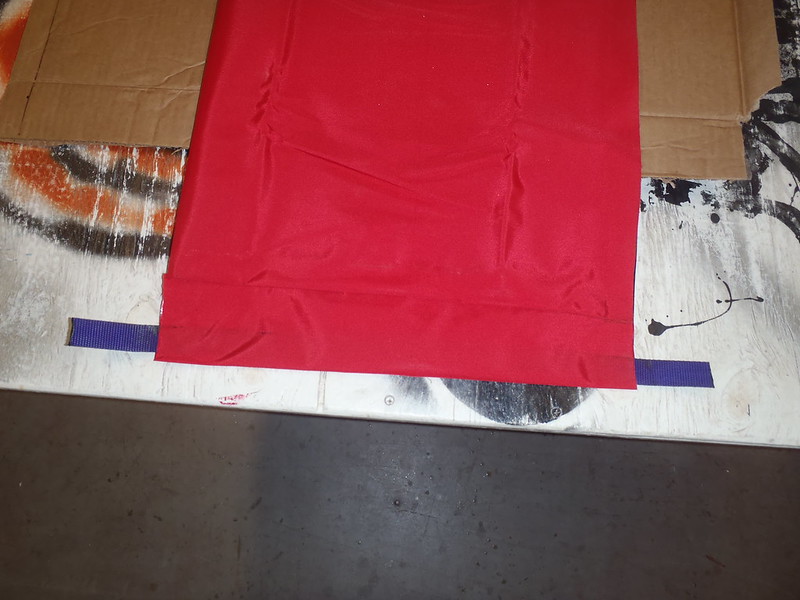 P7301063 by Mike McCrea, on Flickr
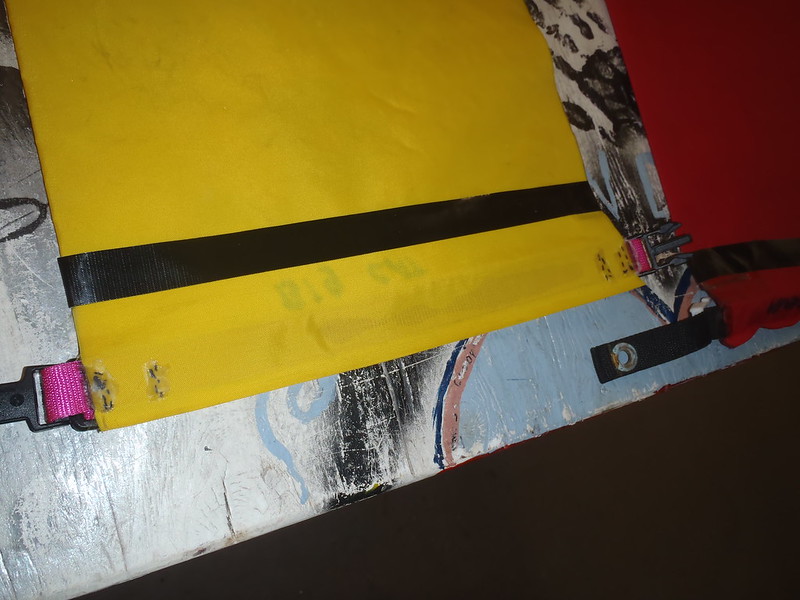
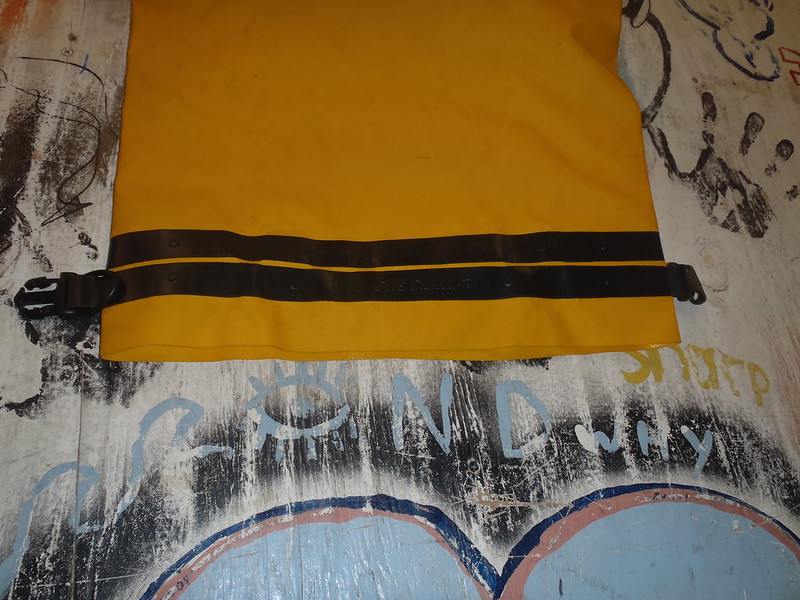
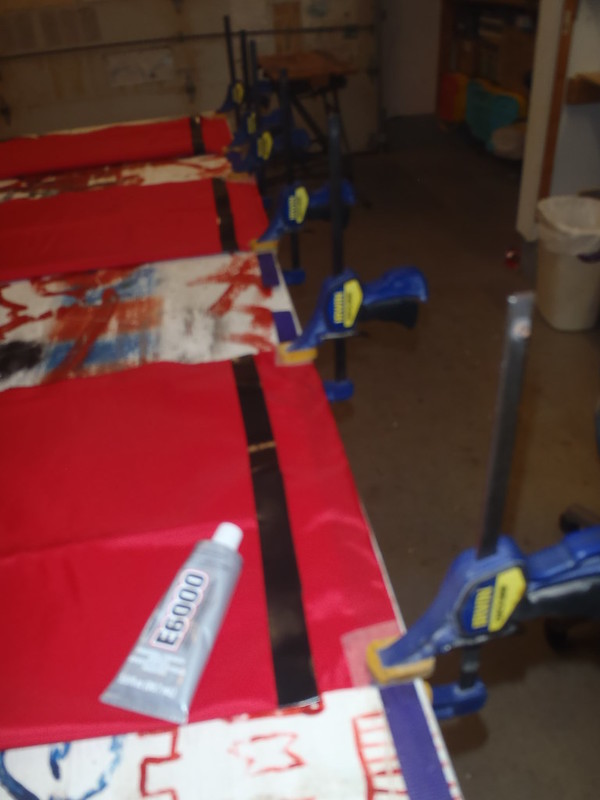
Since I cannot resist some experimental methodology I tried a couple new techniques on this dry bag. I put a smear of Goop adhesive on both inner flap sides, where the fabric wraps around the webbing, to hold and capture the webbing in the fabric sleeve.
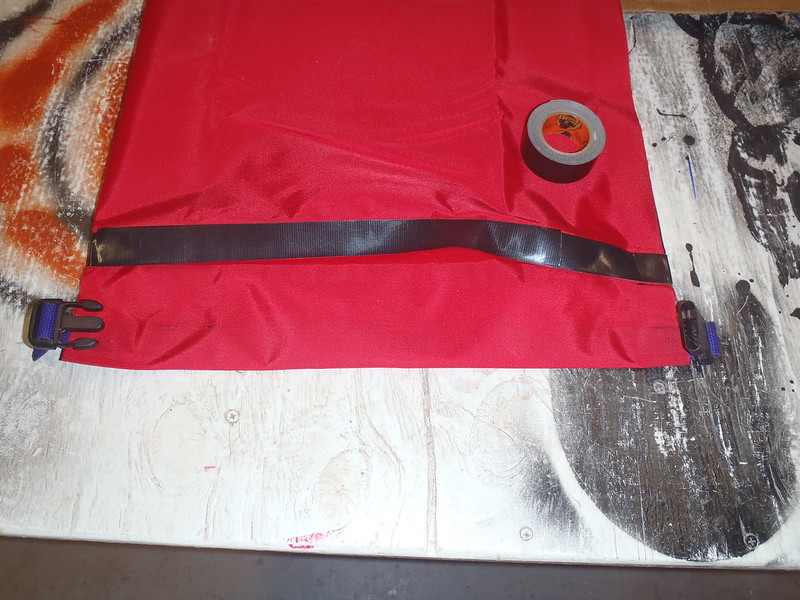
Experiment #2, the only tear/failure point I have found on chair bags is at the top corners that lack double strength fabric. I tore one bag at that unreinforced edge, stuffing in a too tight chair (repaired with Tenacious tape). A perimeter wrap of 1 inch Gorilla tape should serve to beef up that open end edge all the way around, and should prevent any chair stuffing fabric rips.
 P7301065 by Mike McCrea, on Flickr
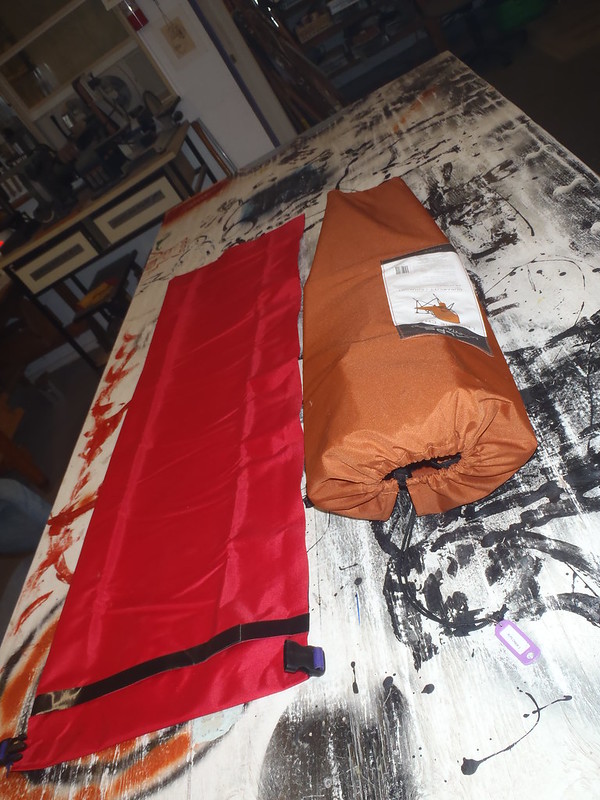
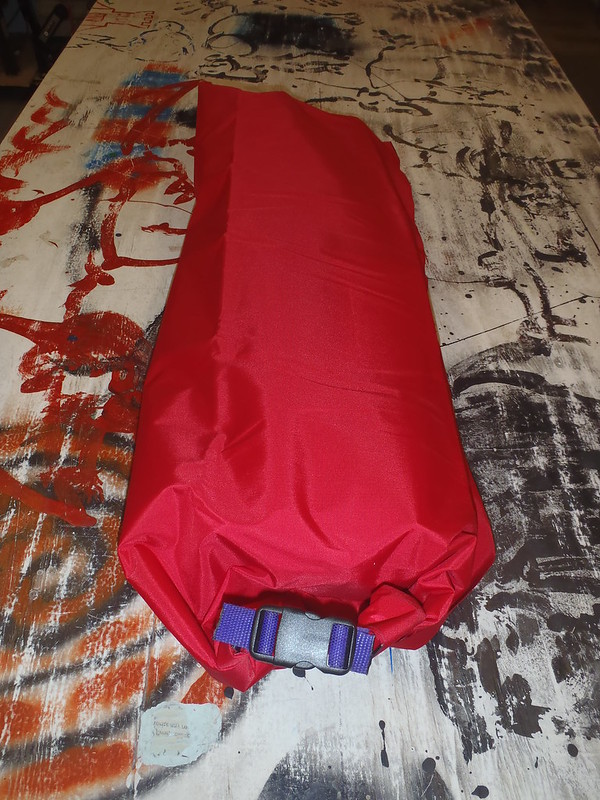
Finally, the moment of truth, is the extra 5 inches of girth I allowed enough to easily accommodate an ALPS Leisure Chair. I really do not want to have to make another wider template. Time for a can of liquid courage and a test fit. Fingers crossed and another big gulp of Hop Devil.
 P7301066 by Mike McCrea, on Flickr
 P7301068 by Mike McCrea, on Flickr
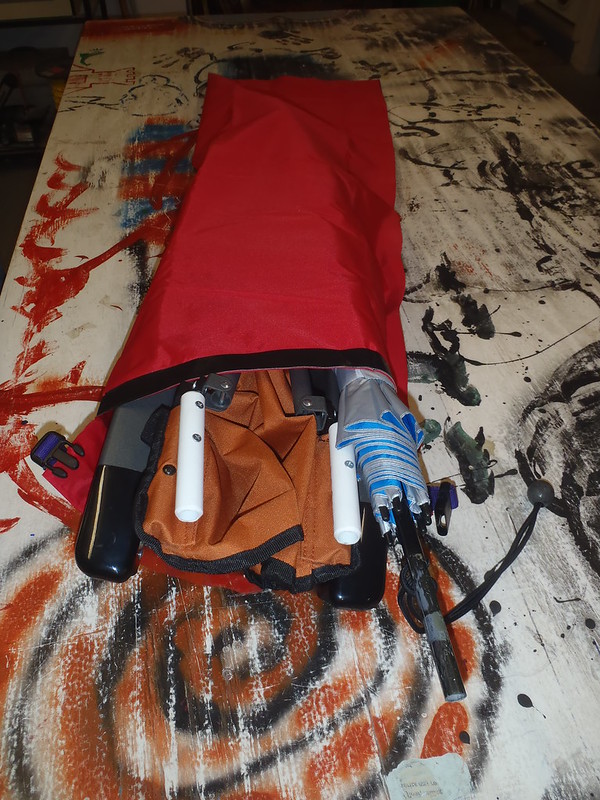
Freaking A, and Freaking Yay!. The ALPS chair fits perfectly. Without the pesky struggle of fitting that chair into the too snug OEM carry bag. The naked chair, with high back extension stuck between the legs, slides into that DIY dry bag easily and I do not need to carry the too-snug OEM bag.
There is enough room in the chair bag for the sunbrella.
 P7301070 by Mike McCrea, on Flickr
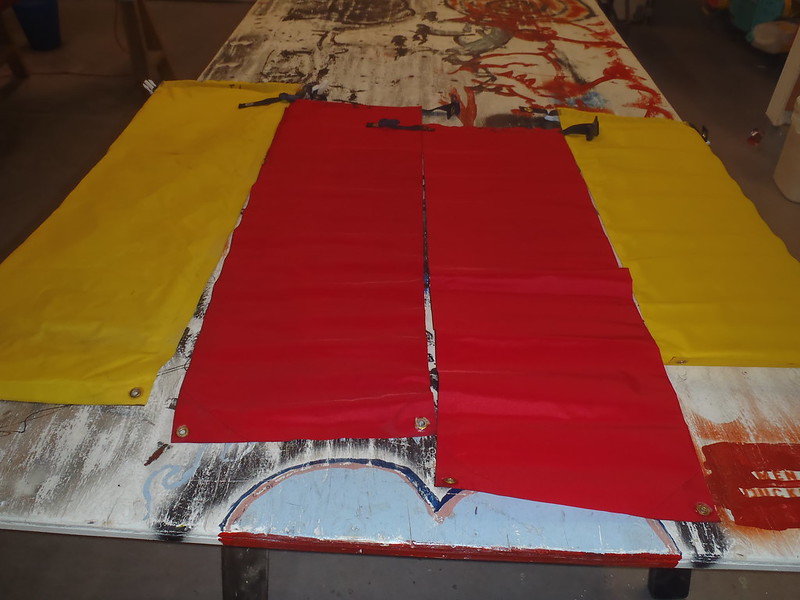
Now that I know those dimensions work it is time to make a couple more.
https://www.seattlefabrics.com/Heat-Sealable-Nylons_c_80.html
While the new Inspector Gadget ALPS chairs still fit in their OEM carry bags they do not fit in our existing DIY chair dry bags. Those full sized folding camp chairs, being both heavy and rigid, fit best in the bottom of the canoe. In the bilge water. I want a dry chair when I get to camp. And, as important, I want a dry chair when I get up the next morning. Stuck under the tarp may get wet in windblown rain, stuck in the vestibule takes up valuable space.
I want a long linear dry bag that easily accommodates the chair. Easily is key, most of our folding camp chairs are a strugglesnug fit going into their OEM carry bags. If the chair slides easily into a custom sized dry bag I am more likely to put it away for the night, and do not even need the too-snug carry bags.
Hmmm, what do I remember about making DIY dry bags?
Step 1. Square up the end of the cut Seattle Fabrics made. That fabric cuts clean and easy with scissors, and because of the heat sealable coating has zero frays.
 P7291041 by Mike McCrea, on Flickr
The strip cut off from straightening the edge is handy for test ironing. Using 4 inch long pieces of that scrap folded over with different ironing times showed that pieces with a wee 1 inch square ironed for 5 and 10 seconds could be pulled apart, but at 15 seconds or longer it was nearly impossible to pull the heat seam apart, and the Oxford and Packcloth varieties do not begin to show any scorch until 60 seconds. Twenty to thirty seconds is plenty of iron time for the heat seams.
 P7291042 by Mike McCrea, on Flickr
Step 2. Make a template. I have the templates from past DIY dry bags for sleeping pads, guitars, banjos and chairs, including the template from our narrower chair bags. The ALPS chair bags need to be 3 or 4 inches wider in circumference than the existing chair bags. I can extrapolate that design from the existing template. To be on the safe side and assure easy chair entry and girth fit I went 5 inches wider, better a little loose than a little tight.
Cylindrical bags are easier than shaped instrument bags or tapered bags, but the open end cuts require a specific pattern. This instructional from Chuck Holst is helpful, although I use a slightly different pattern to eliminate any sewing.
http://www.paddlewise.com/topics/boatequip/drybag.pdf
In a (confusing to read) nutshell that top pattern incorporates a 1 inch notch cut from each outside corner, a 1 inch long slice up the middle and a 4 or 5 inch offset to provide material length for the webbing strap closure (1 inch of webbing on both sides equals 2 inches, 1 inch ironed together equals another 2 inches of overlap, and for that top webbing fold over I may use 1.5 inches of fabric ironed together). Confused yet? Call it 5 inches of fold over fabric total on the longer side.
 P7291045 by Mike McCrea, on Flickr
 P7291046 by Mike McCrea, on Flickr
That all makes much more sense when you get to ironing and see how the heat sealable inner sides of the fabric meet.
Template traced and cut out. The folded ALPS chairs are 38 inches tall. Add 5 inches for the webbing fold over top pattern, and another 8 inches or so for multiple fold overs at the dry bag end and I am up to 51 inches.
The heat sealable fabric is 58 inches wide; screw it, I have no use for a 7 inch scrap of heat sealable fabric, so I cut material full width. I can use the extra length to stuff in a hammock or some emergency beers. Plus I like the scant material wastage.
 P7291048 by Mike McCrea, on Flickr
Time to break out the iron and some Golidlocks action. For pressing the iron onto the heat sealable material the wood table surface is too hard. An ironing board is too soft. A long piece of cardboard atop the table is jussst right.
 P7291049 by Mike McCrea, on Flickr
Heat sealable fabric folded over and clamped in place, with an ironing fence for an even 1 inch heat sealed seam.
 P7301052 by Mike McCrea, on Flickr
Ironing is a one hand job. I could occupy my left hand with a beer, but better to have a paperback book or thick magazine to press the hot fabric together behind the iron. Not sure if that matters or not, but it does not hurt.
Ironing the side and bottom heat sealed seams is actually the easiest part of making DIY dry bags. 30 seconds +/- on each area of heat sealable fabric.
With the long side ironed together I was please to discover that my template was truly square and the bottom seam met evenly. Since I had some extra dry bag length I dog eared the bottom corners for future grommet installation. The dry bag roll over and buckles make for a convenient tie down at the open end, but the bottom can use a couple grommets, and the dog ear seams add strength to the bottom.
 P7301055 by Mike McCrea, on Flickr
Now it gets a little trickier, and harder to describe. The short half of the top offset folds inside the bag and onto itself, and is ironed heat sealable to heat sealable sides together.
 P7301056 by Mike McCrea, on Flickr
And, finally, it gets really tricky. I need a length of 1 inch webbing that spans the long edge of the offset, plus a couple or three inches on each side. Call it 26 inches in length for this bag. Never thought I would see the day, but I am running short on quality 1 inch webbing.
 P7301059 by Mike McCrea, on Flickr
(Yes, three pieces of webbing hot putty knife cut; with a template made I am not doing all this just to make a single DIY dry bag. And three Dritz double-ladder lock buckles, to eliminate sewing a webbing end)
The webbing strap gets tucked in place and the long offset end gets folded over and stuck up into the bag, heat sealable to heat sealable (hence the need for the notch on the corner), and ironed together.
 P7301060 by Mike McCrea, on Flickr
 P7301063 by Mike McCrea, on Flickr
Since I cannot resist some experimental methodology I tried a couple new techniques on this dry bag. I put a smear of Goop adhesive on both inner flap sides, where the fabric wraps around the webbing, to hold and capture the webbing in the fabric sleeve.
Experiment #2, the only tear/failure point I have found on chair bags is at the top corners that lack double strength fabric. I tore one bag at that unreinforced edge, stuffing in a too tight chair (repaired with Tenacious tape). A perimeter wrap of 1 inch Gorilla tape should serve to beef up that open end edge all the way around, and should prevent any chair stuffing fabric rips.
 P7301065 by Mike McCrea, on Flickr
Finally, the moment of truth, is the extra 5 inches of girth I allowed enough to easily accommodate an ALPS Leisure Chair. I really do not want to have to make another wider template. Time for a can of liquid courage and a test fit. Fingers crossed and another big gulp of Hop Devil.
 P7301066 by Mike McCrea, on Flickr
 P7301068 by Mike McCrea, on Flickr
Freaking A, and Freaking Yay!. The ALPS chair fits perfectly. Without the pesky struggle of fitting that chair into the too snug OEM carry bag. The naked chair, with high back extension stuck between the legs, slides into that DIY dry bag easily and I do not need to carry the too-snug OEM bag.
There is enough room in the chair bag for the sunbrella.
 P7301070 by Mike McCrea, on Flickr
Now that I know those dimensions work it is time to make a couple more.

