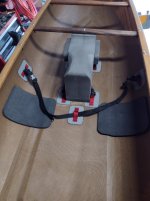
My (dedicated poling boat) Millbrook Coho has had 32" bags in it since the day I got it. A couple years ago, when I sold my heavy NC Prospector, I kept the 60" bags that were in it. Since getting the Wildfire, I've had plans to put short bags in it. So I took those 32" bags out of the Coho and began the process of extending the bag cages in the Coho.
My first cages were threaded through holes below the gunwales, so I just stuck with that plan - with slight modification - and extended it.
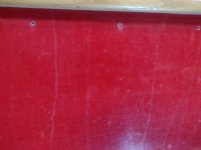
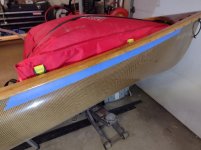
I lay out the hole pattern on masking tape, and then drill baby, drill.
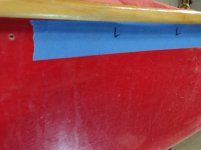
The slight change....Rather than threading the cord straight across, side to side - I threaded along each side of the hull and tied in loops every 8 inches. This idea came to me from Mike McCrea, and it allows much quicker removal or replacement of the cage and bags if wanted.
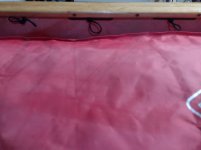
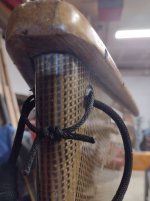
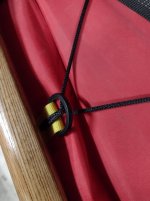
This is what it looks like on the outside after tying off the tag end. This part all stays in place when the body of the cage is removed.
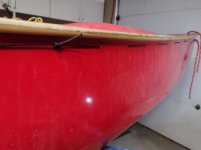
You might notice there that I'm replacing the grab loops during this project as well.
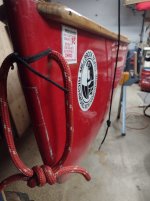
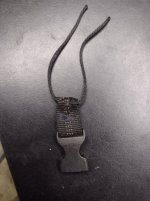
Not shown because I didn't think of taking photos while I had these decks off, is that a length of cord (the black cord shown above) holds a buckle that clips into the strap that is also attached to the nose of the bag. Part of my quick release system.
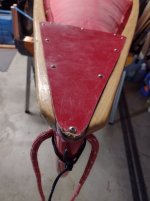
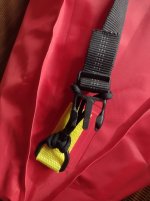
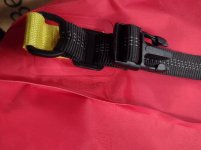
Pretty much done here, but I need to decide how I'm going to anchor the end of the straps. The old anchor points, of course, are now hidden under the middle of the bags. I have only one Northwater lightweight anchor patch and I'm out of buckles. Time to make an order.
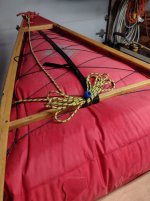
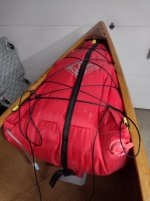
But in the meantime, the cage will hold the bags in well enough to go poling.
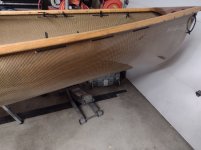
....And before anyone says anything - yes, it's past time to oil those gunwales.
My first cages were threaded through holes below the gunwales, so I just stuck with that plan - with slight modification - and extended it.

I lay out the hole pattern on masking tape, and then drill baby, drill.

The slight change....Rather than threading the cord straight across, side to side - I threaded along each side of the hull and tied in loops every 8 inches. This idea came to me from Mike McCrea, and it allows much quicker removal or replacement of the cage and bags if wanted.

This is what it looks like on the outside after tying off the tag end. This part all stays in place when the body of the cage is removed.

You might notice there that I'm replacing the grab loops during this project as well.

Not shown because I didn't think of taking photos while I had these decks off, is that a length of cord (the black cord shown above) holds a buckle that clips into the strap that is also attached to the nose of the bag. Part of my quick release system.

Pretty much done here, but I need to decide how I'm going to anchor the end of the straps. The old anchor points, of course, are now hidden under the middle of the bags. I have only one Northwater lightweight anchor patch and I'm out of buckles. Time to make an order.

But in the meantime, the cage will hold the bags in well enough to go poling.
....And before anyone says anything - yes, it's past time to oil those gunwales.
Last edited:

