• Happy Winter Solstice! 🌇🌃

Whelen lean-to

You are right sweetfancymoses. Since yesterday was rain all day I did get some more sewing done.
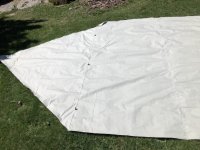
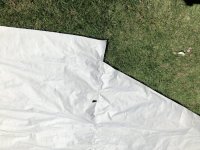
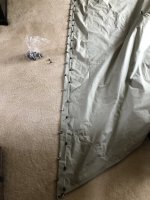
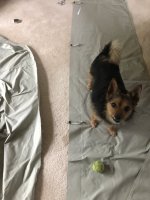
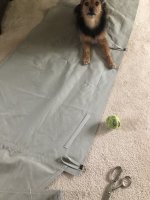
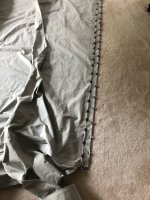
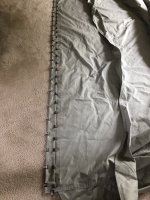
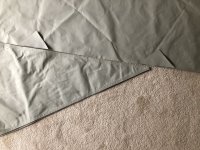
I laid out the finished awning along the edge of one of the side wings and located the reinforcement patches along the hem.
IMG_7693.jpeg
Then marked some fold to marks.
IMG_7694.jpeg
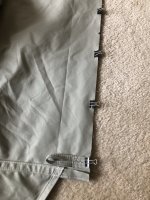
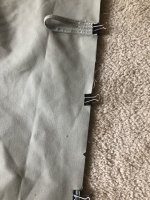
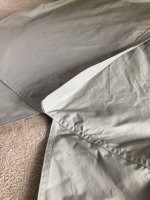
The sides of the patch are folded over and clamped and the initial fold of long edge, and my helper made sure things didn’t slide around.
IMG_7696.jpeg
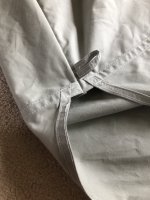
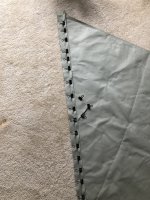
Then it is folded again with the patches in place.
IMG_7697.jpeg
IMG_7698.jpeg
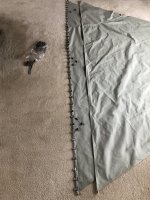
One sewed and laid on top of the other just to be sure they are mirror images, then the second one was sewn.
IMG_7699.jpeg
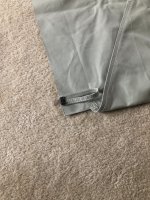
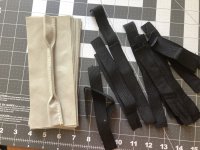
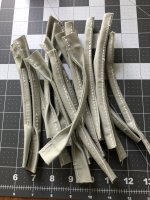
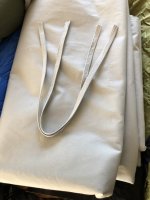
Last thing I did was sew up some laces to make loops that will be fitted in the seams of the roof and wings.
IMG_7700.jpeg
More as it gets done.
Jim
 
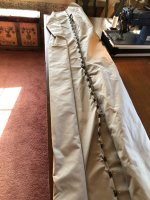
Over the past two days I got all three big panels sewn together. I found some thin webbing and decided to use those instead of the straps I had made. Those straps may still be used but things are still evolving. The little loops are sewn in on the initial thread line down the middle.
IMG_7701.jpeg
IMG_7702.jpeg
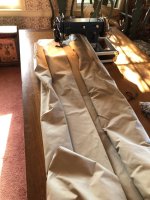
I had to take over the dining room table to feed the rolls of canvas easily.
IMG_7704.jpeg
First pinning of the edge.
IMG_7705.jpeg
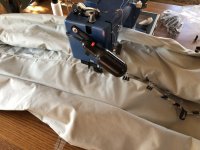
Sewing and sliding off the clips as I go.
IMG_7706.jpeg
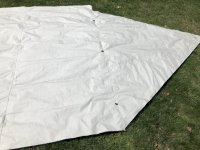
The main panel all sewn up was two big to layout and fold so I took it outside.
IMG_7708.jpeg
IMG_7709.jpeg
IMG_7710.jpeg
IMG_7711.jpeg
The next thing I need to sew is the lower hem that gets staked to the ground but unfortunately it will have to wait till next week.
Jim
 
Well it’s been a while since I’ve had time to get back on this project but I’m almost done rebuilding our deck and a couple rainy days allowed me to get back to sewing.
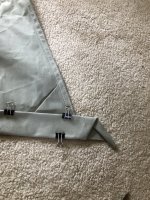
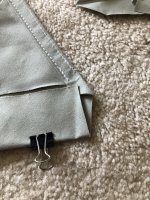
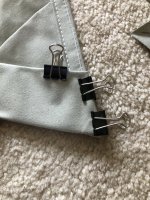
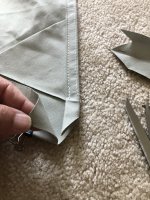
When folding the two inch wide hem the pointed ends of the wings create some challenges.
IMG_7836.jpeg
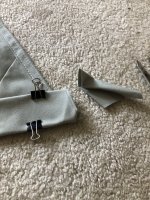
I cut off the excess but not too close.
IMG_7837.jpeg
Then trimmed a little bit more from the inside so there wouldn’t be too much bulk to have to sew.
IMG_7838.jpeg
Now when everything is tucked and the final fold of the hem is folded all the raw edges are hidden and sewn over.
IMG_7839.jpeg
IMG_7841.jpeg
Then the rest of the seam along the bottom is clipped and ready to sew. You can see the sod cloth in place on this pic.
IMG_7842.jpeg
Where the wings and the back panel join also created some difficulties in getting everything to lie flat. I tried a couple different ways and when i finally had something that worked I didn’t want to open it up again for pics, sorry.
Jim
 
Now that the lower hem is finished it was time to join the main body with the front awning. I could have done this step sooner but I didn’t want to handle the extra bulk of material when sewing that long hem.
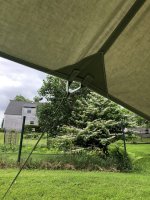
I wanted to have some hanger loops on the inside of the ridge and felt 4 would be sufficient. Those were sewn up in an earlier post and just needed to be cut down to size. They were laid out and clipped to the edge of the awning.
IMG_7857.jpeg
IMG_7858.jpeg
IMG_7860.jpeg
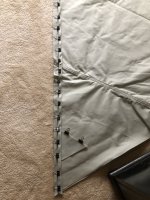
Once they were sewn in place so I didn’t have to worry about them moving around because they end up between the two pieces of fabric where you can’t see them. The awning and the body are clipped together ready for a seam to hold them together prior to the folding to create the ridge.
IMG_7861.jpeg
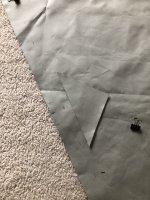
Since I’m sewing these two pieces edge to edge there is no way to use pencil witness marks to make sure one layer doesn’t creep and end up shorter/longer, what I did was cut small triangles into the edge and if they shift I know I’ve got a problem. You can see those cuts in these pics.
IMG_7862.jpeg
IMG_7863.jpeg
The two pieces are then sewn just to hold them together. After that the hem is folded and both edges are sewn and for good measure I ran another line of stitching down the middle.
IMG_7864.jpeg
IMG_7865.jpeg
Now it looks like this.
IMG_7866.jpeg
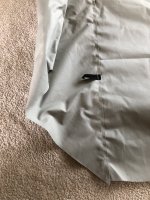
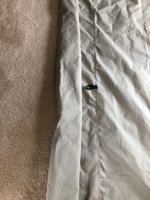
Inside view of the hanger. I will be sewing some webbing across this seam to take the stress when the awning is pulled tight from the ridge. If that makes sense.
IMG_7868.jpeg
Next step is to sew up a bunch of straps to be the stake out points. Since they might see some real stresses if the wind gets a hold of this I am sandwiching some nylon webbing into the middle of the canvas fabric.
IMG_7869.jpeg
Jim
 
Well after rebuilding my deck and working on the schooner, a couple of rainy days allowed me to get back to the sewing machine.
The last picture in the last post I made had the raw pieces for these.
IMG_7871.jpeg
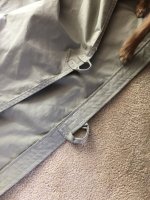
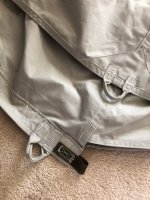
They then got sewn along the bottom edge at 2’ intervals and intersections of the panels.
IMG_7892.jpeg
The webbing on the edge of the ridge is to slip a pole into or to pull against if set up with a ridge line.
IMG_7894.jpeg
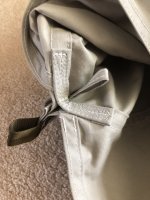
This is the strain relief I sewed into the edge where the awning meets the main body so when the awning is pulled out it can’t start to rend the stitching.
IMG_7895.jpeg
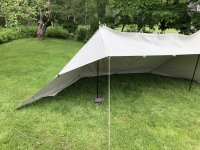
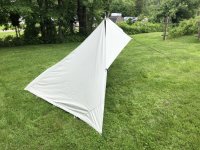
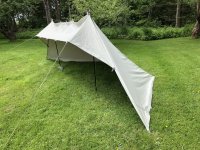
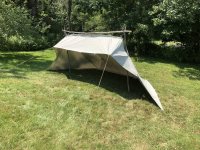
At this point I need to set it up to sort out some details, like where on the back wall to put some pull outs and how to best secure the wings on the awning. Still not sure how I’m doing that as it needs more flexibility/adjustment than I first thought. I set it up free standing for the first time just to see what was involved. I’m pretty happy with it but I did think the side wings would be able to pull the ridge at least straight. Maybe with a little more fiddling.
IMG_7903.jpeg
IMG_7904.jpeg
IMG_7905.jpeg
IMG_7906.jpeg
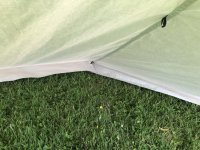
Shot of the sod cloths.
IMG_7910.jpeg
That’s the latest update.
Back to caulking that schooner this afternoon.
Jim
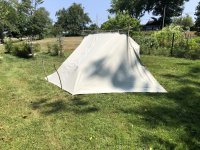
 
You are going to love sleeping in your hand crafted lean-to. Nothing better than an open tent with a view, even if the view is a just a campfire. Some of the best memories I have are frosty autumn nights, spent in a Whelen Lean-to with a fire out front, with some stacked lengths of wood to reflect heat into that perfectly designed shelter.
I have enjoyed watching your project take place. You keep demonstrating what a good craftsman can do.
 
Fine looking lodge!! You really have done a very nice job on this project, enjoyed reading, watching the progress.👍😎

Bob.
 
The best winter trip on xc skis I ever went on was high in the Sierra Nevada Mountains in 10 feet of snow. We brought the nylon Whelen lean to and made furniture with a snow shovel. We tamped down the area first. We built a fire on a raised platform on top of some green logs. The reflected heat was welcome. We could dry out our leather 3 pin boots and clothing. We brought food from home that was already prepared in plastic bags. We heated the food in boiling water made from snow much like mushers do on the trail.
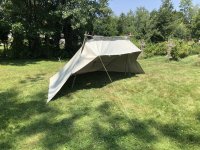
During the night I could watch the full moon from my sleeping bag and put some wood on the fire every 3 hours or so. Early in the morning a gentle snow fall started. I was snug in bed with a reflector fire watching the snow fall. Compared to being stuck in a little mountaineering tent for 12 hours it was a totally different experience. Being comfortable in the cold and snow takes some acquired skills. The fastest way to acquire them is to bring a Whelen lean to.
 
Back
Top