G
Guest
Guest
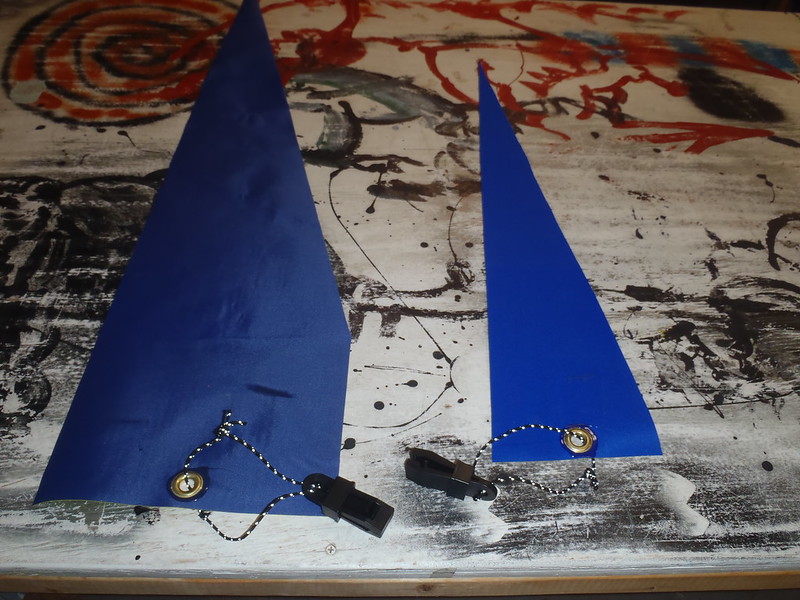
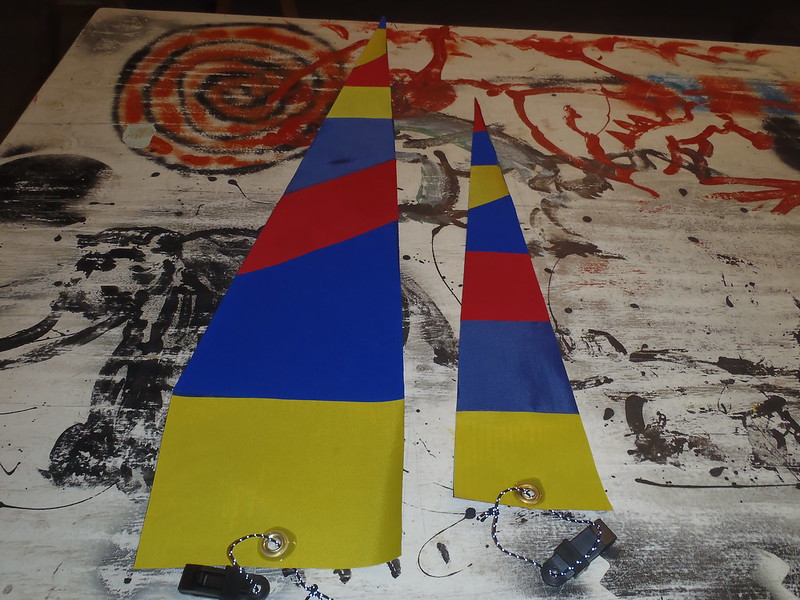
The decked canoe taper dry bags did not fit in our open canoes worth a dang.
 P8111163 by Mike McCrea, on Flickr
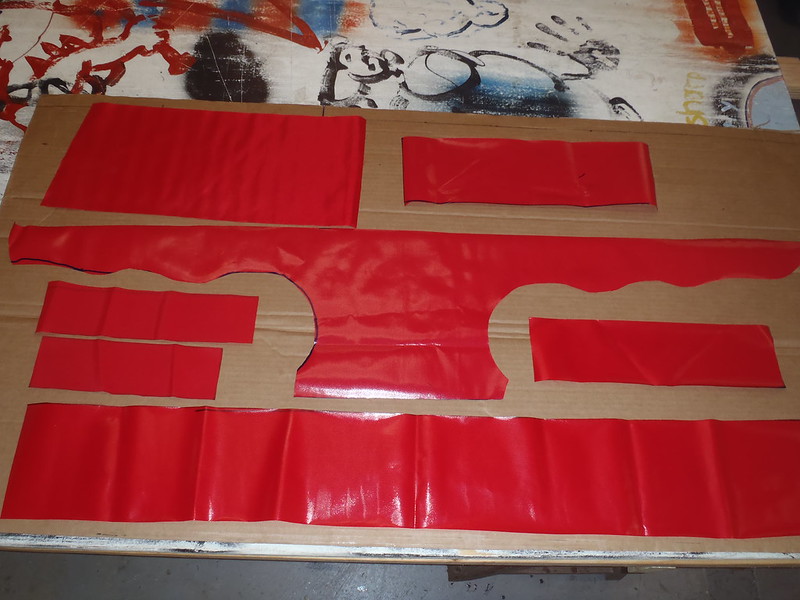
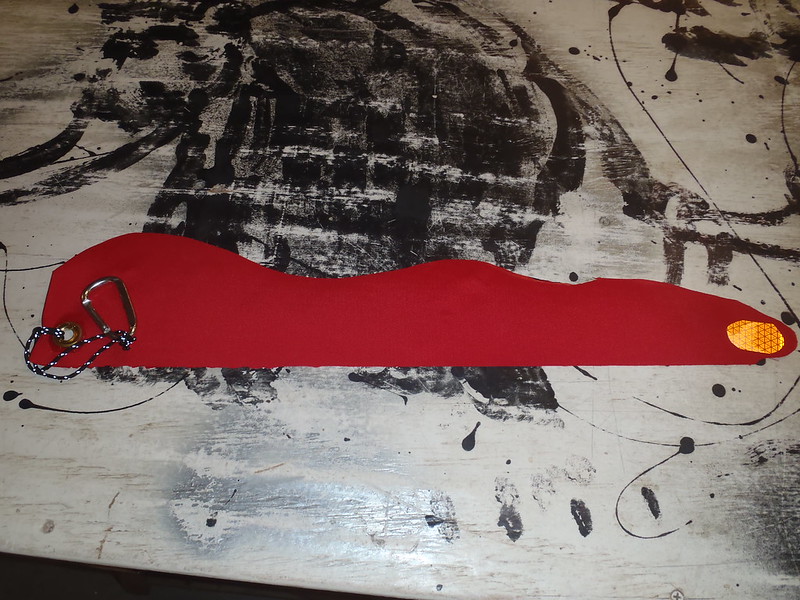
Time to try my hand at making an open canoe stem taper. I will skip the redundant blather about template shapes, but I am getting better at that design aspect.
 P9041201 by Mike McCrea, on Flickr
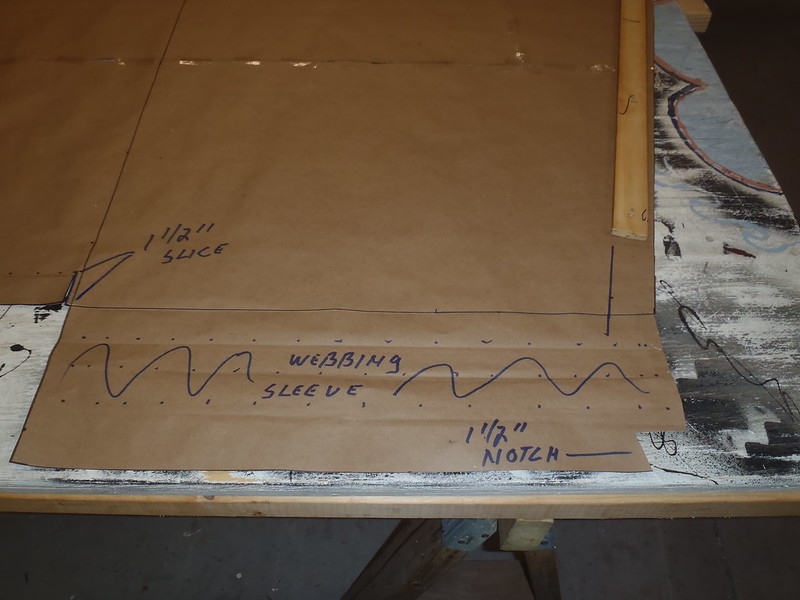 P9041202 by Mike McCrea, on Flickr
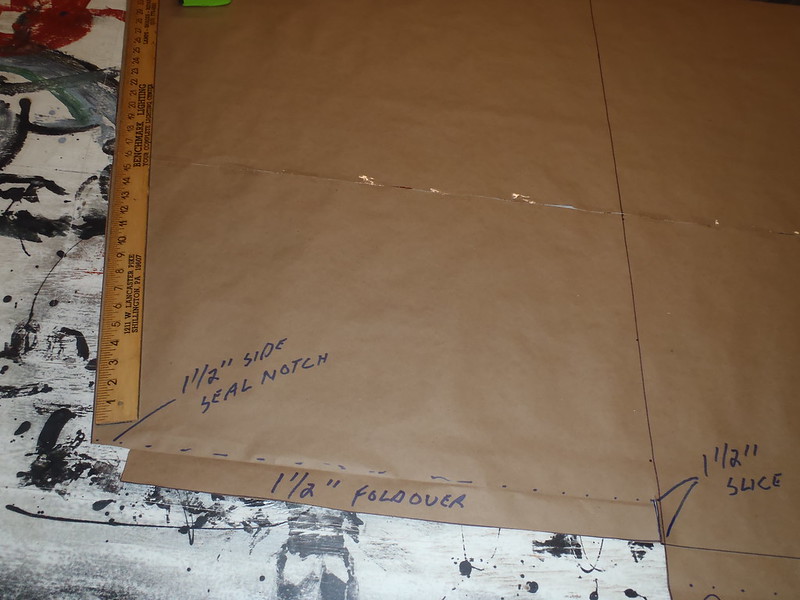
Most importantly, on a tapered bag that opens from the smaller end, it is critical to end the tapered sides before the foldovers, so the bag has flat, even folds when rolled closed.
This is the largest DIY dry bag I have made, so I used 1.5 inch heat sealed seams and 1.5 inch webbing, buckles and bar slides.
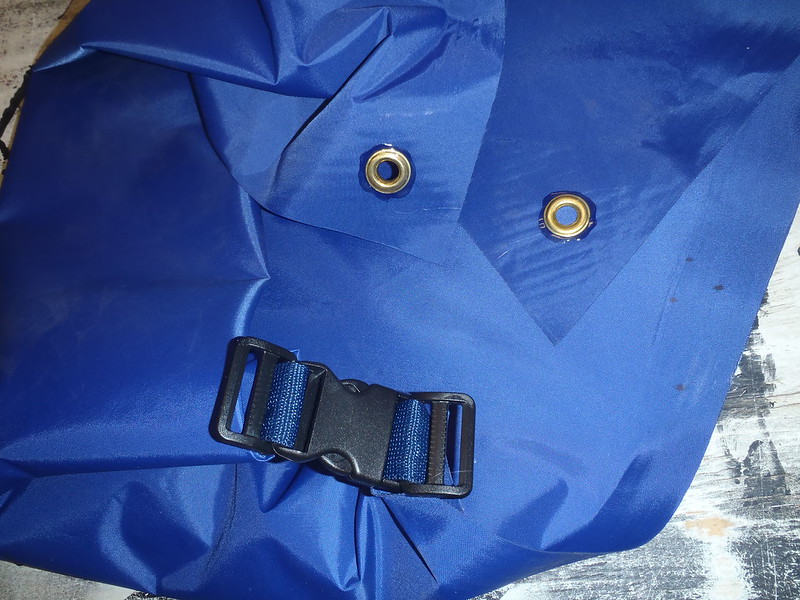 P9081210 by Mike McCrea, on Flickr
And large grommets, which need a large nail head to melt a sealed hole.
 P9081208 by Mike McCrea, on Flickr
The bar slides and large grommets may eventually be used to accommodate a webbing harness for backpack style carries. As is the bag is a (two) armful, which leave no free hand to swat flies.
Cut fabric size before seam seal ironing:
72 inches at the wide end
49 inches at the narrow (opening) end
50 inches long
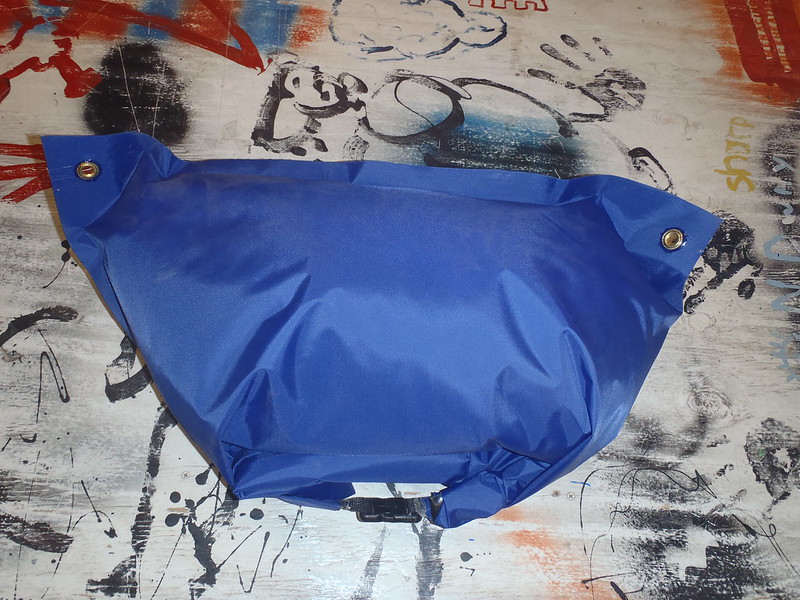
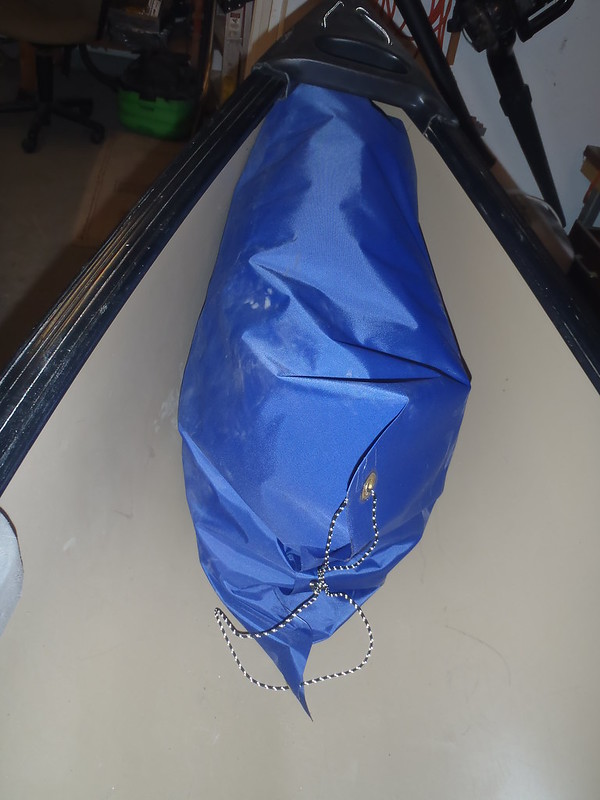
That produced this
 P9081212 by Mike McCrea, on Flickr
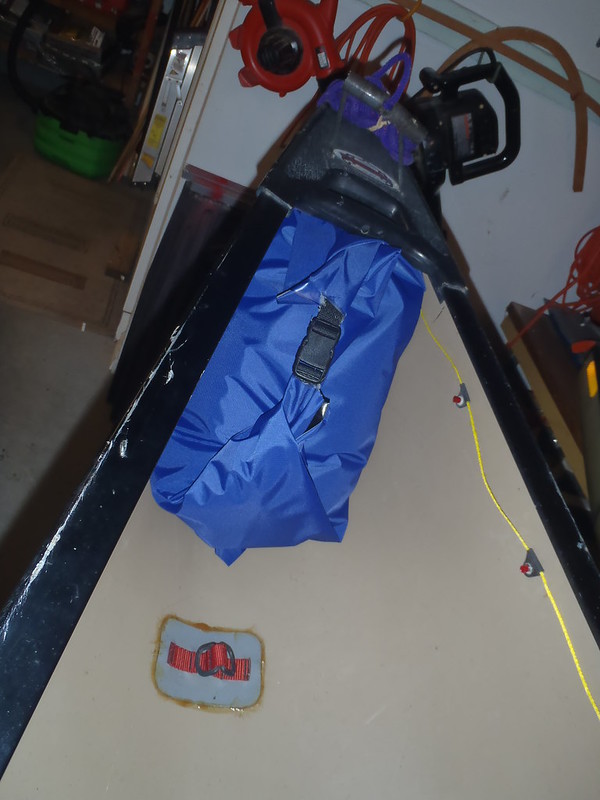
Which, when stuffed to most bulbous fullness, fit like this in the Penobscot bow
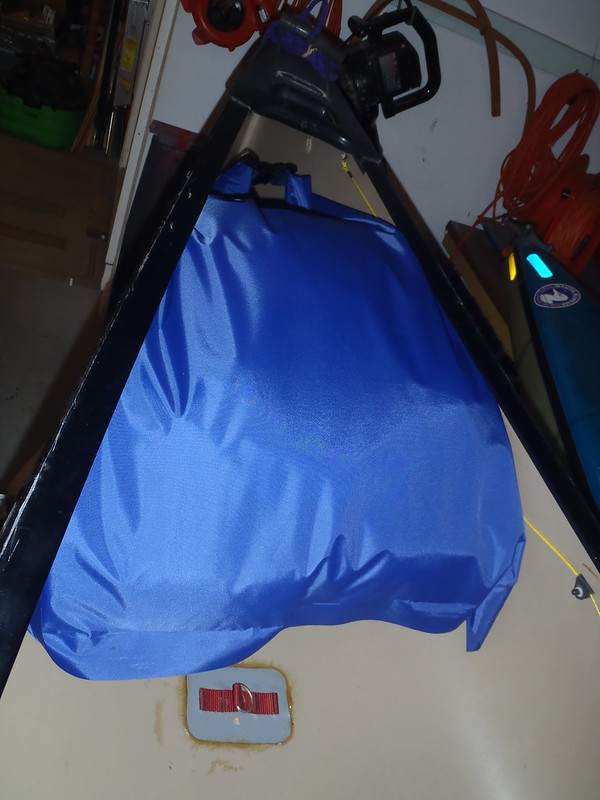 P9081204 by Mike McCrea, on Flickr
And this in the stern
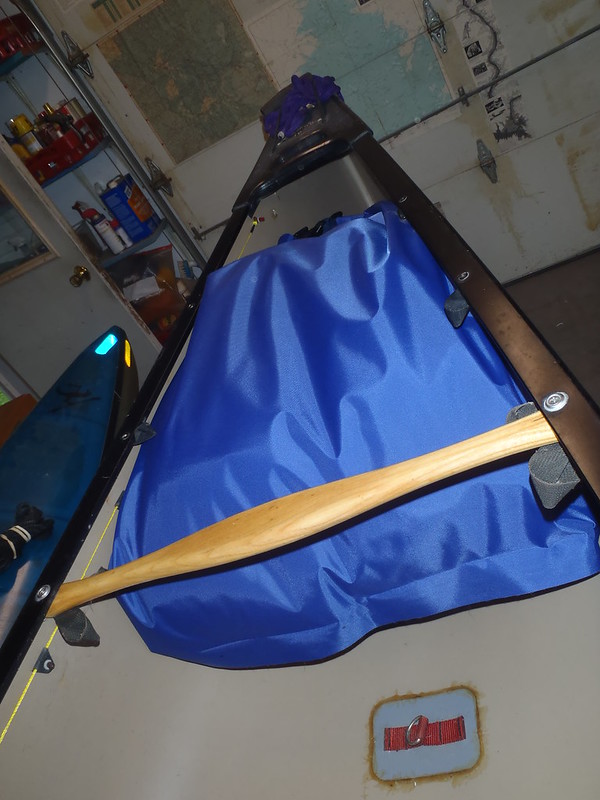 P9081206 by Mike McCrea, on Flickr
Packed less full the taper bag could slide further into the stem on a canoe without float tanks.
Those bags could use a purge valve, there is a lot of trapped air. But as a form fitting float bag/dry bag they would occlude a lot of water in a capsize.
It took two full yards of fabric to make that canoe stem taper, with some long tapered scrap left over. At the usual $22 a yard I might not have tried, but by golly I think I will make another.
 P8111163 by Mike McCrea, on Flickr
Time to try my hand at making an open canoe stem taper. I will skip the redundant blather about template shapes, but I am getting better at that design aspect.
 P9041201 by Mike McCrea, on Flickr
 P9041202 by Mike McCrea, on Flickr
Most importantly, on a tapered bag that opens from the smaller end, it is critical to end the tapered sides before the foldovers, so the bag has flat, even folds when rolled closed.
This is the largest DIY dry bag I have made, so I used 1.5 inch heat sealed seams and 1.5 inch webbing, buckles and bar slides.
 P9081210 by Mike McCrea, on Flickr
And large grommets, which need a large nail head to melt a sealed hole.
 P9081208 by Mike McCrea, on Flickr
The bar slides and large grommets may eventually be used to accommodate a webbing harness for backpack style carries. As is the bag is a (two) armful, which leave no free hand to swat flies.
Cut fabric size before seam seal ironing:
72 inches at the wide end
49 inches at the narrow (opening) end
50 inches long
That produced this
 P9081212 by Mike McCrea, on Flickr
Which, when stuffed to most bulbous fullness, fit like this in the Penobscot bow
 P9081204 by Mike McCrea, on Flickr
And this in the stern
 P9081206 by Mike McCrea, on Flickr
Packed less full the taper bag could slide further into the stem on a canoe without float tanks.
Those bags could use a purge valve, there is a lot of trapped air. But as a form fitting float bag/dry bag they would occlude a lot of water in a capsize.
It took two full yards of fabric to make that canoe stem taper, with some long tapered scrap left over. At the usual $22 a yard I might not have tried, but by golly I think I will make another.

