- Joined
- Aug 10, 2018
- Messages
- 2,052
- Reaction score
- 6,835
I've been having issues getting the strips consistent for my Raven build & it turns out that the bearings were shot on my shaper. New were ordered (arrived Saturday in fact) but, while it was down, I figured I'd take the opportunity to try my hand at making a paddle.
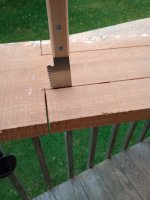
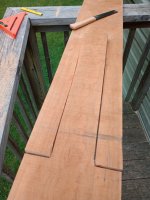
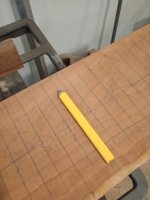
Leftovers from the first build included a large(ish) piece of Aspen from when the cant was squared and, being the outermost part of the log, the grain was really flat. I think that means that the resulting paddle would pull against the grain resulting in the strongest possible paddle which is probably important since Aspen is not a terribly strong wood.
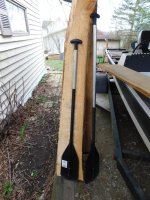
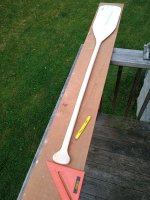
I didn't have a pattern but I figured this was primarily an exercise in shaping anyway so a useable paddle would be a bonus. I used my aluminum / plastic Bass Pro Shops paddles as a pattern, free-handing the grip to a more traditional shape. The piece was too short to use the longer paddle but was longer than my shorter paddle so I used the shorter one & put the extra length into the blade.
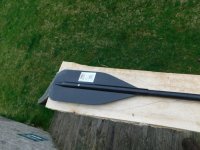

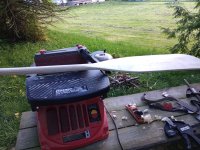
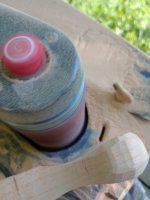
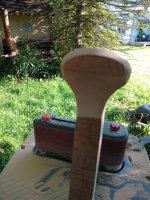
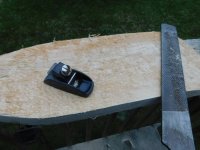
I traced around the paddle, cut it out on the band saw and tried planing it with the mini plane that I used for the tapered strips on my Freedom solo. The plane seemed to get clogged very easily so I switched to the horse shoeing rasp and found that it didn't work particularly well either. I did find that it sanded well and I started on the oscillating spindle sander but the deck was getting in the way. (it works well for things like the grip though)
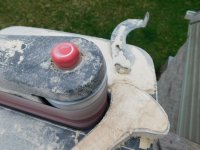
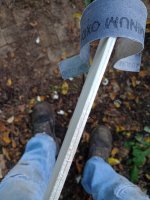
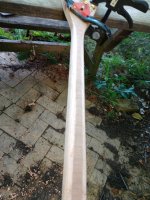
Next, I decided to try an angle grinder with flap discs. I didn't have much variety so I made a quick trip to Harbor Freight and came back with a 24 grit carbide cup and flap discs in 36, 80 & 120 grit. The 24 grit carbide cup really made short work of the excess wood and the flappy discs worked well to smooth everything out but either my speed across the work surface was inconsistent or some parts of the wood were softer than others (perhaps both?). I started to notice some inconsistent thicknesses in parts of the blade and along the shaft.
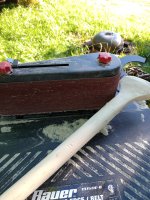
I'm reasonably certain that I can keep working on the consistency as I thin it as far as I dare (although I'm unsure where that threshold lies) but I'm open to suggestions. I can, and probably will, borrow a belt sander but is there a better way?
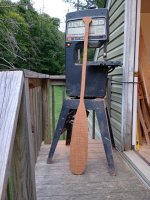
There's still a lot of material to remove on the shaft and grip but I'm also wondering about the blade. It seems huge and I'm wondering if I should reduce the length or width or both. I'm pretty optimistic that I'll wind up with more than a wood shaping experiment and the larger blade would move more water but I'm thinking that I'd also tire more quickly. Current dimensions are approx. 8 inches (20 cm) wide and 16 in (40.6 cm) long (to where it starts to narrow to the shaft... is that the "throat"?)
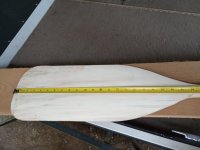
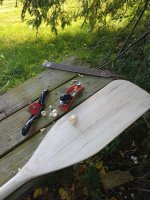
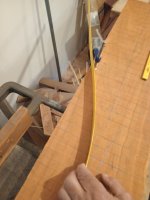
I'll need to do some more blade shaping anyway as it seems to taper more gradually from shaft to blade on the top of the above picture than it does on the bottom. I find the top to be more pleasing so I'm figuring on tracing it & then transferring the line to the bottom w/ carbon paper. Maybe there's a better way to do that too...
Leftovers from the first build included a large(ish) piece of Aspen from when the cant was squared and, being the outermost part of the log, the grain was really flat. I think that means that the resulting paddle would pull against the grain resulting in the strongest possible paddle which is probably important since Aspen is not a terribly strong wood.

I didn't have a pattern but I figured this was primarily an exercise in shaping anyway so a useable paddle would be a bonus. I used my aluminum / plastic Bass Pro Shops paddles as a pattern, free-handing the grip to a more traditional shape. The piece was too short to use the longer paddle but was longer than my shorter paddle so I used the shorter one & put the extra length into the blade.


I traced around the paddle, cut it out on the band saw and tried planing it with the mini plane that I used for the tapered strips on my Freedom solo. The plane seemed to get clogged very easily so I switched to the horse shoeing rasp and found that it didn't work particularly well either. I did find that it sanded well and I started on the oscillating spindle sander but the deck was getting in the way. (it works well for things like the grip though)


Next, I decided to try an angle grinder with flap discs. I didn't have much variety so I made a quick trip to Harbor Freight and came back with a 24 grit carbide cup and flap discs in 36, 80 & 120 grit. The 24 grit carbide cup really made short work of the excess wood and the flappy discs worked well to smooth everything out but either my speed across the work surface was inconsistent or some parts of the wood were softer than others (perhaps both?). I started to notice some inconsistent thicknesses in parts of the blade and along the shaft.
I'm reasonably certain that I can keep working on the consistency as I thin it as far as I dare (although I'm unsure where that threshold lies) but I'm open to suggestions. I can, and probably will, borrow a belt sander but is there a better way?
There's still a lot of material to remove on the shaft and grip but I'm also wondering about the blade. It seems huge and I'm wondering if I should reduce the length or width or both. I'm pretty optimistic that I'll wind up with more than a wood shaping experiment and the larger blade would move more water but I'm thinking that I'd also tire more quickly. Current dimensions are approx. 8 inches (20 cm) wide and 16 in (40.6 cm) long (to where it starts to narrow to the shaft... is that the "throat"?)

I'll need to do some more blade shaping anyway as it seems to taper more gradually from shaft to blade on the top of the above picture than it does on the bottom. I find the top to be more pleasing so I'm figuring on tracing it & then transferring the line to the bottom w/ carbon paper. Maybe there's a better way to do that too...

